Love this? Save it for later!
Share the inspiration with your friends
The church bake sale was in twelve hours and I’d completely forgotten. My neighbor Sarah had texted me the reminder that morning, and I’d nodded along while trying to get my three-year-old to put on shoes. By the time I got home from work, it was 7 PM, and I had a kitchen full of half-used ingredients and zero plans. Everyone else would be bringing those elaborate layered cakes and perfectly decorated cookies that looked like they belonged in a bakery window. I had a bag of chocolate chips, a jar of marshmallow creme, and a sinking feeling in my stomach.
I’ll be honest — I almost gave up and grabbed a box of store-bought brownies. But then I remembered my grandmother’s old recipe box, stuffed with yellowed index cards written in her shaky cursive. Somewhere in there was a recipe for chocolate fudge that used marshmallow creme, and she swore it was the easiest thing she ever made. I found it wedged between a recipe for meatloaf and one for something called “jello surprise” (which I’m still not brave enough to try). The card was stained with what looked like chocolate and maybe a little coffee. It felt like she was right there in the kitchen with me, telling me to stop panicking.
I threw the ingredients together in about fifteen minutes, honestly not expecting much. The timing was tight — I had to let it set overnight, which meant I’d be waking up early to cut it into squares. But you know that feeling when something just works? The fudge came together like it knew what it was doing. I poured it into the pan, scraped every last bit of marshmallow creme from the jar, and crossed my fingers. The next morning, I cut into it and that first bite stopped me mid-sentence. It was creamy, rich, and had that old-fashioned texture that reminds you of your grandma’s kitchen. The bake sale crowd agreed — it sold out in twenty minutes, and three people asked for the recipe.
This fudge stayed with me because it proved something I’d always suspected: you don’t need fancy techniques or hours of prep to make something truly special. Sometimes the best recipes are the ones you make under pressure, with what you already have on hand. Maybe you’ve been there, staring at your pantry wondering how to pull off a miracle. This one’s for you.
Why You’ll Love This Recipe
Let me tell you why this homemade old-fashioned marshmallow creme chocolate fudge has become my go-to for every holiday, potluck, and last-minute dessert emergency. I’ve tested this recipe at least a dozen times, tweaking the temperature and timing until it came out perfect every single time. Here’s what makes it special:
- Quick & Easy: Comes together in about 15 minutes of active prep time. No candy thermometer, no finicky sugar boiling, no stress. You just need a saucepan and a wooden spoon.
- Simple Ingredients: You probably have most of these in your pantry right now. Chocolate chips, marshmallow creme, sugar, butter, and evaporated milk. That’s it. No fancy grocery trips required.
- Perfect for Gifting: This fudge travels beautifully, keeps for weeks, and looks gorgeous wrapped in a little parchment paper. It’s my secret weapon for teacher gifts, holiday trays, and bake sales.
- Crowd-Pleaser: I’ve watched kids and adults alike hover around the fudge plate at parties. It’s that nostalgic flavor that everyone loves, without being too sweet or heavy.
- Unbelievably Creamy: The marshmallow creme gives this fudge a silky, melt-in-your-mouth texture that regular fudge just can’t match. It’s the secret ingredient that makes all the difference.
What sets this recipe apart from others is the technique. Instead of boiling the sugar to a specific temperature (which always made me nervous), this method uses marshmallow creme to stabilize the fudge and give it that perfect consistency. I’ve tried dozens of fudge recipes over the years, and this one is the only one that never fails me. It’s comfort food reimagined — faster and simpler, but with the same soul-soothing satisfaction.
This isn’t just good fudge. It’s the kind that makes you close your eyes after the first bite. It’s perfect for impressing guests without stress, or turning a simple Tuesday night into something memorable. Honestly, I make it for no reason at all sometimes.
What Ingredients You Will Need
This recipe uses simple, wholesome ingredients to deliver that classic, old-fashioned flavor without any fuss. Most of these are pantry staples, which is exactly what you want when a dessert emergency strikes.
- 3 cups (600g) granulated sugar — This is the base of your fudge. Don’t substitute with brown sugar or alternative sweeteners, as they’ll change the texture and consistency. Regular white sugar is what gives fudge its structure.
- 3/4 cup (170g) unsalted butter — Use the real stuff, not margarine. Butter adds richness and helps the fudge set properly. I prefer using a good quality brand like Kerrygold for the best flavor, but any unsalted butter works fine.
- 2/3 cup (160ml) evaporated milk — This is not the same as sweetened condensed milk. Evaporated milk adds creaminess without extra sweetness. Look for it in the baking aisle — Carnation is my go-to brand.
- 1 jar (7 oz or 200g) marshmallow creme — This is the magic ingredient. Marshmallow creme gives the fudge that silky, melt-in-your-mouth texture. I use Jet-Puffed brand, but any marshmallow creme works. Don’t substitute with mini marshmallows — the texture won’t be the same.
- 1 package (12 oz or 340g) semi-sweet chocolate chips — Quality matters here. I recommend Ghirardelli or Guittard for the best flavor. Semi-sweet provides the perfect balance of sweetness against the sugar and marshmallow creme.
- 1 cup (170g) chopped nuts (optional) — Walnuts or pecans add a lovely crunch. I usually add them because my family loves the texture, but feel free to leave them out for a smoother fudge. Toast the nuts first for extra flavor.
- 1 teaspoon vanilla extract — Pure vanilla extract makes a difference. Imitation vanilla will work in a pinch, but the real stuff adds a warmth that elevates the whole recipe.
- Pinch of salt — Don’t skip this. Salt balances the sweetness and brings out the chocolate flavor. I use fine sea salt for even distribution.
Substitution Guidance: If you need a dairy-free option, you can try using a high-quality dairy-free butter substitute and full-fat coconut milk in place of evaporated milk. The texture will be slightly different, but it still works. For a nut-free version, simply omit the nuts or replace them with dried cranberries or chopped dried cherries. I’ve also made this with dark chocolate chips for a richer flavor — just reduce the sugar by a quarter cup to balance the bitterness.
Equipment Needed
You don’t need a fancy kitchen to make this fudge. Here’s what you’ll need:
- Medium saucepan (3-quart) — Heavy-bottomed is best. It distributes heat evenly and prevents the sugar mixture from scorching. I’ve used my trusty Calphalon for years, but any sturdy saucepan works.
- Wooden spoon or silicone spatula — You’ll be stirring constantly, so use something heat-safe. A wooden spoon is traditional and won’t scratch your pan.
- 8×8-inch baking pan — This gives you perfectly thick fudge squares. If you only have a 9×9 pan, your fudge will be slightly thinner, which is fine too.
- Parchment paper — Lining your pan makes lifting the fudge out so much easier. I learned this the hard way after my first batch stuck to the pan.
- Candy thermometer (optional) — I don’t use one for this recipe, but if you’re nervous about getting the sugar mixture to the right temperature, it’s a helpful tool. You’re aiming for 234°F (112°C).
- Sharp knife — For cutting clean squares. A chef’s knife works perfectly. Run it under hot water between cuts for the cleanest edges.
If you don’t have a candy thermometer, don’t worry. The visual cues in the recipe will guide you. And if you don’t have an 8×8 pan, you can use a 9×9 pan or even a loaf pan — just adjust the cutting size accordingly.
Preparation Method
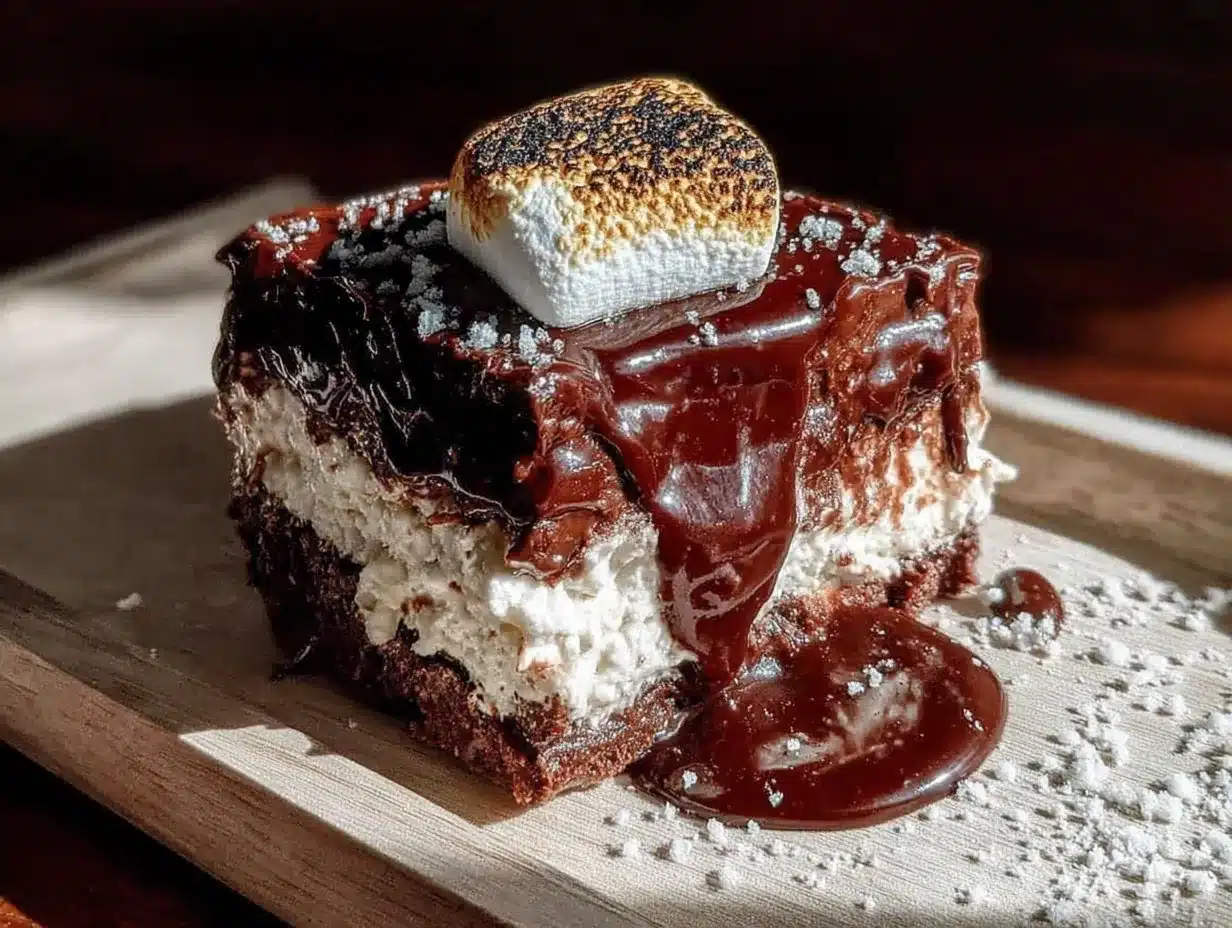
Let me walk you through this step by step. I’ve made this fudge more times than I can count, so I’ll share all the little tricks I’ve picked up along the way.
- Prepare your pan. Line an 8×8-inch baking pan with parchment paper, leaving some overhang on two sides. This creates handles that make it easy to lift the fudge out later. Lightly grease the parchment with butter or non-stick spray. Set it aside.
- Combine the base ingredients. In a medium saucepan, combine 3 cups granulated sugar, 3/4 cup unsalted butter, and 2/3 cup evaporated milk. Place the pan over medium heat and stir constantly with your wooden spoon. Don’t walk away — this mixture can scorch quickly if left unattended.
- Bring to a boil. Keep stirring until the butter melts completely and the sugar dissolves. The mixture will look grainy at first, but it will smooth out as it heats. Once it comes to a full rolling boil, set a timer for 4 minutes. Keep stirring the entire time. The mixture will bubble up and look a little scary — that’s normal. Just keep it moving.
- Remove from heat. After exactly 4 minutes of boiling, remove the pan from the heat. Don’t guess on the timing — use a timer. Too little boiling and the fudge won’t set; too much and it will be dry and crumbly.
- Add the chocolate and marshmallow creme. Immediately stir in the entire package of semi-sweet chocolate chips and the jar of marshmallow creme. The heat from the sugar mixture will melt everything together. Stir until the chocolate is completely melted and the mixture is smooth and glossy. This takes about 2-3 minutes of vigorous stirring.
- Add vanilla and salt. Stir in 1 teaspoon vanilla extract and a pinch of salt. If you’re adding nuts, fold them in now. The mixture will start to thicken as it cools slightly.
- Pour into the prepared pan. Working quickly, pour the fudge mixture into your lined pan. Use your spatula to spread it evenly into the corners. Don’t overwork it — just smooth the top gently.
- Let it set. Allow the fudge to cool at room temperature for about 30 minutes, then transfer it to the refrigerator. Let it chill for at least 2 hours, or overnight for the best results. The fudge should be firm to the touch but still creamy when you cut into it.
- Cut and serve. Lift the fudge out of the pan using the parchment paper overhang. Place it on a cutting board and use a sharp knife to cut it into squares. I usually go for 1-inch pieces, but you can make them bigger or smaller depending on your crowd. Run the knife under hot water between cuts for clean edges.
Pro tip: If your fudge seems too soft after chilling, don’t panic. It might need more time in the fridge. I’ve had batches that took a full 4 hours to set properly. If it’s still soft after that, you might have under-boiled the sugar mixture. Next time, let it boil for an extra 30 seconds.
Cooking Tips & Techniques
After making this fudge more times than I can count, I’ve learned a few things the hard way. Let me save you some trouble.
Don’t skip the constant stirring. I know it’s tempting to walk away and let it boil, but that’s how you end up with scorched fudge. The sugar mixture can burn in seconds, and burnt sugar has a bitter, unpleasant taste. Set a timer and commit to stirring. I usually put on a podcast or chat with my kids while I stir — it makes the time go faster.
Watch the weather. Humidity is the enemy of good fudge. If it’s a rainy or humid day, your fudge might not set properly. The sugar absorbs moisture from the air, which can make it grainy or soft. I’ve learned to save fudge-making for dry days. If you’re in a humid climate, boil the mixture for an extra 30 seconds to compensate.
Use a heavy-bottomed pan. This is non-negotiable. Thin pans create hot spots that burn the sugar before it’s fully cooked. A heavy-bottomed saucepan distributes heat evenly, giving you a smooth, consistent fudge every time.
Don’t over-stir after adding the chocolate. Once the chocolate and marshmallow creme are fully incorporated, stop stirring. Over-mixing can cause the fudge to become grainy as the sugar crystals form. Just stir until smooth, then pour it into the pan.
Let it cool completely before cutting. I know it’s tempting to cut into it while it’s still warm, but trust me — wait. Warm fudge will stick to your knife and fall apart. Let it chill for at least 2 hours, or overnight if you can. The texture is much better the next day.
My biggest failure: The first time I made this, I forgot to line my pan with parchment paper. The fudge stuck so badly that I had to chip it out in chunks. It still tasted amazing, but it was a mess. Learn from my mistake — always line your pan.
Variations & Adaptations
This recipe is wonderfully adaptable. Here are some variations I’ve tried and loved:
Peppermint Fudge: Add 1/2 teaspoon peppermint extract along with the vanilla, and fold in 1/2 cup crushed candy canes. This is my go-to for Christmas. The peppermint adds a festive crunch and a refreshing flavor that pairs beautifully with the chocolate.
White Chocolate Version: Swap the semi-sweet chocolate chips for white chocolate chips. The result is a creamy, sweet fudge that’s perfect for people who prefer a milder chocolate flavor. I like to add dried cranberries and pistachios for a festive red-and-green look.
Peanut Butter Swirl: After pouring the fudge into the pan, drop spoonfuls of peanut butter on top and swirl it with a knife. Use about 1/3 cup of creamy peanut butter. The combination of chocolate and peanut butter is a classic for a reason. My kids go crazy for this version.
Vegan Adaptation: Use a high-quality vegan butter substitute, full-fat coconut milk instead of evaporated milk, and dairy-free chocolate chips. The texture will be slightly different — a bit softer — but it’s still delicious. I’ve made this for vegan friends and it disappeared quickly.
Extra Rich Version: Add 1 cup of chopped dark chocolate (70% cocoa or higher) along with the chocolate chips. This deepens the chocolate flavor and makes the fudge even more indulgent. It’s perfect for serious chocolate lovers.
Spiced Fudge: Add 1 teaspoon of cinnamon and a pinch of cayenne pepper along with the vanilla. The warmth of the spices complements the chocolate beautifully and gives the fudge a subtle kick. I made this for a holiday party and it was a hit.
Serving & Storage Suggestions
This fudge is best served at room temperature. Take it out of the fridge about 15 minutes before serving to let it soften slightly. The texture becomes perfectly creamy and melt-in-your-mouth. Arrange the squares on a pretty plate or in a lined tin for gifting.
Storage: Store the fudge in an airtight container at room temperature for up to 2 weeks. Yes, it really keeps that long — if it doesn’t get eaten first. Layer the squares between sheets of parchment paper to prevent them from sticking together. I’ve stored fudge in a cool pantry for 10 days and it was still perfect.
Freezing: This fudge freezes beautifully. Wrap the whole block or individual squares tightly in plastic wrap, then place them in a freezer-safe bag or container. It will keep for up to 3 months. To thaw, transfer it to the refrigerator overnight or let it sit at room temperature for about an hour. The texture stays exactly the same.
Reheating: I don’t recommend reheating fudge, but if you want a warm, gooey treat, microwave a square for about 10 seconds. It becomes soft and almost sauce-like, perfect for spooning over ice cream.
Flavor development: Honestly, this fudge tastes even better the next day. The flavors meld together overnight, and the texture becomes creamier. I always try to make it a day ahead if I can. It’s worth the wait.
Gifting tip: Cut the fudge into uniform squares and arrange them in a decorative tin or box. Layer with parchment paper and add a handwritten tag with the recipe name. It makes a thoughtful, homemade gift that anyone would appreciate.
Nutritional Information & Benefits
Let’s be real — this is fudge, so it’s a treat. But here’s what you’re getting in each square (based on 36 pieces):
- Calories: Approximately 165 per square
- Fat: 8g
- Saturated Fat: 5g
- Carbohydrates: 24g
- Sugar: 20g
- Protein: 1g
- Sodium: 35mg
The dark chocolate in this recipe provides a small amount of antioxidants, specifically flavonoids, which are known to support heart health. The nuts, if you add them, contribute healthy fats and a bit of protein. The marshmallow creme doesn’t offer much nutritionally, but it does make the fudge incredibly smooth.
Dietary Considerations: This recipe contains dairy, gluten (if using certain chocolate chips — always check labels), and nuts if you add them. It’s not suitable for vegans unless you use the adaptations mentioned above. For a lower-sugar option, you can try using sugar-free chocolate chips, but the texture will be slightly different.
I believe in balance. This fudge is a special treat, not an everyday snack. Enjoy it mindfully, savor each bite, and share it with people you love. That’s what food is all about.
Conclusion
This homemade old-fashioned marshmallow creme chocolate fudge has become a staple in my kitchen for good reason. It’s simple enough to make on a busy weeknight, impressive enough to bring to any gathering, and delicious enough to disappear in minutes. The marshmallow creme gives it that silky texture that regular fudge just can’t match, and the whole thing comes together in about 15 minutes of active prep.
I love this recipe because it reminds me that you don’t need fancy techniques or expensive ingredients to make something truly special. Sometimes the best things come from a few simple ingredients and a little bit of patience. It’s the kind of recipe that feels like a hug from the inside — comforting, familiar, and absolutely satisfying.
I’d love to hear how your fudge turns out. Did you add nuts? Try a variation? Share your creation in the comments below — I read every single one and I love seeing what you come up with. And if you found this recipe helpful, please share it with a friend who needs a little sweetness in their life. Happy cooking!
Frequently Asked Questions
Can I use mini marshmallows instead of marshmallow creme?
I don’t recommend it. Marshmallow creme has a specific texture and consistency that melts smoothly into the fudge. Mini marshmallows contain more air and stabilizers, which can make the fudge grainy or cause it to separate. Stick with the jarred creme for the best results.
Why did my fudge turn out grainy?
Grainy fudge is usually caused by sugar crystals forming during the cooking process. This can happen if you stir too aggressively after the sugar has dissolved, or if the mixture wasn’t boiled long enough. To prevent this, stir gently and consistently, and use a timer for the boiling stage. If your fudge is already grainy, it’s still edible — just not as smooth.
Can I make this fudge in the microwave?
Technically yes, but I don’t recommend it. The stovetop method gives you more control over the temperature and prevents scorching. If you’re in a pinch, melt the butter and sugar mixture in a microwave-safe bowl in 30-second intervals, stirring between each. Then proceed with the recipe as written. The texture might be slightly different.
How long does this fudge last?
Stored in an airtight container at room temperature, this fudge will keep for up to 2 weeks. In the refrigerator, it will last for 3-4 weeks. You can also freeze it for up to 3 months. Just make sure it’s tightly wrapped to prevent freezer burn.
Can I double this recipe?
Absolutely. Double all the ingredients and use a 9×13-inch pan instead of an 8×8. The boiling time remains the same — 4 minutes at a full rolling boil. Just make sure your saucepan is large enough to accommodate the doubled volume, as the mixture will bubble up significantly during boiling.
Pin This Recipe!
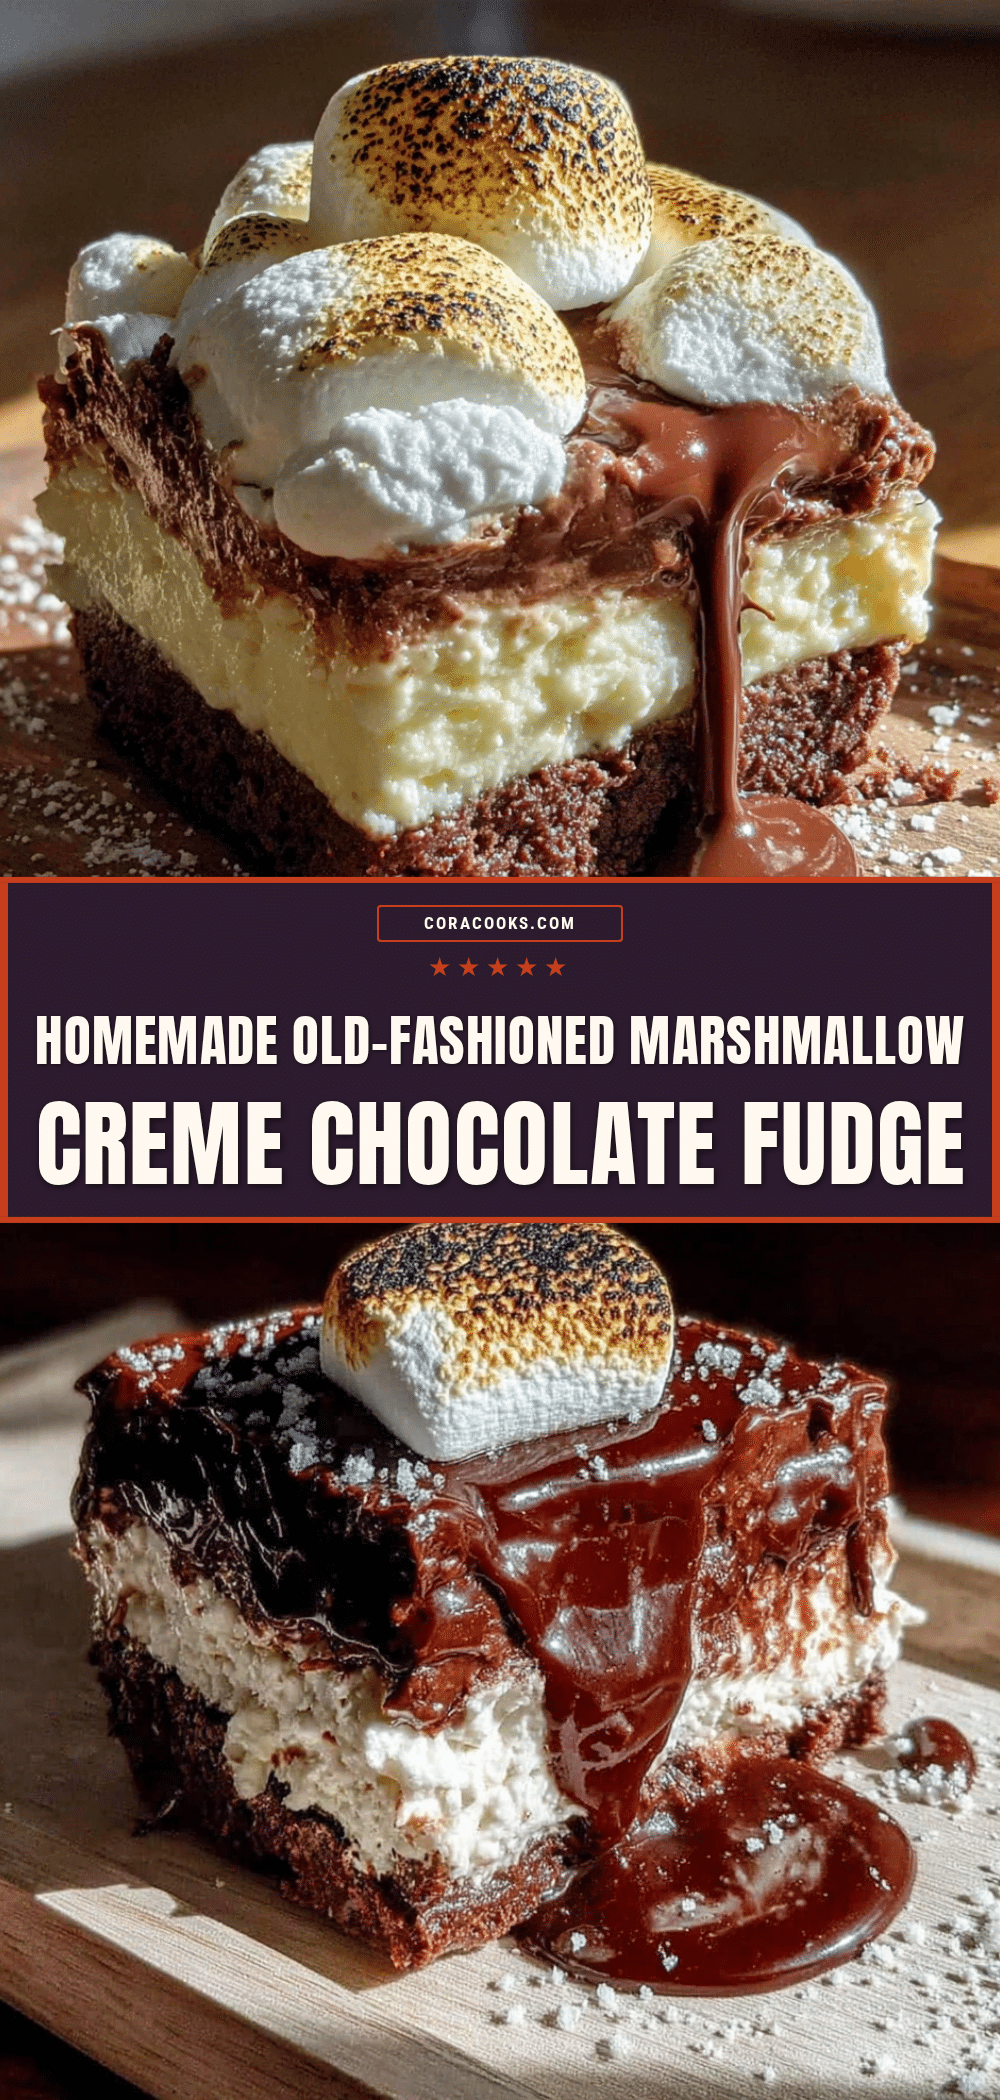
Homemade Old-Fashioned Marshmallow Creme Chocolate Fudge

This creamy, rich fudge uses marshmallow creme for a silky texture and comes together in just 15 minutes of active prep. Perfect for bake sales, gifting, or any last-minute dessert emergency.
- Prep Time: 15 minutes
- Cook Time: 4 minutes
- Total Time: 2 hours 19 minutes (includes chilling)
- Yield: 36 servings 1x
- Category: Dessert
- Cuisine: American
Ingredients
- 3 cups (600g) granulated sugar
- 3/4 cup (170g) unsalted butter
- 2/3 cup (160ml) evaporated milk
- 1 jar (7 oz or 200g) marshmallow creme
- 1 package (12 oz or 340g) semi-sweet chocolate chips
- 1 cup (170g) chopped nuts (optional, walnuts or pecans)
- 1 teaspoon vanilla extract
- Pinch of salt
Instructions
- Line an 8×8-inch baking pan with parchment paper, leaving overhang on two sides. Lightly grease the parchment with butter or non-stick spray. Set aside.
- In a medium saucepan, combine 3 cups granulated sugar, 3/4 cup unsalted butter, and 2/3 cup evaporated milk. Place over medium heat and stir constantly until butter melts and sugar dissolves.
- Bring the mixture to a full rolling boil. Set a timer for 4 minutes and stir constantly.
- Remove the pan from heat. Immediately stir in the entire package of semi-sweet chocolate chips and the jar of marshmallow creme. Stir until smooth and glossy, about 2-3 minutes.
- Stir in 1 teaspoon vanilla extract and a pinch of salt. If using nuts, fold them in now.
- Pour the fudge mixture into the prepared pan and spread evenly. Let cool at room temperature for 30 minutes, then refrigerate for at least 2 hours or overnight.
- Lift the fudge out of the pan using the parchment overhang. Cut into 1-inch squares with a sharp knife (run knife under hot water between cuts for clean edges). Serve at room temperature.
Notes
Don’t skip the constant stirring to prevent scorching. Humidity can affect setting; on humid days, boil for an extra 30 seconds. For clean cuts, run knife under hot water between cuts. Fudge tastes even better the next day.
Nutrition
- Serving Size: 1 square
- Calories: 165
- Sugar: 20
- Sodium: 35
- Fat: 8
- Saturated Fat: 5
- Carbohydrates: 24
- Protein: 1
Keywords: fudge, chocolate fudge, marshmallow creme fudge, old-fashioned fudge, easy fudge, homemade fudge, bake sale fudge, holiday fudge