Love this? Save it for later!
Share the inspiration with your friends
It was 11:47 PM on a random Tuesday in December, and I had a very specific, slightly unhinged craving: to build a gingerbread house. Not the cute, pre-made kits you grab at the grocery store—those always collapse the second you look at them. I wanted a real one. The problem? I didn’t have molasses, which is what every “real” gingerbread recipe calls for, but I had a jar of dark corn syrup that had been sitting in my pantry since a failed pecan pie experiment. And the idea that arrived? What if I just… used that? And what if I made it a quick, sturdy gingerbread house dough that holds, because honestly, I didn’t have the patience for a three-hour dough-chilling process at damn near midnight.
I mean, let’s face it, I was tired. It had been one of those days where the to-do list was longer than my arm, and the only thing I had energy for was a project that felt productive but also a little bit ridiculous. So I grabbed my stand mixer, a bag of flour, and that questionable jar of corn syrup. I figured, if this failed, I’d just eat the dough straight from the bowl—no judgment. But something about the late hour loosened the usual rules. I wasn’t following a recipe; I was just… making stuff up. I added extra ginger, a splash of vinegar (my grandma’s trick for keeping cookies crisp), and I skipped the chilling step entirely. I rolled it out, cut the shapes, and baked them.
You know that feeling when you’re half-asleep but you nail something? That was this dough. It came out of the oven smelling like a Christmas miracle, and when I tested a wall piece—snapped it in half—it didn’t crumble. It cracked clean, like a good cookie should. I built the house the next morning, and let me tell you, that little structure didn’t budge. Not a lean, not a wobble. It sat there on my counter, smug and perfect, for two full weeks. That’s when I knew I had cracked the code for a quick, sturdy gingerbread house dough that holds, and I’ve been making it ever since. This recipe is the one you want when you need results, fast, and you don’t have time for fancy ingredients or a three-day project. Maybe you’ve been there—wanting to make something magical but running out of steam by 9 PM. This one’s for you.
Why You’ll Love This Recipe
Let’s be real for a second. Most gingerbread house recipes are a total pain. They require molasses (which you probably don’t have), long chilling times (who has that?), and they still end up looking like a leaning tower of Pisa by the time you add the roof. This recipe is the exact opposite. It’s designed for the busy person who wants a stunning result without the stress. I’ve tested this dough in my own kitchen more times than I can count, tweaking the ratios and the baking times until it was absolutely bulletproof. Here’s why you’re going to love it:
- Quick & Easy: From start to finish, you can have your dough mixed, rolled, and baked in under an hour. No overnight chilling required. It’s perfect for weeknight projects or last-minute holiday prep.
- Simple Ingredients: You probably have everything in your pantry right now. No weird ingredients, no trips to a specialty baking store. Just flour, butter, sugar, and a few spices.
- Perfect for Holiday Fun: Whether you’re making a house for a school project, a party centerpiece, or a fun activity with the kids, this dough is forgiving and easy to work with.
- Crowd-Pleaser: It’s not just sturdy—it actually tastes good. The flavor is spicy, buttery, and just sweet enough. Kids and adults both love nibbling on the scraps.
- Unbelievably Sturdy: This is the real star. The dough bakes up hard as a rock (in a good way). It won’t sag, crack, or collapse under the weight of heavy candy decorations. I’ve stacked three stories of this stuff before.
What makes this recipe different from the rest? It’s the technique. Most recipes rely on molasses for structure, but molasses is heavy and makes the dough sticky and hard to handle. I swapped in dark corn syrup, which gives you the same deep color and chewiness without the moisture overload. Plus, I added a tiny bit of vinegar, which reacts with the baking soda to create a super-crisp texture. It’s a chef-tested trick that makes all the difference. Honestly, this isn’t just another gingerbread recipe—it’s the best version. The one that makes you close your eyes after the first bite of a leftover wall piece, thinking, “Why did it take me so long to find this?”
What Ingredients You Will Need
This recipe uses simple, pantry-friendly ingredients to deliver a dough that’s both easy to handle and rock-solid when baked. You don’t need anything fancy, but a few key choices make all the difference. Here’s what you’ll need, broken down by function.
For the Dough Base
- All-purpose flour, 3 ½ cups (440g) – The backbone of the dough. Don’t use bread flour; it’s too strong and will make the dough tough. All-purpose is perfect.
- Unsalted butter, ½ cup (113g), softened – Adds richness and helps the dough hold together. I prefer using Kerrygold for its superior flavor, but any good-quality butter works. Make sure it’s softened to room temperature, not melted.
- Dark brown sugar, ¾ cup (150g), packed – Gives the dough its deep color and a hint of molasses-like flavor. Light brown sugar works in a pinch, but dark is better for color.
- Dark corn syrup, ½ cup (160g) – This is my secret ingredient! It adds sweetness and structure without the moisture of molasses. If you only have light corn syrup, it’ll work, but the color will be paler.
- Large egg, 1 – Binds everything together. Make sure it’s at room temperature so it incorporates smoothly.
- Vanilla extract, 1 teaspoon – Enhances the warm spice flavors. Pure vanilla is best, but imitation works fine.
For the Spice Mix
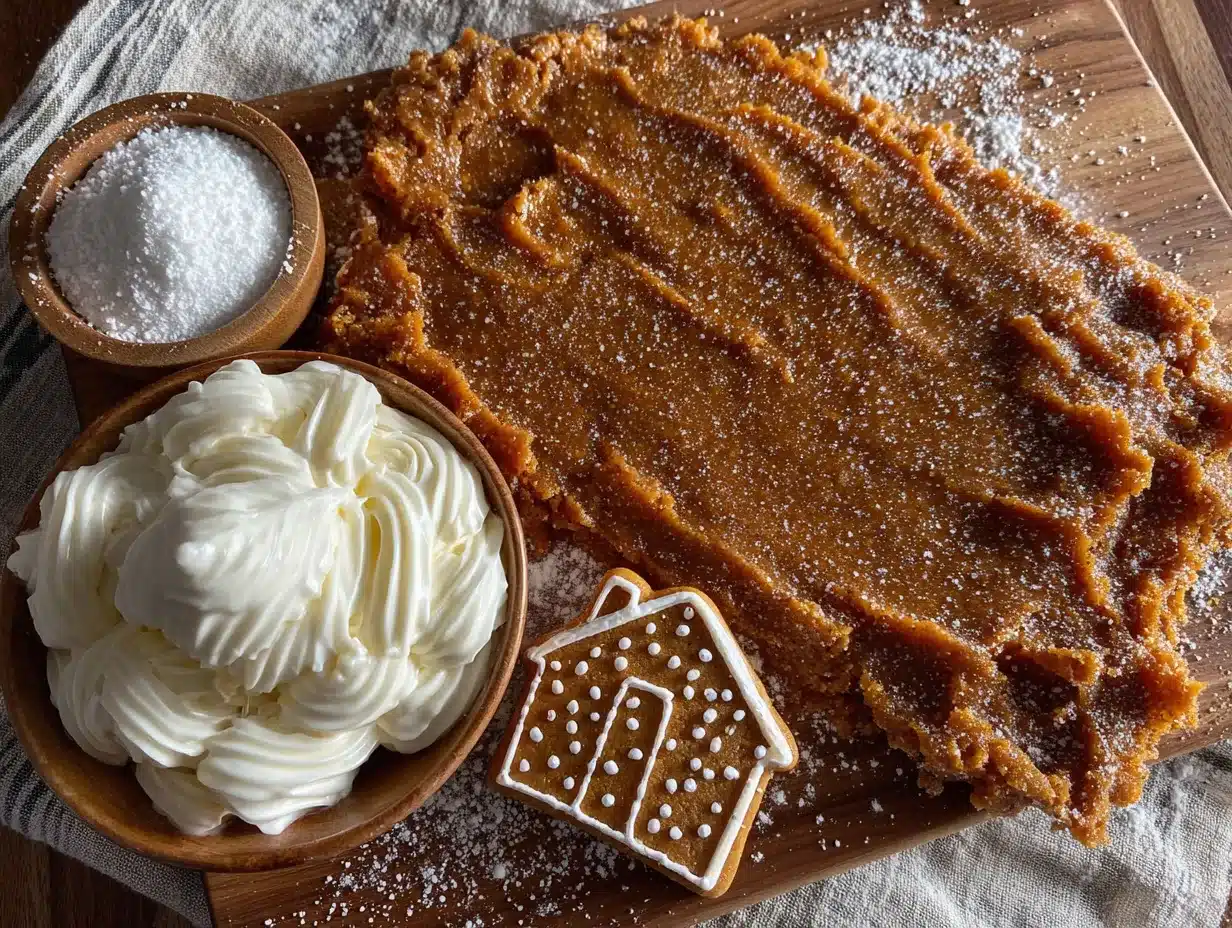
- Ground ginger, 2 teaspoons – The star of the show. Use fresh, high-quality ginger for the best punch. I recommend Simply Organic or McCormick for consistent flavor.
- Ground cinnamon, 1 ½ teaspoons – Adds warmth and depth.
- Ground cloves, ½ teaspoon – A little goes a long way. It gives that classic holiday spice aroma.
- Ground nutmeg, ¼ teaspoon – Optional, but I love the subtle sweetness it adds.
- Salt, ½ teaspoon – Balances the sweetness and enhances the spices. I use fine sea salt.
For the Chemical Reaction (Trust Me on This)
- Baking soda, 1 teaspoon – Helps the dough spread slightly and become crisp.
- White vinegar, 1 tablespoon – This reacts with the baking soda to create extra air pockets, making the dough sturdy without being brittle. Don’t skip it—you won’t taste it in the final product.
Ingredient Selection Tips: For the best results, always use fresh spices. Spices that have been sitting in your pantry for years lose their punch, and your gingerbread will taste flat. I also recommend weighing your flour for accuracy—scooping can lead to too much flour, which makes the dough dry. If you’re gluten-free, you can substitute a 1:1 gluten-free flour blend (like King Arthur Measure for Measure), but the texture will be slightly more crumbly. For a dairy-free option, use vegan butter sticks, not tub margarine, which has too much water.
Equipment Needed
You don’t need a ton of fancy tools for this recipe, which is part of its beauty. Here’s what I use every time I make this quick, sturdy gingerbread house dough that holds:
- Stand mixer or hand mixer: A stand mixer with a paddle attachment is ideal for creaming the butter and sugar, but a hand mixer works just fine. You can even do it by hand with a wooden spoon if you’re feeling strong.
- Large mixing bowl: For combining the dry ingredients.
- Whisk: To aerate the flour and spices.
- Rolling pin: A standard rolling pin works. If you have a French rolling pin (tapered), even better for control.
- Parchment paper: Absolutely essential. It prevents sticking and makes cleanup a breeze. I always roll my dough between two sheets of parchment.
- Ruler: For checking the thickness of your dough. You want it exactly ¼-inch thick for sturdy walls.
- Gingerbread house templates: You can buy metal cutters or print free templates online. I have a set of plastic templates I’ve been using for years.
- Sharp knife or pizza cutter: For cutting straight lines. A pizza cutter is faster, but a knife gives you more control.
- Baking sheets: At least two, so you can bake multiple pieces at once. I love my Nordic Ware sheets—they don’t warp.
- Cooling rack: Essential for letting the baked pieces cool completely before assembly.
- Piping bags and tips: For the royal icing “glue.” You can also use a zip-top bag with a tiny corner snipped off.
Budget-Friendly Tip: Don’t have a stand mixer? No problem. This dough is actually easy to mix by hand because it’s not too sticky. Just use a pastry cutter or your fingers to work the butter into the flour, then stir in the wet ingredients. It takes a little elbow grease, but it works!
Preparation Method
Alright, let’s get to the good part. Follow these steps carefully, and you’ll have a gingerbread house that stands tall and proud. I’ve broken it down into clear stages so you don’t miss a thing.
Step 1: Mix the Dry Ingredients
In a medium bowl, whisk together the 3 ½ cups (440g) all-purpose flour, 2 teaspoons ground ginger, 1 ½ teaspoons ground cinnamon, ½ teaspoon ground cloves, ¼ teaspoon ground nutmeg, ½ teaspoon salt, and 1 teaspoon baking soda. Make sure everything is evenly distributed. I like to sift it if I’m feeling fancy, but whisking works just fine. Set this aside.
Step 2: Cream the Butter and Sugar
In the bowl of your stand mixer (or a large bowl with a hand mixer), beat the ½ cup (113g) softened unsalted butter and ¾ cup (150g) packed dark brown sugar together on medium speed until light and fluffy. This takes about 3 minutes. Scrape down the sides of the bowl with a spatula halfway through. You want the mixture to look pale and airy—this is what gives the dough its tender texture.
Step 3: Add the Wet Ingredients
Add the ½ cup (160g) dark corn syrup, 1 large egg, 1 teaspoon vanilla extract, and 1 tablespoon white vinegar to the butter-sugar mixture. Beat on low speed until everything is combined. It might look a little curdled at this point—don’t panic. That’s normal. The vinegar and corn syrup can sometimes make the mixture look separated, but it’ll come together once you add the flour.
Step 4: Combine Wet and Dry
With the mixer on low speed, gradually add the flour mixture to the wet ingredients. Mix just until a dough forms. You should see no streaks of flour, but don’t overmix—overworking the dough can make it tough. The dough will be soft and slightly sticky, but it should hold together when you pinch it. If it’s too sticky to handle, add a tablespoon more flour.
Step 5: Roll the Dough (No Chilling Needed!)
Here’s the magic part: you don’t need to chill this dough. I repeat—do not chill it. Chilling makes it hard and cracks when you roll it. Instead, divide the dough in half. Place one half between two sheets of parchment paper. Roll it out to exactly ¼-inch thickness. Use a ruler to check—this is crucial for even baking and sturdy walls. The other half stays covered so it doesn’t dry out.
Step 6: Cut Your Shapes
Remove the top sheet of parchment. Lay your templates on the dough and cut around them with a sharp knife or pizza cutter. For straight edges, use a ruler as a guide. Transfer the cut shapes to a parchment-lined baking sheet, leaving about 1 inch of space between each piece. Gather the scraps, re-roll them, and cut more pieces. I usually get 4 wall pieces, 2 roof pieces, and a base from one batch.
Step 7: Bake
Preheat your oven to 350°F (175°C). Bake the gingerbread pieces for 12-15 minutes, depending on their size. You want them to be firm to the touch and slightly darker around the edges. Don’t overbake, or they’ll be too hard to cut if you need to trim them. Let the pieces cool on the baking sheet for 5 minutes, then transfer them to a cooling rack to cool completely. Pro tip: If you want to add windows or doors, cut them out while the dough is still warm from the oven—it’s much easier.
Step 8: Assemble (The Next Day)
For best results, let the baked pieces sit out overnight. This allows them to dry out completely, making them super sturdy. When you’re ready to assemble, make a batch of royal icing (confectioners’ sugar, meringue powder, and water). Pipe a thick line of icing along the edges of the walls and press them together. Hold each joint for 30 seconds to let the icing set. Let the walls dry for 30 minutes before adding the roof. Trust me—patience here pays off.
Cooking Tips & Techniques
I’ve made this recipe about a dozen times, and I’ve learned a few things the hard way. Here are my best tips for a perfect gingerbread house every time.
- Don’t skip the vinegar. I know it sounds weird, but the vinegar reacts with the baking soda to create a crisp, sturdy texture. Without it, the dough is more likely to sag. I forgot it once, and the roof literally caved in. Never again.
- Roll between parchment. This dough is soft, and rolling it directly on a floured surface can make it dry. Parchment paper keeps it from sticking and makes transferring the cut shapes a breeze. Plus, less mess!
- Check your thickness. If your walls are too thin, they’ll break. Too thick, they’ll take forever to bake and might puff up. Use a ruler to measure exactly ¼ inch. I have a special rolling pin with adjustable rings, but a ruler works just fine.
- Bake in batches. If you’re making a big house, bake the pieces in stages. Don’t crowd the baking sheet, or the heat won’t circulate properly. I bake my walls first, then the roof, then the base.
- Cool completely. This is non-negotiable. Warm gingerbread is fragile and will break apart when you try to assemble it. I let mine cool for at least 2 hours, but overnight is best.
- Use royal icing as glue. Don’t use store-bought frosting—it’s too soft and won’t hold. Royal icing is the only thing that works. Make it thick, like toothpaste, and pipe it generously.
- Let the icing set. After you glue each wall, wait 30 minutes before adding the next piece. I know it’s tempting to rush, but this is where most houses fail. Give that icing time to harden.
My biggest failure: The first time I made this, I tried to assemble the house while the walls were still warm. I thought I was being smart, but the walls started to bow under the weight of the roof. The whole thing collapsed in a sad pile of gingerbread crumbs. I sat on my kitchen floor and ate the pieces. Lesson learned.
Variations & Adaptations
This quick, sturdy gingerbread house dough that holds is super versatile. Here are a few ways to switch it up based on your needs or cravings.
- Gluten-Free Version: Swap the all-purpose flour with a 1:1 gluten-free baking blend. I’ve used King Arthur Measure for Measure with great results. The dough will be a bit more delicate, so handle it gently. Bake for an extra 2-3 minutes to ensure it’s fully set.
- Vegan Version: Use vegan butter sticks (like Miyoko’s) and replace the egg with a flax egg (1 tablespoon ground flaxseed mixed with 3 tablespoons water, left to sit for 5 minutes). The texture will be slightly less rich, but it still holds up beautifully.
- Spiced-Up Version: Add 1 teaspoon of cardamom or allspice to the spice mix for a more complex flavor. I once made a batch with a pinch of black pepper (weird, I know), and it added this lovely warmth that everyone raved about.
- Chocolate Version: Replace ¼ cup (30g) of the flour with unsweetened cocoa powder. This gives the dough a dark, rich color and a subtle chocolate flavor. It’s perfect for a “witch’s house” theme for Halloween.
- Mini House Version: Roll the dough to ⅛-inch thickness and use small cookie cutters to make tiny houses. These are great for gift tags or tree ornaments. Bake for only 8-10 minutes.
Personal Variation: Last Christmas, I made a batch with orange zest added to the dough. I grated the zest of one orange into the butter-sugar mixture, and it was incredible. The citrus cut through the spice and made the house smell like a holiday dream. I’m never going back.
Serving & Storage Suggestions
Once your gingerbread house is assembled and decorated, you’ll want to show it off. Here’s how to serve and store it properly.
- Serving Temperature: Serve at room temperature. The house is meant to be a display piece, but you can absolutely eat it. Break off pieces and enjoy them with a cup of hot cocoa or mulled wine.
- Presentation: Place the house on a large platter or a wooden board. Surround it with fake snow (powdered sugar), mini trees, or candy canes. I like to add a string of battery-operated fairy lights inside for a magical glow.
- Complementary Dishes: Serve alongside gingerbread cookies, peppermint bark, or a warm apple cider. For a full dessert spread, add a batch of my crispy garlic chicken—wait, that doesn’t go with gingerbread. Scratch that. Stick with sweet treats!
- Storage: If you’re not eating it right away, store the assembled house in a cool, dry place. Cover it loosely with plastic wrap to keep dust off. Do not refrigerate it—the humidity will make the gingerbread soft and the icing sticky.
- Freezer: You can freeze the baked, undecorated pieces for up to 3 months. Wrap them tightly in plastic wrap and then foil. When you’re ready to assemble, let them thaw at room temperature for an hour. The texture stays perfect.
- Flavor Development: The gingerbread actually gets better after a day or two. The spices mellow and meld together, and the texture becomes even more crisp. I often bake the pieces a week in advance and assemble them right before the party.
Nutritional Information & Benefits
Let’s be honest—gingerbread houses aren’t health food. But if you’re going to indulge, it’s nice to know what you’re eating. Here’s the estimated nutritional breakdown for one wall piece (about 1/8 of the recipe):
| Nutrient | Amount per Serving |
|---|---|
| Calories | 180 |
| Total Fat | 7g |
| Saturated Fat | 4g |
| Cholesterol | 30mg |
| Sodium | 180mg |
| Total Carbohydrates | 28g |
| Dietary Fiber | 1g |
| Sugars | 12g |
| Protein | 3g |
Health Benefits: Ginger is known for its anti-inflammatory properties and can help with digestion. Cinnamon is packed with antioxidants and may help regulate blood sugar. So while this isn’t a salad, there are some redeeming qualities! Plus, the act of building and decorating can be a great stress reliever—that counts for something, right?
Dietary Considerations: This recipe contains gluten, dairy, and eggs. For allergen-friendly versions, see the variations section above. It’s also relatively low in fiber, so pair it with a fruit platter if you’re serving it at a party.
Conclusion
Look, I get it. Making a gingerbread house from scratch sounds like a lot of work. But this recipe is the exception. It’s quick, it’s sturdy, and it uses ingredients you already have. I’ve made it at 11 PM on a Tuesday, I’ve made it with a toddler “helping,” and I’ve made it when I was running on three hours of sleep. Every single time, it worked. That’s why I keep coming back to it.
This quick, sturdy gingerbread house dough that holds is more than just a recipe—it’s a tradition in the making. Whether you’re building it for a holiday party, a school project, or just because you want to feel like a kid again, this dough won’t let you down. So go ahead, get a little messy, pipe a little crooked, and eat a few scraps along the way. That’s what it’s all about.
I’d love to see your creations! Drop a comment below with a photo of your house, or tag me on Pinterest. Tell me your favorite decoration trick or the weirdest candy you used. Let’s keep the gingerbread love going. Happy building, friend!
Frequently Asked Questions
Can I use molasses instead of corn syrup?
You can, but the dough will be stickier and more prone to spreading. If you use molasses, chill the dough for 30 minutes before rolling. The flavor will be deeper, but the structure won’t be quite as sturdy. I recommend sticking with corn syrup for the best results.
Why did my gingerbread house collapse?
There are a few common culprits: the walls were too thin, the icing wasn’t thick enough, or you didn’t let the icing set long enough between layers. Make sure your walls are exactly ¼-inch thick and your royal icing is the consistency of toothpaste. Patience is key—let each joint dry for at least 30 minutes.
Can I make this dough ahead of time?
Yes! You can make the dough up to 3 days in advance. Wrap it tightly in plastic wrap and store it in the refrigerator. When you’re ready to use it, let it sit at room temperature for 15 minutes to soften slightly before rolling. If it’s too cold, it will crack.
How long will the gingerbread house last?
If stored in a cool, dry place, the house will last for 2-4 weeks. The gingerbread itself stays edible for about a month, though it will get harder over time. The royal icing can last even longer. Just keep it away from humidity—that’s the enemy.
Can I use this dough for cookies instead of a house?
Absolutely! Roll the dough to ¼-inch thickness and use your favorite cookie cutters. Bake for 10-12 minutes at 350°F (175°C). These cookies are perfect for decorating with royal icing. They’re sturdy enough to mail too—I’ve sent them to friends across the country without a single broken cookie.
Pin This Recipe!
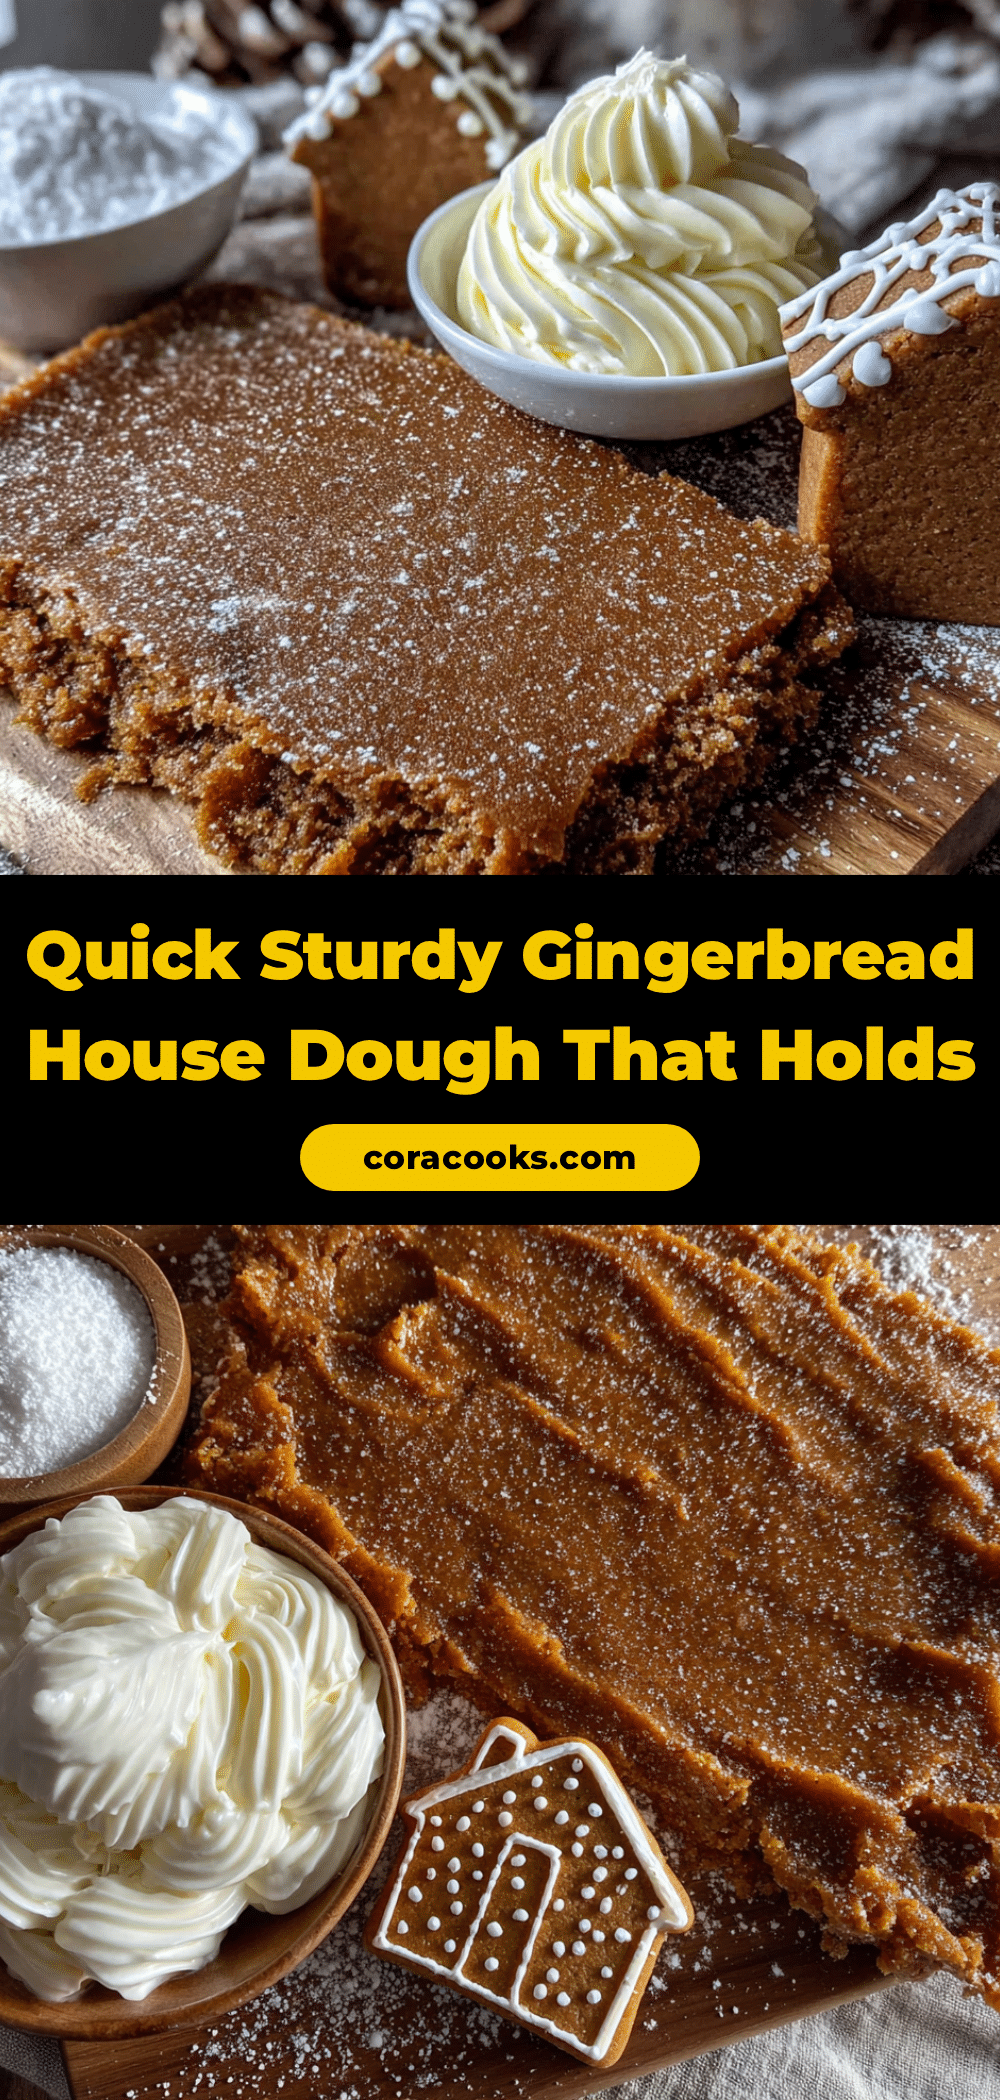
Easy Sturdy Gingerbread House Dough That Holds
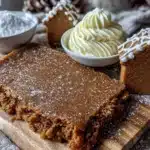
A quick and sturdy gingerbread house dough that uses dark corn syrup instead of molasses, requires no chilling, and bakes up rock-solid for a perfect holiday centerpiece.
- Prep Time: 20 minutes
- Cook Time: 15 minutes
- Total Time: 35 minutes (plus overnight drying for assembly)
- Yield: 1 gingerbread house (about 8 servings) 1x
- Category: Dessert
- Cuisine: American
Ingredients
- 3 ½ cups (440g) all-purpose flour
- ½ cup (113g) unsalted butter, softened
- ¾ cup (150g) dark brown sugar, packed
- ½ cup (160g) dark corn syrup
- 1 large egg
- 1 teaspoon vanilla extract
- 2 teaspoons ground ginger
- 1 ½ teaspoons ground cinnamon
- ½ teaspoon ground cloves
- ¼ teaspoon ground nutmeg
- ½ teaspoon salt
- 1 teaspoon baking soda
- 1 tablespoon white vinegar
Instructions
- In a medium bowl, whisk together the flour, ginger, cinnamon, cloves, nutmeg, salt, and baking soda.
- In a stand mixer with paddle attachment, cream the butter and brown sugar on medium speed until light and fluffy, about 3 minutes.
- Add the dark corn syrup, egg, vanilla extract, and vinegar. Beat on low until combined (mixture may look curdled).
- Gradually add the flour mixture on low speed, mixing just until a soft, slightly sticky dough forms. Do not overmix.
- Divide the dough in half. Roll one half between two sheets of parchment paper to ¼-inch thickness. Keep the other half covered.
- Remove the top parchment, lay templates on the dough, and cut shapes with a sharp knife or pizza cutter. Transfer to parchment-lined baking sheets, spacing 1 inch apart. Re-roll scraps and cut more pieces.
- Preheat oven to 350°F (175°C). Bake pieces for 12-15 minutes until firm and slightly darker at edges. Cool on baking sheet for 5 minutes, then transfer to a cooling rack to cool completely.
- For best results, let baked pieces sit out overnight to dry. Assemble with royal icing: pipe thick lines along wall edges, press together, hold for 30 seconds, and let dry 30 minutes before adding the roof.
Notes
Do not chill the dough—it will crack when rolled. Use dark corn syrup for best structure; molasses makes dough sticky. Vinegar reacts with baking soda for extra crispness. Roll exactly ¼-inch thick for sturdy walls. Let baked pieces cool completely before assembly. Royal icing must be thick like toothpaste for strong joints.
Nutrition
- Serving Size: 1 wall piece (about
- Calories: 180
- Sugar: 12
- Sodium: 180
- Fat: 7
- Saturated Fat: 4
- Carbohydrates: 28
- Fiber: 1
- Protein: 3
Keywords: gingerbread house, sturdy gingerbread dough, quick gingerbread, holiday baking, gingerbread house recipe