Love this? Save it for later!
Share the inspiration with your friends
Introduction
“You know, I wasn’t expecting to find a real treat in the diabetic support group meeting last fall,” I confessed to my friend as we shared stories over coffee. That’s where I first heard about this Healthy Diabetic Sugar-Free Apple Pie with Stevia. It wasn’t from a fancy cookbook or some celebrity chef—it came from a quiet woman named Marlene, who swore she never baked until she had to manage her blood sugar. She scribbled the recipe on the back of a grocery receipt, and honestly, it sounded too good to be true.
The next weekend, I decided to give it a shot, even though I was skeptical. I mean, apple pie without sugar? Could it really taste good? Well, let me tell you, the aroma of cinnamon and baked apples filled my kitchen in a way that made me forget about the missing sugar entirely. It was that warm, comforting smell that reminded me of fall afternoons, even though I was making it in the middle of spring.
There was a tiny mishap when I forgot to preheat the oven right away, so the crust took a little longer to crisp. But the taste? That first bite was surprisingly sweet and satisfying, thanks to the stevia and perfectly ripe apples. Maybe you’ve been there—wanting something nostalgic yet mindful of your health. This pie has stuck with me ever since, not just as a recipe but as a reminder that managing diabetes doesn’t mean giving up the comforts you love.
Why You’ll Love This Recipe
This Healthy Diabetic Sugar-Free Apple Pie with Stevia has become a staple in my kitchen for so many reasons. It’s a dessert you can feel good about, and honestly, it doesn’t skimp on flavor or texture. After trying countless sugar-free options, this one stands out because of its balance and simplicity.
- Quick & Easy : Ready in under an hour, perfect for those spontaneous dessert cravings or weekend baking.
- Simple Ingredients : No complicated shopping lists—mostly pantry staples with fresh apples.
- Perfect for Diabetic-Friendly Diets : Sweetened naturally with stevia, keeping blood sugar in check without sacrificing taste.
- Crowd-Pleaser : I’ve served this at family gatherings, and everyone, diabetic or not, asks for seconds.
- Unbelievably Delicious : The crust is flaky, and the filling bursts with cinnamon-spiced apple goodness.
What sets this recipe apart is the thoughtful use of stevia—not just dumped in but balanced to bring out the apple’s natural sweetness. Plus, the crust is made with whole wheat flour for a heartier bite, which adds fiber and keeps things wholesome. Honestly, this isn’t just another sugar-free apple pie; it’s the one I trust to impress guests or soothe a cozy night in.
What Ingredients You Will Need
This recipe uses simple, wholesome ingredients to deliver bold flavor and satisfying texture without the fuss. Most are pantry staples, and you can find stevia easily at most grocery stores or online. The apples bring fresh natural sweetness, so choose the best you can find.
- For the crust:
- 1 ½ cups whole wheat flour (you can swap for all-purpose if preferred)
- ½ teaspoon salt
- ½ cup unsalted butter, cold and cubed (I like Kerrygold for richness)
- 3-4 tablespoons ice-cold water
- For the filling:
- 5 medium apples, peeled, cored, and sliced thin (I recommend Granny Smith for tartness or Fuji for sweetness)
- 2 teaspoons ground cinnamon
- ¼ teaspoon nutmeg
- 1 tablespoon lemon juice (keeps apples from browning and adds brightness)
- 2 teaspoons pure stevia powder (adjust to taste; I prefer a brand like Pyure for clean flavor)
- 1 tablespoon cornstarch (for thickening)
- For brushing:
- 1 egg, beaten (for a golden crust)
If you want a gluten-free crust, you can try almond flour mixed with coconut flour, though texture will vary. Also, if you’re avoiding eggs, a milk or plant-based milk wash works for brushing, just won’t brown quite the same.
Equipment Needed
- 9-inch pie dish (glass or ceramic works best)
- Mixing bowls (medium and large)
- Rolling pin (or a clean wine bottle as a budget-friendly alternative)
- Sharp knife or mandoline slicer for apples
- Pastry cutter or two forks (for blending butter into flour, but fingers work too!)
- Measuring cups and spoons
- Baking sheet (to place under pie dish to catch drips)
I’ve used both hand-cranked and electric pastry cutters; honestly, hand-cutting butter into flour with cold hands gives more control and prevents overworking. And if you don’t own a rolling pin, don’t fret—a clean bottle wrapped in a towel will do just fine!
Preparation Method
- Prepare the crust: In a large bowl, combine the whole wheat flour and salt. Add the cold, cubed butter. Use a pastry cutter or your fingertips to work the butter into the flour until the mixture resembles coarse crumbs with some pea-sized pieces remaining. This should take about 5 minutes.
- Add water: Sprinkle ice-cold water one tablespoon at a time, gently mixing with a fork until the dough just starts to come together. Avoid overworking—if it feels sticky, add a tiny bit more flour. Form the dough into a disk, wrap in plastic wrap, and chill in the fridge for at least 30 minutes.
- Prepare the filling: In a large bowl, toss the sliced apples with lemon juice, cinnamon, nutmeg, stevia, and cornstarch. Mix well to coat all the slices evenly. The cornstarch will help thicken the juices during baking. Set aside while you roll out the dough.
- Roll out the crust: On a lightly floured surface, roll the chilled dough into a circle about 12 inches in diameter. Transfer it carefully to your pie dish, pressing gently to fit the bottom and sides. Trim any excess dough hanging over the edges.
- Assemble and bake: Pour the apple filling into the crust, spreading evenly. Fold the edges of the dough over the filling to create a rustic border. Brush the crust edges with beaten egg for a golden finish. Place the pie on a baking sheet and bake in a preheated oven at 375°F (190°C) for 45-50 minutes, or until the crust is golden and the filling bubbles around the edges. Let it cool for at least 20 minutes before slicing.
Tip: If you notice the crust browning too quickly, tent the pie loosely with foil halfway through baking. This prevents burning while allowing the filling to cook through.
Cooking Tips & Techniques
When making this Healthy Diabetic Sugar-Free Apple Pie, a few kitchen tricks can make all the difference. First off, cold butter is your pie crust’s best friend—it creates those lovely flaky layers when it melts in the oven. I once tried using room-temperature butter, and the crust ended up dense and heavy, so don’t skip chilling!
Also, slicing apples uniformly helps them cook evenly. I usually pull out my mandoline slicer for thin, consistent slices, but a sharp knife works just as well if you’re careful. The lemon juice isn’t just for color—it adds a subtle tang that balances the sweetness from stevia.
Stevia can sometimes taste bitter if overused, so start with less and taste your apple mixture before baking. You can always sprinkle a bit more on top before serving if needed. Multi-task by prepping the filling while the dough chills to save time.
Finally, letting the pie cool before cutting is key because the filling sets as it cools. Cutting too soon can lead to a runny mess, and nobody wants that. Trust me, patience here pays off with perfect slices!
Variations & Adaptations
This apple pie recipe is wonderfully adaptable depending on your dietary needs or flavor cravings. Here are a few ideas you might like to try:
- Gluten-Free Version: Use a mix of almond and coconut flour for the crust. Adding a tablespoon of psyllium husk powder helps with structure.
- Vegan Option: Swap the butter for coconut oil chilled until firm and use a flax egg (1 tablespoon ground flaxseed + 3 tablespoons water) instead of the egg wash.
- Spice It Up: Add a pinch of ground ginger or cardamom to the apple filling for a warm twist.
- Seasonal Twists: In the fall, toss in some chopped walnuts or pecans for crunch. In summer, try mixing fresh berries with the apples for a sweet-tart combo.
I once tried adding a bit of unsweetened shredded coconut into the crust—it gave the pie a subtle tropical note that surprised my family. Feel free to experiment and make it your own!
Serving & Storage Suggestions
This apple pie is best served slightly warm or at room temperature. Honestly, you can enjoy it plain or with a dollop of unsweetened whipped cream or a scoop of sugar-free vanilla ice cream for an extra treat. It pairs beautifully with a hot cup of herbal tea or black coffee, especially on cozy afternoons.
To store, cover the pie loosely with foil or plastic wrap and refrigerate for up to 4 days. If you want to freeze it, wrap it tightly in plastic and foil, and freeze for up to 3 months. When reheating, warm slices in a 325°F (160°C) oven for about 15 minutes to restore that fresh-baked feeling.
Over time, the flavors meld beautifully, making leftovers even tastier the next day—if you can resist eating it all at once!
Nutritional Information & Benefits
This Healthy Diabetic Sugar-Free Apple Pie is designed with mindful ingredients that support blood sugar control without sacrificing enjoyment. Each serving (about 1/8 of the pie) contains approximately:
| Calories | 180 |
|---|---|
| Carbohydrates | 28g |
| Fiber | 4g |
| Sugar | 5g (naturally from apples) |
| Protein | 2g |
| Fat | 7g |
Whole wheat flour and apples provide fiber, which helps moderate blood sugar spikes. Stevia is a non-caloric natural sweetener, so it doesn’t impact glucose levels. This dessert fits well within gluten-conscious and low-sugar diets but does contain dairy and eggs unless you try the vegan adaptations.
From a wellness perspective, this pie lets you enjoy dessert mindfully, balancing pleasure and health—a win-win in my book.
Conclusion
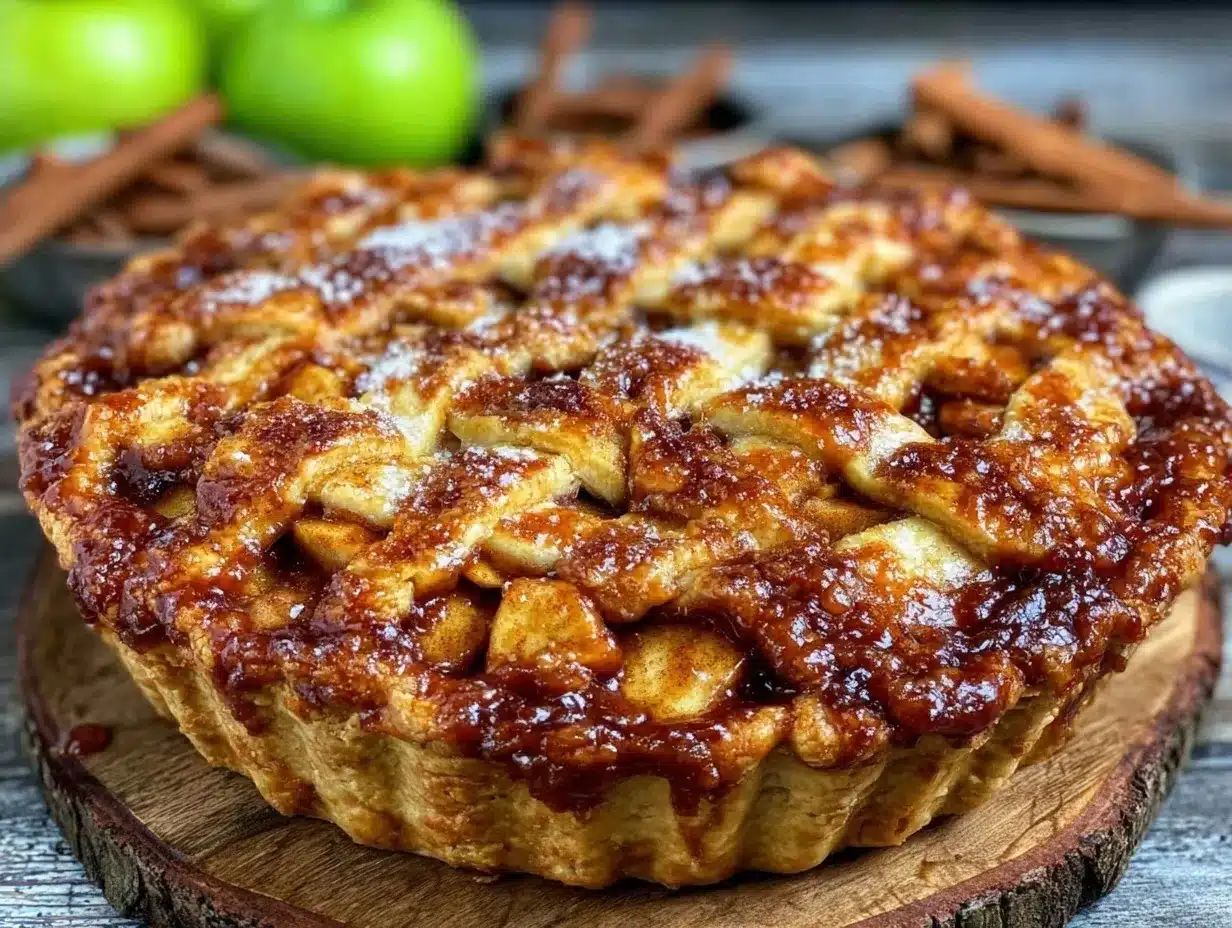
Making this Healthy Diabetic Sugar-Free Apple Pie with Stevia has been a game-changer for me and many others managing blood sugar. It’s proof that you don’t have to give up comfort food to eat healthily. The blend of spices, the flaky crust, and the sweet apple filling make every bite a small celebration.
Feel free to tweak the spices, crust, or sweetness to your liking—that’s part of the fun. I love how this pie brings people together, no matter their dietary needs. If you try it, I’d love to hear how you made it your own or what moment it brightened for you.
So go ahead, treat yourself without guilt, and share your story in the comments below. Sweet moments can be healthy too!
FAQs About Healthy Diabetic Sugar-Free Apple Pie with Stevia
Can I use other sweeteners instead of stevia?
Yes, you can substitute erythritol or monk fruit sweetener in equal amounts, but adjust to taste as sweetness levels vary.
What types of apples are best for this pie?
Tart apples like Granny Smith hold their shape well, while sweeter varieties like Fuji add natural sweetness. A mix of both works beautifully.
How can I make the crust flakier?
Keep your butter and water cold, handle the dough minimally, and avoid overworking it. Chilling the dough before rolling also helps.
Is this pie suitable for gluten-free diets?
The original recipe uses whole wheat flour, but you can swap in a gluten-free flour blend with xanthan gum or try almond and coconut flour with some adjustments.
Can I prepare this pie ahead of time?
Absolutely! You can assemble the pie and refrigerate it for up to 24 hours before baking. Just bring it to room temperature before placing in the oven.
Pin This Recipe!
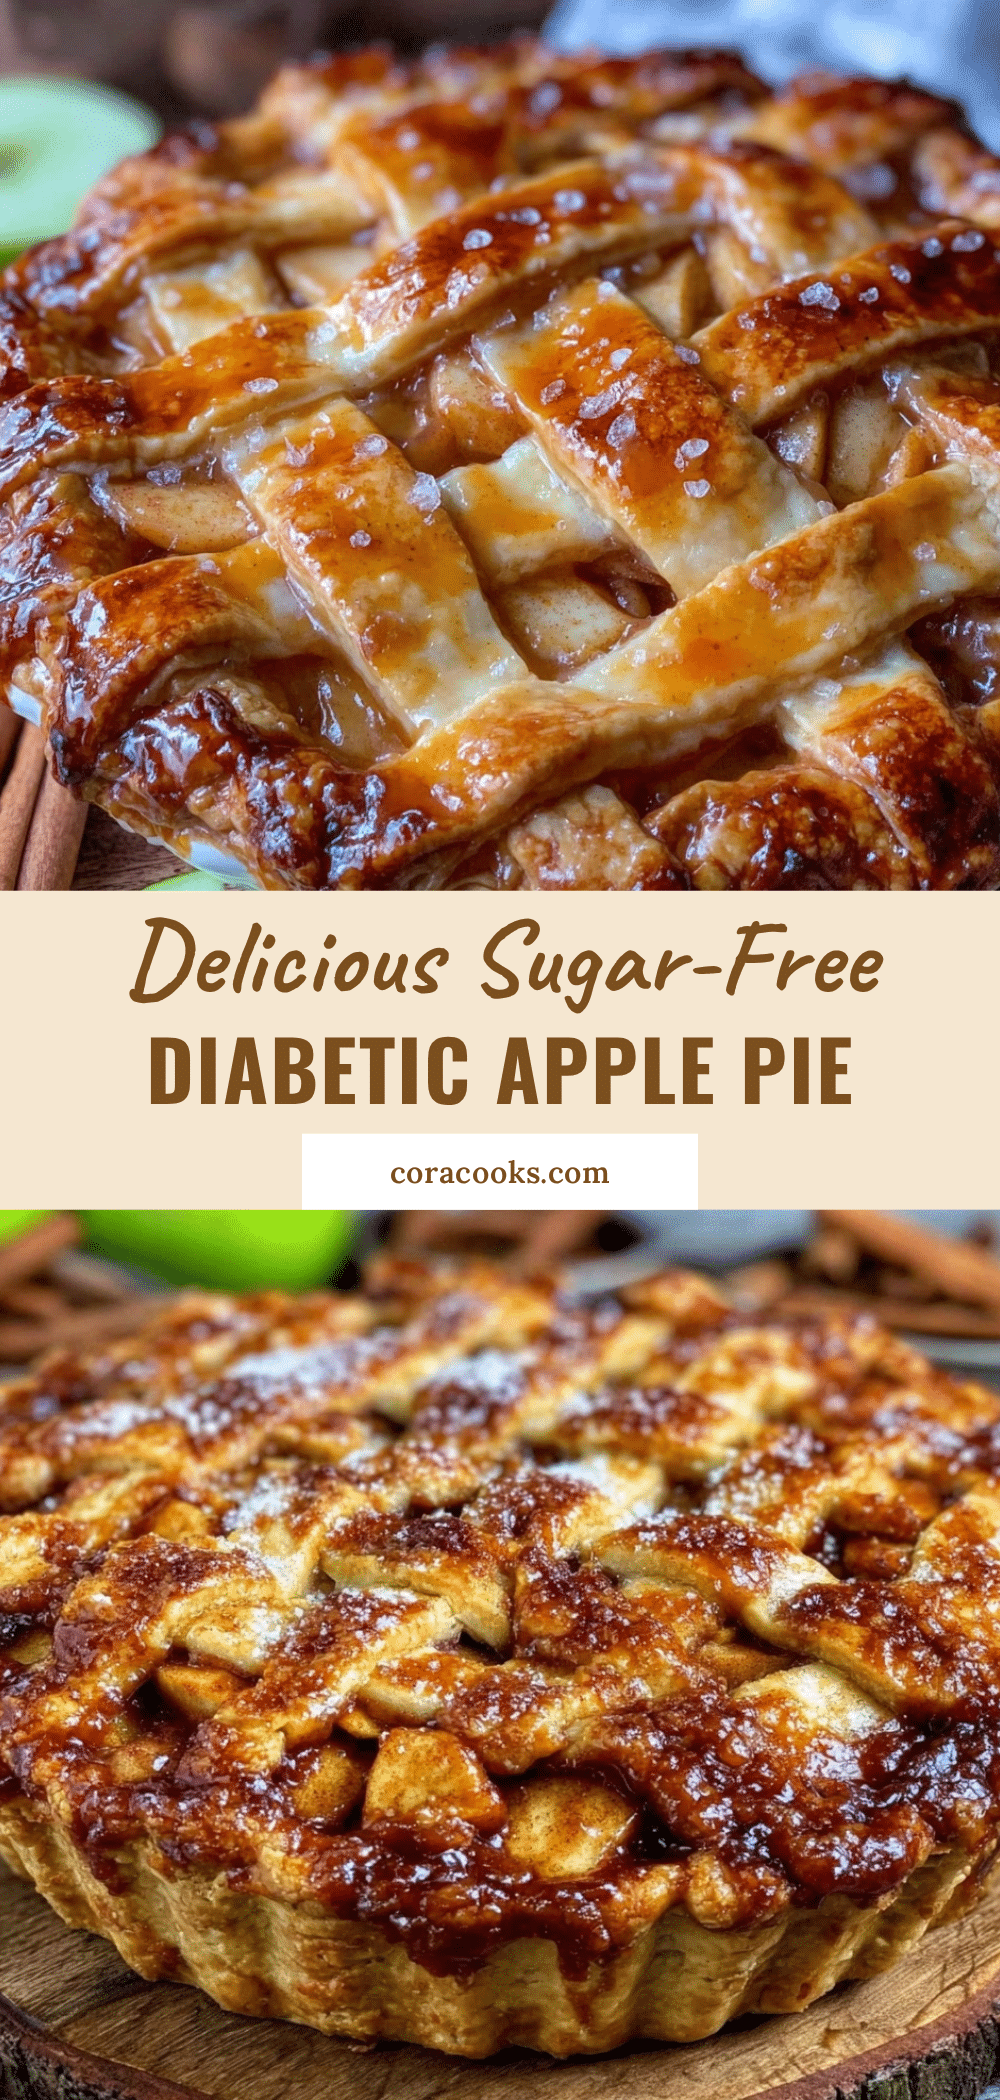
Healthy Diabetic Sugar-Free Apple Pie Recipe with Stevia

A diabetic-friendly, sugar-free apple pie sweetened naturally with stevia, featuring a flaky whole wheat crust and cinnamon-spiced apple filling. Perfect for those managing blood sugar without sacrificing flavor.
- Prep Time: 15 minutes
- Cook Time: 50 minutes
- Total Time: 1 hour 5 minutes
- Yield: 8 servings 1x
- Category: Dessert
- Cuisine: American
Ingredients
- 1 ½ cups whole wheat flour (or all-purpose flour)
- ½ teaspoon salt
- ½ cup unsalted butter, cold and cubed
- 3–4 tablespoons ice-cold water
- 5 medium apples, peeled, cored, and sliced thin (Granny Smith or Fuji recommended)
- 2 teaspoons ground cinnamon
- ¼ teaspoon nutmeg
- 1 tablespoon lemon juice
- 2 teaspoons pure stevia powder (adjust to taste)
- 1 tablespoon cornstarch
- 1 egg, beaten (for brushing crust)
Instructions
- In a large bowl, combine whole wheat flour and salt. Add cold, cubed butter and work into flour using a pastry cutter or fingertips until mixture resembles coarse crumbs with some pea-sized pieces.
- Sprinkle ice-cold water one tablespoon at a time, mixing gently with a fork until dough just comes together. Form dough into a disk, wrap in plastic wrap, and chill in fridge for at least 30 minutes.
- In a large bowl, toss sliced apples with lemon juice, cinnamon, nutmeg, stevia, and cornstarch until evenly coated. Set aside.
- On a lightly floured surface, roll chilled dough into a 12-inch circle. Transfer to a 9-inch pie dish, pressing to fit bottom and sides. Trim excess dough.
- Pour apple filling into crust and spread evenly. Fold edges of dough over filling to create a rustic border. Brush crust edges with beaten egg.
- Place pie on a baking sheet and bake in a preheated oven at 375°F (190°C) for 45-50 minutes until crust is golden and filling bubbles. If crust browns too quickly, tent with foil halfway through baking.
- Let pie cool for at least 20 minutes before slicing.
Notes
Use cold butter and water to ensure a flaky crust. Chill dough before rolling to prevent toughness. Adjust stevia to taste to avoid bitterness. Let pie cool before slicing to allow filling to set. Tent with foil if crust browns too fast.
Nutrition
- Serving Size: 1/8 of pie
- Calories: 180
- Sugar: 5
- Fat: 7
- Carbohydrates: 28
- Fiber: 4
- Protein: 2
Keywords: diabetic-friendly, sugar-free, apple pie, stevia, healthy dessert, low sugar, whole wheat crust, cinnamon apple pie


