Love this? Save it for later!
Share the inspiration with your friends
This was supposed to be a layered pumpkin cheesecake. I had the cream cheese softening, the graham crackers crushed, and I was feeling pretty good about myself. Then my phone rang—my sister, in full crisis mode about her kid’s costume—and I got distracted. By the time I hung up, the pumpkin puree had gone into the bowl with the melted chocolate instead of the cream cheese mixture. I stared at the mess for a solid minute. It looked like something a toddler had made. But I was stubborn, and I wasn’t about to waste good ingredients. So I grabbed a baking sheet, spread the whole glorious mess out thin, and threw it in the fridge to set. What came out was nothing like the plan—and better. Honestly, I stood there eating shards of it over the sink, wondering why I’d ever bothered with the complicated cheesecake in the first place. The chocolate and pumpkin just worked. And when I dripped white chocolate over the top and dragged a toothpick through it to make a spiderweb pattern? That was pure improvisation born from laziness. Maybe you’ve been there—staring at a kitchen fail that turns into your new favorite thing. This bark became my Halloween party trick, and I’ve never looked back.
Why You’ll Love This Recipe
Let me tell you why this spiderweb bark has earned a permanent spot in my Halloween rotation. I’ve tested it on neighbors, coworkers, and my very picky niece, and it never fails to disappear.
- Quick & Easy: Comes together in under 20 minutes of active time. The hardest part is waiting for it to chill in the fridge.
- Simple Ingredients: You probably have most of these in your pantry right now. No hunting down obscure baking supplies.
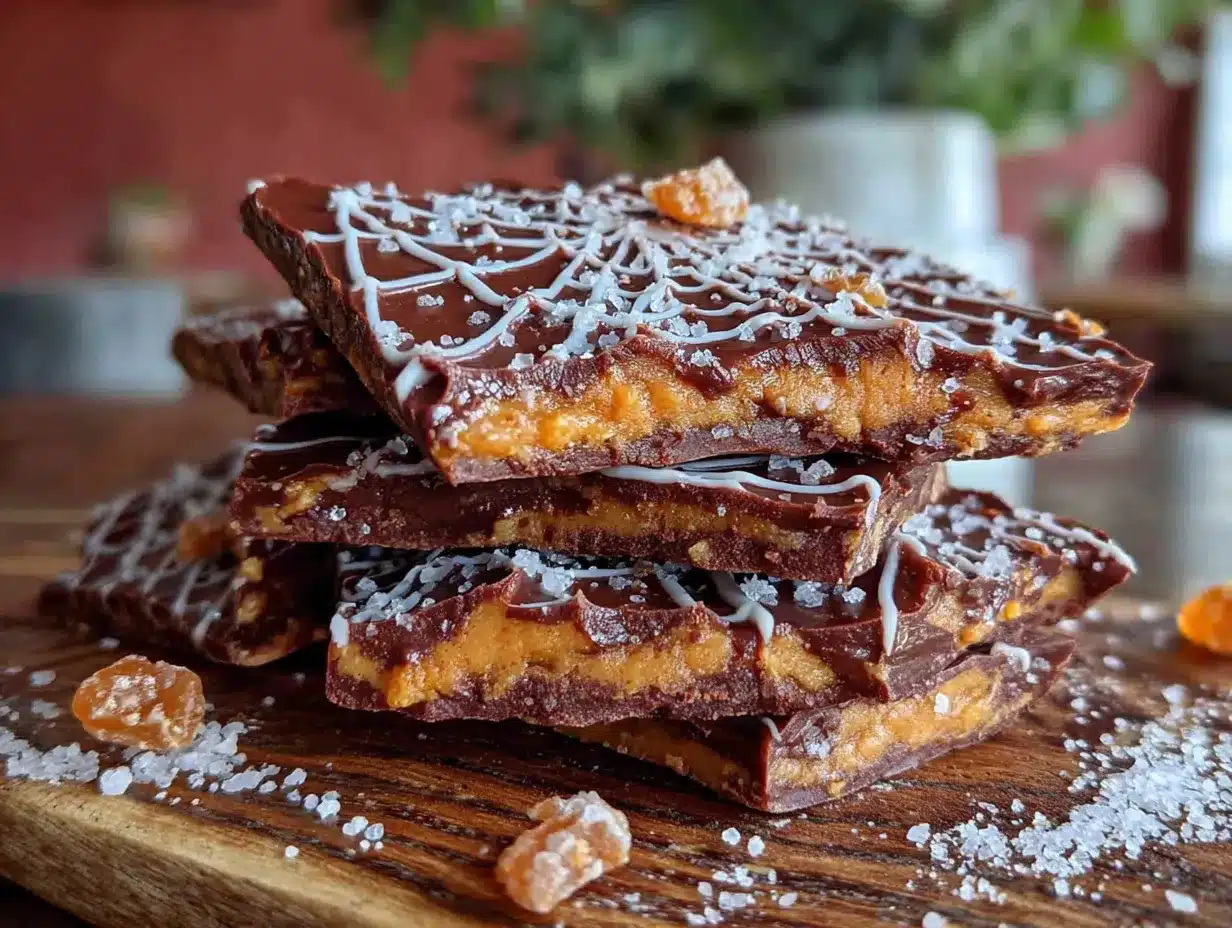
- Perfect for Halloween: It looks like you spent hours on it. The spiderweb design is deceptively simple but gets major wow factor at parties.
- Crowd-Pleaser: Kids love the chocolate, adults appreciate the pumpkin spice. It bridges that weird snack gap perfectly.
- Unbelievably Delicious: The contrast between the dark chocolate base and the creamy pumpkin layer is next-level. You get crunch, creaminess, and that warm spice kick.
What makes this different from other bark recipes? It’s the texture. Most chocolate barks are just chocolate and toppings. This one has a thin layer of spiced pumpkin ganache that stays soft and fudge-like against the crisp chocolate. I spent three batches getting the pumpkin-to-chocolate ratio right—too much pumpkin and it won’t set, too little and you lose the flavor. This version hits that sweet spot where both flavors shine.
This is the kind of treat that makes you close your eyes after the first bite. It’s Halloween fun without the scary sugar crash, and it’s perfect for impressing guests without breaking a sweat.
What Ingredients You Will Need
This recipe uses simple, wholesome ingredients to deliver that perfect fall flavor combination. Most of these are pantry staples, especially if you do any fall baking.
For the Chocolate Base
- 12 ounces dark chocolate chips (I prefer Ghirardelli 60% cacao for the best balance—not too bitter, not too sweet)
- 1 tablespoon coconut oil (helps the chocolate set with a nice snap; you can use vegetable oil in a pinch)
For the Pumpkin Layer
- ½ cup pumpkin puree (not pumpkin pie filling—make sure it’s 100% pure pumpkin. Libby’s is my go-to)
- ¼ cup white chocolate chips (adds sweetness and helps the pumpkin layer set properly)
- ¼ cup powdered sugar (dissolves smoothly, no graininess)
- 1 teaspoon pumpkin pie spice (or make your own with ½ teaspoon cinnamon, ¼ teaspoon nutmeg, ¼ teaspoon ginger, pinch of cloves)
- Pinch of salt (trust me on this—it makes the pumpkin pop)
For the Spiderweb Decoration
- ⅓ cup white chocolate chips (for drizzling and web design)
- 1 teaspoon coconut oil (to thin the white chocolate for drizzling)
- Optional: candy eyeballs or mini spiders (for extra Halloween fun—I found some at Target that look hilariously creepy)
Substitution Notes: Use dairy-free dark chocolate and coconut oil to make this vegan. The pumpkin layer already works with plant-based white chocolate if you can find it. For a nut-free version, skip any toppings that might contain nuts and use sunflower oil instead of coconut oil.
Equipment Needed
- Baking sheet (standard 13×18 inch—line it with parchment paper for easy removal)
- Parchment paper (don’t skip this or you’ll be chiseling bark off the pan)
- Medium microwave-safe bowls (two or three—you’ll be melting different chocolates)
- Small offset spatula (for spreading the chocolate and pumpkin layers evenly)
- Toothpick or skewer (for dragging the spiderweb pattern—a wooden skewer works great)
- Piping bag or small zip-top bag (for drizzling the white chocolate web)
- Refrigerator space (you need a flat spot for the baking sheet to chill)
I bought a cheap offset spatula at a restaurant supply store years ago, and it’s still going strong. You can use a butter knife in a pinch, but the spatula makes spreading so much easier. For the piping bag, a zip-top bag with a tiny corner snipped off works perfectly—no need to buy special equipment.
Preparation Method
This comes together faster than you’d think. Here’s the step-by-step, including all the little things I learned the hard way.
- Line your baking sheet with parchment paper. Make sure it lies flat—crumple it up first and then smooth it out. This helps it stay put.
- Melt the dark chocolate with 1 tablespoon coconut oil in a microwave-safe bowl. Microwave in 30-second bursts, stirring between each. It should take about 1.5 to 2 minutes total. Don’t overheat or the chocolate will seize up—ask me how I know. Stir until completely smooth and glossy.
- Pour the melted dark chocolate onto the prepared baking sheet. Use your offset spatula to spread it into a thin, even layer—about ⅛ inch thick. Don’t worry if it’s not perfectly rectangular; rustic edges look more organic. Set this aside to cool for 5 minutes at room temperature while you make the pumpkin layer.
- Make the pumpkin layer: In a clean microwave-safe bowl, combine the pumpkin puree, ¼ cup white chocolate chips, and pumpkin pie spice. Microwave for 30 seconds, stir, then another 20 seconds. The white chocolate should be mostly melted. Add the powdered sugar and salt, then whisk until completely smooth. The mixture will look like thick, glossy pumpkin fudge. If it seems too thick to spread, add 1 teaspoon of warm water.
- Spread the pumpkin mixture over the dark chocolate layer. Work carefully—you want an even coating, about ⅛ inch thick. Don’t press too hard or you’ll mix the layers. Leave a small border of dark chocolate visible around the edges for that two-tone look.
- Pop the baking sheet into the refrigerator for 15 minutes. You want the pumpkin layer to be firm to the touch but not rock hard. This is the sweet spot for adding the spiderweb.
- Prepare the white chocolate drizzle: While the bark chills, melt ⅓ cup white chocolate chips with 1 teaspoon coconut oil. Microwave in 20-second bursts, stirring each time. Transfer to a small piping bag or zip-top bag. Snip off the tiniest corner—you want a thin line.
- Create the spiderweb pattern: Remove the bark from the fridge. Pipe concentric circles of white chocolate over the pumpkin layer—start in the center and work outward, spacing the circles about 1 inch apart. Work quickly; the cold bark will start setting the white chocolate fast.
- Drag the web: Take a toothpick or skewer and starting from the center, drag it outward through all the circles toward the edge. Repeat this every inch or so around the entire bark, like drawing spokes on a wheel. The white chocolate lines will pull into a web pattern. It’s oddly satisfying.
- Add decorations: If using candy eyeballs or spiders, press them gently into the still-soft white chocolate. Don’t wait too long or the chocolate will set and they won’t stick.
- Final chill: Return the baking sheet to the refrigerator for at least 1 hour, or until completely firm. The bark should lift easily off the parchment and snap when broken.
- Break into pieces: Once set, peel off the parchment and break the bark into irregular shards. Don’t use a knife—the jagged edges are part of the charm. Store in an airtight container.
Pro tip: If the white chocolate seizes up while you’re piping, add another ½ teaspoon of coconut oil and stir. It happens to everyone, and it’s fixable.
Cooking Tips & Techniques
I’ve made this bark at least a dozen times, and I’ve messed it up in almost every way possible. Here’s what I learned so you don’t have to.
Temperature matters more than you think. If your kitchen is hot and humid, the chocolate might not set properly. Work in a cool room if you can, and don’t skip the fridge time. I once tried to rush this on a humid August day, and the pumpkin layer stayed sticky for hours. Not ideal.
Don’t overmix the pumpkin layer. You want it smooth, but over-stirring can incorporate air bubbles that make the surface look pitted. Fold gently. If you see bubbles, tap the bowl on the counter a few times to release them.
The toothpick drag is the trickiest part. If you drag too slowly, the white chocolate smears instead of pulling into clean lines. If you drag too fast, the lines break. Practice on a piece of parchment first if you’re nervous. And wipe your toothpick clean between each drag—it makes a huge difference.
Multitasking strategy: Start the dark chocolate melting first. While it cools slightly, make the pumpkin layer. While the bark chills, melt the white chocolate and set up your piping bag. This way, everything flows without scrambling.
I once forgot to add the salt to the pumpkin layer. The bark was still good, but it tasted flat. That pinch of salt really wakes up the spices. Don’t skip it.
Variations & Adaptations
This bark is surprisingly flexible. Here are some ways I’ve adapted it for different moods and diets.
Vegan Version
Use dairy-free dark chocolate and vegan white chocolate. The coconut oil in the recipe is already plant-based. The pumpkin layer works perfectly with vegan white chocolate—just check the brand because some melt differently. I’ve had good luck with Enjoy Life brand.
Spicy Pumpkin Bark
Add ¼ teaspoon cayenne pepper to the pumpkin layer along with the pumpkin pie spice. The heat sneaks up on you and plays beautifully with the dark chocolate. My brother-in-law, who claims to hate pumpkin, ate half a batch of this version before admitting it was “actually okay.”
Cookie Butter Swirl
Warm up 2 tablespoons of cookie butter (like Biscoff spread) and drizzle it over the pumpkin layer before adding the spiderweb. Swirl it gently with a toothpick for a marbled effect. This version disappeared fastest at my Halloween party last year.
Nutty Crunch
Press chopped toasted pecans or pumpkin seeds into the dark chocolate layer before it sets. The crunch adds texture and makes it feel more substantial. Toast the nuts first—it brings out their flavor and keeps them from tasting raw.
White Chocolate Base
Swap the dark chocolate for milk or white chocolate if you prefer a sweeter bark. Just note that white chocolate is softer, so the bark might not snap as cleanly. You’ll need to chill it longer.
Serving & Storage Suggestions
This bark is best served cold or at cool room temperature. If it sits out too long, the pumpkin layer gets soft and the whole thing gets messy. I serve it straight from the fridge on a platter lined with parchment.
Presentation tip: Arrange the shards on a black or dark orange plate for maximum Halloween vibes. Sprinkle a few candy eyeballs around the plate for extra creepiness. I once served this on a slate board with fake spiderwebs draped around it, and people took photos before they even tasted it.
Storage: Keep the bark in an airtight container in the refrigerator for up to 1 week. Layer the pieces between sheets of parchment paper so they don’t stick together. Don’t store at room temperature—the pumpkin layer will soften and lose its structure.
Freezer instructions: This bark freezes beautifully for up to 3 months. Place the shards in a single layer in a freezer-safe container, separated by parchment. Thaw in the refrigerator for about 30 minutes before serving. The texture stays perfect.
Reheating note: Don’t. This is meant to be eaten cold. If you want warm pumpkin chocolate treats, make a different recipe.
Flavor-wise, the spices deepen after a day in the fridge. I actually prefer the bark on day two—the pumpkin and chocolate flavors meld together more. If you can resist eating it all immediately, you’ll be rewarded.
Nutritional Information & Benefits
This is a treat, not a health food, but it has some redeeming qualities. Here’s the estimated breakdown per serving (about 2 ounces of bark):
| Nutrient | Amount |
|---|---|
| Calories | 185 |
| Total Fat | 11g |
| Saturated Fat | 7g |
| Carbohydrates | 22g |
| Sugar | 17g |
| Fiber | 2g |
| Protein | 2g |
| Vitamin A | 35% DV |
Dark chocolate is rich in antioxidants and flavonoids, which are good for heart health. Pumpkin puree is packed with vitamin A and fiber. The coconut oil provides healthy medium-chain triglycerides. Obviously, this is still a sugary treat, but it’s not empty calories—there’s some nutrition hiding in that Halloween fun.
Dietary considerations: This recipe is vegetarian and can be made vegan and dairy-free with substitutions. It contains dairy in the white chocolate unless you use a vegan alternative. It’s naturally gluten-free, but check your chocolate labels if you have celiac disease, as some brands process on shared equipment.
I’m not a nutritionist, but I feel better serving this to my family than a bag of artificially colored candy. At least I know what’s in it.
Conclusion
This spiderweb chocolate pumpkin bark is proof that kitchen accidents can turn into something worth sharing. It’s quick enough for a last-minute Halloween treat, impressive enough for a party, and simple enough that kids can help with the spiderweb design. The combination of dark chocolate and spiced pumpkin is genuinely delicious—not just “good for a Halloween recipe.”
I love that this recipe lets me be creative without stress. You can dress it up with candy decorations or keep it elegant with just the web pattern. It adapts to whatever you have on hand. And honestly, watching people’s faces light up when they see that spiderweb design never gets old.
I’d love to hear how yours turns out. Did you add any fun toppings? Did the spiderweb pattern work on your first try? Drop a comment below and share your version. And if you’re looking for more easy Halloween treats, check out our spooky salted caramel apple bites—they’re another crowd favorite that comes together in minutes.
Happy Halloween, and happy snacking!
Frequently Asked Questions
Can I use milk chocolate instead of dark chocolate?
Absolutely. Milk chocolate will make the bark sweeter and softer. Reduce the coconut oil to 2 teaspoons since milk chocolate is already softer than dark. Chill it a bit longer to help it set properly.
My white chocolate seized up while melting. What do I do?
Don’t panic. Add 1 teaspoon of coconut oil or vegetable oil and stir gently. The fat will help smooth it out. If it’s still clumpy, microwave for 5 seconds and stir again. White chocolate is finicky—it hates moisture and high heat.
How far in advance can I make this bark?
You can make it up to 5 days ahead if stored properly in the refrigerator. For best results, add the candy decorations right before serving so they don’t bleed or soften. The bark also freezes well for up to 3 months.
The pumpkin layer won’t set. What went wrong?
Most likely, the pumpkin puree had too much water content. Pat your pumpkin puree with a paper towel before using to remove excess moisture. Also, make sure you used powdered sugar, not granulated—the cornstarch in powdered sugar helps thicken the layer.
Can I double this recipe for a crowd?
Yes, but use two baking sheets instead of one giant one. A single sheet can only hold so much bark, and you need thin layers for the right texture. Work in batches to keep the chocolate from setting before you add the spiderweb design.
Pin This Recipe!
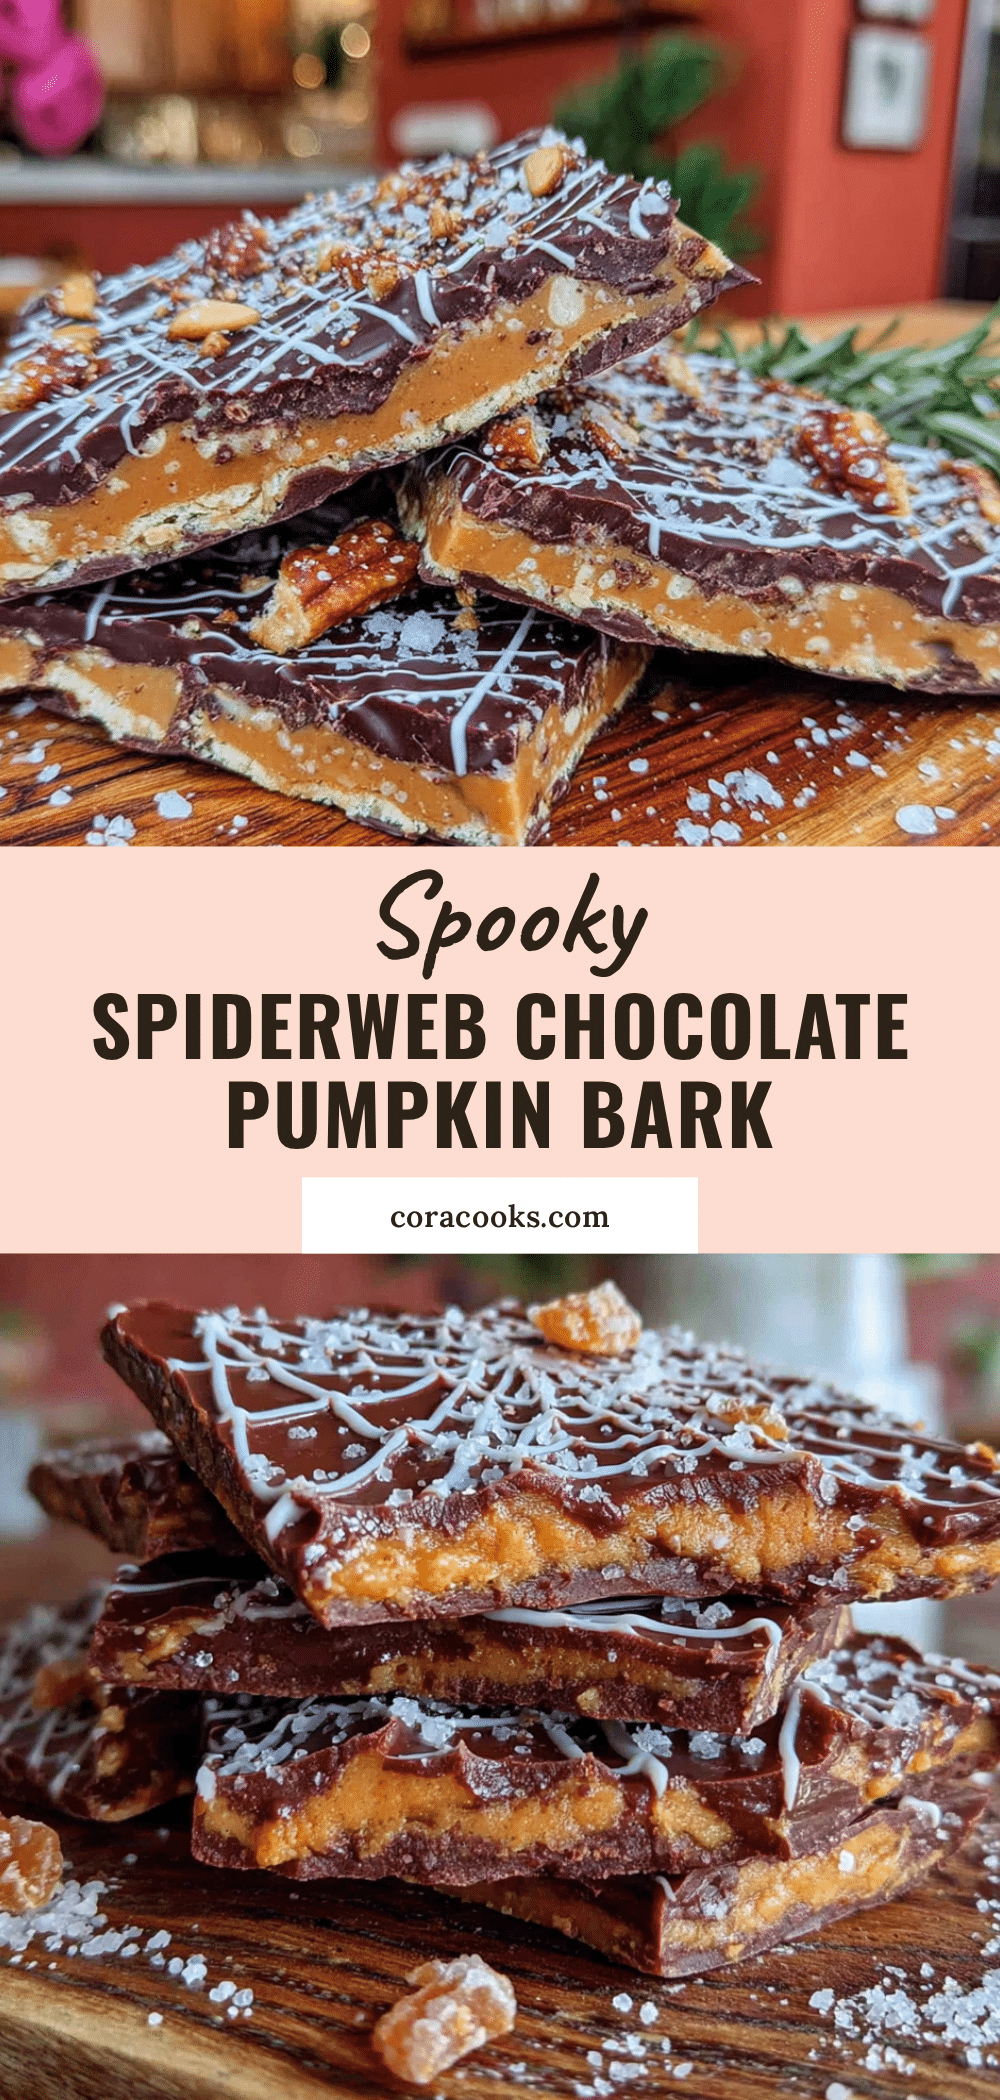
Perfect Spiderweb Chocolate Pumpkin Bark: Easy Halloween Treat
A happy accident turned into this stunning Halloween treat—dark chocolate bark topped with a spiced pumpkin layer and a white chocolate spiderweb design. Quick, easy, and guaranteed to impress at any Halloween gathering.
- Prep Time: 20 minutes
- Cook Time: 0 minutes
- Total Time: 1 hour 20 minutes (includes chilling time)
- Yield: 12 servings 1x
- Category: Dessert
- Cuisine: American
Ingredients
- 12 ounces dark chocolate chips (60% cacao recommended)
- 1 tablespoon coconut oil (plus 1 teaspoon for white chocolate)
- ½ cup pumpkin puree (100% pure, not pumpkin pie filling)
- ¼ cup white chocolate chips (for pumpkin layer)
- ¼ cup powdered sugar
- 1 teaspoon pumpkin pie spice (or ½ tsp cinnamon, ¼ tsp nutmeg, ¼ tsp ginger, pinch of cloves)
- Pinch of salt
- ⅓ cup white chocolate chips (for spiderweb decoration)
- Optional: candy eyeballs or mini spiders for decoration
Instructions
- Line a 13×18 inch baking sheet with parchment paper, crumpling it first to help it lie flat.
- Melt dark chocolate with 1 tablespoon coconut oil in a microwave-safe bowl in 30-second bursts, stirring between each, until smooth and glossy (about 1.5-2 minutes total).
- Pour melted dark chocolate onto prepared baking sheet and spread into a thin, even layer (about ⅛ inch thick) using an offset spatula. Let cool for 5 minutes at room temperature.
- In a clean microwave-safe bowl, combine pumpkin puree, ¼ cup white chocolate chips, and pumpkin pie spice. Microwave for 30 seconds, stir, then another 20 seconds. Add powdered sugar and salt, whisk until completely smooth.
- Spread pumpkin mixture over the dark chocolate layer in an even coating (about ⅛ inch thick), leaving a small border of dark chocolate visible around the edges.
- Refrigerate for 15 minutes until pumpkin layer is firm to the touch but not rock hard.
- While bark chills, melt ⅓ cup white chocolate chips with 1 teaspoon coconut oil in 20-second bursts. Transfer to a small piping bag or zip-top bag and snip off a tiny corner.
- Remove bark from fridge. Pipe concentric circles of white chocolate over the pumpkin layer, starting from the center and working outward, spacing circles about 1 inch apart.
- Using a toothpick or skewer, drag from the center outward through all circles toward the edge, repeating every inch around the bark to create a spiderweb pattern.
- If using candy decorations, press them gently into the still-soft white chocolate.
- Return to refrigerator for at least 1 hour until completely firm.
- Once set, peel off parchment and break into irregular shards. Store in an airtight container in the refrigerator.
Notes
If white chocolate seizes while piping, add ½ teaspoon coconut oil and stir. For best results, work in a cool room and don’t skip the fridge time. The bark is best served cold or at cool room temperature. Store in an airtight container in the refrigerator for up to 1 week, or freeze for up to 3 months.
Nutrition
- Serving Size: 2 ounces
- Calories: 185
- Sugar: 17
- Sodium: 35
- Fat: 11
- Saturated Fat: 7
- Carbohydrates: 22
- Fiber: 2
- Protein: 2
Keywords: Halloween bark, chocolate pumpkin bark, spiderweb bark, easy Halloween treat, pumpkin dessert, no-bake dessert


