Love this? Save it for later!
Share the inspiration with your friends
I was standing in the checkout line at the craft store last October, clutching a bag of candy eyes and feeling slightly ridiculous, when the woman behind me leaned in and whispered, “Halloween party?” I nodded, and she smiled knowingly. “The kids remember the weird snacks more than the costumes, you know.” She was right, of course. And right then, standing there surrounded by glittery pumpkins and fake cobwebs, I got hit with this sharp, crystal-clear memory of my aunt’s kitchen.
I was maybe eight, sitting on a stool at her counter while she was making these pretzel treats for a school Halloween party. She had flour on her nose and was muttering under her breath because the white chocolate was seizing in the microwave. I remember the way she scraped the bowl with a rubber spatula, determined, and then she just dipped a pretzel rod in, held it up, and said, “There. That’s a witch finger if I ever saw one.” She passed away a few years ago, and I honestly hadn’t thought about that afternoon in ages until that moment in the checkout line.
So I bought the candy eyes. And the pretzels. And the white chocolate. I mean, I had to try, right? I had this feeling that if I could just get the chocolate right, and if the almond slices looked enough like fingernails, I might be able to capture that same silly, joyful energy she had. The first batch I made was a mess—the chocolate was too thick, the eyes kept sliding off. But the second batch? Let me tell you, they were creepy in the best way. My kids screamed with delight, and my husband actually pretended to eat one before fake-gagging. That’s when I knew these White Chocolate Witch Fingers Pretzels were going to be a yearly tradition in my house. Maybe you’ve been there—trying to recreate a moment you can almost touch, but not quite. This recipe gets you pretty close.
Why You’ll Love This Recipe
Look, I’ve tested a lot of Halloween treats over the years. Some are way too complicated for a Tuesday night, and others just don’t deliver on the fun factor. These White Chocolate Witch Fingers Pretzels hit that sweet spot perfectly. They look genuinely spooky, but they’re almost embarrassingly easy to make.
- Quick & Easy: You can have a full platter of these done in under 20 minutes. That’s faster than carving a pumpkin, and way less messy.
- Simple Ingredients: No weird candy melts or specialty baking items. You need pretzel rods, white chocolate, almond slices, and candy eyes. That’s it.
- Perfect for Halloween Parties: These are the first thing to disappear at any gathering. Kids love the creepy factor, and adults appreciate the salty-sweet combo.
- Crowd-Pleaser: I’ve brought these to school parties, office potlucks, and neighborhood get-togethers. I’ve never brought a single one home.
- Unbelievably Delicious: The crunch of the pretzel, the creamy sweetness of the white chocolate, and the nutty almond nail—it’s a texture party in your mouth.
What makes this recipe different from the dozens of other versions out there is the technique. I figured out that chilling the pretzels before dipping keeps the chocolate from pooling in weird spots. It’s a small thing, but it makes the witch fingers look so much more realistic. Plus, using whole almond slices instead of slivered ones gives that creepy, yellowed fingernail look that really sells the effect. This isn’t just another Halloween treat—it’s the one that will have people asking for the recipe before the party’s over.
What Ingredients You Will Need
This recipe uses simple, everyday ingredients to create something that looks like it came from a haunted bakery. The magic is in how you put them together, not in fancy components.
- Pretzel rods (1 bag, about 12-15 rods)—These form the “fingers.” Look for thick, sturdy rods that won’t snap easily when you dip them. I usually grab the store brand, but Snyder’s of Hanover makes excellent ones if you want a reliable option.
- White chocolate melting wafers (12 ounces)—I prefer Ghirardelli white chocolate melting wafers for the smoothest melt and creamiest texture. White almond bark or candy melts also work, but the flavor isn’t quite as rich. If you’re using white chocolate chips, add a teaspoon of coconut oil to help them melt smoothly.
- Whole almond slices (about 15-20 slices)—These become the witch’s fingernails. You want the flat, wide slices, not the slivered ones. They look more like actual nails. Toast them lightly in a dry pan for 2 minutes if you want a more golden, gnarly look.
- Candy eyes (about 15-20 small ones)—The small round ones work best. You can find them in the baking aisle at any grocery store or craft store. I like the ones with the tiny black pupils—they look extra creepy.
- Green food coloring (gel or liquid, optional)—A drop or two in the white chocolate gives the fingers a sickly, witchy green tint. I’ve made them without it, and they still look great, but the green really sells the “witch finger” vibe.
For the base (optional):
- Green sprinkles or sanding sugar (1/4 cup)—If you want to make a “dirt” or “grass” base for the fingers to stick in, these add a fun presentation touch.
- Wax paper or parchment paper—Essential for letting the dipped pretzels set without sticking to everything.
That’s genuinely all you need. I love recipes where you can grab everything from the baking aisle in one quick stop. No hunting down obscure ingredients or making substitutions that never quite work. If you’re making these with kids, the ingredient list is simple enough that they can help shop for everything.
Equipment Needed
You don’t need a fancy kitchen setup for these. I’ve made them in a cramped apartment kitchen and in a full-sized kitchen, and the process is exactly the same.
- Microwave-safe bowl (medium size)—For melting the white chocolate. Glass or ceramic works best.
- Rubber spatula—For stirring the chocolate and scraping every last bit out of the bowl.
- Baking sheet—Lined with wax paper or parchment paper for the finished fingers to set on.
- Small piping bag or zip-top bag—For drizzling extra chocolate or adding “wrinkles” to the fingers. A zip-top bag with a tiny corner snipped off works perfectly.
- Toothpick—Handy for positioning the candy eyes and almond slices without getting chocolate all over your fingers.
- Small knife—For trimming almond slices if they’re too big or uneven.
I’ve used a double boiler for the chocolate, and honestly, it’s more trouble than it’s worth for this recipe. The microwave method is faster and gives you more control. Just go in 20-second bursts, stirring between each, and you’ll be fine. If you don’t have a piping bag, don’t run out and buy one—the zip-top bag trick has saved me more times than I can count.
Preparation Method
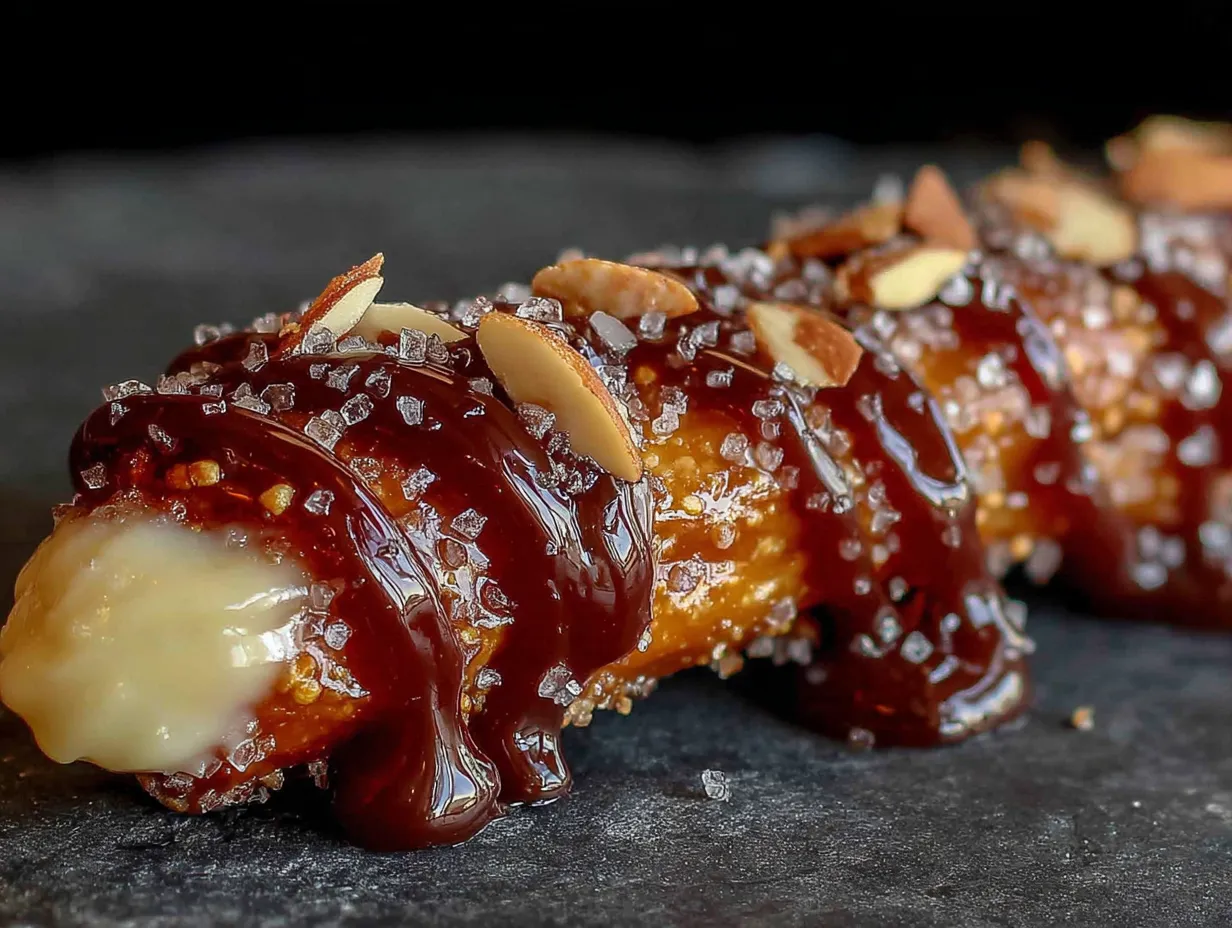
- Prep your workstation. Line a baking sheet with wax paper or parchment paper. Arrange your pretzel rods, almond slices, and candy eyes so they’re all within easy reach. Trust me, once the chocolate is melted, you want to work fast.
- Melt the white chocolate. Place the white chocolate melting wafers in a microwave-safe bowl. Microwave in 20-second bursts, stirring well after each. It usually takes about 1 minute to 1 minute 30 seconds total. Stop when the chocolate is mostly melted with a few small lumps, then stir until completely smooth. If you’re using green food coloring, add a tiny drop now and stir until the color is even. You want a pale, sickly green, not neon.
- Chill the pretzels (optional but recommended). Pop your pretzel rods in the freezer for 5 minutes before dipping. This helps the chocolate set faster and prevents it from sliding down the pretzel in drips. I forgot to do this once, and the chocolate pooled at the bottom of every finger. They still tasted fine, but they didn’t look nearly as convincing.
- Dip the pretzels. Hold a pretzel rod by one end and dip it into the melted chocolate, tilting the bowl slightly to get good coverage. Twist the pretzel as you lift it out to let excess chocolate drip off. You want a nice, even coating—not too thick, not too thin. Leave about an inch at the bottom of the pretzel uncoated to look like the “wrist” area.
- Place on the baking sheet. Lay the dipped pretzel on the wax paper. While the chocolate is still wet, gently press an almond slice onto the tip of the pretzel to look like a fingernail. The pointed end of the almond should face outward. Press down lightly so it sticks.
- Add the eyes and wrinkles. Place two small candy eyes near the top of the chocolate-coated area (the “knuckle” area). Use a toothpick to create small wrinkles or lines in the chocolate around the knuckles and joints. This gives the fingers that gnarled, witchy look. Work quickly before the chocolate sets.
- Let them set. Allow the finished witch fingers to sit at room temperature until the chocolate is completely firm, about 15-20 minutes. If you’re in a hurry, pop the baking sheet in the fridge for 10 minutes.
- Add detail lines (optional). Once the base chocolate is set, melt a small amount of additional white chocolate (about 2 tablespoons) and transfer it to a small piping bag or zip-top bag with a tiny corner snipped off. Pipe thin lines around the knuckles and joints to create more definition. This step is optional, but it makes the fingers look incredibly realistic and creepy.
I’ll be honest—the first time I made these, I forgot to add the wrinkles, and they just looked like white chocolate pretzels with eyes. Still fun, but not nearly as spooky. The wrinkles and the almond nails are what really sell the witch finger illusion. Don’t skip them!
Cooking Tips & Techniques
I’ve made these White Chocolate Witch Fingers Pretzels more times than I can count, and I’ve learned a few things the hard way. Here are the tips that actually make a difference.
Don’t overheat the chocolate. This is the number one mistake people make. White chocolate is sensitive. If you microwave it too long or at too high a power, it will seize into a grainy, clumpy mess. I learned this when I was rushing to make a batch for my daughter’s class party. I cranked the microwave to full power for 45 seconds, and the chocolate turned into a stiff paste. I had to start over. Always use 50% power and go in short bursts.
Work in small batches. If you’re making a big batch for a party, don’t melt all the chocolate at once. It will start to thicken as it cools, and the last few pretzels will have a lumpy coating. Melt half the chocolate first, dip half the pretzels, then melt the rest. It takes an extra minute, but the results are worth it.
Use a toothpick for precision. Your fingers are too big and clumsy for placing tiny candy eyes and almond slices. A toothpick gives you the control you need. Dip the tip in the melted chocolate and use it to dab a tiny bit of chocolate under the eye or almond before placing it. That extra dab of chocolate acts like glue and keeps everything in place.
Chill the pretzels, not the chocolate. I mentioned this earlier, but it bears repeating. Cold pretzels help the chocolate set instantly, which means less dripping and more control. Don’t chill the chocolate—that will make it too thick to dip evenly.
Make extra for snacking. Honestly, these are addictive. The salty pretzel with the sweet white chocolate is a dangerous combination. I always make a few extra “plain” ones (no eyes or almonds) just for snacking while I decorate the rest. Call it a cook’s privilege.
Variations & Adaptations
The basic recipe is fantastic, but Halloween is all about creativity. Here are some ways to switch things up.
Chocolate Witch Fingers: Swap the white chocolate for dark or milk chocolate for a different look. Dark chocolate gives the fingers a gnarled, earthy appearance, like zombie fingers. I made a batch with dark chocolate and added a dusting of powdered sugar for a “dusty” effect. They looked like they’d been dug up from a grave.
Peanut Butter Fingers: Melt 1/2 cup of peanut butter with the white chocolate for a richer, nuttier flavor. The peanut butter also gives the coating a slightly thicker consistency, which helps the almond nails stick better. My husband’s favorite variation by far.
Spider Web Fingers: After the base chocolate sets, melt a small amount of dark or milk chocolate and pipe thin, zigzag lines across the surface to look like spider webs. Add a small candy spider on top for extra creepiness. This takes a bit more time, but the presentation is stunning.
Gluten-Free Version: Use gluten-free pretzel rods. Most major brands now offer gluten-free options, and they work exactly the same way. The taste and texture are nearly identical.
Vegan Version: Use vegan white chocolate (look for brands that use rice milk or oat milk instead of dairy) and vegan candy eyes. The process is exactly the same. I’ve tested this with a few different vegan white chocolates, and they all melt and set beautifully.
My personal favorite variation is the Spider Web Fingers. I made them for a Halloween movie night last year, and everyone thought I’d bought them from a bakery. The spider webs add such a dramatic, spooky touch. Plus, you get to eat the candy spiders, which is always a win.
Serving & Storage Suggestions
These White Chocolate Witch Fingers Pretzels are best served at room temperature, arranged on a platter in a way that looks like a hand reaching up from the grave. I like to stand them upright in a small cup or jar filled with green sprinkles or crushed Oreos (for “dirt”). The effect is immediate and dramatic.
For parties: Arrange the fingers in a fan pattern on a black or orange platter. Scatter a few extra candy eyes around for a creepy touch. You can also stick them into a pumpkin or a block of floral foam covered in green tissue paper for a 3D display.
Storage: Store the finished witch fingers in an airtight container at room temperature for up to 5 days. Do not refrigerate them—the condensation will make the chocolate bloom (develop white streaks) and lose its shine. If you must store them in a cool place, let them come to room temperature before serving.
Freezing: You can freeze these for up to 2 months. Place them in a single layer in a freezer-safe container with wax paper between layers. Thaw at room temperature for about 30 minutes before serving. The texture of the pretzel stays perfectly crunchy.
One thing I’ve noticed is that the flavors actually meld together a bit after a day or two. The saltiness of the pretzel infuses into the white chocolate, creating this incredible sweet-salty balance. They’re delicious fresh, but they’re almost better the next day.
Nutritional Information & Benefits
Let’s be real—these are a treat, not a health food. But if you’re going to indulge, here’s what you’re working with.
| Per Serving (1 witch finger) | Amount |
|---|---|
| Calories | 120-140 |
| Total Fat | 7g |
| Saturated Fat | 4g |
| Carbohydrates | 15g |
| Sugar | 10g |
| Protein | 2g |
| Sodium | 180mg |
Potential Allergens: Dairy (white chocolate), gluten (pretzels), tree nuts (almonds). If you’re serving these at a party, I recommend labeling them clearly or making a separate batch with allergen-friendly substitutions.
Healthier Twist: Use dark chocolate (which has less sugar and more antioxidants) and gluten-free pretzels. You can also skip the candy eyes and use small dots of dark chocolate for a more natural look. It’s not exactly a health food, but it’s a slightly better option.
I personally believe that treats like this have a place in a balanced diet. Halloween comes once a year, and these witch fingers are all about fun and connection. One batch won’t derail your healthy eating goals, but it will create memories that last a lot longer than a salad.
Conclusion
These White Chocolate Witch Fingers Pretzels are everything a Halloween treat should be—spooky, delicious, and ridiculously fun to make. They look like they took hours of effort, but you can whip them up in under 30 minutes. That’s the kind of magic I can get behind.
I love that this recipe lets you be creative. You can make them as creepy or as cute as you want. Add more wrinkles, use different colored chocolate, or experiment with different candy decorations. The base recipe is foolproof, so feel free to play around and make it your own. That’s what cooking is all about, right?
I’d love to hear how yours turn out! Drop a comment below and tell me your favorite Halloween treat tradition. Or tag me in your photos if you post them—I genuinely get so excited seeing your creations. And if you’re looking for more spooky snack ideas, check out my spooky popcorn mix for another easy Halloween favorite.
Happy Halloween, and happy snacking!
Frequently Asked Questions
Can I use white chocolate chips instead of melting wafers?
Yes, but you’ll need to add a teaspoon of coconut oil or shortening to help them melt smoothly. White chocolate chips have stabilizers that make them thicker when melted. The coconut oil thins them out for easier dipping.
How far in advance can I make these?
You can make them up to 5 days ahead and store them in an airtight container at room temperature. They also freeze beautifully for up to 2 months.
My white chocolate seized and turned grainy. Can I fix it?
Sometimes you can rescue seized chocolate by adding a teaspoon of warm coconut oil or heavy cream and stirring vigorously. If that doesn’t work, you’ll need to start over. This is why I always recommend melting in short bursts!
Can I use regular pretzel sticks instead of rods?
You can, but they’re thinner and more fragile. The witch fingers won’t look as realistic, and they’re more likely to snap during dipping. If you use sticks, be extra gentle and don’t overcoat them with chocolate.
How do I get the almond slices to stay on as fingernails?
Dip the almond slice in the melted chocolate before placing it on the pretzel. The chocolate acts as glue. You can also use a toothpick to dab a tiny bit of chocolate under the almond after placing it for extra security.
Pin This Recipe!
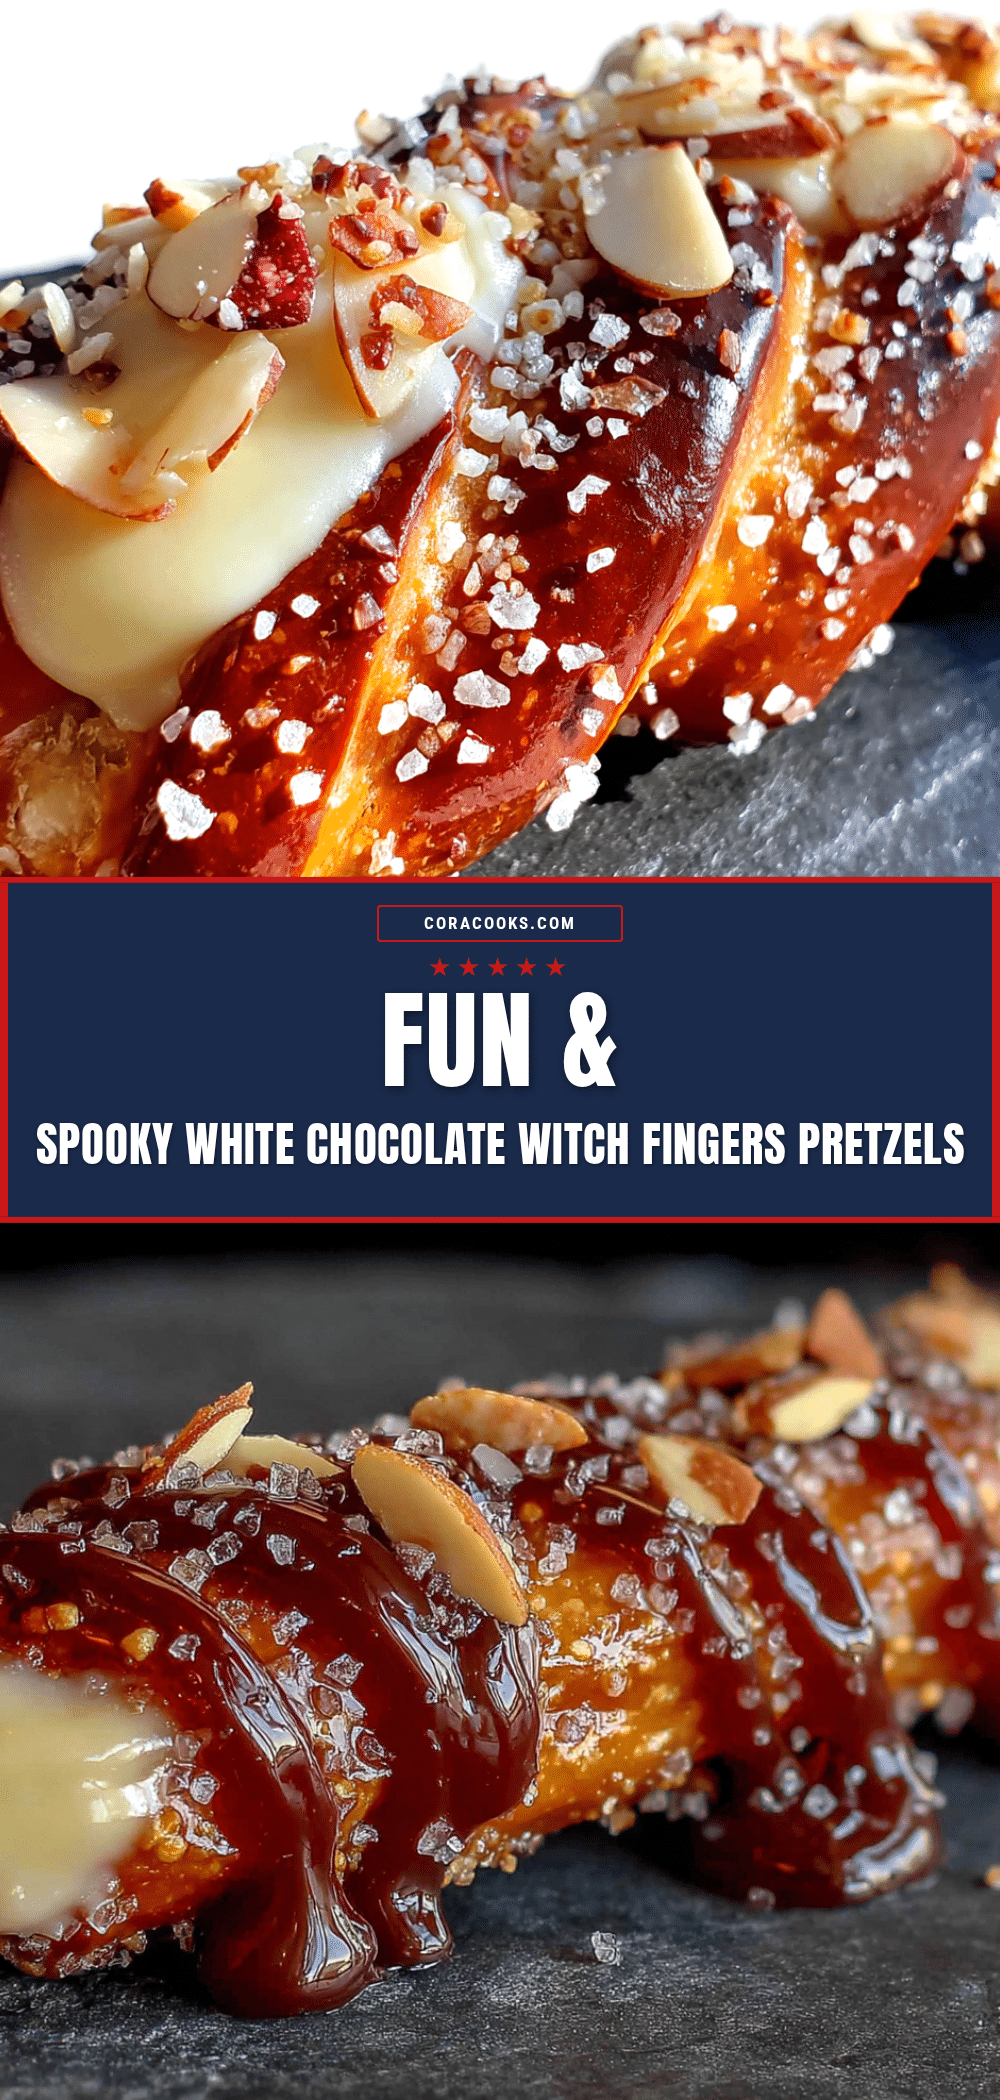
White Chocolate Witch Fingers Pretzels: Easy Halloween Treat

These spooky White Chocolate Witch Fingers Pretzels are a quick and easy Halloween treat that looks like it came from a haunted bakery. Made with pretzel rods, white chocolate, almond slices, and candy eyes, they’re perfect for parties and guaranteed to be a crowd-pleaser.
- Prep Time: 10 minutes
- Cook Time: 5 minutes
- Total Time: 20 minutes
- Yield: 12-15 servings 1x
- Category: Dessert
- Cuisine: American
Ingredients
- 1 bag (12-15) pretzel rods
- 12 ounces white chocolate melting wafers (e.g., Ghirardelli)
- 15–20 whole almond slices
- 15–20 small candy eyes
- Green food coloring (gel or liquid, optional)
- 1/4 cup green sprinkles or sanding sugar (optional, for base)
- Wax paper or parchment paper
Instructions
- Prep your workstation. Line a baking sheet with wax paper or parchment paper. Arrange your pretzel rods, almond slices, and candy eyes so they’re all within easy reach.
- Melt the white chocolate. Place the white chocolate melting wafers in a microwave-safe bowl. Microwave in 20-second bursts, stirring well after each. It usually takes about 1 minute to 1 minute 30 seconds total. Stop when the chocolate is mostly melted with a few small lumps, then stir until completely smooth. If using green food coloring, add a tiny drop now and stir until the color is even.
- Chill the pretzels (optional but recommended). Pop your pretzel rods in the freezer for 5 minutes before dipping. This helps the chocolate set faster and prevents it from sliding down the pretzel in drips.
- Dip the pretzels. Hold a pretzel rod by one end and dip it into the melted chocolate, tilting the bowl slightly to get good coverage. Twist the pretzel as you lift it out to let excess chocolate drip off. Leave about an inch at the bottom of the pretzel uncoated to look like the ‘wrist’ area.
- Place on the baking sheet. Lay the dipped pretzel on the wax paper. While the chocolate is still wet, gently press an almond slice onto the tip of the pretzel to look like a fingernail. The pointed end of the almond should face outward. Press down lightly so it sticks.
- Add the eyes and wrinkles. Place two small candy eyes near the top of the chocolate-coated area (the ‘knuckle’ area). Use a toothpick to create small wrinkles or lines in the chocolate around the knuckles and joints. Work quickly before the chocolate sets.
- Let them set. Allow the finished witch fingers to sit at room temperature until the chocolate is completely firm, about 15-20 minutes. If you’re in a hurry, pop the baking sheet in the fridge for 10 minutes.
- Add detail lines (optional). Once the base chocolate is set, melt a small amount of additional white chocolate (about 2 tablespoons) and transfer it to a small piping bag or zip-top bag with a tiny corner snipped off. Pipe thin lines around the knuckles and joints to create more definition.
Notes
Don’t overheat the white chocolate; use 50% power and short bursts. Work in small batches to prevent chocolate from thickening. Chill pretzels before dipping for better control. Use a toothpick for precise placement of eyes and almonds. Store in an airtight container at room temperature for up to 5 days; do not refrigerate. Freeze for up to 2 months.
Nutrition
- Serving Size: 1 witch finger
- Calories: 130
- Sugar: 10
- Sodium: 180
- Fat: 7
- Saturated Fat: 4
- Carbohydrates: 15
- Protein: 2
Keywords: Halloween treats, witch fingers, pretzel rods, white chocolate, easy Halloween recipe, spooky snacks, party food