Love this? Save it for later!
Share the inspiration with your friends
The school Halloween party was in six hours and I’d completely forgotten. My son had been reminding me for weeks—”Mom, you promised the witch finger cookies!”—and somehow, between work and life and the general chaos of October, it had slipped my mind completely. Everyone else would be bringing those elaborate themed cakes, the ones that look like graveyards with actual fog machines, or those perfectly decorated sugar cookies that probably took three days to make. I had a bag of pretzel rods, some almond slivers, and about forty-five minutes before I needed to pick him up from school.
Let me tell you, I was in full panic mode. I mean, you know that feeling when you’re staring at your pantry like it’s going to magically produce something impressive? I grabbed the pretzel rods and just started dipping them in melted candy coating, thinking maybe I could at least make something that looked vaguely Halloween-ish. Then I spotted the almond slivers in the back of the cabinet—leftover from a salad I made last week—and something clicked. I trimmed the pretzel rods, stuck an almond sliver on the tip, and suddenly I was looking at a row of creepy, knobby witch fingers staring back at me. Honestly, I laughed out loud in my empty kitchen.
The party was a disaster in the best way. The witch finger pretzel cookies were gone in fifteen minutes. Kids were walking around with green almond fingernails, parents were asking for the recipe, and my son kept giving me these proud little smiles. I didn’t win the decorating contest—that went to the graveyard cake—but I won something better. I found the easiest, most ridiculous, most satisfying Halloween treat that I’ve been making every year since. And now I’m sharing it with you, because maybe you’ve been there too, staring at a pantry and wondering how to pull off a miracle.
Why You’ll Love This Recipe
These witch finger pretzel cookies are the kind of recipe that makes you look like a Halloween hero without actually trying very hard. I’ve tested this recipe at three different parties now, and I can tell you with complete confidence—they work every single time.
Here’s why these are going to become your go-to Halloween treat:
- Incredibly Easy : We’re talking about fifteen minutes of active work. Melt, dip, decorate, done. No baking, no complicated techniques, no stress.
- Just 4 Ingredients : Pretzel rods, green candy melts, almond slivers, and a little red gel icing. You probably already have most of this in your kitchen.
- Perfect for Halloween Parties : These things are total conversation starters. People cannot resist picking one up and pretending to freak out over the “fingernail.”
- Kid-Friendly Fun : My son’s friends love helping with these. It’s messy, it’s silly, and the results are genuinely creepy-cute.
- Surprisingly Delicious : Here’s the thing nobody expects—the sweet-salty combo of pretzel and candy coating with that little crunch of almond is actually amazing. You’ll eat more than you want to admit.
What makes these different from other Halloween treats you’ve seen? It’s the almond nail trick. Most recipes use sliced almonds or fake nails, but the slivered almond on the tip creates this genuinely unsettling witch-finger look that freaks people out in the best way. Plus, the green candy coating gives them that sickly, witchy color that makes the whole thing work.
This isn’t just another Halloween dessert. This is the one that gets photographed, the one people whisper about, the one that disappears before anything else on the table. It’s comfort food with a creepy twist—fast, fun, and absolutely unforgettable.
What Ingredients You Will Need
This recipe uses just four simple ingredients to create something that looks like it came from a witch’s kitchen. I love recipes like this because there’s no room for confusion—get these four things right and you’re golden.
- Pretzel Rods (1 bag, about 40 rods): These form the “finger” base. Look for thick, sturdy pretzel rods that won’t break easily when you’re dipping them. I personally prefer the Utz brand or Snyder’s—they hold up well during dipping and have that perfect salt crunch. You want rods that are relatively straight for the best witch finger effect.
- Green Candy Melts (1 bag, about 12 ounces): These give the fingers their creepy witchy color. You can find them at most craft stores or in the baking aisle at the grocery store. I like the Wilton brand because they melt smoothly and have a nice consistency. Pro tip: if you can’t find green, you can use white candy melts and add a few drops of green food coloring—just make sure you use oil-based coloring, not water-based, or your candy will seize up.
- Slivered Almonds (about 40 pieces): These become the fingernails. Look for blanched slivered almonds—they have that perfect nail shape and pale color. You want them to be relatively uniform in size so your witch fingers look consistent. I’ve also tried this with whole almonds cut in half, but the slivered ones really do look the most like actual fingernails.
- Red Gel Icing (1 small tube): This is for adding the creepy “blood” detail at the cuticle area. You can find this in the baking aisle—I recommend the Wilton brand gel icing in “Red Red.” The gel consistency is perfect because it doesn’t run or smudge.
Optional but nice to have: a little coconut oil to thin out your candy melts if they get too thick, and some edible googly eyes if you want to take these to the next level of creepy.
One thing I learned the hard way—don’t skip the red gel icing. I tried using regular red food coloring once and it just looked like a mess. The gel gives you that precise, controlled line that makes the fingernail look real. Trust me on this one.
Equipment Needed
You don’t need a fancy kitchen to pull these off. Here’s what I use every time I make these witch finger pretzel cookies:
- Microwave-Safe Bowl : For melting your candy coating. A medium glass bowl works perfectly.
- Parchment Paper or Silicone Mat : To set your dipped pretzels on. Parchment paper is great because you can just toss it when you’re done.
- Butter Knife or Small Offset Spatula : For spreading the candy coating evenly. I actually use a small butter knife—works like a charm.
- Baking Sheet : To hold your parchment paper and give you a stable surface to work on.
- Small Scissors or Kitchen Shears : For trimming the pretzel rods. You want them to look like uneven, knobby fingers.
- Toothpicks : Handy for fixing any drips or adjusting the almond nails before the coating sets.
- Piping Bag or Small Ziploc Bag : If you want to get fancy with the red gel, but honestly, the tube works fine on its own.
Budget-friendly tip: If you don’t have a silicone mat, parchment paper is your best friend. It’s cheap, disposable, and works just as well. I’ve also used wax paper in a pinch, but the pretzels sometimes stick to it if the coating is too warm.
Preparation Method
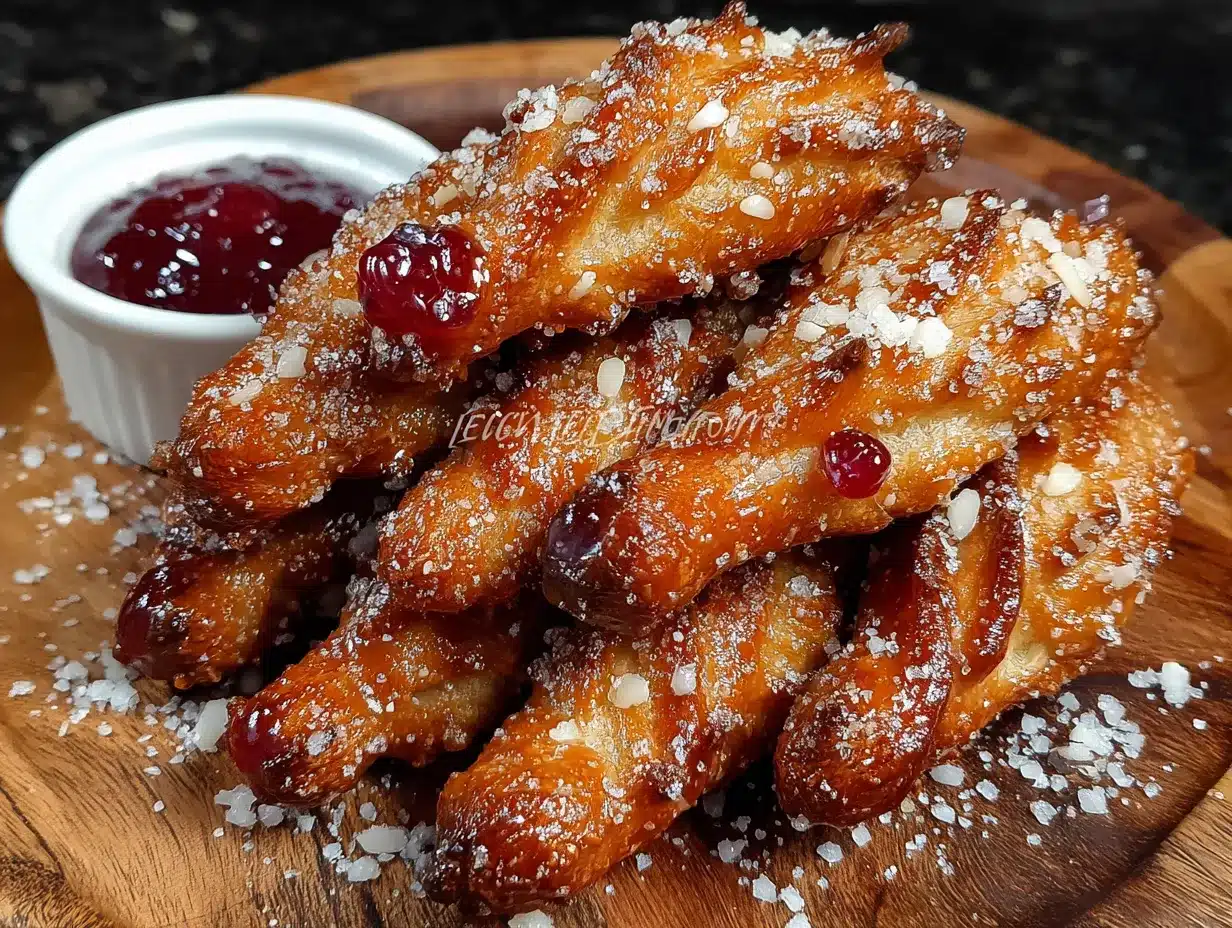
- Prep Your Pretzels (5 minutes): Take your pretzel rods and trim them into finger-length pieces. I usually cut them to about 3-4 inches long. Here’s the trick—don’t cut them straight across. Cut them at slightly different angles so they look like uneven, knobby witch fingers. Some shorter, some longer, some with a little curve. This is where the creepy factor really comes from. I like to trim the tip of each piece at a slight diagonal, which gives a nice surface for the almond nail to sit on.
- Melt Your Candy Coating (3 minutes): Pour your green candy melts into a microwave-safe bowl. Microwave in 30-second intervals, stirring between each one. It usually takes about 90 seconds total. Be careful not to overheat them—candy melts can seize up and become lumpy if they get too hot. If your coating seems too thick, add a teaspoon of coconut oil and stir until smooth. The consistency should be like runny pancake batter—thin enough to coat but thick enough to cling to the pretzel.
- Dip the Pretzels (10 minutes): Hold a trimmed pretzel rod by the “knuckle” end and dip it into the melted green coating. Submerge it until it’s about three-quarters covered—you want to leave a little pretzel showing at the bottom for that realistic finger look. Let the excess drip off back into the bowl. Use your finger or a toothpick to wipe off any excess from the bottom edge. Place each dipped pretzel on your parchment-lined baking sheet. Repeat with all your pretzel rods.
- Attach the Almond Nails (5 minutes): While the coating is still wet, gently press a slivered almond onto the tip of each pretzel finger. Make sure it’s firmly attached but not sinking too deep into the coating. The almond should look like a fingernail growing out of the finger—slightly curved and protruding a bit. I like to angle them slightly upward for that extra creepy effect. Work quickly here because the coating sets fast.
- Add the Creepy Details (5 minutes): Once all the almond nails are attached, take your red gel icing and add a small line at the base of each almond “nail.” This creates the cuticle area and gives that bloody, witchy look. You can also add a little red dot on the “knuckle” area if you want to go full creepy. Let everything set completely—about 15 minutes at room temperature, or 5 minutes in the fridge if you’re in a hurry.
- Final Assembly (2 minutes): Once the coating is fully set, arrange your witch fingers on a serving platter. I like to scatter them around like someone just dropped a handful of severed fingers. You can also stand a few up in a jar for that “specimen jar” effect. Get creative with your presentation—it adds to the fun.
Sensory cue: When you bite into one, you should hear that satisfying snap of the pretzel, followed by the creamy sweetness of the candy coating, with that final crunch of almond. The texture contrast is honestly perfect.
One thing I learned from my first attempt—don’t skip the trimming step. The first time I made these, I left the pretzel rods whole and they just looked like green pretzels with almonds stuck on them. Trimming them down to finger length is what makes the illusion work.
Cooking Tips & Techniques
I’ve made these witch finger pretzel cookies about a dozen times now, and I’ve learned some things the hard way. Here’s what I wish someone had told me before my first batch.
The biggest mistake I made was not trimming the pretzels at an angle. Straight-cut pretzels look like, well, pretzels. Diagonal cuts with uneven edges look like actual knobby fingers. Take the extra thirty seconds to vary your cuts—it makes a huge difference in the final presentation.
Temperature matters more than you think. If your candy melts are too hot, they’ll run right off the pretzel and pool on your parchment paper. Too cold, and they’ll be too thick to dip smoothly. I aim for that Goldilocks zone where the coating flows like warm honey. Also, if your kitchen is warm, the coating will take longer to set. Pop the baking sheet in the fridge for 5 minutes if you’re in a rush.
Here’s a trick I figured out after a few batches—use a fork to hold the pretzel while you dip it. Poke the fork into the bottom end of the pretzel rod, dip the top part, and then let the excess drip off over the bowl. This keeps your fingers clean and gives you more control. Just be careful not to poke all the way through.
Timing is everything with the almond nails. If you wait too long to attach them, the coating will have started to set and they won’t stick properly. But if you attach them too early, they’ll sink into the coating and disappear. The sweet spot is about 10-15 seconds after dipping, when the coating is still wet but has started to thicken slightly.
One more thing—don’t overcrowd your baking sheet. Give each finger a little space so they don’t touch each other while setting. I learned this when I came back to find a row of conjoined witch fingers. They were actually kind of funny looking, but not exactly what I was going for.
Variations & Adaptations
These witch finger pretzel cookies are surprisingly versatile. Here are some variations I’ve tried and loved:
Spooky Spider Fingers : Instead of green coating, use black candy melts. Attach the almond nails the same way, but add two small dots of red gel icing on the top of each finger to look like spider eyes. My son’s friends went absolutely crazy for these.
Zombie Fingers : Use white candy melts and add a drop of gray or brown food coloring for that undead look. Skip the red gel at the cuticle and instead add a little green or yellow gel to look like rotting flesh. These are gross in the best way.
Gluten-Free Version : This one’s easy—just use gluten-free pretzel rods. I’ve tested this with Glutino brand and they work perfectly. Everything else in the recipe is naturally gluten-free, so you’re good to go.
Vegan Adaptation : Most candy melts are actually vegan, but double-check the label. Some brands use milk solids. For the pretzels, look for vegan-friendly brands. The almond slivers are naturally vegan, and the red gel icing usually is too. I’ve made these for vegan friends and they were a huge hit.
Extra Creepy Version : After attaching the almond nails, dip the tip of each finger in a little red candy coating to look like blood. Then add a few drops of red gel around the “nail bed.” This takes the creep factor from a 7 to an 11.
My personal favorite variation? The zombie fingers. I made them for a Halloween party last year and people were genuinely disturbed. One woman actually asked me if I’d used real fingers as a mold. Best compliment ever.
Serving & Storage Suggestions
These witch finger pretzel cookies are best served at room temperature, which makes them perfect for parties. I like to arrange them on a black platter or a dark-colored serving board—the contrast really makes the green and red pop.
For presentation, here’s what gets the biggest reaction: fill a small mason jar or apothecary jar with the fingers, standing them up like someone collected them. Sprinkle a few loose ones around the base. I’ve also seen people arrange them in a fan pattern on a plate, like a creepy hand. The more creative you get, the more people will love it.
Storage is simple. Keep them in an airtight container at room temperature for up to a week. Don’t refrigerate them—the candy coating can get condensation and turn sticky. If you live in a humid climate, add a silica gel packet to the container to keep them dry.
Freezing works surprisingly well. Layer them in an airtight container with parchment paper between each layer. They’ll keep for up to three months. When you’re ready to serve, just let them thaw at room temperature for about 30 minutes. The texture stays perfect.
One thing to note—these actually get better after a day or two. The flavors meld together and the pretzel softens just slightly, making them easier to bite into. I’ve made them up to three days ahead for parties and they’ve always been a hit.
For serving, I recommend pairing them with something warm and drinkable. Hot apple cider, pumpkin spice lattes, or even just a mug of hot chocolate. The sweet-salty combo works beautifully with warm drinks.
Nutritional Information & Benefits
Let’s be real—these are a treat, not a health food. But here’s the nutritional breakdown so you know what you’re working with:
Per serving (2 witch finger cookies):
- Calories: approximately 180-200
- Carbohydrates: 28g
- Fat: 8g
- Protein: 3g
- Sugar: 15g
- Sodium: 480mg
Health benefits to highlight: The almonds provide a small amount of vitamin E and healthy fats. Pretzels are lower in fat than many other snack options. And honestly, the biggest benefit here is the joy and fun these bring to a Halloween celebration. Sometimes that matters more than the numbers.
Dietary considerations: These are naturally dairy-free if you use vegan candy melts. They can be made gluten-free with GF pretzels. They contain tree nuts (almonds) and wheat (pretzels), so they’re not suitable for those with allergies to those ingredients.
Allergen note: Always check your candy melts for potential cross-contamination with milk, soy, or other allergens. Wilton brand clearly labels their products, which I appreciate.
From my perspective, these are the kind of treat you make once a year for the fun of it. They’re not an everyday snack, and that’s okay. Part of what makes them special is that they’re a Halloween tradition, not a regular rotation item. Enjoy them, share them, and don’t stress about the calories.
Frequently Asked Questions
Can I make these witch finger pretzel cookies ahead of time?
Absolutely! I make mine up to three days before a party. Just store them in an airtight container at room temperature. They actually get slightly better after a day or two as the flavors meld.
My candy melts are too thick. What do I do?
Add a teaspoon of coconut oil or vegetable shortening and microwave for another 15 seconds. Stir well. This will thin out the coating without affecting the flavor or color. Don’t add water—it will cause the candy to seize up and become unusable.
Can I use white chocolate instead of candy melts?
You can, but white chocolate is trickier to work with. It’s more sensitive to heat and doesn’t set as firmly. If you want to use white chocolate, add a little green food coloring and work quickly. I’d recommend candy melts for the best results, especially for beginners.
How do I keep the almond nails from falling off?
Make sure you press the almond into the coating while it’s still wet but not runny. If the coating has started to set, the almond won’t stick. Also, make sure your almond slivers are dry—any moisture can prevent them from adhering properly.
Can I make these without the red gel icing?
Sure, but they won’t look as creepy. The red detail at the cuticle is what sells the witch finger illusion. If you don’t have red gel, you can skip it or use a tiny dot of strawberry jam. It won’t be as precise, but it’ll still add that bloody effect.
Conclusion
These witch finger pretzel cookies are proof that you don’t need hours in the kitchen to create something memorable. They came from a moment of panic—a forgotten promise and a pantry full of random ingredients—and turned into one of my most-requested recipes. That’s the thing about cooking sometimes. The best ideas come when you’re not trying to be impressive.
I love these because they’re ridiculous in the best way. They make people laugh, they make people squeal, and they make kids feel like they’re at the coolest Halloween party ever. Plus, they taste genuinely good, which is more than I can say for some of the other Halloween treats I’ve tried over the years.
I’d love to hear how yours turn out. Did you try the zombie version? Did your kids help with the almond nails? Did you freak anyone out with the presentation? Drop a comment below and share your witch finger stories. And if you’re looking for more easy Halloween treats, check out my spider web dip and mummy hot dogs for a full spooky spread.
Go ahead, make a batch. Get a little creepy. And don’t forget to hide a few for yourself before the party starts. Trust me on that one.
Pin This Recipe!
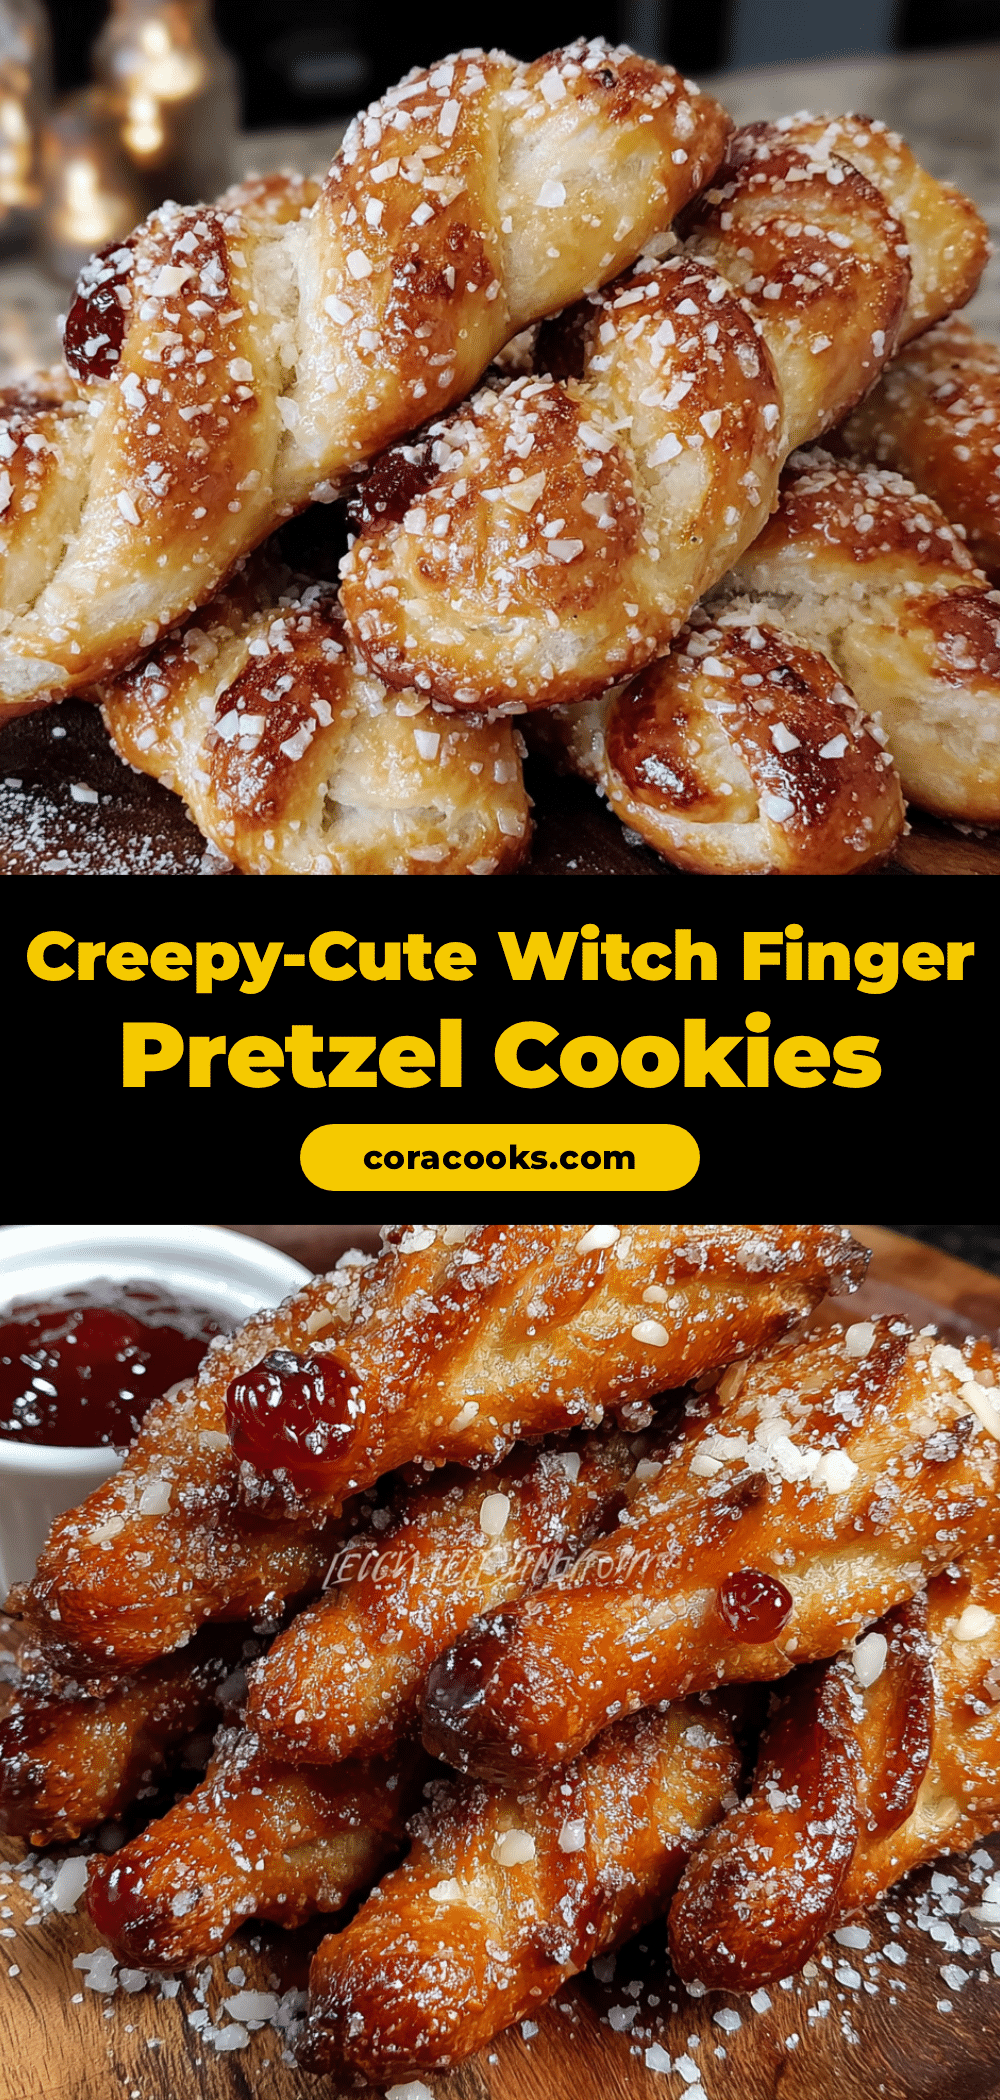
Ultimate Easy Witch Finger Pretzel Cookies with Almond Nails

These witch finger pretzel cookies are the easiest Halloween treat you’ll ever make—just 4 ingredients and 15 minutes of active work. Creepy, delicious, and guaranteed to be the hit of any Halloween party.
- Prep Time: 15 minutes
- Cook Time: 0 minutes
- Total Time: 30 minutes (including setting time)
- Yield: 40 servings (1 finger per serving) 1x
- Category: Dessert
- Cuisine: American
Ingredients
- 1 bag pretzel rods (about 40 rods)
- 1 bag green candy melts (about 12 ounces)
- About 40 slivered almonds (blanched)
- 1 small tube red gel icing
Instructions
- Prep Your Pretzels (5 minutes): Trim pretzel rods into finger-length pieces (about 3-4 inches long). Cut at slightly different angles to create uneven, knobby witch fingers. Trim the tip of each piece at a slight diagonal for the almond nail to sit on.
- Melt Your Candy Coating (3 minutes): Pour green candy melts into a microwave-safe bowl. Microwave in 30-second intervals, stirring between each, until smooth (about 90 seconds total). If too thick, add 1 teaspoon coconut oil and stir.
- Dip the Pretzels (10 minutes): Hold a trimmed pretzel rod by the ‘knuckle’ end and dip into melted green coating until about three-quarters covered. Let excess drip off. Place on parchment-lined baking sheet. Repeat with all pretzel rods.
- Attach the Almond Nails (5 minutes): While coating is still wet, gently press a slivered almond onto the tip of each pretzel finger. Angle slightly upward for extra creepy effect. Work quickly as coating sets fast.
- Add the Creepy Details (5 minutes): Use red gel icing to add a small line at the base of each almond ‘nail’ for the cuticle area. Optionally add a red dot on the ‘knuckle’ area. Let set completely—about 15 minutes at room temperature or 5 minutes in the fridge.
- Final Assembly (2 minutes): Once coating is fully set, arrange witch fingers on a serving platter. Scatter them around or stand a few up in a jar for a ‘specimen jar’ effect.
Notes
Don’t skip trimming the pretzels at an angle—straight cuts look like pretzels, not fingers. For best results, attach almond nails 10-15 seconds after dipping when coating is still wet but slightly thickened. Store in airtight container at room temperature for up to a week. These actually get better after a day or two as flavors meld.
Nutrition
- Serving Size: 2 witch finger cooki
- Calories: 180200
- Sugar: 15
- Sodium: 480
- Fat: 8
- Saturated Fat: 4
- Carbohydrates: 28
- Fiber: 1
- Protein: 3
Keywords: Halloween treats, witch finger cookies, pretzel cookies, easy Halloween dessert, no-bake Halloween treats, creepy snacks, kid-friendly Halloween


