Love this? Save it for later!
Share the inspiration with your friends
It was 11:17 PM on a random Thursday, and I had an overwhelming need for something buttery, sticky, and salty-sweet. Not a full pie—that felt like too much commitment for a weeknight. I didn’t have a deep-dish pan ready or the patience to blind-bake a crust, but I had a box of shortbread cookies in the pantry, a half-empty bottle of bourbon from last Christmas, and a wild idea that arrived just as my brain was supposed to be winding down for sleep.
I mean, honestly, that’s when the best kitchen experiments happen, right? When you’re too tired to overthink it and too stubborn to let a craving go unmet. I grabbed a baking dish, crushed those cookies straight in the bag with a rolling pin, and started mixing. There was butter on my counter, maple syrup I’d been hoarding for “something special,” and pecans I’d bought for a salad I never made. Let me tell you, that salad never stood a chance against these bars.
The first bite was so good I actually laughed out loud. My dog, who had been judging me from the hallway, came over to investigate. The crust was perfectly crumbly, the filling was rich without being heavy, and that bourbon? It didn’t shout—it just added this warm, grown-up hum in the background. I knew right then this wasn’t just a late-night fluke. It was a recipe I’d make again and again, and maybe you’ve been there too—wanting the payoff of a showstopper dessert without the four-hour production. These bars are your answer.
Why You’ll Love This Recipe
Let’s face it—pecan pie is incredible, but it’s also kind of a project. Between making the crust, toasting the nuts, and waiting for it to set properly, it’s not exactly weeknight-friendly. These Quick Maple Bourbon Pecan Pie Bars fix all of that without sacrificing any of the flavor. I’ve tested this recipe at least six times to get the ratio just right, and here’s why it works so beautifully:
- Under 30 Minutes Active Time: From start to oven in about 15 minutes. Seriously. The crust is a press-in situation, so no rolling or chilling required.
- Pantry-Friendly Ingredients: You probably already have butter, brown sugar, eggs, and maple syrup. The bourbon is optional but highly recommended—you can swap it for vanilla extract if needed.
- Perfect for Weeknight Cravings: When you want something that feels special but don’t have the energy for a full production, these bars deliver. They’re also great for potlucks, holiday cookie swaps, or just a Tuesday that needs a little sweetness.
- Always a Crowd-Pleaser: I’ve brought these to three different gatherings, and every single time, someone asks for the recipe. Kids love the maple-pecan crunch, and adults appreciate that subtle bourbon warmth.
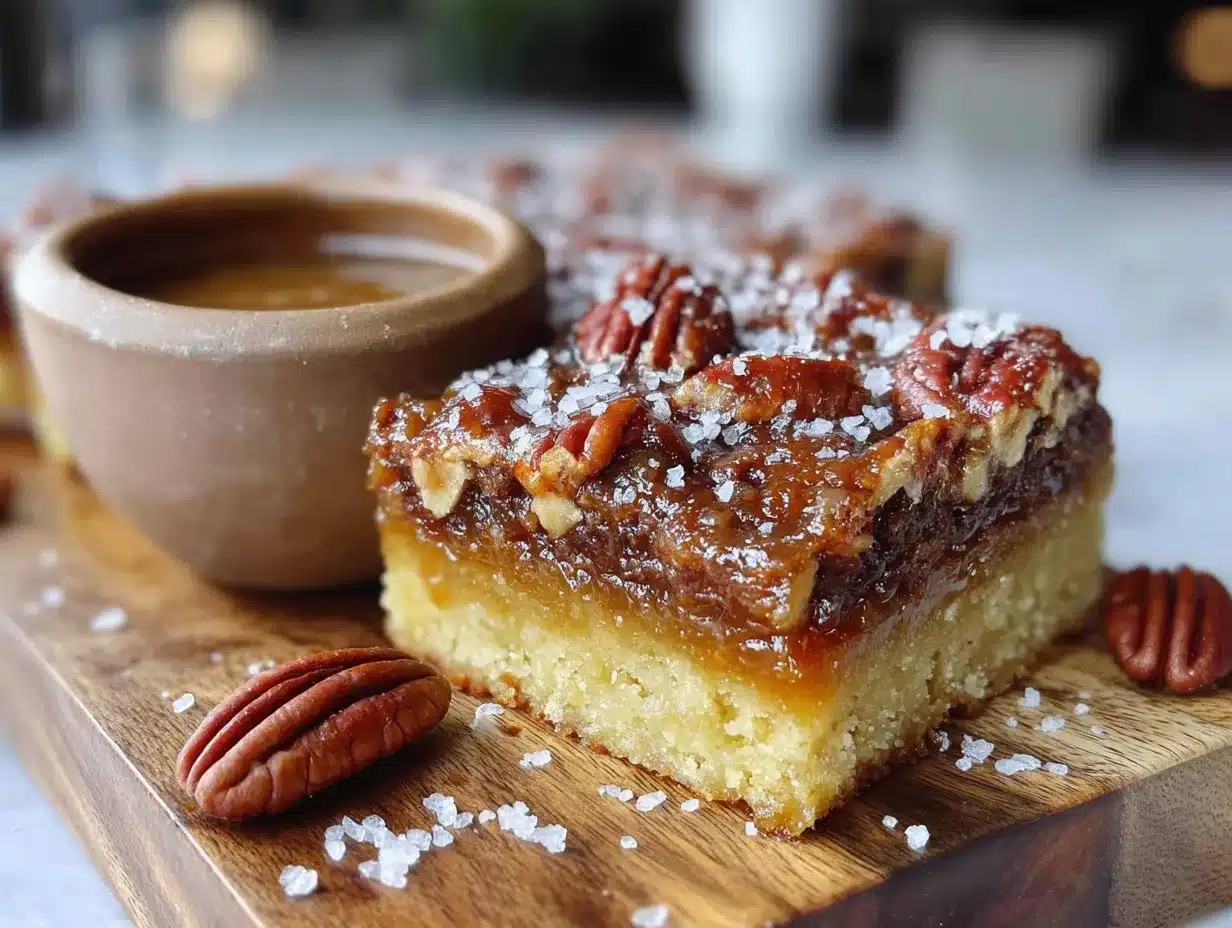
- Next-Level Texture and Flavor: The shortbread crust is buttery and tender, the filling is gooey without being runny, and the pecans get perfectly toasted on top. It’s comfort food at its finest, just faster and easier.
What makes these bars different from the rest? It’s that maple-bourbon combo—less cloyingly sweet than traditional corn syrup fillings, with a deeper, more complex flavor. Plus, the press-in crust means you skip the fussiest part of pie-making entirely. This isn’t just another pecan bar recipe; it’s the one you’ll actually make on a random Thursday night and feel like a hero.
What Ingredients You Will Need
This recipe uses simple, honest ingredients to create something that tastes far more complicated than it actually is. Most of these are standard baking staples, so you might not even need a grocery run.
For the Shortbread Crust
- 1 ½ cups all-purpose flour (spooned and leveled—don’t scoop straight from the bag or you’ll get a tough crust)
- ½ cup powdered sugar (this keeps the crust tender, unlike granulated sugar which can make it gritty)
- ¾ cup unsalted butter, cold and cut into small cubes (I prefer Kerrygold for the richness, but any good unsalted butter works)
- ¼ teaspoon salt (fine sea salt is best here)
For the Maple Bourbon Filling
- ½ cup unsalted butter (melted and slightly cooled—don’t use it hot or it’ll scramble the eggs)
- ¾ cup packed light brown sugar (dark brown sugar works too if you want a deeper molasses flavor)
- ½ cup pure maple syrup (please don’t use pancake syrup here—the real stuff makes a huge difference in flavor)
- 2 large eggs (room temperature is ideal, but if you forget, place them in warm water for 5 minutes)
- 2 tablespoons bourbon (I use Bulleit or Maker’s Mark—something with a bit of character but not overpowering. You can substitute 1 tablespoon vanilla extract plus 1 tablespoon water if you’re skipping the alcohol)
- 1 teaspoon vanilla extract (pure, not imitation, for the best flavor)
- 2 cups pecan halves or chopped pecans (I like a mix—some halves for visual appeal and some chopped so every bite has pecan in it)
- ¼ teaspoon salt (to balance the sweetness—don’t skip this)
Ingredient Selection Tip: For the pecans, look for ones that smell fresh and slightly nutty, not rancid. If you can only find raw pecans, toast them in a dry skillet over medium heat for 3-4 minutes until fragrant before using. It takes almost no time and makes a noticeable difference in flavor. I buy my pecans from Trader Joe’s or the bulk section at Whole Foods—they tend to be fresher there.
Substitution Guidance: If you need a gluten-free option, swap the all-purpose flour for a 1-to-1 gluten-free baking blend (I like King Arthur Measure for Measure). For a dairy-free version, use vegan butter sticks—just make sure they’re the kind meant for baking, not the spreadable tub variety. And if bourbon isn’t your thing, you can absolutely leave it out and add an extra tablespoon of maple syrup instead.
Equipment Needed
You don’t need a fancy kitchen to make these bars, which is part of the beauty. Here’s what you’ll need:
- 9×9-inch square baking pan (an 8×8 works too, but your bars will be slightly thicker and may need 2-3 extra minutes of baking time)
- Parchment paper (for easy lifting—don’t skip this or you’ll be fighting to get the first bar out)
- Mixing bowls (one medium for the crust, one medium for the filling)
- Pastry cutter or fork (for cutting the butter into the flour for the crust—your hands work too, but a pastry cutter is faster and less messy)
- Whisk (for the filling ingredients)
- Measuring cups and spoons (accurate measurements matter here since the filling is a delicate balance)
- Spatula (for spreading the filling evenly)
- Cooling rack (optional but helpful for even cooling—a cutting board works in a pinch)
Personal Note: I’ve made these bars with a cheap 8×8 pan that I got from a dollar store, and they turned out just fine. The pan was a little warped, so one corner was slightly thicker, but nobody complained. Don’t let lack of fancy equipment hold you back. If you don’t have a pastry cutter, two butter knives work—just cross them and pull through the flour-butter mixture until it looks like coarse sand.
Preparation Method
Alright, let’s make these bars. The whole process takes about 30 minutes of active time, then 25-30 minutes in the oven. I’ve broken it down so clearly that even if you’re half-asleep on a Thursday night, you’ll nail it.
Step 1: Preheat and Prep the Pan
Preheat your oven to 350°F (175°C). Line your 9×9-inch baking pan with parchment paper, leaving a 2-inch overhang on two opposite sides. This creates “handles” that let you lift the entire batch out after baking. Lightly spray the parchment with non-stick spray just to be safe—I learned this the hard way after a beautiful batch stuck to the paper.
Step 2: Make the Shortbread Crust
In a medium bowl, whisk together the flour, powdered sugar, and salt. Add the cold, cubed butter. Using a pastry cutter or your fingertips, work the butter into the flour mixture until it looks like coarse meal with some pea-sized butter pieces remaining. Don’t overwork it—you want those little butter pockets for a flaky texture. Press the mixture evenly into the bottom of your prepared pan. I use the bottom of a measuring cup to really pack it down flat. Bake for 15 minutes, until the edges are just barely golden. Set aside to cool slightly while you make the filling.
Step 3: Make the Maple Bourbon Filling
In a medium bowl, whisk together the melted butter and brown sugar until smooth and no lumps remain. Add the maple syrup, eggs, bourbon, and vanilla extract. Whisk until everything is fully combined and the mixture looks glossy. Stir in the pecans and salt. Don’t overmix at this stage—just fold until the pecans are evenly coated. The mixture will look a bit loose, but that’s exactly right.
Step 4: Assemble and Bake
Pour the filling over the pre-baked crust, spreading it into an even layer with your spatula. The pecans will float and distribute themselves, which is fine—they’ll toast beautifully on top. Bake for 22-28 minutes, until the edges are set and the center is slightly jiggly but not liquidy. It will firm up as it cools. I start checking at 22 minutes—if the center wobbles like Jell-O, give it 3 more minutes. If it’s still soupy, it needs more time.
Step 5: Cool Completely
This is the hardest part, I know. Let the bars cool in the pan on a wire rack for at least 2 hours. The filling needs this time to set properly. If you cut into them too soon, you’ll get a delicious but messy situation. Trust me, I’ve done it. Once completely cool, use the parchment handles to lift the whole block out onto a cutting board. Slice into 16 squares or 9 larger bars, depending on your ambition level.
Sensory Cue: When done right, the top should look glossy and caramelized, the pecans should be fragrant and toasted, and the edges should have pulled away slightly from the pan. The smell alone will make your kitchen feel like a fancy bakery.
Cooking Tips & Techniques
Over the course of testing this recipe, I made some mistakes so you don’t have to. Here’s what I learned:
Press the crust firmly. I can’t emphasize this enough. If your crust is too loose, it’ll crumble when you try to cut the bars. Use the bottom of a flat glass or a measuring cup to really compact it. I press until it feels like a solid, uniform layer—like a sandcastle that’s been packed tight.
Don’t overbake the filling. The biggest mistake I made on my second test batch was leaving the bars in the oven until the center was completely firm. By the time they cooled, they were dry and almost brittle. You want that slight jiggle in the center—it’ll set as it cools and give you that perfect gooey texture that makes pecan pie so beloved.
Room temperature eggs matter. I know, I know, nobody remembers to take eggs out ahead of time. But cold eggs can seize the melted butter and create a grainy filling. If you forgot, place the eggs in a bowl of warm (not hot) water for 5 minutes before cracking them. It makes a real difference in the smoothness of your filling.
Toast your pecans if you have time. Raw pecans work fine, but toasting them for 4-5 minutes in a dry skillet brings out their natural oils and makes them crunchier. I do this while the crust is baking to save time. Just keep an eye on them—they burn fast.
Let them cool fully. I know it’s torture, but I promise it’s worth it. I once cut into a batch after 45 minutes because I couldn’t wait, and the filling oozed everywhere. They still tasted amazing, but they looked like a crime scene. Patience is the secret ingredient here.
Variations & Adaptations
One of the best things about this recipe is how flexible it is. Here are some variations I’ve tried and loved:
Bourbon-Free Version
Skip the bourbon entirely and add an extra tablespoon of maple syrup plus 1 teaspoon of vanilla extract. You lose that warm boozy note, but the maple flavor shines even brighter. This version is also great if you’re serving kids or avoiding alcohol for any reason.
Chocolate Maple Pecan Bars
Melt ½ cup of dark chocolate chips and drizzle it over the top after the bars have cooled. I tried this on a whim one night, and the bitter chocolate against the sweet maple filling is absolutely addictive. You can also sprinkle flaky sea salt on top for that sweet-salty thing everyone loves.
Gluten-Free Option
As mentioned, swap the all-purpose flour for a 1-to-1 gluten-free baking blend. I’ve tested this with King Arthur Measure for Measure and Bob’s Red Mill, and both worked well. The crust will be slightly more crumbly, so press it extra firmly. Nobody at your gluten-free gathering will know the difference.
Spiced Pecan Variation
Add ½ teaspoon of cinnamon, ¼ teaspoon of nutmeg, and a pinch of cayenne pepper to the filling. This gives the bars a cozy fall vibe that’s perfect for Thanksgiving or holiday parties. I made this version for a Friendsgiving last year, and people were scraping the pan clean.
Individual Mini Bars
Press the crust into a mini muffin tin (well-greased) and fill each cup with about a tablespoon of filling. Bake for 12-15 minutes. These are perfect for parties or when you need portion control—though I can’t promise you’ll stop at one.
Serving & Storage Suggestions
These bars are incredibly versatile when it comes to serving. Here’s how I like to enjoy them:
Serving Temperature: They’re fantastic at room temperature, but I actually prefer them slightly chilled from the fridge. The filling firms up beautifully, and the texture becomes almost fudge-like. If you’re serving them warm, pop an individual bar in the microwave for 10 seconds—just enough to soften the filling without melting it.
Presentation Ideas: Dust the tops with a little powdered sugar for a bakery-style look. Serve with a dollop of lightly sweetened whipped cream or a scoop of vanilla ice cream for extra indulgence. For a holiday platter, arrange them on a wooden board with fresh rosemary sprigs and cranberries—it looks gorgeous and takes two minutes.
Storage Instructions: Store the bars in an airtight container at room temperature for up to 3 days, or in the refrigerator for up to a week. I layer them with parchment paper between each bar to prevent sticking. If you’re stacking them, don’t go more than two layers deep or the bottom ones might get squished.
Freezing Tips: These freeze beautifully. Wrap individual bars tightly in plastic wrap, then place them in a freezer-safe bag. They’ll keep for up to 3 months. To thaw, just leave them at room temperature for about 30 minutes, or pop one in the microwave for 20 seconds for an instant treat. I always keep a stash in my freezer for unexpected guests or late-night cravings—they’ve saved me more than once.
Flavor Development: Honestly, these bars taste even better the next day. The flavors meld together overnight, and the texture becomes perfectly uniform. If you can, make them a day ahead and let them rest in the fridge before serving. Your future self will thank you.
Nutritional Information & Benefits
Let’s be real—these are a treat, not a health food. But that doesn’t mean they can’t have some redeeming qualities. Here’s the estimated nutritional breakdown for one bar (based on 16 servings):
- Calories: Approximately 280-320 per bar
- Fat: 18-22g (mostly from butter and pecans—pecans are a good source of healthy monounsaturated fats)
- Carbohydrates: 28-32g
- Protein: 3-4g
- Fiber: 1-2g (from the pecans)
- Sugar: 20-24g
Health Highlights: Pecans are packed with antioxidants, magnesium, and vitamin B1. They’ve been linked to improved heart health and brain function. Maple syrup contains minerals like zinc and manganese, plus it has a lower glycemic index than regular sugar—though let’s not pretend these bars are a health food. The butter and sugar are there for a reason, and that reason is deliciousness.
Dietary Considerations: This recipe is vegetarian. To make it dairy-free, use vegan butter. For a gluten-free version, follow the substitution above. As written, it contains gluten, dairy, eggs, and tree nuts (pecans). If you have nut allergies, you can substitute sunflower seeds or pumpkin seeds for the pecans—it won’t taste the same, but it’ll still be good in its own way.
Personal Wellness Perspective: I believe in balance. These bars are a special occasion dessert in my house, not an everyday snack. But when that occasion comes around, I enjoy every single bite without guilt. Food is about joy and connection, and these bars deliver both in spades.
FAQs
Can I use light corn syrup instead of maple syrup?
You can, but it won’t taste the same. Maple syrup adds a distinct, complex sweetness that corn syrup lacks. If you’re in a pinch, use half corn syrup and half maple syrup for a compromise. But honestly, the real maple syrup is what makes these bars special—I’d recommend sticking with it.
Do I have to use bourbon?
Not at all. The bourbon adds warmth and depth, but the bars are absolutely delicious without it. Replace it with an extra tablespoon of maple syrup and a teaspoon of vanilla extract. You’ll still get a rich, flavorful filling that everyone will love.
Why did my crust turn out soggy?
This usually happens if the crust wasn’t pre-baked long enough or if the filling was poured on while the crust was still hot. Make sure your crust is fully baked (golden at the edges) and let it cool for at least 5-10 minutes before adding the filling. Also, pressing the crust firmly helps create a barrier that keeps the filling from seeping in.
Can I double this recipe?
Absolutely. Double all ingredients and bake in a 9×13-inch pan. You’ll need to increase the baking time by about 5-8 minutes. Keep an eye on it—the center should still have that slight jiggle when you take it out. I’ve made a double batch for holiday parties more times than I can count, and it always disappears fast.
How do I know when the bars are done baking?
The edges should be set and slightly golden, while the center should jiggle just a little when you gently shake the pan. Think of it like a cheesecake—it’ll firm up as it cools. If the center is still liquidy and sloshes around, give it more time. If it’s completely firm and doesn’t move at all, you’ve overbaked it slightly. Don’t worry, though—even overbaked bars are still pretty darn good.
Conclusion
These Quick Maple Bourbon Pecan Pie Bars have become my go-to dessert for so many reasons. They’re fast enough for a weeknight craving, impressive enough for holiday gatherings, and forgiving enough for beginner bakers. Every time I make them, I remember that late-night kitchen experiment and smile. Sometimes the best recipes come from a place of need and a little bit of chaos.
I really hope you give these a try—whether it’s for a cozy night in, a potluck with friends, or just because you deserve something sweet. Feel free to tweak them to your liking. Swap the nuts, add chocolate, skip the bourbon—make them yours. That’s the beauty of baking, after all.
If you do make them, I’d love to hear how they turned out. Drop a comment below or tag me in your photos. And hey, if you have a late-night kitchen experiment that turned into something amazing, tell me about that too. Happy baking, friends!
Pin This Recipe!
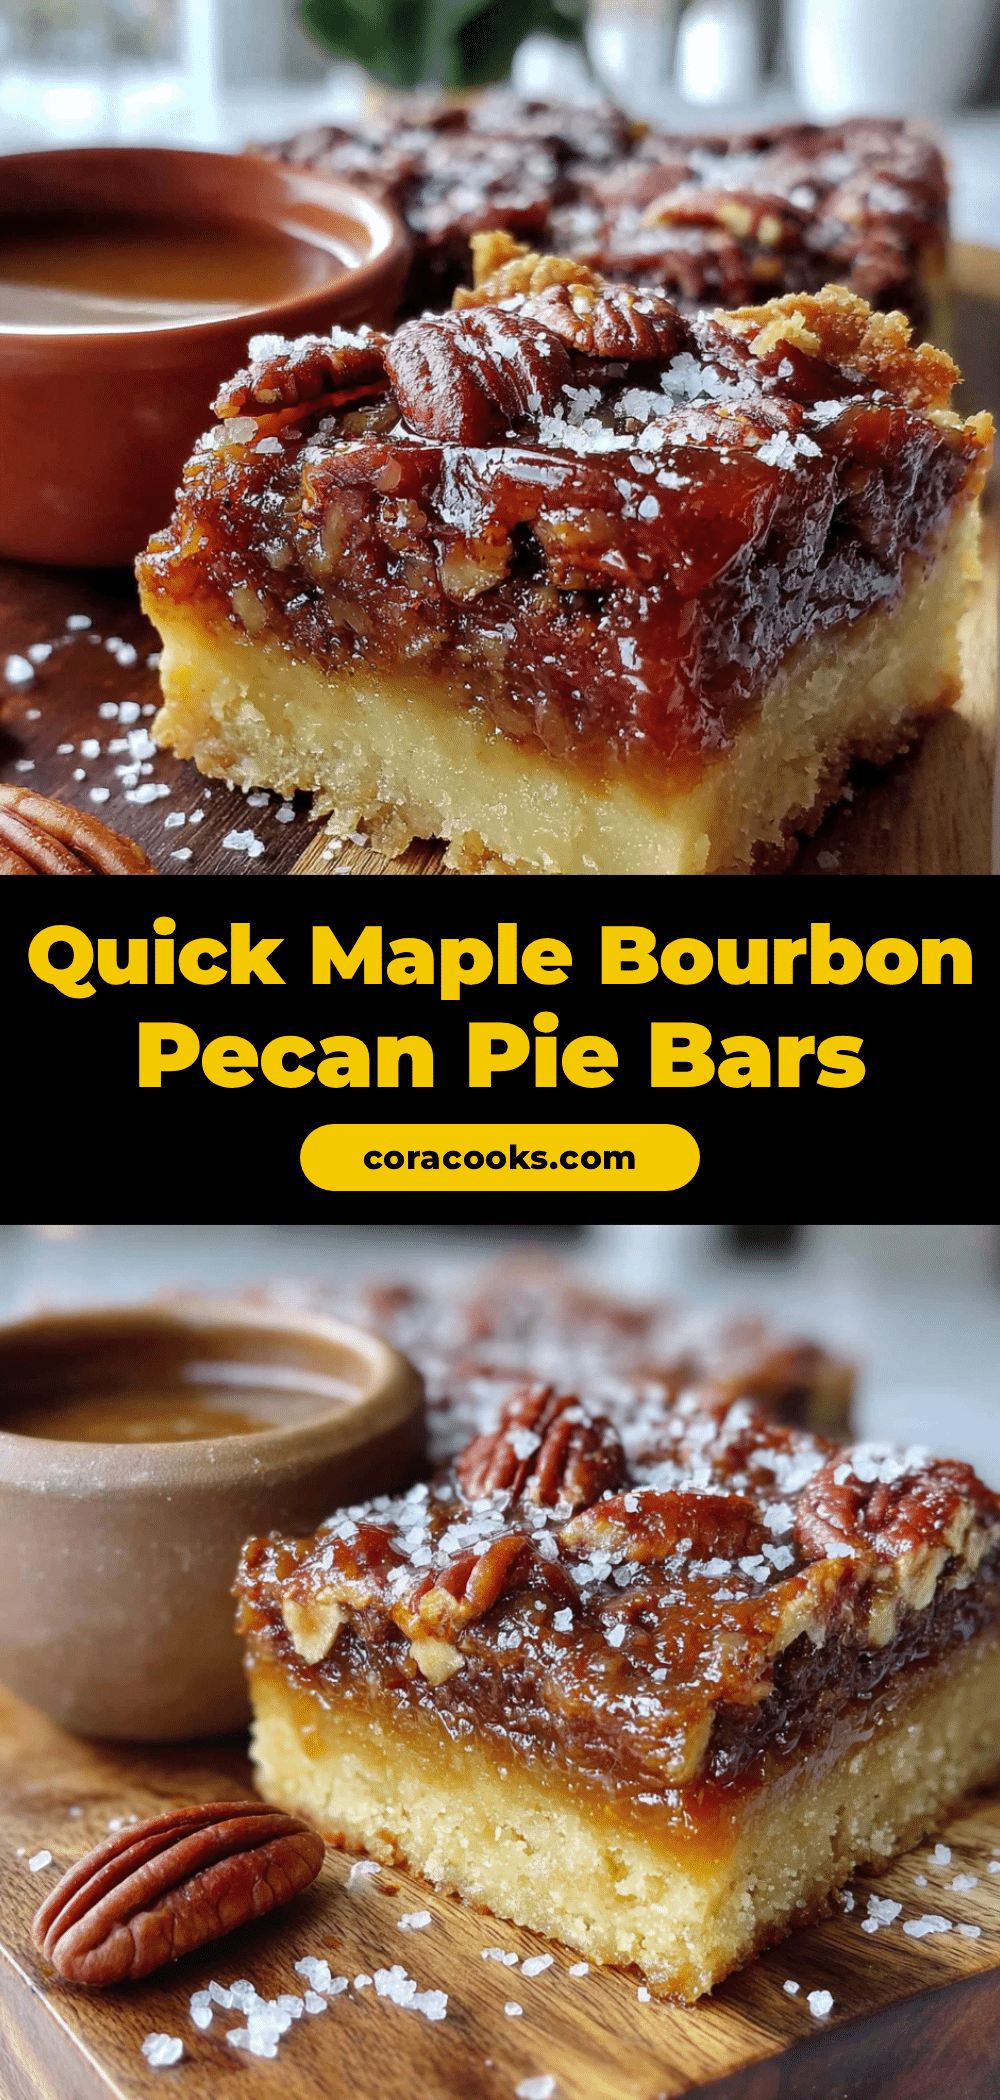
Quick Maple Bourbon Pecan Pie Bars
These Quick Maple Bourbon Pecan Pie Bars are a fast and easy dessert with a buttery shortbread crust, gooey maple-bourbon filling, and crunchy pecans. Ready in under 30 minutes of active time, they’re perfect for weeknight cravings or holiday gatherings.
- Prep Time: 15 minutes
- Cook Time: 25 minutes
- Total Time: 40 minutes
- Yield: 16 servings 1x
- Category: Dessert
- Cuisine: American
Ingredients
- 1 ½ cups all-purpose flour
- ½ cup powdered sugar
- ¾ cup unsalted butter, cold and cut into small cubes
- ¼ teaspoon salt
- ½ cup unsalted butter, melted and slightly cooled
- ¾ cup packed light brown sugar
- ½ cup pure maple syrup
- 2 large eggs, room temperature
- 2 tablespoons bourbon
- 1 teaspoon vanilla extract
- 2 cups pecan halves or chopped pecans
- ¼ teaspoon salt
Instructions
- Preheat oven to 350°F (175°C). Line a 9×9-inch baking pan with parchment paper, leaving a 2-inch overhang on two opposite sides. Lightly spray with non-stick spray.
- In a medium bowl, whisk together flour, powdered sugar, and salt. Add cold cubed butter. Using a pastry cutter or fingertips, work butter into flour mixture until it resembles coarse meal with some pea-sized butter pieces. Press mixture evenly into the bottom of the prepared pan. Bake for 15 minutes until edges are just golden. Set aside to cool slightly.
- In a medium bowl, whisk together melted butter and brown sugar until smooth. Add maple syrup, eggs, bourbon, and vanilla extract; whisk until glossy and fully combined. Stir in pecans and salt until evenly coated.
- Pour filling over pre-baked crust, spreading into an even layer. Bake for 22-28 minutes until edges are set and center is slightly jiggly but not liquidy. Cool in pan on a wire rack for at least 2 hours.
- Once completely cool, use parchment handles to lift the block out onto a cutting board. Slice into 16 squares or 9 larger bars.
Notes
For best results, press the crust firmly into the pan to prevent crumbling. Do not overbake the filling; it should jiggle slightly in the center when done. Room temperature eggs help create a smooth filling. Toast pecans in a dry skillet for 4-5 minutes for extra flavor. Let bars cool completely before slicing to allow the filling to set properly. Bars taste even better the next day.
Nutrition
- Serving Size: 1 bar
- Calories: 300
- Sugar: 22
- Sodium: 120
- Fat: 20
- Saturated Fat: 10
- Carbohydrates: 30
- Fiber: 1.5
- Protein: 3.5
Keywords: pecan pie bars, maple bourbon, quick dessert, easy bars, shortbread crust, weeknight dessert, holiday baking


