Love this? Save it for later!
Share the inspiration with your friends
My neighbor across the hall, a guy named Leo who I’d only ever seen in basketball shorts and flip-flops, asked me why I couldn’t just use frozen green beans for my casserole. I started to explain why that wouldn’t work—something about texture and water content and the integrity of the dish. Then I stopped. Honestly, I had no good reason. I was just being stubborn.
Leo had caught me hauling a bag of fresh green beans from the farmer’s market, and he looked genuinely confused. “Aren’t you just going to boil them anyway?” he asked. And there it was—the moment of realization. I’d been making green bean casserole the same way for years, following some unspoken rule that fresh was always better. But standing there in the hallway, a little embarrassed and a lot curious, I decided to try it his way. Frozen green beans. No blanching. No fuss.
Let me tell you, that casserole was the best I’d ever made. The beans stayed perfectly tender-crisp, the sauce clung to them just right, and the whole thing came together in under thirty minutes. I mean, I actually laughed when I took the first bite. All those years of extra work for nothing! Maybe you’ve been there—sticking to a method just because that’s how you learned it, not because it’s actually better. That night, Leo taught me more about cooking than I taught him, and this quick green bean casserole with crispy fried shallots has been my go-to ever since.
Why You’ll Love This Recipe
This isn’t your grandma’s green bean casserole—well, okay, it’s better. It’s faster, fresher-tasting, and somehow even more comforting. I’ve tested this recipe at least a dozen times, tweaking the sauce ratio and the shallot timing until everything clicked. Here’s why it works so well for busy weeknights:
- Quick & Easy: From start to finish, this comes together in about 25 minutes. No blanching, no roux-making, no complicated steps.
- Simple Ingredients: You probably have most of this in your kitchen right now. Frozen green beans, cream of mushroom soup, milk, and a few pantry staples.
- Perfect for Weeknights: It’s hearty enough to be a main dish with some crusty bread, or the perfect side for a rotisserie chicken.
- Crowd-Pleaser: I’ve brought this to three different potlucks and never brought home leftovers. Not once.
- Unbelievably Delicious: The crispy fried shallots on top add this incredible crunch and sweetness that makes the whole dish feel special without any extra effort.
What makes this version different? It’s the shallots, honestly. Most recipes use canned fried onions, which are fine but kind of one-note. Homemade crispy fried shallots take about five extra minutes and transform the entire dish. Plus, using frozen green beans means you skip the prep work without sacrificing quality—as long as you don’t thaw them first.
This is the kind of recipe that makes you close your eyes after the first bite. It’s comfort food at its best—faster, simpler, but with all the soul-soothing satisfaction you want from a classic casserole.
What Ingredients You Will Need
This recipe uses simple, mostly pantry-stable ingredients to deliver big flavor without the fuss. The magic happens with just a few key components working together.
For the Casserole Base
- Frozen cut green beans – 1 pound (450g). Don’t thaw them! Using them frozen is the whole trick Leo taught me. They cook perfectly in the oven and stay crisp.
- Cream of mushroom soup – 1 can (10.5 oz or 298g). I prefer Campbell’s for the classic flavor, but any brand works. You can also use cream of celery for a lighter taste.
- Whole milk – ½ cup (120ml). Adds richness to the sauce. For a dairy-free version, unsweetened oat milk works surprisingly well here.
- Soy sauce – 1 tablespoon (15ml). This is my secret ingredient—it adds umami depth without making the dish taste like soy sauce. Trust me on this one.
- Black pepper – ½ teaspoon, freshly ground. Don’t skip fresh pepper here; pre-ground just doesn’t have the same pop.
- Garlic powder – ½ teaspoon. Adds a subtle savory note that rounds out the mushroom soup.
For the Crispy Fried Shallots
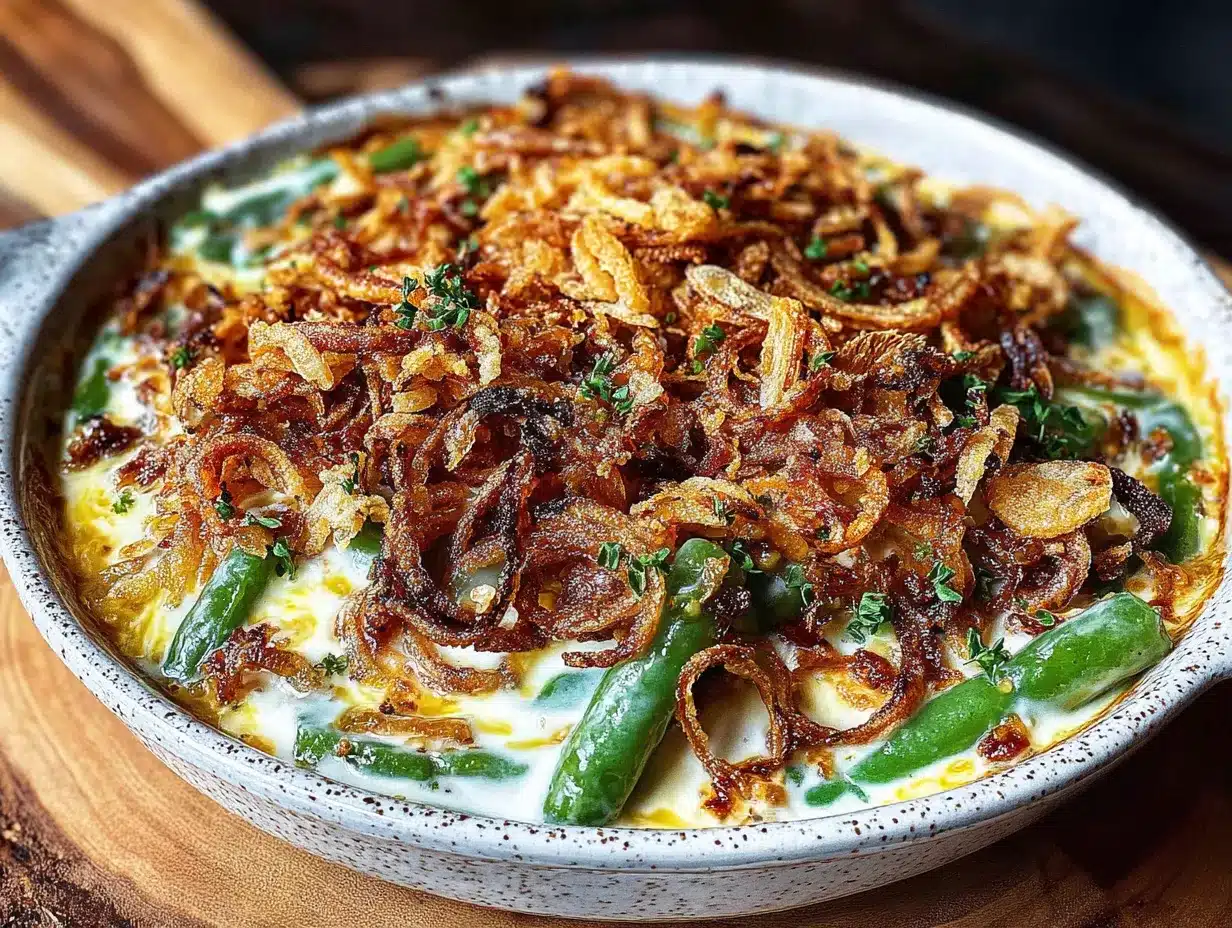
- Large shallots – 3 to 4, thinly sliced into rings (about 1 cup sliced). Look for firm shallots with papery skin—avoid any that feel soft or have sprouted.
- All-purpose flour – ¼ cup (30g). Regular flour works best for that light, crispy coating.
- Salt – ½ teaspoon, plus more for finishing.
- Neutral oil – About ½ cup (120ml) for frying. I use avocado oil because it has a high smoke point and neutral flavor. Vegetable or canola oil works too.
Optional Additions
- Fresh mushrooms – ½ cup sliced (optional). If you want more mushroom flavor, sauté some fresh creminis and mix them in.
- French fried onions – For topping, if you’re in a hurry and don’t want to make the shallots. But honestly, the shallots are worth it.
- Shredded cheddar cheese – ½ cup (optional). Sprinkle on top during the last 5 minutes of baking for a cheesy crust.
Equipment Needed
You don’t need much for this recipe, which is part of why I love it. Here’s what you’ll want to have on hand:
- 8×8 inch baking dish – A 2-quart casserole dish works perfectly. If you only have a 9×13, just double the recipe.
- Small skillet – For frying the shallots. A 10-inch nonstick skillet works best, but any heavy-bottomed pan will do.
- Mixing bowl – Medium-sized, for combining the sauce ingredients.
- Slotted spoon – For removing the fried shallots from the oil. A spider skimmer works even better.
- Paper towels – For draining the shallots after frying.
- Sharp knife and cutting board – For slicing the shallots thinly. A mandoline makes this even faster if you have one.
- Measuring cups and spoons – Standard set for the milk, soy sauce, and seasonings.
I’ve made this in a cast iron skillet before when my baking dish was in the sink, and it worked great—just be careful with the hot handle. If you don’t have a slotted spoon, tongs work fine for fishing out the shallots.
Preparation Method
Let me walk you through this step by step. The whole thing takes about 25 minutes from start to finish, and most of that is hands-off baking time.
- Preheat your oven to 375°F (190°C). Get this going first so it’s ready when you need it. While it heats, you can prep everything else.
- Make the crispy fried shallots. Slice your shallots into thin rings—about ⅛ inch thick. Try to keep them uniform so they cook evenly. In a small bowl, mix the flour and ½ teaspoon salt. Toss the shallot rings in the flour mixture until they’re all lightly coated. Shake off any excess flour.
- Heat the oil in your skillet over medium-high heat. You want it hot but not smoking—around 350°F if you’re using a thermometer. Drop one shallot ring in; if it sizzles immediately, the oil is ready. Working in batches, fry the shallots for 2 to 3 minutes, stirring occasionally, until they’re golden brown. Don’t walk away—they go from golden to burnt fast. Use your slotted spoon to transfer them to a paper towel-lined plate and sprinkle with a pinch of salt while they’re still hot.
- Mix the casserole base. In your mixing bowl, combine the can of cream of mushroom soup, milk, soy sauce, black pepper, and garlic powder. Whisk until smooth. The soy sauce might seem weird, but I promise it just makes everything taste more savory—you won’t taste it directly.
- Add the frozen green beans. Dump the frozen beans right into the bowl—no thawing! Stir everything together until the beans are well coated. Make sure every bean gets some sauce love.
- Transfer to your baking dish. Pour the mixture into your greased 8×8 dish and spread it into an even layer. Don’t pack it down—you want some air gaps for even cooking.
- Bake for 20 minutes. Place the dish on the middle rack and bake until the casserole is bubbly around the edges and heated through. The beans should be tender but still have a little bite—you’re not making mush here.
- Top with the fried shallots. Remove the casserole from the oven and sprinkle the crispy shallots evenly over the top. If you’re adding cheese, now’s the time. Return to the oven for 5 more minutes, just until the shallots are warm and the cheese is melted.
- Let it rest for 5 minutes. I know it’s hard to wait, but this lets the sauce set up a bit so it’s not soupy when you serve it. The beans will also finish cooking during this time.
A quick note: If your casserole looks a little watery when it comes out of the oven, don’t panic. The frozen beans release some moisture as they cook. Let it rest the full 5 minutes, and it will thicken up nicely. If it’s still thin, you can stir in a tablespoon of flour mixed with a little cold water and bake for another 5 minutes.
Cooking Tips & Techniques
After making this quick green bean casserole more times than I can count, I’ve picked up a few tricks that make a real difference. Here’s what I wish someone had told me from the start:
Don’t thaw the green beans. This is the biggest tip I can give you. If you thaw them first, they release too much water and your casserole turns into soup. Frozen beans go straight from the bag into the bowl. Trust Leo on this one.
Slice the shallots consistently. I learned this the hard way after burning half a batch while the other half was still raw. If you have a mandoline, use it. If not, take your time with the knife—even slices mean even cooking.
Watch the shallots like a hawk. They go from perfectly golden to burnt in about 30 seconds. I once got distracted by my phone and ended up with charcoal. The oil should be hot enough that they sizzle when they hit the pan, but not so hot that they brown immediately. If they’re browning in under a minute, turn the heat down a notch.
Make the shallots ahead of time. They’ll stay crispy in an airtight container for up to 3 days. I often double the batch and use the extra for salads or soups. They’re amazing on everything.
Use full-fat milk for the best texture. I’ve tried this with skim milk and it was noticeably thinner. Whole milk gives the sauce a creamy richness that makes the dish feel indulgent. If you’re dairy-free, full-fat oat milk is your best bet.
Don’t overbake it. The beans should still have some texture when you pull the casserole out. They’ll continue cooking as the dish rests. Overcooked green beans are sad green beans.
Variations & Adaptations
One of the best things about this recipe is how easy it is to change up. Here are a few ways I’ve made it my own over the years:
Make it vegetarian-friendly. It already is, actually, but you can add more veggies. I sometimes toss in a cup of sliced mushrooms or a handful of cherry tomatoes with the beans. It adds color and makes it feel more substantial.
Gluten-free version. Swap the all-purpose flour for rice flour or cornstarch when coating the shallots. Use a gluten-free cream of mushroom soup (Pacific Foods makes a good one). The texture is slightly different but still delicious.
Add some protein. For a main dish version, stir in 1 cup of shredded rotisserie chicken or cooked crumbled sausage before baking. It turns a side dish into a complete meal in about two minutes of extra work.
Spice it up. Add ¼ teaspoon of cayenne pepper or red pepper flakes to the sauce mixture. The heat plays beautifully with the sweet shallots. My brother-in-law requests it this way every Thanksgiving now.
Cheese lover’s version. Stir ½ cup of shredded Gruyère or sharp cheddar into the sauce before adding the beans. Then top with another ¼ cup of cheese along with the shallots. It gets all bubbly and golden—absolutely irresistible.
Fresh green bean option. If you have fresh beans from the garden or farmer’s market, blanch them in boiling salted water for 3 minutes, then plunge into ice water. Drain well and proceed with the recipe. You’ll need to add about 5 minutes to the baking time since fresh beans are denser than frozen.
Serving & Storage Suggestions
This quick green bean casserole is best served hot, straight from the oven, with the shallots still crispy on top. I like to scoop it onto plates with a wide spatula to keep the topping intact. It pairs beautifully with:
- Roasted chicken or turkey
- Grilled steak or pork chops
- Meatloaf (my favorite combo, honestly)
- A simple green salad with vinaigrette to cut the richness
- Crusty bread for sopping up every last bit of sauce
For storage: Let the casserole cool completely, then cover tightly with foil or plastic wrap. It will keep in the refrigerator for up to 4 days. The shallots will soften over time, but the flavor only gets better.
To reheat: Pop it in a 350°F oven for 15 to 20 minutes, covered, until heated through. If you want to recrisp the topping, uncover for the last 5 minutes. The microwave works in a pinch, but the oven gives you better texture.
Freezer instructions: Assemble the casserole without the shallots, wrap tightly, and freeze for up to 3 months. Thaw overnight in the fridge, then bake as directed, adding the shallots in the last 5 minutes. I’ve done this for holiday prep and it works like a charm.
One thing I love about this dish is how the flavors meld together overnight. Leftovers the next day are almost better than the fresh version—the sauce gets deeper and more savory. Just don’t expect the shallots to stay crunchy. They’ll be soft, but still delicious.
Nutritional Information & Benefits
Per serving (based on 6 servings), this quick green bean casserole contains approximately:
- Calories: 185
- Protein: 5g
- Fat: 9g
- Carbohydrates: 22g
- Fiber: 3g
- Sodium: 680mg
Green beans are a surprisingly good source of vitamin C, vitamin K, and fiber. They’re low in calories but high in nutrients, which makes this casserole feel a little less indulgent than it tastes. The shallots add a small amount of antioxidants and flavonoids—plus they make you feel fancy without any real effort.
If you’re watching your sodium, look for low-sodium cream of mushroom soup and reduce the added salt. You can also cut the soy sauce in half without losing too much flavor. For a lower-fat version, use skim milk and skip the cheese—though honestly, life’s too short for sad casserole.
This recipe is naturally vegetarian and can be made gluten-free and dairy-free with the substitutions mentioned above. It does contain soy (from the soy sauce) and dairy (from the milk and soup), so keep that in mind for allergies.
Conclusion
This quick green bean casserole with crispy fried shallots has become my secret weapon for busy nights and holiday potlucks alike. It’s proof that sometimes the simplest changes make the biggest difference—like using frozen beans instead of fresh, or taking five minutes to fry your own shallots instead of opening a can. Leo was right, and I’m so glad I listened.
I hope you give this recipe a try, and more importantly, I hope you make it your own. Add cheese if that’s your thing, throw in some mushrooms, or keep it exactly as written. The beauty of a good casserole is that it forgives almost everything. Let me know how it turns out in the comments—did you try any variations? Did your family fight over the last bite? I’d love to hear your story.
Happy cooking, friends. And next time someone suggests a shortcut, maybe listen. It might just change everything.
Frequently Asked Questions
Can I use fresh green beans instead of frozen?
Absolutely. Just blanch them in boiling salted water for 3 minutes, then plunge into ice water to stop the cooking. Drain well before using. You’ll need to add about 5 minutes to the baking time since fresh beans are firmer than frozen.
How do I keep the fried shallots crispy?
The key is to add them at the very end of baking—only the last 5 minutes. If you add them earlier, they’ll absorb moisture from the casserole and get soft. For extra insurance, let the shallots cool completely on paper towels before storing them.
Can I make this casserole ahead of time?
Yes! Assemble the casserole without the shallots up to 24 hours in advance. Cover and refrigerate. When you’re ready to bake, add about 10 minutes to the cooking time since you’re starting from cold. Add the shallots in the last 5 minutes as usual.
What can I use instead of cream of mushroom soup?
You can make a quick homemade sauce with 2 tablespoons butter, 2 tablespoons flour, and 1 cup of milk, seasoned with salt, pepper, and sauteed mushrooms. Or try cream of celery soup for a lighter flavor. For a dairy-free option, use a can of coconut cream with some nutritional yeast and garlic powder.
How do I prevent a watery casserole?
Don’t thaw the frozen beans before using them—this is the most common mistake. Also, let the casserole rest for 5 minutes after baking so the sauce can set. If it’s still watery, you can stir in a tablespoon of flour mixed with a little cold water and bake for 5 more minutes.
Pin This Recipe!
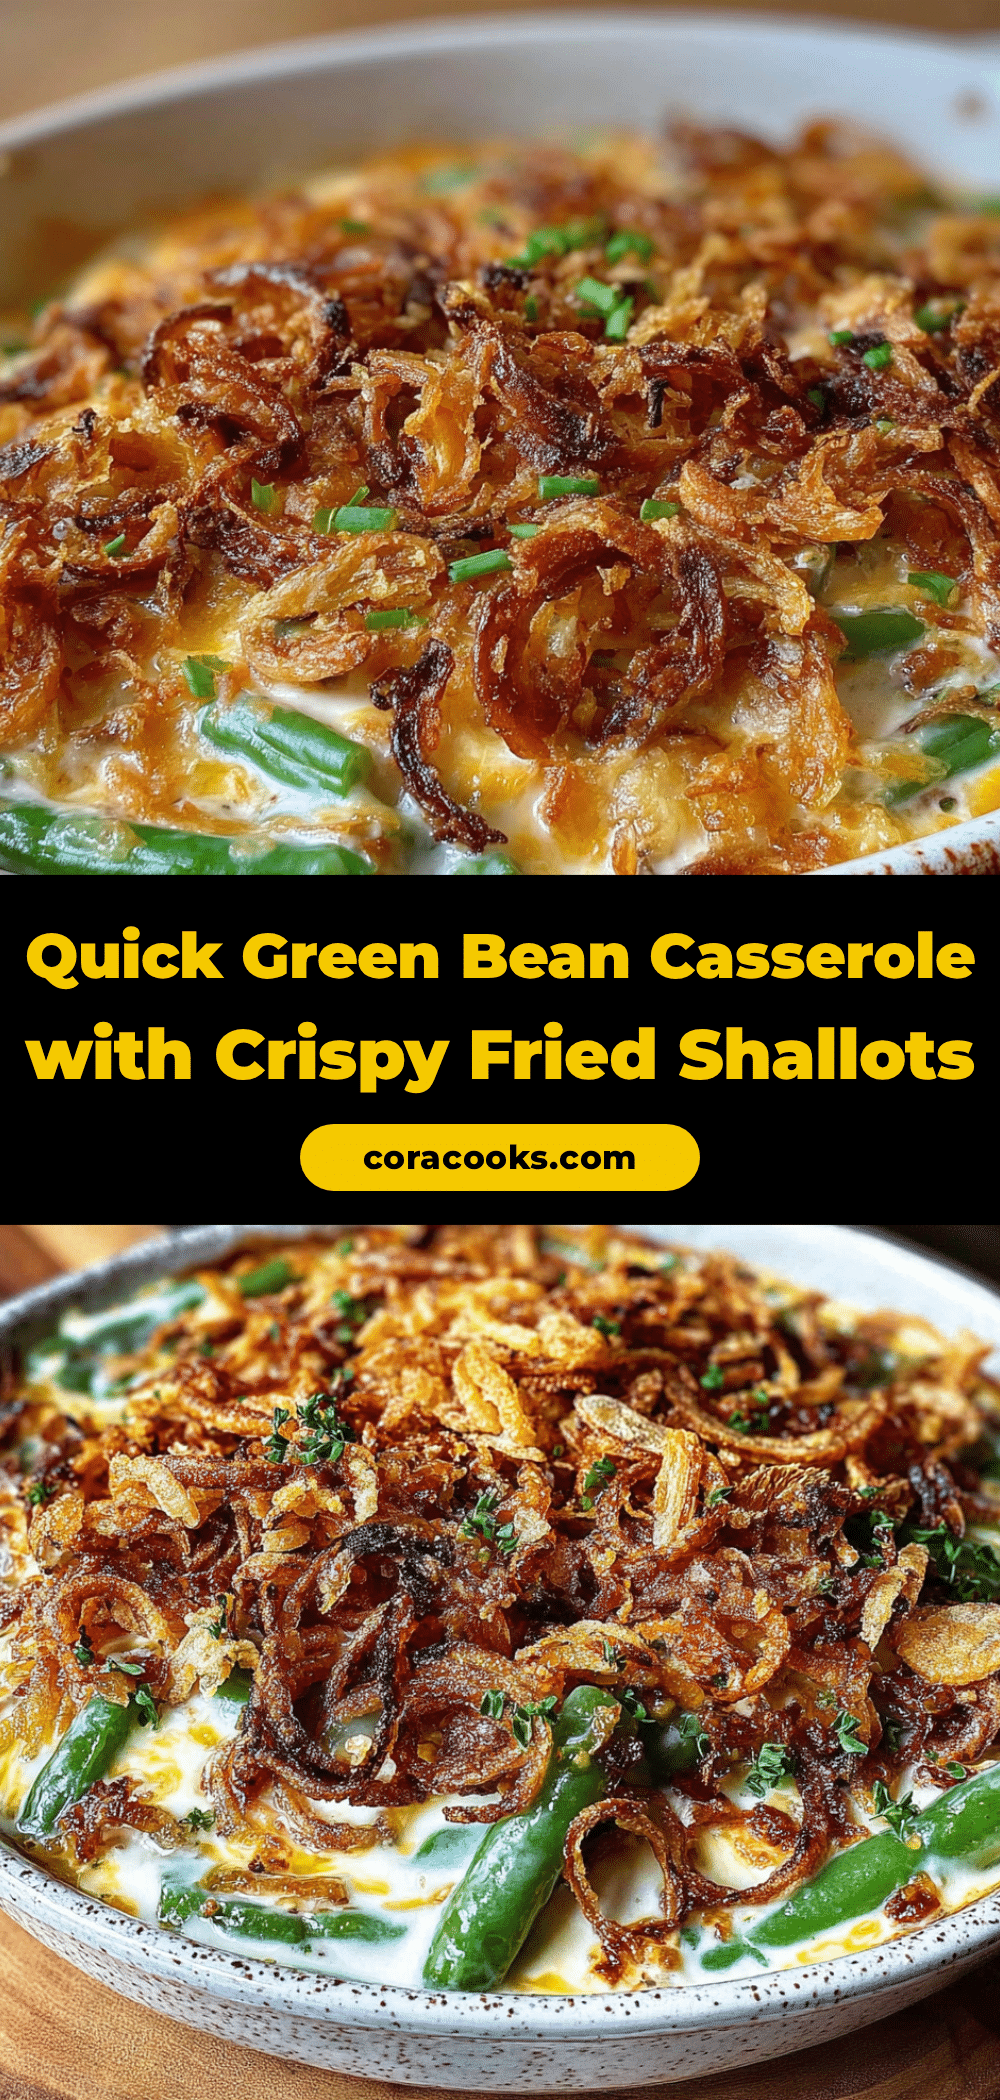
Quick Green Bean Casserole with Crispy Fried Shallots

A quick and easy green bean casserole made with frozen green beans and topped with homemade crispy fried shallots. Ready in about 25 minutes, this comforting dish is perfect for busy weeknights and holiday potlucks.
- Prep Time: 10 minutes
- Cook Time: 25 minutes
- Total Time: 35 minutes
- Yield: 6 servings 1x
- Category: Side Dish
- Cuisine: American
Ingredients
- 1 pound (450g) frozen cut green beans, not thawed
- 1 can (10.5 oz or 298g) cream of mushroom soup
- ½ cup (120ml) whole milk
- 1 tablespoon (15ml) soy sauce
- ½ teaspoon freshly ground black pepper
- ½ teaspoon garlic powder
- 3 to 4 large shallots, thinly sliced into rings (about 1 cup sliced)
- ¼ cup (30g) all-purpose flour
- ½ teaspoon salt, plus more for finishing
- ½ cup (120ml) neutral oil (such as avocado, vegetable, or canola oil)
- ½ cup sliced fresh mushrooms (optional)
- French fried onions for topping (optional)
- ½ cup shredded cheddar cheese (optional)
Instructions
- Preheat your oven to 375°F (190°C).
- Make the crispy fried shallots: Slice shallots into thin rings (about ⅛ inch thick). In a small bowl, mix flour and ½ teaspoon salt. Toss shallot rings in the flour mixture until lightly coated. Shake off excess flour.
- Heat oil in a skillet over medium-high heat (about 350°F). Working in batches, fry shallots for 2 to 3 minutes, stirring occasionally, until golden brown. Transfer to a paper towel-lined plate and sprinkle with a pinch of salt while still hot.
- In a mixing bowl, combine cream of mushroom soup, milk, soy sauce, black pepper, and garlic powder. Whisk until smooth.
- Add frozen green beans to the bowl and stir until well coated.
- Pour the mixture into a greased 8×8 inch baking dish and spread into an even layer.
- Bake for 20 minutes, until bubbly around the edges and heated through.
- Remove from oven, sprinkle fried shallots evenly over the top (add cheese if using). Return to oven for 5 more minutes.
- Let rest for 5 minutes before serving.
Notes
Don’t thaw the frozen green beans before using—they release too much water and make the casserole watery. Watch the shallots carefully as they go from golden to burnt quickly. For best texture, use full-fat milk. The casserole can be assembled without shallots up to 24 hours ahead; add 10 minutes to baking time if starting from cold. Leftovers keep in the refrigerator for up to 4 days.
Nutrition
- Serving Size: 1 serving (about 1 c
- Calories: 185
- Sugar: 4
- Sodium: 680
- Fat: 9
- Saturated Fat: 2
- Carbohydrates: 22
- Fiber: 3
- Protein: 5
Keywords: green bean casserole, quick casserole, crispy shallots, frozen green beans, easy side dish, holiday casserole, vegetarian casserole