Love this? Save it for later!
Share the inspiration with your friends
Introduction
“Hand me that jar,” my neighbor said, casually tossing a few cucumbers onto the counter as if this was just another Tuesday. I wasn’t expecting much—I’d stopped by to borrow some sugar—and then, bam, the sharp, tangy aroma of garlic and dill hit me before I even stepped inside. Honestly, it was like walking into a little magic moment happening right in her kitchen without any fuss or fanfare.
She wasn’t making a big deal of it, just mixing brine in a bowl and layering in garlic cloves and chili flakes like she did it every day. The whole thing felt so effortless, yet that smell told me this wasn’t your average pickle recipe. I mean, who’d think a simple fridge pickle could smell that good and look so inviting in an ordinary mason jar, sitting right next to the ketchup? Maybe you’ve been there—caught off guard by something so unpretentious but so tempting you had to ask for the recipe.
She let me taste a jar she’d made the week before, and I swear it was the perfect mix of garlicky punch and spicy heat, with that clean, crisp crunch only fresh dill can bring. I forgot to grab the sugar after all, but I walked away with something better—a recipe so simple and quick that it’s basically foolproof. I’ve been making these Quick & Easy Refrigerator Dill Pickles with Garlic and Chili Flakes ever since, and honestly, they’ve become my go-to snack and gift for friends. Let me tell you, once you try these, your fridge will never be the same.
Why You’ll Love This Recipe
After testing this recipe multiple times (and letting friends sample along the way), I can confidently say these refrigerator dill pickles are a keeper. Here’s why:
- Quick & Easy: Ready in just about 20 minutes of hands-on time—no canning or special equipment needed. Perfect when you want homemade pickles without the wait.
- Simple Ingredients: No fancy or hard-to-find supplies. You probably have garlic, dill, and chili flakes sitting in your kitchen already.
- Perfect for Snacking and Gifts: These pickles make a crunchy, tangy snack or a charming homemade gift for neighbors and friends.
- Crowd-Pleaser: The balance of garlic’s boldness with the subtle heat from chili flakes keeps everyone coming back for more. Kids and adults alike appreciate the crispness and flavor.
- Unbelievably Delicious: The brine is perfectly seasoned with vinegar and a hint of sweetness, making these pickles irresistible. The garlic infuses deeply, while the chili flakes add just the right kick.
What makes this recipe stand out is the easy layering technique—fresh dill, crushed garlic, and chili flakes go straight into the jar with the cucumbers, ensuring every bite bursts with flavor. Plus, it’s fridge pickling, so no special sterilizing or boiling required. Honestly, it’s the kind of recipe that turns a simple cucumber into something worth savoring slowly.
Whether you’re new to pickling or a seasoned pro, these pickles are a fresh take on a classic snack that fits right into your busy life. I can’t wait for you to try them and see why they’ve become a staple in my kitchen.
What Ingredients You Will Need
This recipe uses straightforward, wholesome ingredients that pack a punch of flavor without fuss. You’ll find most are pantry staples, and substitutions are easy if you want to tweak it to your taste.
- Cucumbers: 4 to 5 medium pickling cucumbers (about 1.5 pounds / 700 grams). Look for firm, unblemished cucumbers with a good snap. Kirby cucumbers are ideal for pickling.
- Fresh Dill: 2 to 3 sprigs, including the fronds. Fresh dill is essential for that classic pickle aroma. If you can find dill flowers, they add an extra punch.
- Garlic Cloves: 3 to 4 large cloves, peeled and lightly crushed. The garlic flavor deepens as the pickles sit, so don’t be shy here.
- Chili Flakes: 1 teaspoon, or more if you like it spicy. Adjust to your heat preference. I prefer crushed red pepper flakes for that perfect burn without overpowering.
- White Vinegar: 1 cup (240 ml). Use distilled white vinegar for a clean, bright flavor. You can swap for apple cider vinegar for a slightly fruity twist.
- Water: 1 cup (240 ml). Filtered or spring water works best to keep flavors pure.
- Salt: 1 tablespoon kosher salt or pickling salt. Table salt works but can make the brine cloudy.
- Sugar: 1 teaspoon (optional). Adds a subtle sweetness that balances the acidity—you can skip it if you prefer tangier pickles.
You might consider adding a bay leaf or mustard seeds if you want to customize, but honestly, this straightforward mix nails the flavor every time. For a gluten-free option, all ingredients here are naturally gluten-free, which makes these pickles a safe bet.
Equipment Needed
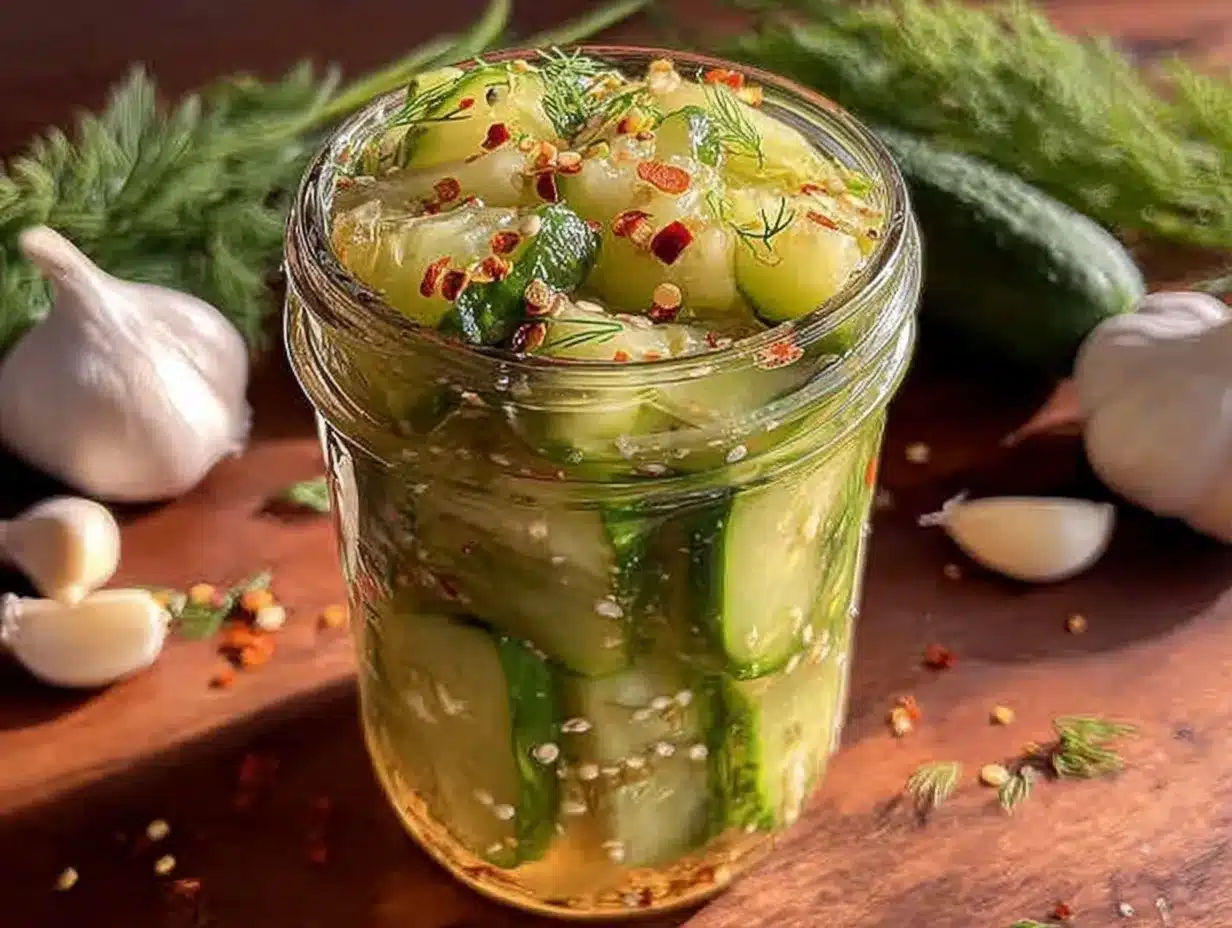
- Mason Jar or Pickling Jar: A clean, quart-sized (1 liter) glass jar with a tight lid is perfect. I’ve used both Ball and Kerr jars with great results.
- Measuring Cups and Spoons: For precise brine ratios—accuracy matters here to get that perfect tang.
- Small Saucepan: To gently heat the brine ingredients, helping dissolve salt and sugar smoothly.
- Knife and Cutting Board: For slicing cucumbers and crushing garlic cloves.
- Tongs or Fork: To pack cucumbers into the jar without bruising them.
If you don’t have a mason jar, any glass container with a lid that seals well will do. Avoid metal lids that can rust. For easy cleaning, soak your jar in warm soapy water before starting. I keep a dedicated set of jars just for pickling to avoid any cross-flavors.
Preparation Method
- Prepare the Cucumbers (10 minutes): Rinse cucumbers thoroughly under cold water. Trim off the blossom ends (they contain enzymes that can soften pickles). Slice cucumbers into spears about 3-4 inches long or into rounds if you prefer. Set aside.
- Crush the Garlic (2 minutes): Gently crush the garlic cloves with the side of a knife to release their aroma. No need to mince—large pieces steep nicely in the brine.
- Layer the Jar (5 minutes): Place fresh dill sprigs and crushed garlic cloves at the bottom of your clean jar. Add the chili flakes evenly. Then pack cucumbers snugly but without smashing, leaving about 1 inch (2.5 cm) of headspace.
- Make the Brine (5 minutes): In a small saucepan, combine vinegar, water, salt, and sugar. Warm over medium heat, stirring until salt and sugar dissolve completely. Do not boil; just warm enough to dissolve.
- Pour the Brine (2 minutes): Carefully pour the warm brine into the jar, covering cucumbers completely. Leave a little space at the top for expansion.
- Seal and Refrigerate (1 minute): Screw on the lid tightly. Let the jar cool to room temperature, then place it in the refrigerator.
- Wait and Enjoy (24-48 hours): The pickles will develop flavor after about 24 hours but taste best after 2 days. They keep well for up to 2 weeks in the fridge.
Pro tip: If your cucumbers start to turn soft, it usually means the brine is too salty or the cucumbers weren’t fresh. Using fresh, firm cucumbers is key to that satisfying crunch.
When you open the jar, the scent of garlic and dill will greet you like an old friend. The chili flakes add a subtle heat that builds with every bite. I like to label my jars with the date so I know exactly when to crack one open for the best flavor.
Cooking Tips & Techniques
- Choose the Right Cucumbers: Pickling cucumbers or Kirby cucumbers work best because they have fewer seeds and hold their crunch better. Avoid large slicing cucumbers—they tend to be watery and soft.
- Don’t Skimp on the Garlic: The garlic flavor mellows but deepens with time. Crushing rather than mincing lets it infuse the brine without overpowering.
- Adjust the Heat: Start with 1 teaspoon of chili flakes and increase gradually. If you’re sensitive to spice, remove the seeds from the flakes to reduce heat.
- Brine Temperature: Warming the brine helps dissolve salt and sugar fully but avoid boiling, as it can dull the vinegar’s brightness.
- Pack Firmly but Gently: Overpacking can crush cucumbers, making them soggy. Leave enough room for brine to circulate.
- Refrigeration Is Key: This is a fridge pickle recipe, so always keep your jar chilled to maintain crunch and freshness.
- Flavor Development: The longer they sit (up to 2 weeks), the more intense the flavors get. But honestly, they rarely last that long in my house!
I once tried to rush these by skipping the refrigeration step—lesson learned: the texture was all wrong. Patience really is part of the magic here.
Variations & Adaptations
- Garlic-Free Version: Simply omit garlic and add extra dill or some mustard seeds for a milder flavor.
- Spicy Variation: Add a fresh sliced jalapeño or a pinch of cayenne pepper along with chili flakes for a bolder kick.
- Sweet & Spicy Pickles: Increase the sugar to 2 tablespoons and add a cinnamon stick to the jar.
- Vegan & Allergy-Friendly: This recipe is naturally vegan and gluten-free. For a low-sodium version, reduce salt to 1/2 tablespoon, but expect less crunch.
- Different Vinegars: Swap white vinegar with rice vinegar or apple cider vinegar for subtle flavor changes.
One time, I tried adding fresh tarragon alongside dill—it was surprisingly good and gave a fresh twist that guests loved. Feel free to experiment a bit; the fridge pickling method is forgiving!
Serving & Storage Suggestions
Serve these pickles chilled straight from the fridge as a crunchy side or snack. They’re fantastic alongside sandwiches, burgers, or even crispy garlic chicken for that perfect tangy contrast.
Store pickles in their brine in the refrigerator for up to 2 weeks. The flavor actually deepens over time, so if you can wait, they taste better after a few days. To reheat, just let them come to room temperature (no cooking needed) or serve cold for maximum crunch.
If you want to keep them longer, consider making a canned version, but honestly, the fridge method is so quick and easy that I rarely bother.
Nutritional Information & Benefits
These refrigerator dill pickles are low in calories—about 10-15 calories per spear—and naturally fat-free. The vinegar and garlic offer antimicrobial properties, which some studies suggest may aid digestion and immune health. Plus, the capsaicin in chili flakes can boost metabolism slightly.
With no added preservatives or artificial ingredients, these pickles are a wholesome choice for snacking. Just watch the sodium content if you’re on a low-salt diet; you can always reduce salt slightly, though it may affect crunch.
This recipe fits well into gluten-free, vegan, and keto diets, making it a versatile addition to many eating plans.
Conclusion
These Quick & Easy Refrigerator Dill Pickles with Garlic and Chili Flakes are proof that you don’t need complicated steps to make something truly delicious and satisfying. They’re fast to prepare, packed with flavor, and perfect for whenever you want a crunchy, tangy snack without fuss.
Feel free to tweak the garlic or chili levels to suit your taste—this recipe is all about making pickling approachable and fun. Honestly, once you try these, you might find yourself grabbing cucumbers just to make a fresh batch every week.
Give it a shot and share how you customized the recipe—I’d love to hear your spin on this simple classic. Happy pickling!
Frequently Asked Questions
How long do refrigerator dill pickles last?
They typically last up to 2 weeks in the fridge. For best crunch and flavor, consume within 7-10 days.
Can I use regular cucumbers instead of pickling cucumbers?
You can, but regular slicing cucumbers tend to be less crunchy and more watery, which may affect texture.
Do I have to heat the brine?
Warming the brine helps dissolve salt and sugar faster, but don’t boil it. You can also stir until dissolved at room temperature, though it takes longer.
Can I make these pickles without garlic?
Absolutely! Omitting garlic still gives you tasty dill pickles. You might want to add extra herbs or mustard seeds for flavor.
How spicy are these pickles?
The chili flakes add a mild to moderate heat. Adjust the amount or remove seeds to control the spice level to your liking.
Pin This Recipe!
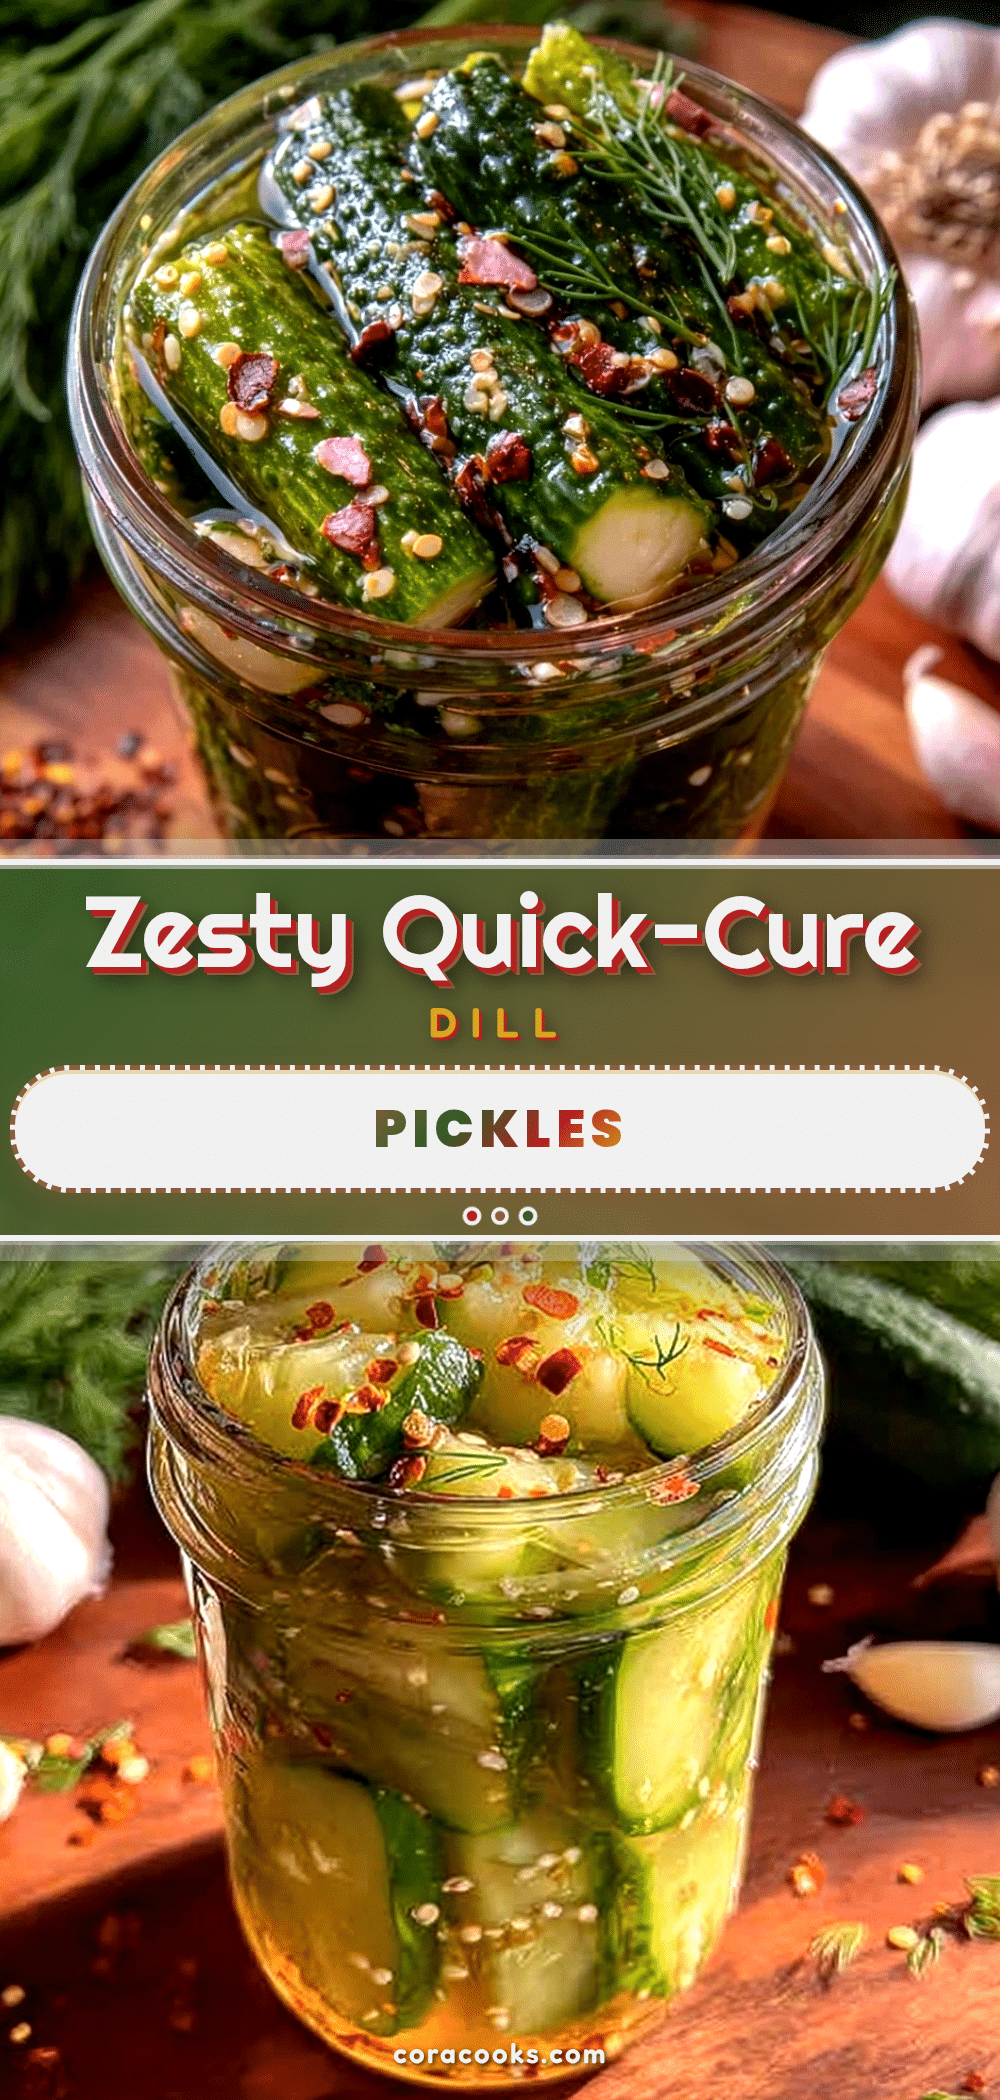
Quick and Easy Refrigerator Dill Pickles Recipe with Garlic and Chili Flakes
A simple and quick refrigerator pickle recipe featuring fresh dill, garlic, and chili flakes for a crunchy, tangy snack that’s perfect for gifting or snacking.
- Prep Time: 17 minutes
- Cook Time: 5 minutes
- Total Time: 22 minutes
- Yield: 4 to 5 servings 1x
- Category: Snack
- Cuisine: American
Ingredients
- 4 to 5 medium pickling cucumbers (about 1.5 pounds / 700 grams)
- 2 to 3 sprigs fresh dill, including fronds
- 3 to 4 large garlic cloves, peeled and lightly crushed
- 1 teaspoon chili flakes (adjust to taste)
- 1 cup (240 ml) distilled white vinegar
- 1 cup (240 ml) filtered or spring water
- 1 tablespoon kosher salt or pickling salt
- 1 teaspoon sugar (optional)
Instructions
- Rinse cucumbers thoroughly under cold water. Trim off the blossom ends. Slice cucumbers into spears about 3-4 inches long or into rounds. Set aside.
- Gently crush the garlic cloves with the side of a knife to release their aroma.
- Place fresh dill sprigs and crushed garlic cloves at the bottom of a clean quart-sized jar. Add chili flakes evenly. Pack cucumbers snugly but without smashing, leaving about 1 inch of headspace.
- In a small saucepan, combine vinegar, water, salt, and sugar. Warm over medium heat, stirring until salt and sugar dissolve completely. Do not boil.
- Carefully pour the warm brine into the jar, covering cucumbers completely. Leave a little space at the top for expansion.
- Screw on the lid tightly. Let the jar cool to room temperature, then place it in the refrigerator.
- Let the pickles develop flavor for 24-48 hours before eating. They keep well for up to 2 weeks in the fridge.
Notes
Use fresh, firm pickling cucumbers like Kirby for best crunch. Do not boil the brine to preserve vinegar brightness. Adjust chili flakes to control heat. Refrigerate to maintain crunch and flavor. Label jars with date for best use within 2 weeks.
Nutrition
- Serving Size: About 1 spear or equ
- Calories: 1015
- Sugar: 1
- Sodium: 600
- Carbohydrates: 2
- Fiber: 0.5
- Protein: 0.3
Keywords: refrigerator pickles, dill pickles, quick pickles, garlic pickles, chili flakes, easy pickling, homemade pickles, crunchy snack