Love this? Save it for later!
Share the inspiration with your friends
Introduction
“You’ve got to try these pickles,” my friend Mark said one sunny Saturday afternoon, waving a jar across the picnic blanket. I wasn’t expecting much—honestly, I’ve tried making pickles before, and they always ended up soggy or bland. But there was something about the way the sunlight hit those bright green spears that caught my eye. Mark claimed they were the ultimate quick and crunchy easy refrigerator dill pickles, made in less than a day with simple pantry staples.
It was the kind of recipe you find scribbled on a sticky note tucked inside a cookbook, or passed along in a “why didn’t I think of this?” moment. Mark confessed he whipped them up after a last-minute craving for homemade snacks and no time to wait weeks for fermentation. I mean, maybe you’ve been there too—needing that perfect tangy crunch without the fuss.
That afternoon, as I bit into one of those dill-packed delights, I realized why this recipe stuck with me. It’s honest, straightforward, and exactly what you want when you need a quick pickle fix. No special equipment, no complicated steps—just that satisfying snap and bright, fresh flavor that makes you keep reaching back into the jar. Let me tell you, this recipe has become my go-to for picnic sides, sandwich add-ons, and even a sneaky salty snack when no one’s looking.
Why You’ll Love This Recipe
- Quick & Easy: Ready in just 24 hours, perfect for those last-minute snack cravings or impromptu gatherings.
- Simple Ingredients: No need for fancy spices or hard-to-find items — everything is probably already in your kitchen.
- Perfect for Snacking: Whether you’re craving something crunchy during your afternoon slump or looking to impress at a potluck, these pickles deliver.
- Crowd-Pleaser: Kids, adults, picky eaters — everyone seems to love the fresh dill flavor paired with that crisp bite.
- Unbelievably Delicious: The perfect balance of tanginess and herbaceous dill makes these more than just your average pickle.
This isn’t just any pickle recipe; I’ve spent weeks tweaking brine ratios and soaking times to get that ideal crunch without the wait of traditional pickling. The secret? A simple refrigeration method that keeps the cucumbers crisp and the flavors bright. Honestly, it’s the kind of recipe that makes you close your eyes with the first bite and smile—comfort food that’s refreshingly light and fast.
Plus, no fermenting jars or canning supplies needed, so it’s great for beginners or anyone short on time. I keep coming back to this recipe because it turns out perfectly every single time, and I love how versatile it is for meals or just casual snacking.
What Ingredients You Will Need
This recipe uses simple, wholesome ingredients to deliver bold flavor and satisfying crunch without fuss. Most of these are pantry staples, but a few fresh items really make a difference.
- Fresh cucumbers: About 4 medium Kirby or pickling cucumbers, washed and sliced into spears or rounds (Kirby cucumbers are my favorite for their firmness and perfect size).
- Fresh dill: 3-4 sprigs, with leaves and some stems for maximum flavor (look for bright green, aromatic dill).
- Garlic cloves: 2-3, peeled and lightly crushed (adds a subtle kick).
- White vinegar: 1 cup (240 ml), preferably distilled for a clean taste.
- Water: 1 cup (240 ml), filtered or tap — I usually use filtered to keep flavors pure.
- Salt: 1 tablespoon kosher salt (avoid iodized salt which can cloud the brine).
- Sugar: 1 teaspoon granulated sugar (balances the vinegar’s sharpness).
- Black peppercorns: 1 teaspoon whole peppercorns (adds a mild, spicy note).
- Red pepper flakes (optional): 1/4 teaspoon for a bit of heat (skip if you want mild pickles).
If you want to experiment, swapping white vinegar with apple cider vinegar gives a fruitier tang. For a dairy-free but creamy twist, some folks add a tiny pinch of mustard seeds, but that’s totally optional. I recommend using a trusted brand like Morton’s kosher salt for consistency in brine strength.
Equipment Needed
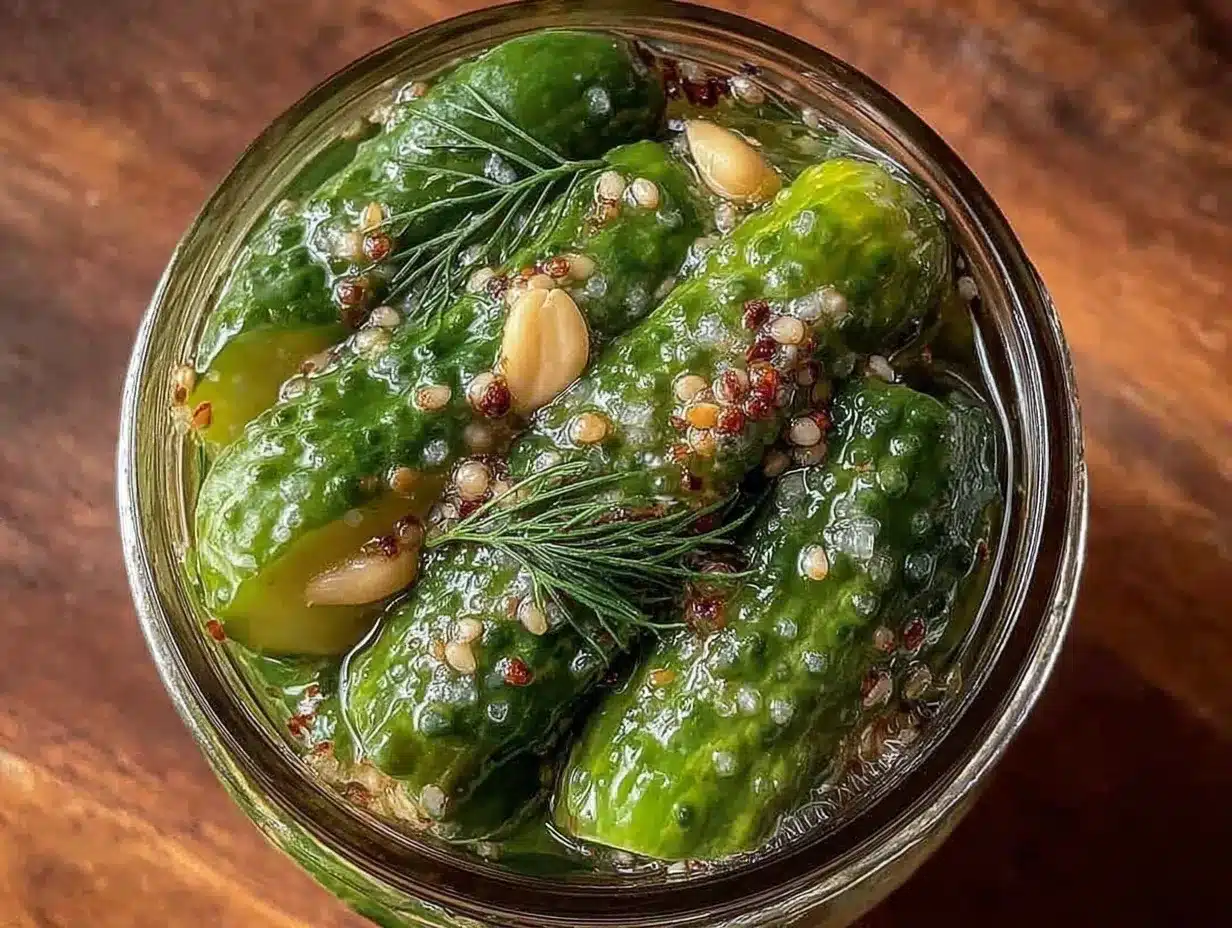
- Glass jars: One or two pint-sized mason jars or any clean glass container with a tight-fitting lid. I avoid plastic because it can absorb odors.
- Measuring cups and spoons: For precise vinegar, water, and salt amounts.
- Sharp knife and cutting board: To cut your cucumbers into crisp spears or rounds.
- Mixing bowl: To combine the brine ingredients before pouring over cucumbers.
If you don’t have mason jars, any clean glass container works, just make sure it seals well to keep pickles fresh. I’ve tried plastic containers, but the flavor doesn’t stay quite as bright, and pickles get a bit mushier faster. Also, a good sharp knife really makes a difference in getting clean cuts — uneven slices can lead to uneven pickling.
Preparation Method
- Prepare the cucumbers: Wash your cucumbers thoroughly and slice them into your preferred shape — spears about 3-4 inches long or rounds about 1/4 inch thick. Aim for even sizes for consistent crunch. (This takes about 10 minutes.)
- Make the brine: In a mixing bowl, combine 1 cup (240 ml) white vinegar, 1 cup (240 ml) water, 1 tablespoon kosher salt, and 1 teaspoon sugar. Stir until salt and sugar dissolve completely. (About 3 minutes.)
- Pack the jars: Place the fresh dill sprigs, garlic cloves, black peppercorns, and optional red pepper flakes into the bottom of your clean glass jar(s). Then pack the cucumber slices snugly but without crushing. (Roughly 5 minutes.)
- Pour brine over cucumbers: Carefully pour the brine mixture into the jar until cucumbers are fully submerged. Use a clean utensil to press cucumbers down if needed. Leave about 1/2 inch headspace at the top. (2 minutes.)
- Seal and refrigerate: Screw the lid on tightly and give the jar a gentle shake to distribute spices. Place the jar in the refrigerator. (Immediate step.)
- Wait for the magic: Let the pickles sit for at least 24 hours before tasting. They’ll continue developing flavor up to 3 days, but stay crunchy thanks to the quick refrigeration method. (Patience is key here!)
Pro tip: If you find your pickles a little too salty or sour after a day, drain some brine and replace with fresh water to mellow the flavor. Also, turning the jar upside down once or twice during the marinating process helps distribute flavors evenly.
Cooking Tips & Techniques
One thing I’ve learned over the years is that the crunch factor depends heavily on the cucumbers you pick. Look for small, firm Kirby cucumbers — they hold up best in the brine. Avoid large, watery slicing cucumbers because they tend to get mushy fast.
Don’t skip the kosher salt; it’s less processed and doesn’t cloud your brine like table salt can. Mixing the brine until completely dissolved is crucial — undissolved salt granules can cause uneven seasoning.
Another trick is to keep your cucumbers refrigerated right up until slicing — that cold snap helps lock in crunch. And when packing jars, don’t cram the cucumbers too tightly; they need a little room to soak evenly.
My first batch was a total flop because I used warm water in the brine and left the jar on the counter overnight. The cucumbers turned mushy and sad. Since then, I always keep them cold and use room temperature or cooler water for the brine. These small details make all the difference.
Timing-wise, it’s tempting to open the jar after a few hours, but trust me, patience is your friend here. At least 24 hours (preferably 48) gives the flavors time to meld and the pickles that perfect snap.
Variations & Adaptations
- Spicy Dill Pickles: Add extra red pepper flakes or a sliced jalapeño to the jar for a fiery kick.
- Garlic Lover’s Pickles: Double the garlic cloves and add a pinch of garlic powder for an intense savory punch.
- Low-Sodium Version: Reduce salt to 1/2 tablespoon and increase the soaking time for milder flavor without losing crunch.
- Herb Variations: Swap dill for fresh tarragon or fresh thyme for a unique twist on the classic flavor.
- Seasonal Pickles: In summer, toss in some fresh sliced cherry tomatoes or thin carrot sticks for color and extra crunch.
One time, I tried adding a teaspoon of mustard seeds — it gave the pickles a slightly tangy, aromatic note that was surprisingly addictive. Feel free to experiment with spices you love, but keep the basics solid for best results.
Serving & Storage Suggestions
Serve these quick and crunchy easy refrigerator dill pickles chilled straight from the fridge. They’re perfect alongside sandwiches, burgers, or even as a tangy snack on their own. I like to plate them with some sharp cheddar and crusty bread for a simple but satisfying snack board.
Store pickles in the refrigerator for up to two weeks. The flavor actually deepens after a few days, but after two weeks, they can start losing their crunch and bright flavor. Always use a clean utensil to remove pickles to avoid contamination.
To re-crisp slightly softened pickles, soak them in ice water for 15 minutes before serving. Reheating isn’t typical here since these are meant to be cold, but if you add them to cooked dishes, toss them in at the last minute.
Nutritional Information & Benefits
These dill pickles are low in calories (about 5-10 calories per spear), fat-free, and a great way to add flavor without extra carbs or sugar. The vinegar helps support digestion, and fresh dill offers antioxidants and vitamins like A and C.
Keep in mind that they are moderately high in sodium, so enjoy in moderation if you’re watching your salt intake. This recipe is naturally gluten-free, vegan, and dairy-free, making it a versatile addition to many diets.
Personally, I love how these pickles satisfy cravings for something crunchy and tangy without guilt. They’re a refreshing way to snack or add zing to meals while keeping things wholesome.
Conclusion
Quick and crunchy easy refrigerator dill pickles are hands down one of the simplest ways to get that fresh, tangy pickle fix without the wait or the mess of traditional canning. This recipe is approachable for anyone, whether you’re a kitchen newbie or a seasoned pro looking for a reliable go-to.
I love how adaptable it is — you can tweak spices, heat levels, and herbs to suit your mood or meal. Honestly, it’s become a staple in my fridge that I reach for over and over.
Give this recipe a try, and please share your favorite variations or tips in the comments. I’d love to hear how you make these pickles your own. Here’s to crunchy snacks that brighten your day!
FAQs
How long do refrigerator dill pickles last?
They typically stay fresh and crunchy in the fridge for up to two weeks. Beyond that, they might lose texture and flavor.
Can I use regular cucumbers instead of Kirby cucumbers?
Yes, but Kirby cucumbers are preferred because they are firmer and hold up better in the brine. Regular cucumbers might get softer faster.
Do I have to use fresh dill, or can I use dried?
Fresh dill is best for vibrant flavor and aroma. Dried dill can be used in a pinch but won’t give the same fresh taste.
Can I make these pickles spicy?
Absolutely! Adding red pepper flakes or fresh jalapeño slices to the jar will give your pickles a nice heat.
Is it necessary to refrigerate these pickles?
Yes, since these are quick refrigerator pickles, chilling is essential for flavor development and to keep them crunchy and safe to eat.
Pin This Recipe!
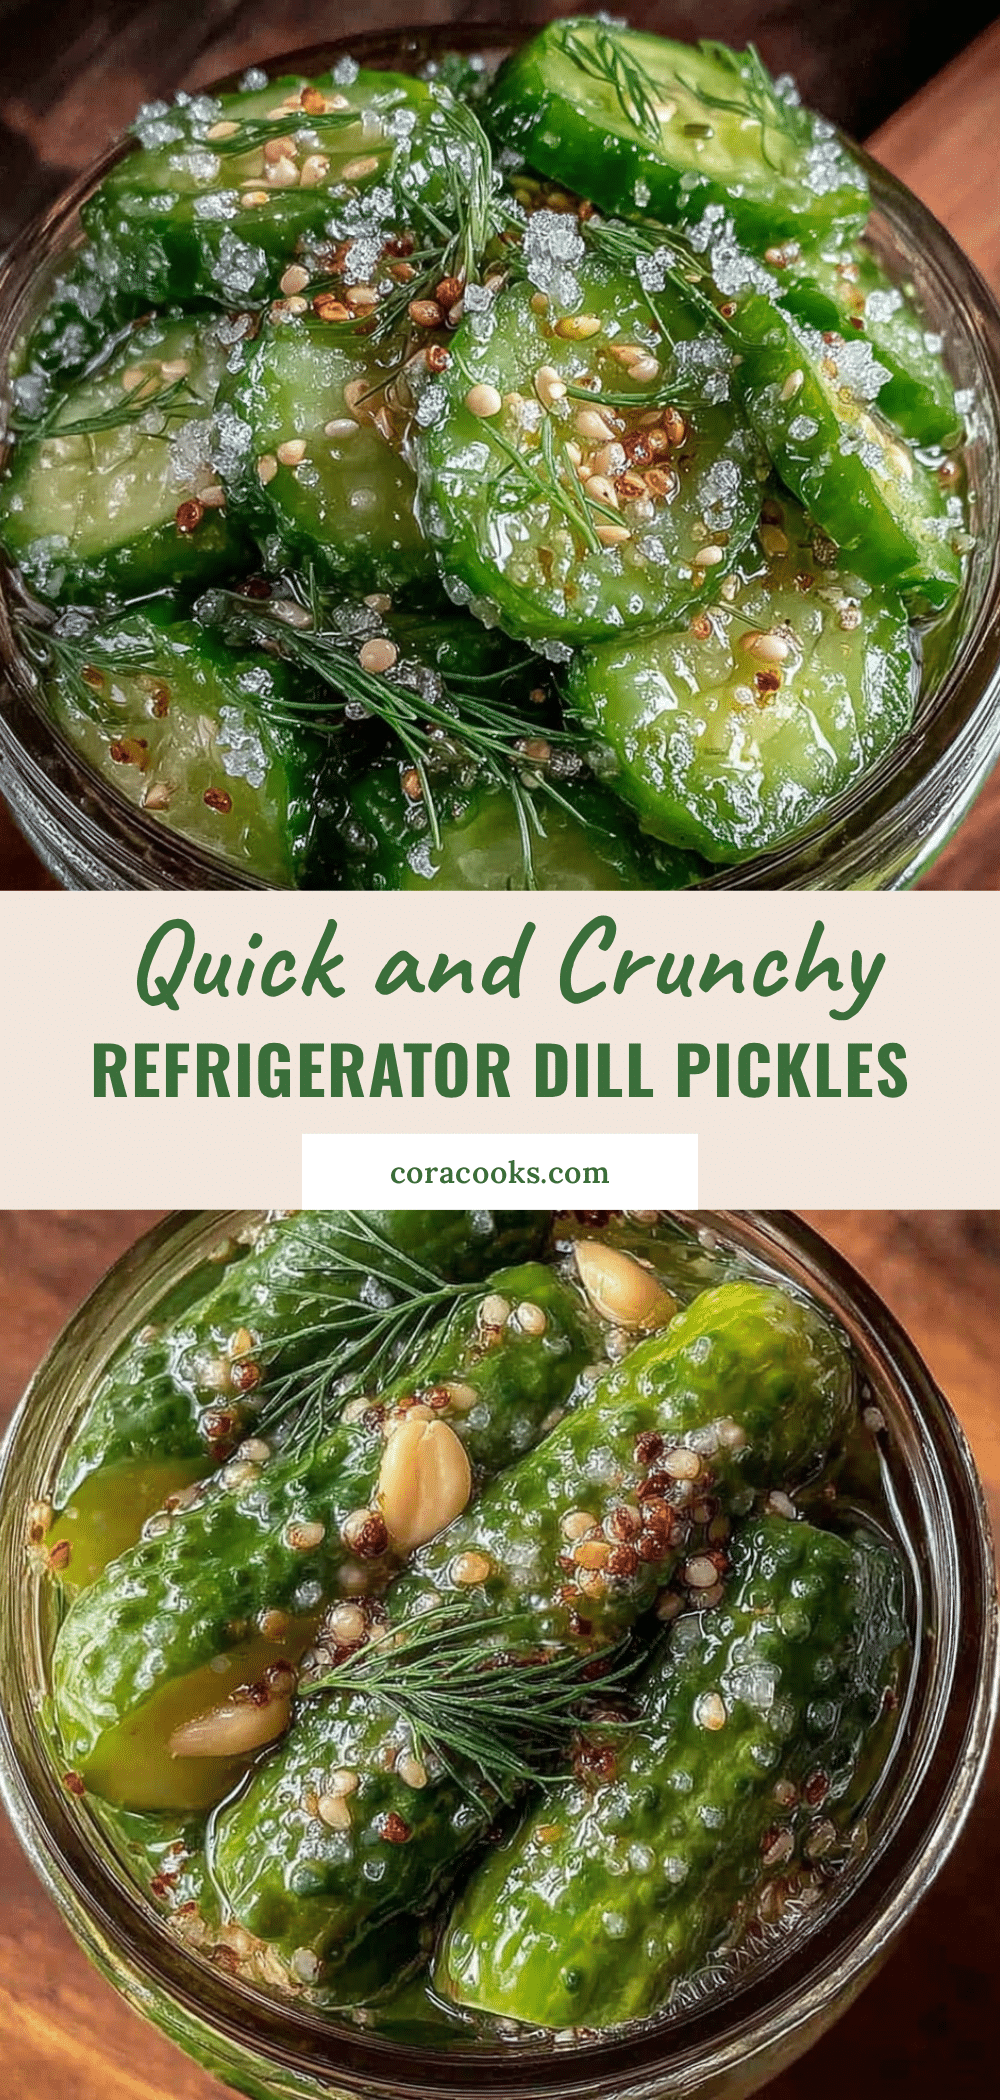
Quick and Crunchy Easy Refrigerator Dill Pickles Recipe for Perfect Homemade Snacks
A quick and easy refrigerator dill pickle recipe that delivers a perfect tangy crunch in just 24 hours using simple pantry staples. Ideal for snacking, sandwiches, and picnic sides.
- Prep Time: 15 minutes
- Cook Time: 0 minutes
- Total Time: 24 hours
- Yield: 4 servings 1x
- Category: Snack
- Cuisine: American
Ingredients
- 4 medium Kirby or pickling cucumbers, washed and sliced into spears or rounds
- 3–4 sprigs fresh dill, with leaves and some stems
- 2–3 garlic cloves, peeled and lightly crushed
- 1 cup (240 ml) white vinegar, preferably distilled
- 1 cup (240 ml) water, filtered or tap
- 1 tablespoon kosher salt
- 1 teaspoon granulated sugar
- 1 teaspoon whole black peppercorns
- 1/4 teaspoon red pepper flakes (optional)
Instructions
- Wash cucumbers thoroughly and slice into spears about 3-4 inches long or rounds about 1/4 inch thick, aiming for even sizes.
- In a mixing bowl, combine 1 cup white vinegar, 1 cup water, 1 tablespoon kosher salt, and 1 teaspoon sugar. Stir until salt and sugar dissolve completely.
- Place fresh dill sprigs, garlic cloves, black peppercorns, and optional red pepper flakes into the bottom of clean glass jar(s). Pack cucumber slices snugly but without crushing.
- Pour the brine mixture into the jar until cucumbers are fully submerged, leaving about 1/2 inch headspace. Press cucumbers down if needed.
- Seal the jar tightly and shake gently to distribute spices. Place the jar in the refrigerator.
- Let the pickles sit for at least 24 hours before tasting. They can develop flavor up to 3 days while staying crunchy.
Notes
Use Kirby cucumbers for best crunch. Avoid iodized salt to prevent cloudy brine. Keep cucumbers refrigerated until slicing. If pickles are too salty or sour after a day, drain some brine and replace with fresh water. Turn jar upside down once or twice during marinating to distribute flavors evenly. Store pickles in the refrigerator up to two weeks. To re-crisp softened pickles, soak in ice water for 15 minutes before serving.
Nutrition
- Serving Size: About 1 spear or 1/4
- Calories: 510
- Sugar: 0.5
- Sodium: 400
- Carbohydrates: 1
- Fiber: 0.2
Keywords: refrigerator dill pickles, quick pickles, easy pickles, crunchy pickles, homemade pickles, dill pickles recipe, no canning pickles


