Love this? Save it for later!
Share the inspiration with your friends
There used to be this tiny bakery tucked away on a side street in Portland, right near the old Powell’s Books, that made the most unforgettable pumpkin scones. When they closed their doors three years ago—a “For Lease” sign in the window, just like that—I honestly felt a little lost. I mean, I’d drive twenty minutes out of my way for those scones, especially on a crisp October morning. The first time I tried to recreate them at home, I ended up with flat, dense discs that tasted more like spiced cardboard than anything resembling that bakery’s masterpiece. After twelve tries—twelve, let me tell you, my kitchen looked like a pumpkin explosion—I finally got it. The texture, that perfect crumbly-tender bite, the way the maple glaze seeps into the warm scone just enough to make it sing. And you know that feeling when you take that first bite and it’s exactly what you’ve been chasing? That’s this recipe. It’s the one I bring to every fall gathering, the one my friends text me about in September asking, “Are you making those scones for the potluck?” It stayed with me because it’s not just a scone—it’s a memory you can hold in your hands, warm and sweet and exactly right.
Why You’ll Love This Recipe
Let me be real with you for a second. I’ve tested this recipe more times than I care to count, and I’ve brought it to everything from casual brunches to full-on Thanksgiving dinners. It’s the kind of recipe that makes you look like you spent hours in the kitchen when really, it comes together in about 35 minutes flat. Here’s why you’re going to love it:
- Quick & Easy: From start to finish, you’re looking at about 35 minutes. Mix, shape, bake, glaze. That’s it. Perfect for those mornings when guests are arriving and you realize you need something impressive, stat.
- Simple Ingredients: No hunting down obscure spices or specialty flours. You probably have most of this in your pantry right now. Canned pumpkin, basic baking staples, maple syrup—done.
- Perfect for Fall Gatherings: Whether it’s a Friendsgiving, a Halloween brunch, or just a cozy Sunday with family, these scones are the star. They’re not too sweet, not too heavy, and they pair beautifully with coffee, tea, or even a glass of apple cider.
- Crowd-Pleaser: I’ve served these to kids, picky eaters, and serious foodies. Every single time, someone asks for the recipe. They’re that good.
- Unbelievably Delicious: The combination of pumpkin, warm fall spices, and that maple glaze? It’s next-level comfort food. The texture is tender on the inside, slightly crisp on the outside, and the glaze adds just the right amount of sweetness.
What makes this recipe different from all the other pumpkin scone recipes out there? It’s the technique. I learned the hard way that overmixing is the enemy of a good scone. This recipe uses a gentle hand and a specific method for incorporating the butter that gives you those flaky, tender layers without any fuss. Plus, the maple glaze isn’t an afterthought—it’s the perfect balance of rich maple flavor and just enough sweetness to complement, not overwhelm, the pumpkin. Honestly, this isn’t just another version. It’s the version.
This recipe connects emotionally because it’s the kind of food that makes you close your eyes after the first bite. It’s comfort food reimagined—faster than you’d expect, but with the same soul-soothing satisfaction. Perfect for impressing guests without stress, or turning a simple fall morning into something memorable.
What Ingredients You Will Need
This recipe uses simple, wholesome ingredients to deliver bold flavor and satisfying texture without the fuss. Most of these are pantry staples, which means you can whip up a batch whenever the craving hits.
For the Scones
- 2 cups all-purpose flour (I prefer King Arthur for consistent results, but any brand works)
- 1/3 cup packed light brown sugar (adds moisture and a subtle molasses note)
- 1 tablespoon baking powder (make sure it’s fresh—this is key for lift)
- 1 teaspoon ground cinnamon
- 1/2 teaspoon ground nutmeg (freshly grated if you have it, but pre-ground is fine)
- 1/2 teaspoon ground ginger
- 1/4 teaspoon ground cloves
- 1/2 teaspoon salt
- 1/2 cup cold unsalted butter, cut into small cubes (cold is crucial—warm butter = flat scones)
- 1/2 cup canned pumpkin puree (not pumpkin pie filling—just pure pumpkin)
- 1/3 cup heavy cream (plus a little extra for brushing the tops)
- 1 large egg (room temperature if you remember, but cold works too)
- 1 teaspoon vanilla extract
For the Maple Glaze
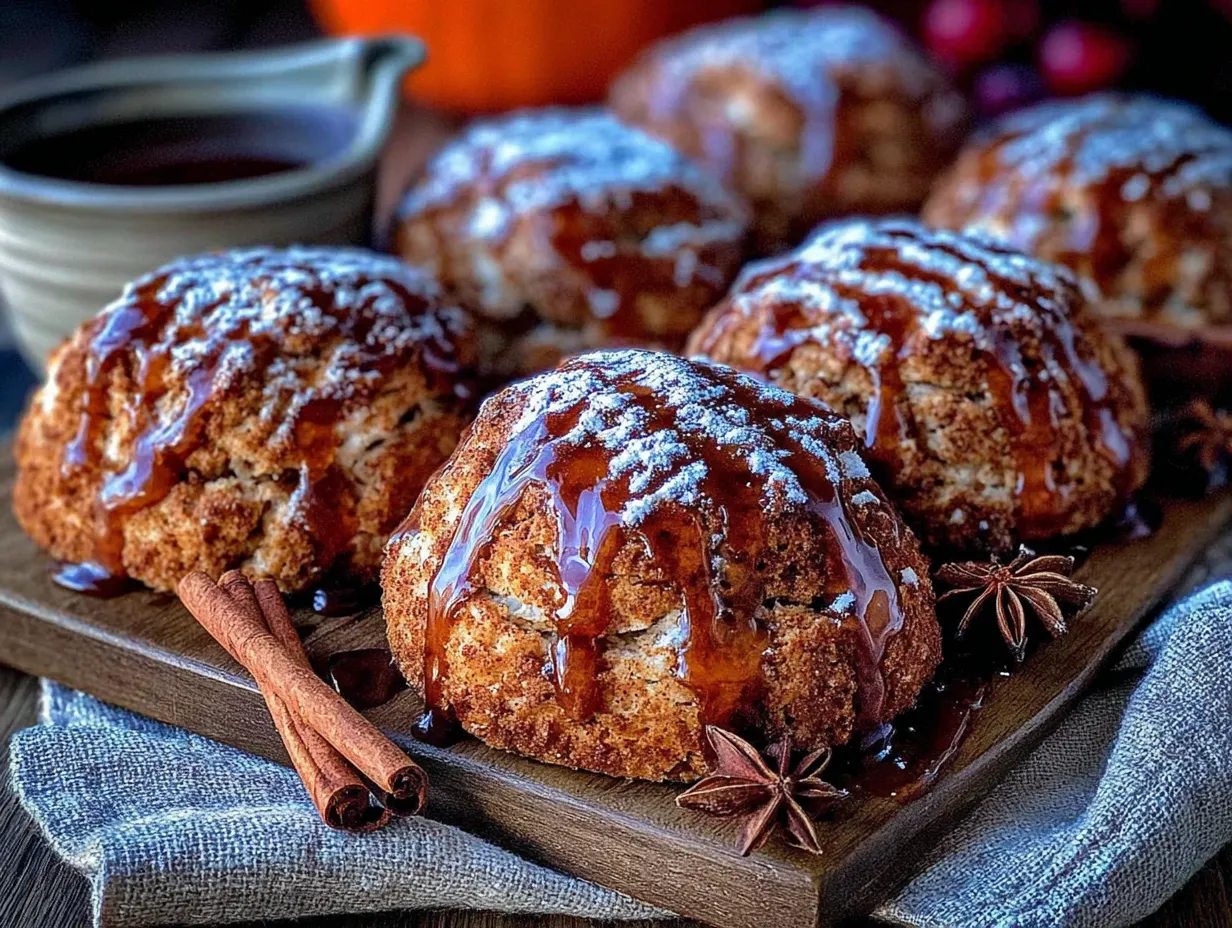
- 1 cup powdered sugar, sifted (sifting prevents lumps—trust me on this)
- 3 tablespoons pure maple syrup (not pancake syrup—the real stuff makes a difference)
- 1–2 tablespoons milk or heavy cream (adjust for desired consistency)
- Pinch of salt (balances the sweetness)
A quick note on ingredients: For the best texture, use cold butter and cold cream. I learned this the hard way after making a batch of greasy, flat scones because my butter had softened on the counter. Also, if you’re using a different brand of canned pumpkin, check the consistency—some are more watery than others. Libby’s is my go-to because it’s consistently thick and not too wet. For a dairy-free option, you can substitute the heavy cream with full-fat coconut cream and use a vegan butter stick. The texture will be slightly different, but still delicious.
Equipment Needed
You don’t need a lot of fancy equipment for these scones, which is part of what makes them so approachable. Here’s what you’ll need:
- Large mixing bowl (any bowl works, but a wide one makes mixing easier)
- Pastry cutter or two forks (for cutting the butter into the flour)
- Baking sheet (lined with parchment paper—trust me, cleanup is so much easier)
- Parchment paper (non-negotiable for easy removal)
- Whisk (for mixing dry ingredients and the glaze)
- Bench scraper or sharp knife (for cutting the scones into triangles)
- Pastry brush (for brushing cream on top—optional but recommended)
- Cooling rack (so the bottoms don’t get soggy)
If you don’t have a pastry cutter, don’t stress. You can use two forks, or even your fingertips—just work quickly so the butter doesn’t warm up. I actually prefer using my hands because I can feel when the butter is the right size. And if you don’t have a bench scraper, a sharp knife works perfectly. I’ve also used a pizza cutter in a pinch, and it worked great. For a budget-friendly option, skip the pastry brush and just drizzle the cream over the scones with a spoon. No one will know the difference.
Preparation Method
Alright, let’s get to the good part. Here’s how to make these perfect pumpkin scones with maple glaze, step by step.
- Preheat your oven to 400°F (200°C). Line a baking sheet with parchment paper and set it aside. Getting the oven hot before you start mixing is key—you want the scones to hit that heat immediately for maximum rise.
- In a large bowl, whisk together the dry ingredients: 2 cups flour, 1/3 cup brown sugar, 1 tablespoon baking powder, 1 teaspoon cinnamon, 1/2 teaspoon nutmeg, 1/2 teaspoon ginger, 1/4 teaspoon cloves, and 1/2 teaspoon salt. Make sure the brown sugar is broken up—those little clumps can hide and leave you with a pocket of pure sugar in one bite. I use my fingers to rub it in if needed.
- Add the cold butter cubes to the flour mixture. Using a pastry cutter or your fingertips, cut the butter into the flour until the mixture resembles coarse crumbs with some pea-sized butter pieces remaining. This is where the magic happens. Those little butter bits create steam pockets in the oven, giving you those flaky layers. Don’t overdo it—you want visible butter pieces. I’ve made the mistake of overworking it, and the scones came out tough. Aim for about 2-3 minutes of cutting.
- In a separate small bowl, whisk together the wet ingredients: 1/2 cup pumpkin puree, 1/3 cup heavy cream, 1 egg, and 1 teaspoon vanilla extract. Whisk until smooth and fully combined. The mixture should be a uniform orange color—if you see streaks of egg, keep whisking.
- Pour the wet ingredients into the dry ingredients and stir with a fork or spatula until just combined. The dough will be shaggy and a little sticky—that’s exactly what you want. Do not overmix. I know it’s tempting to keep stirring until it looks smooth, but stop as soon as the flour is incorporated. Overmixing develops gluten, which makes scones tough instead of tender. I once stirred for an extra 30 seconds out of habit, and the scones were noticeably denser.
- Turn the dough out onto a lightly floured surface. Gently bring it together with your hands, patting it into a rectangle about 3/4 inch thick. Don’t knead it—just press it together. If the dough is too sticky, sprinkle a tiny bit more flour on your hands and the surface, but go easy. Too much flour and the scones will be dry.
- Using a bench scraper or sharp knife, cut the dough into 8 triangles. I like to cut the rectangle in half lengthwise, then cut each half into 4 triangles. It’s not about being perfect—rustic scones have charm. Place them on the prepared baking sheet, spacing them about 2 inches apart. They’ll spread a little, so give them room.
- Brush the tops of the scones with a little extra heavy cream. This gives them that beautiful golden-brown color and a slightly crisp top. If you don’t have a pastry brush, just drizzle a tiny bit over each scone and spread it with your finger. It works, I promise.
- Bake for 14-16 minutes, or until the scones are golden brown on the bottoms and edges. The tops should be lightly browned too. Every oven is different—my first batch with this recipe came out pale at 14 minutes, so I added 2 more minutes. Check at 14 minutes, and if they’re not golden, give them another minute or two. Let them cool on the baking sheet for 5 minutes, then transfer to a cooling rack.
- While the scones cool, make the maple glaze. In a small bowl, whisk together 1 cup sifted powdered sugar, 3 tablespoons pure maple syrup, and a pinch of salt. Add milk or cream 1 tablespoon at a time until you reach a pourable consistency. You want it thick enough to coat the back of a spoon but thin enough to drizzle. If it’s too thick, add a teaspoon more liquid. Too thin? Add a little more powdered sugar.
- Drizzle the glaze over the warm scones. I like to use a spoon and just let it cascade naturally. Don’t overdo it—you want the scone to shine through, not be drowned. Let the glaze set for about 5-10 minutes before serving. The warmth of the scones will help the glaze seep in just a little, creating that perfect bite.
Cooking Tips & Techniques
After making these scones more times than I can count, I’ve picked up a few tricks that make all the difference. Here are my best tips:
Keep everything cold. This is the number one rule of scone-making. Cold butter creates steam pockets as it melts in the oven, giving you those flaky layers. If your kitchen is warm, pop the butter in the freezer for 10 minutes before cutting it in. I’ve even refrigerated my flour mixture for 15 minutes on a hot summer day before adding the wet ingredients. It works.
Don’t overmix the dough. I cannot stress this enough. Mix until the flour is just incorporated—a few dry spots are fine. Overmixing develops gluten, which makes scones tough and dense. The first time I made these, I kept mixing because I wanted it to look “perfect.” The scones came out like hockey pucks. Learn from my mistake.
Use a light hand when shaping. Pat the dough gently into shape—don’t press down hard. You want to keep those butter pieces intact. If the dough cracks a little, that’s okay. Rustic scones have character.
Brush with cream, not milk. Heavy cream gives a richer color and a slightly crispier top. Milk works in a pinch, but the results aren’t as golden. If you’re dairy-free, brush with a little melted vegan butter or coconut oil.
Let the glaze set properly. I know it’s tempting to dive right in, but giving the glaze 5-10 minutes to set means it won’t slide off the scone and make a mess. Plus, the scones cool slightly, so you don’t burn your mouth. Patience pays off.
Multitasking tip: While the scones are baking, make the glaze and clean up your workspace. That way, by the time the scones are cool enough to glaze, everything is ready. It makes the whole process feel effortless.
Variations & Adaptations
One of the best things about this recipe is how easy it is to adapt. Here are some variations I’ve tried and loved:
Gluten-Free Version: Substitute the all-purpose flour with a 1:1 gluten-free baking flour blend. I’ve used Bob’s Red Mill and King Arthur’s gluten-free blends with great results. Just note that the texture will be slightly more crumbly, so handle the dough gently. Add an extra tablespoon of cream if the dough seems too dry.
Dairy-Free Version: Use cold vegan butter (I like Miyoko’s for its butteriness) and substitute the heavy cream with full-fat coconut cream or oat milk. The scones won’t be as flaky, but they’ll still be tender and delicious. For the glaze, use a dairy-free milk like almond or oat.
Add-In Variations: Fold in 1/2 cup of dried cranberries, chopped pecans, or chocolate chips after mixing the wet and dry ingredients. I made a batch with white chocolate chips and dried cranberries for a holiday party, and they disappeared in minutes. You can also add 1/4 cup of crystallized ginger for a spicy kick.
Spice It Up: If you love warm spices, add 1/4 teaspoon of cardamom or allspice to the flour mixture. I tried a version with a pinch of black pepper once—sounds weird, but it added a subtle warmth that was incredible.
Savory Twist: Skip the sugar and maple glaze, reduce the cinnamon to 1/2 teaspoon, and add 1/2 cup of shredded cheddar cheese and 2 tablespoons of chopped fresh sage. Bake as directed, and serve with butter or honey. These are amazing with soup or chili.
Mini Scones: For bite-sized treats, pat the dough into a circle and cut it into 12-16 small wedges. Reduce the baking time to 10-12 minutes. Perfect for brunch buffets or tea parties.
Serving & Storage Suggestions
These scones are best served warm, right after the glaze has set. The contrast between the slightly crisp exterior and the tender, flaky interior is pure magic. I love serving them with a hot cup of coffee or chai tea—the spices complement each other beautifully. For a fall brunch, pair them with a pumpkin spice latte or a glass of cold apple cider.
If you’re hosting a gathering, arrange the scones on a beautiful platter or a wooden board. Drizzle the glaze over them just before serving so it stays glossy. You can also set out a small dish of extra glaze for dipping—trust me, people love that. They’re also wonderful alongside a bowl of whipped cinnamon butter or a dollop of clotted cream.
Storage: Store leftover scones in an airtight container at room temperature for up to 2 days. After that, they’ll start to dry out. If you’ve already glazed them, place a piece of parchment paper between layers to prevent sticking. Do not refrigerate—the fridge dries them out faster.
Freezing: These scones freeze beautifully. Freeze unglazed scones in a single layer on a baking sheet, then transfer to a freezer bag for up to 3 months. When you’re ready to enjoy them, thaw at room temperature and reheat in a 350°F oven for 5-7 minutes. Then glaze as directed. You can also freeze the glaze separately in a small container—just whisk it well after thawing.
Reheating: The best way to reheat a scone is in the oven or toaster oven at 350°F for 5 minutes. The microwave works in a pinch, but it’ll make the scone soft and a little gummy. If you’re reheating glazed scones, the glaze might melt slightly—that’s okay, it just gets a little gooey, which is honestly delicious.
One thing I’ve noticed: the flavors actually deepen a bit after a day. The spices meld together, and the scones become even more aromatic. So if you can wait a day, you’re in for a treat. But honestly, I’ve never had leftovers last that long.
Nutritional Information & Benefits
Here’s the estimated nutritional breakdown for one scone (with glaze):
| Nutrient | Amount |
|---|---|
| Calories | ~320 |
| Total Fat | 14g |
| Saturated Fat | 9g |
| Cholesterol | 55mg |
| Sodium | 280mg |
| Total Carbohydrates | 46g |
| Dietary Fiber | 2g |
| Sugars | 24g |
| Protein | 4g |
These values are estimates and will vary based on specific ingredients and portion sizes. Pumpkin is a fantastic source of Vitamin A, which supports eye health and immune function. It’s also rich in fiber and antioxidants. The cinnamon and ginger in this recipe add anti-inflammatory properties, while the maple syrup provides a natural source of energy. If you’re watching your sugar intake, you can reduce the glaze by half or skip it entirely—the scones are still delicious without it.
This recipe is vegetarian and can be made gluten-free or dairy-free with simple substitutions. It does contain wheat, dairy, and eggs, so it’s not suitable for those with allergies to those ingredients. For a vegan version, use a flax egg and plant-based butter and cream.
Conclusion
Look, I’ve made a lot of scones in my time. Some were triumphs, some were total disasters—that one batch I forgot the baking powder comes to mind. But these pumpkin scones with maple glaze? They’re the ones I keep coming back to. They’re the ones my friends request, the ones I bring to every fall gathering, the ones that make people close their eyes and sigh with that first bite. They’re not complicated, they don’t require fancy techniques, and they come together in under an hour. But they taste like something special—like a warm hug on a crisp autumn morning.
I’d love for you to try them and make them your own. Maybe add some pecans, or swap the maple glaze for a cream cheese drizzle. Whatever you do, don’t stress about perfection. Scones are forgiving, and even the “ugly” ones taste amazing. So go ahead—preheat that oven, get your hands in the dough, and make something that’ll fill your kitchen with the smell of fall. And when you do, come back and tell me how it went. I read every comment, and nothing makes me happier than hearing about your baking adventures.
Happy baking, friends. You’ve got this.
Frequently Asked Questions
Can I use fresh pumpkin instead of canned?
Yes, you can! If using fresh pumpkin, make sure to roast it until tender, then puree it and drain off any excess liquid. Fresh pumpkin puree tends to be more watery than canned, so you may need to reduce the cream by a tablespoon or two. I’ve done it both ways, and canned is definitely easier and more consistent, but fresh adds a lovely depth of flavor.
Why did my scones turn out flat?
Flat scones usually mean one of three things: your butter was too warm, your baking powder was old, or you overmixed the dough. Make sure your butter is cold straight from the fridge, check the expiration date on your baking powder, and mix just until the flour disappears. If your kitchen is warm, pop the shaped scones in the fridge for 15 minutes before baking.
Can I make the dough ahead of time?
Absolutely! You can prepare the dough, shape the scones, and refrigerate them on the baking sheet for up to 24 hours. Cover them tightly with plastic wrap. When you’re ready to bake, add an extra 2-3 minutes to the baking time since they’re starting from cold. You can also freeze the unbaked scones for up to 3 months—bake straight from frozen, adding 3-5 minutes.
Can I use pumpkin pie spice instead of individual spices?
Yes, you can substitute 2 teaspoons of pumpkin pie spice for the cinnamon, nutmeg, ginger, and cloves. The flavor will be slightly different—pumpkin pie spice often includes allspice and sometimes mace—but it’ll still be delicious. I’ve done this in a pinch, and it works great.
How do I prevent the glaze from being too runny?
If your glaze is too runny, it usually means you added too much liquid. Start with 1 tablespoon of milk or cream, whisk it in, and check the consistency. You want it thick enough to coat the back of a spoon but still pourable. If it’s too thin, add more powdered sugar, 1 tablespoon at a time, until it reaches the right texture. Also, sifting the powdered sugar helps prevent lumps that can throw off the consistency.
Pin This Recipe!
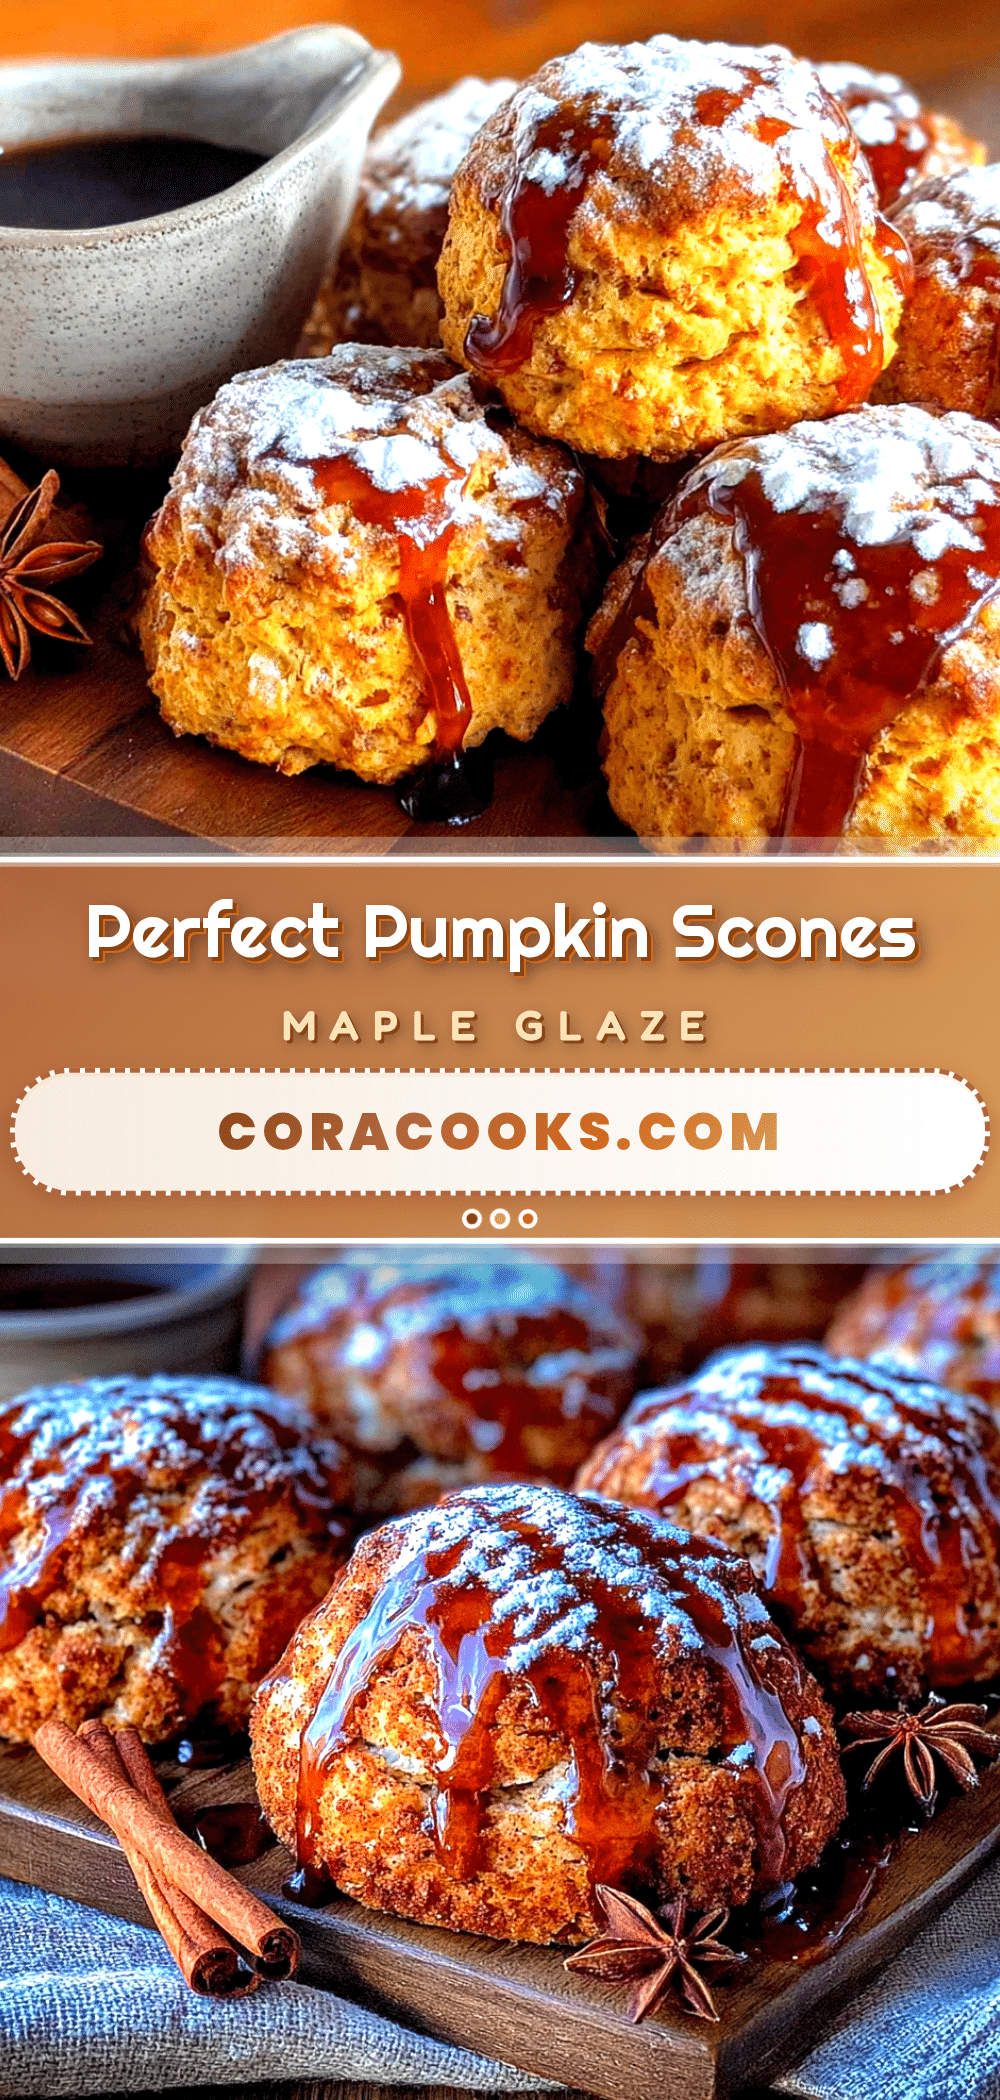
Perfect Pumpkin Scones with Maple Glaze: Easy Fall Recipe

These tender, flaky pumpkin scones are infused with warm fall spices and topped with a rich maple glaze. They come together in about 35 minutes and are perfect for fall gatherings, brunches, or a cozy morning treat.
- Prep Time: 15 minutes
- Cook Time: 16 minutes
- Total Time: 35 minutes
- Yield: 8 servings 1x
- Category: Dessert
- Cuisine: American
Ingredients
- 2 cups all-purpose flour
- 1/3 cup packed light brown sugar
- 1 tablespoon baking powder
- 1 teaspoon ground cinnamon
- 1/2 teaspoon ground nutmeg
- 1/2 teaspoon ground ginger
- 1/4 teaspoon ground cloves
- 1/2 teaspoon salt
- 1/2 cup cold unsalted butter, cut into small cubes
- 1/2 cup canned pumpkin puree
- 1/3 cup heavy cream (plus extra for brushing)
- 1 large egg
- 1 teaspoon vanilla extract
- 1 cup powdered sugar, sifted
- 3 tablespoons pure maple syrup
- 1–2 tablespoons milk or heavy cream (for glaze)
- Pinch of salt (for glaze)
Instructions
- Preheat oven to 400°F (200°C). Line a baking sheet with parchment paper.
- In a large bowl, whisk together flour, brown sugar, baking powder, cinnamon, nutmeg, ginger, cloves, and salt.
- Add cold butter cubes to the flour mixture. Using a pastry cutter or fingertips, cut the butter into the flour until the mixture resembles coarse crumbs with some pea-sized butter pieces remaining.
- In a separate small bowl, whisk together pumpkin puree, 1/3 cup heavy cream, egg, and vanilla extract until smooth.
- Pour the wet ingredients into the dry ingredients and stir with a fork or spatula until just combined. The dough will be shaggy and slightly sticky.
- Turn the dough out onto a lightly floured surface. Gently bring it together with your hands, patting it into a rectangle about 3/4 inch thick. Do not knead.
- Using a bench scraper or sharp knife, cut the dough into 8 triangles. Place them on the prepared baking sheet, spacing about 2 inches apart.
- Brush the tops of the scones with a little extra heavy cream.
- Bake for 14-16 minutes, or until golden brown on the bottoms and edges. Let cool on the baking sheet for 5 minutes, then transfer to a cooling rack.
- While the scones cool, make the maple glaze: In a small bowl, whisk together sifted powdered sugar, maple syrup, and a pinch of salt. Add milk or cream 1 tablespoon at a time until you reach a pourable consistency.
- Drizzle the glaze over the warm scones. Let the glaze set for 5-10 minutes before serving.
Notes
Keep all ingredients cold for flaky scones. Do not overmix the dough. For best results, use fresh baking powder. Scones can be frozen unglazed for up to 3 months.
Nutrition
- Serving Size: 1 scone
- Calories: 320
- Sugar: 24
- Sodium: 280
- Fat: 14
- Saturated Fat: 9
- Carbohydrates: 46
- Fiber: 2
- Protein: 4
Keywords: pumpkin scones, maple glaze, fall recipe, easy scones, pumpkin spice, breakfast, brunch


