Love this? Save it for later!
Share the inspiration with your friends
My neighbor, Mrs. Gable, watched me wrestle with a butternut squash for a solid minute before she said anything. I was trying to cut it in half, and honestly, I was losing. The thing kept rolling off my cutting board, and I was gripping that knife like I was defusing a bomb. She just stood there on her porch, coffee in hand, watching the show. Then she walked over, took the squash from me, and said, “You’re fighting it. Let me show you.” She didn’t even knock—she just came into my kitchen, grabbed a vegetable peeler, and started talking. She told me about her grandmother’s farm and how they’d roast squash with maple syrup every fall. She wasn’t teaching me a recipe, you know? She was just sharing a memory. That day, she showed me the trick to getting perfectly tender, caramelized edges without burning the sugar. Three years later, I still make this maple cinnamon roasted butternut squash every single week. It’s become my go-to side dish for everything from cozy weeknight dinners to holiday feasts. And every time I peel that squash, I think of Mrs. Gable standing at my counter, telling me to stop overcomplicating things. Maybe you’ve had a moment like that—someone showing you a simpler way. That’s what this recipe is for me. It’s simple, it’s forgiving, and it tastes like autumn in a pan.
Why You’ll Love This Recipe
Let me be real with you—I’ve tested this recipe about fifteen times to get it just right. The first few batches were either too mushy or too burnt. But after some trial and error (and a few smoky kitchen moments), I landed on the perfect balance. This maple cinnamon roasted butternut squash is the version I keep coming back to, and here’s why you’ll love it too:
- Quick & Easy: It comes together in just 30 minutes, which is honestly perfect for those busy weeknights when you want something that feels special without spending hours in the kitchen.
- Simple Ingredients: You probably already have maple syrup and cinnamon in your pantry. No fancy grocery trips required—just a butternut squash and a few pantry staples.
- Perfect for Any Occasion: It works for Thanksgiving dinner, meal prep Sundays, or a random Tuesday when you need some comfort food. I’ve even brought it to potlucks, and it disappears fast.
- Unbelievably Delicious: The maple syrup caramelizes in the oven, creating these golden, slightly crispy edges that are just incredible. The cinnamon adds warmth without overpowering the squash’s natural sweetness.
- Crowd-Pleaser: My picky nephew actually asked for seconds the first time I made this. That’s when I knew it was a winner.
What makes this recipe different from all the others? It’s the technique. Most recipes tell you to toss everything together and roast it, but that leads to soggy squash. I’ve learned that spacing the cubes out and not overcrowding the pan is the secret to getting those caramelized edges. Plus, I add a tiny pinch of salt to balance the sweetness—it makes a huge difference. This isn’t just another roasted squash recipe. It’s the one that makes you close your eyes after the first bite and go, “Okay, that’s really good.”
What Ingredients You Will Need
This recipe uses simple, wholesome ingredients to deliver bold flavor and satisfying texture without the fuss. Most of these are pantry staples, which makes this dish incredibly easy to throw together on a whim.
- 1 medium butternut squash (about 2-3 pounds), peeled, seeded, and cut into 1-inch cubes (look for one that feels heavy for its size and has a firm, unblemished skin)
- 3 tablespoons olive oil (I prefer extra virgin for flavor, but regular works fine too)
- 3 tablespoons pure maple syrup (not pancake syrup—use the real stuff for the best caramelization and flavor)
- 1 teaspoon ground cinnamon (I use Saigon cinnamon when I can find it—it’s warmer and more aromatic)
- 1/2 teaspoon salt (kosher salt is ideal, but sea salt works too)
- 1/4 teaspoon black pepper (freshly ground is best)
- 2 tablespoons unsalted butter, melted (optional, but it adds richness and helps with browning)
- Optional garnish: 2 tablespoons chopped fresh parsley or thyme, and 1/4 cup toasted pecans or walnuts
A few ingredient notes from my kitchen to yours: If you’re using a large squash, you might need an extra tablespoon of maple syrup to coat everything evenly. For a dairy-free version, skip the butter or use a vegan butter alternative. I’ve also made this with coconut oil instead of olive oil, and it works beautifully—it adds a subtle tropical note that pairs surprisingly well with the cinnamon. When choosing your maple syrup, go for Grade A Dark Amber if you can find it. It has a stronger maple flavor that really shines through after roasting.
Equipment Needed
You don’t need a ton of fancy equipment for this recipe, which is part of why I love it. Here’s what you’ll need:
- Large baking sheet (a half-sheet pan works perfectly—avoid using a smaller pan or the squash will steam instead of roast)
- Sharp chef’s knife (this is non-negotiable for cutting butternut squash safely—a dull knife is dangerous here)
- Vegetable peeler (a Y-shaped peeler makes quick work of the tough skin)
- Cutting board (preferably wooden or a sturdy plastic one)
- Large mixing bowl
- Measuring spoons
- Spatula or wooden spoon for tossing
- Parchment paper or silicone baking mat (optional but highly recommended for easy cleanup)
If you don’t have a vegetable peeler, you can microwave the whole squash for 2-3 minutes to soften the skin slightly, then peel it with a paring knife. I learned that trick from a cooking class I took years ago, and it’s saved me a lot of frustration. As for the baking sheet, I recommend investing in a heavy-duty one—cheap ones can warp in the oven and cause uneven cooking.
Preparation Method
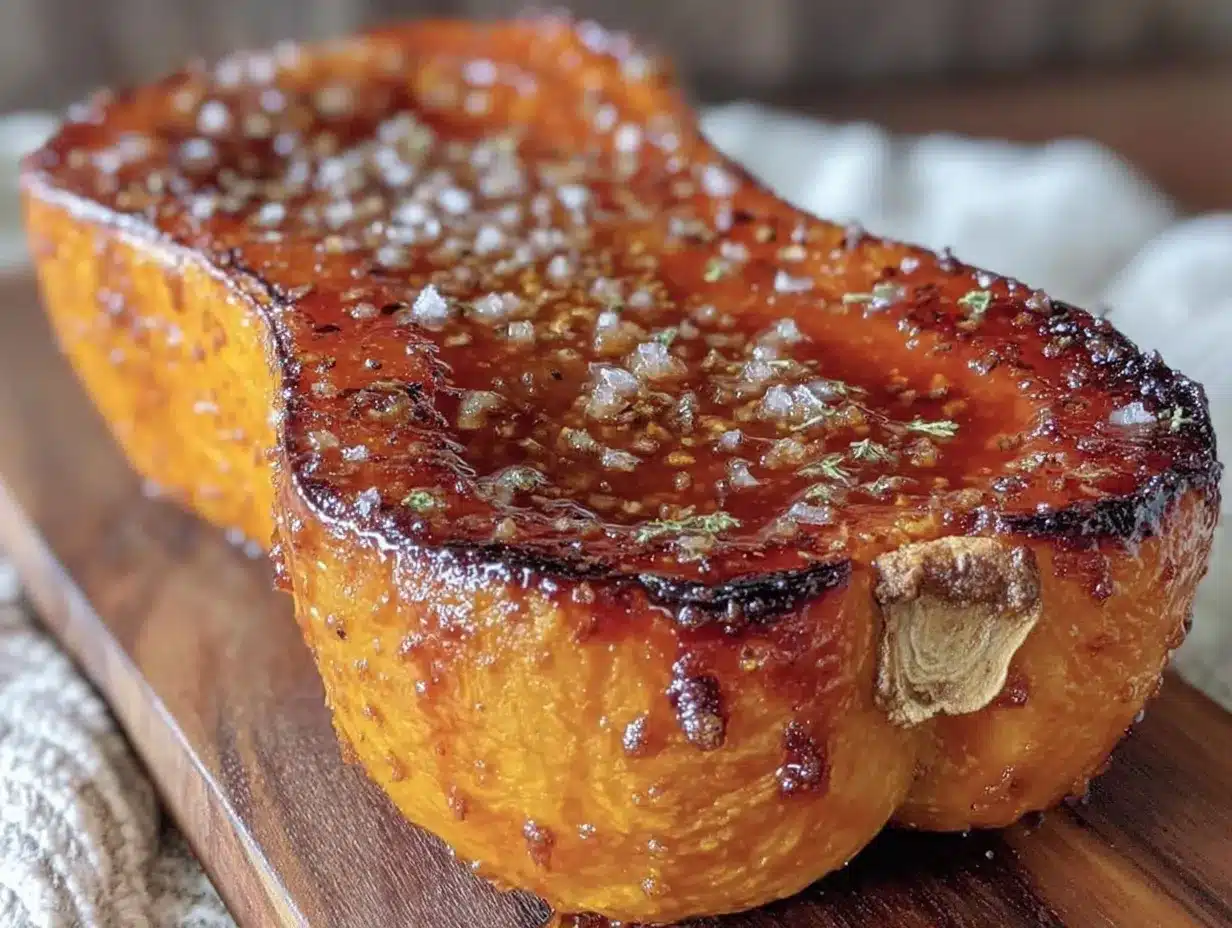
Let me walk you through this step by step. I’ve made this recipe so many times that I could do it in my sleep, but I still follow these steps every time for consistent results.
- Preheat your oven to 400°F (200°C). Place a rack in the middle position. This temperature is key—it’s hot enough to caramelize the maple syrup without burning it.
- Prepare the butternut squash. Using a sharp chef’s knife, carefully cut off both ends of the squash. Then cut it in half crosswise where the narrow neck meets the bulbous bottom. Stand each piece upright and slice off the skin with a vegetable peeler or sharp knife. Cut the neck into rounds, then cubes. Cut the bottom in half, scoop out the seeds with a spoon, and cut the flesh into 1-inch cubes. Try to make them uniform in size so they cook evenly. I usually aim for cubes that are about 1 inch thick—not too small or they’ll burn, not too big or they’ll be undercooked.
- Mix the coating. In a large mixing bowl, whisk together the olive oil, maple syrup, cinnamon, salt, and pepper until well combined. If you’re using the melted butter, add it now. The mixture should be smooth and slightly thick.
- Toss the squash. Add the cubed squash to the bowl and toss gently with a spatula until every piece is evenly coated. Don’t be afraid to use your hands here—it’s actually easier to make sure everything’s covered. Just wash them first!
- Arrange on the baking sheet. Line your baking sheet with parchment paper or a silicone mat for easy cleanup. Spread the squash cubes in a single layer, making sure they’re not touching each other. This is crucial—if they’re crowded, they’ll steam instead of roast, and you won’t get those beautiful caramelized edges. If necessary, use two baking sheets.
- Roast for 20 minutes. Place the baking sheet in the preheated oven and roast for 20 minutes. The squash should start to brown on the bottom edges.
- Flip and continue roasting. Remove the baking sheet from the oven and use a spatula to flip each cube over. Return to the oven and roast for another 10-15 minutes, until the squash is tender when pierced with a fork and the edges are golden brown and caramelized. The exact time depends on the size of your cubes and your oven, so start checking at the 10-minute mark.
- Add optional toppings. If you’re using nuts, sprinkle them over the squash during the last 5 minutes of roasting so they toast slightly. Transfer the roasted squash to a serving dish and garnish with fresh herbs if desired.
A quick note: If you notice the squash isn’t browning after 20 minutes, your oven might run cool. Don’t be afraid to increase the temperature to 425°F for the last 5-10 minutes. I’ve had to do this with older ovens, and it works like a charm.
Cooking Tips & Techniques
I’ve made plenty of mistakes with roasted squash over the years, so let me save you some trouble. Here are the things I wish someone had told me from the start:
Don’t skip the flipping step. I know it’s tempting to just toss everything in the oven and walk away, but flipping the squash halfway through is what gives you those crispy edges on all sides. The first time I made this, I skipped this step because I was in a hurry, and the squash came out unevenly cooked—some pieces were burnt on one side and undercooked on the other. Learn from my laziness.
Watch your oven temperature. Every oven is different. I’ve cooked in apartments where the oven ran 25 degrees hot, and I’ve cooked in kitchens where it ran cold. If your squash is browning too quickly, reduce the temperature to 375°F. If it’s not browning at all after 25 minutes, bump it up to 425°F. Trust your eyes more than the timer.
Pat the squash dry. After peeling and cubing the squash, pat the pieces dry with a clean kitchen towel or paper towel before tossing them with the coating. This helps the maple syrup mixture stick better and promotes better browning. I learned this after wondering why my squash always came out soggy.
Use room temperature maple syrup. Cold maple syrup is thick and doesn’t coat the squash as evenly. Let it sit at room temperature for 10 minutes before mixing. Or, if you’re like me and forget to do that, microwave it for 10 seconds to thin it out.
Timing strategy: While the squash is roasting, use that time to prepare the rest of your meal. I usually start this dish first because it takes the longest, and then work on my protein and a simple salad while it’s in the oven. Multitasking makes everything come together at the same time.
Variations & Adaptations
One of the things I love most about this recipe is how flexible it is. Here are some variations I’ve tried and loved:
Spicy Maple Version: Add 1/4 teaspoon of cayenne pepper or red pepper flakes to the maple syrup mixture. The heat balances the sweetness beautifully. I made this for a dinner party once, and it was the unexpected hit of the night.
Herb-Infused Version: Toss in 2-3 sprigs of fresh rosemary or thyme with the squash before roasting. The herbs infuse the squash with a savory aroma that complements the sweet maple. Just remove the sprigs before serving, or leave them in for a rustic look.
Garlic Lovers Version: Add 3-4 cloves of garlic, thinly sliced, to the baking sheet during the last 10 minutes of roasting. The garlic gets soft and sweet, almost like roasted garlic butter. I’ve been known to eat the garlic pieces straight off the pan.
Air Fryer Adaptation: If you’re short on time, you can make this in an air fryer. Toss the coated squash cubes in the air fryer basket and cook at 375°F for 12-15 minutes, shaking the basket halfway through. The texture is even crispier than oven-roasted. I tried this on a whim last winter, and now I make it this way at least half the time.
Dairy-Free/Vegan Version: Simply omit the butter or use a plant-based alternative. The olive oil provides enough richness on its own. I’ve served this to vegan friends without telling them it was vegan, and they couldn’t tell the difference.
Serving & Storage Suggestions
This maple cinnamon roasted butternut squash is incredibly versatile when it comes to serving. Here’s how I like to enjoy it:
Serving: Serve it warm, straight from the oven, for the best texture. The caramelized edges are at their crispiest right after roasting. It pairs beautifully with roasted chicken, pork chops, or a hearty grain bowl. I also love adding it to salads—it adds a sweet, warm element that contrasts nicely with bitter greens and a tangy vinaigrette.
Temperature: While it’s best warm, it’s also delicious at room temperature. I’ve brought it to potlucks and served it alongside other dishes without reheating, and it’s always a hit.
Storage: Store any leftovers in an airtight container in the refrigerator for up to 5 days. The texture will soften slightly, but the flavor actually gets better as the maple and cinnamon meld together overnight.
Reheating: To restore some of the crispiness, reheat the squash in a 375°F oven for 5-7 minutes, or in an air fryer at 350°F for 3-4 minutes. Avoid microwaving, as it makes the squash mushy. I learned this the hard way when I tried to reheat leftovers for lunch and ended up with a sad, soggy mess.
Freezing: You can freeze the roasted squash in a single layer on a baking sheet, then transfer to a freezer-safe bag for up to 3 months. To reheat, bake directly from frozen at 375°F for 10-15 minutes. The texture won’t be as crisp as fresh, but it’s still delicious in soups or grain bowls.
Nutritional Information & Benefits
This dish isn’t just delicious—it’s packed with nutrients too. Here’s a rough breakdown per serving (about 1 cup):
- Calories: Approximately 180-200
- Carbohydrates: 28g
- Fiber: 5g
- Protein: 2g
- Fat: 8g
- Vitamin A: Over 200% of the daily value (butternut squash is one of the best sources of beta-carotene)
- Vitamin C: 35% of the daily value
Butternut squash is rich in antioxidants, particularly beta-carotene, which supports eye health and immune function. The cinnamon adds anti-inflammatory properties and can help regulate blood sugar levels—which is ironic given the maple syrup, I know, but the fiber in the squash helps balance things out. This dish is naturally gluten-free and can be made vegan with a simple swap. The only potential allergen is the optional nuts, so leave those out if needed.
From a personal wellness perspective, this is one of those recipes that makes me feel good about eating vegetables. It’s indulgent enough to feel like a treat but nutritious enough to eat regularly. I often make a double batch on Sundays and use the leftovers in lunches throughout the week.
Conclusion
This maple cinnamon roasted butternut squash has become a staple in my kitchen for good reason. It’s simple enough for a busy weeknight, elegant enough for a holiday table, and forgiving enough for beginner cooks. The combination of sweet maple syrup, warm cinnamon, and tender, caramelized squash is honestly hard to beat. I love that I can adapt it to whatever I’m in the mood for—spicy, herby, garlicky, or just plain classic.
I hope you give this recipe a try and make it your own. Maybe you’ll add a pinch of nutmeg or a drizzle of balsamic glaze. Maybe you’ll serve it alongside your favorite protein or toss it into a salad. Whatever you do, I’d love to hear about it. Drop a comment below and let me know how it turned out, or share your own twist on this dish. And if you loved it, don’t forget to share this recipe with a friend who needs a little more comfort food in their life. Happy cooking, friend—I’m rooting for you and your squash.
Frequently Asked Questions
Can I use frozen butternut squash for this recipe?
You can, but I don’t recommend it. Frozen squash releases a lot of water as it thaws, which will make your dish soggy instead of caramelized. If you’re in a pinch, thaw the squash completely and pat it very dry before tossing with the maple mixture. The texture won’t be quite as good, but the flavor will still be there.
How do I prevent the maple syrup from burning in the oven?
The key is to not overcrowd the pan and to flip the squash halfway through. Maple syrup has a lower smoke point than some other sweeteners, so keeping the cubes spaced out allows air to circulate and prevents burning. If you notice the edges getting too dark, reduce the oven temperature to 375°F for the last 10 minutes.
Can I make this recipe ahead of time?
Absolutely. You can peel and cube the squash up to 2 days in advance and store it in an airtight container in the refrigerator. You can also mix the maple syrup coating ahead of time and keep it at room temperature. When you’re ready to cook, just toss everything together and roast. I do this all the time for Thanksgiving to save myself some stress on the big day.
What can I substitute for maple syrup?
If you don’t have maple syrup, you can use honey, agave nectar, or brown sugar dissolved in a tablespoon of water. Each will give a slightly different flavor profile—honey is floral, agave is neutral, and brown sugar adds a deeper molasses note. Just keep in mind that the caramelization and texture might vary slightly.
Is this recipe suitable for meal prep?
Yes, it’s excellent for meal prep. Roast a large batch on Sunday and use it throughout the week in salads, grain bowls, or as a side dish. The flavors actually deepen after a day in the fridge. Just reheat in the oven or air fryer to restore some crispiness, and you’re good to go.
Pin This Recipe!
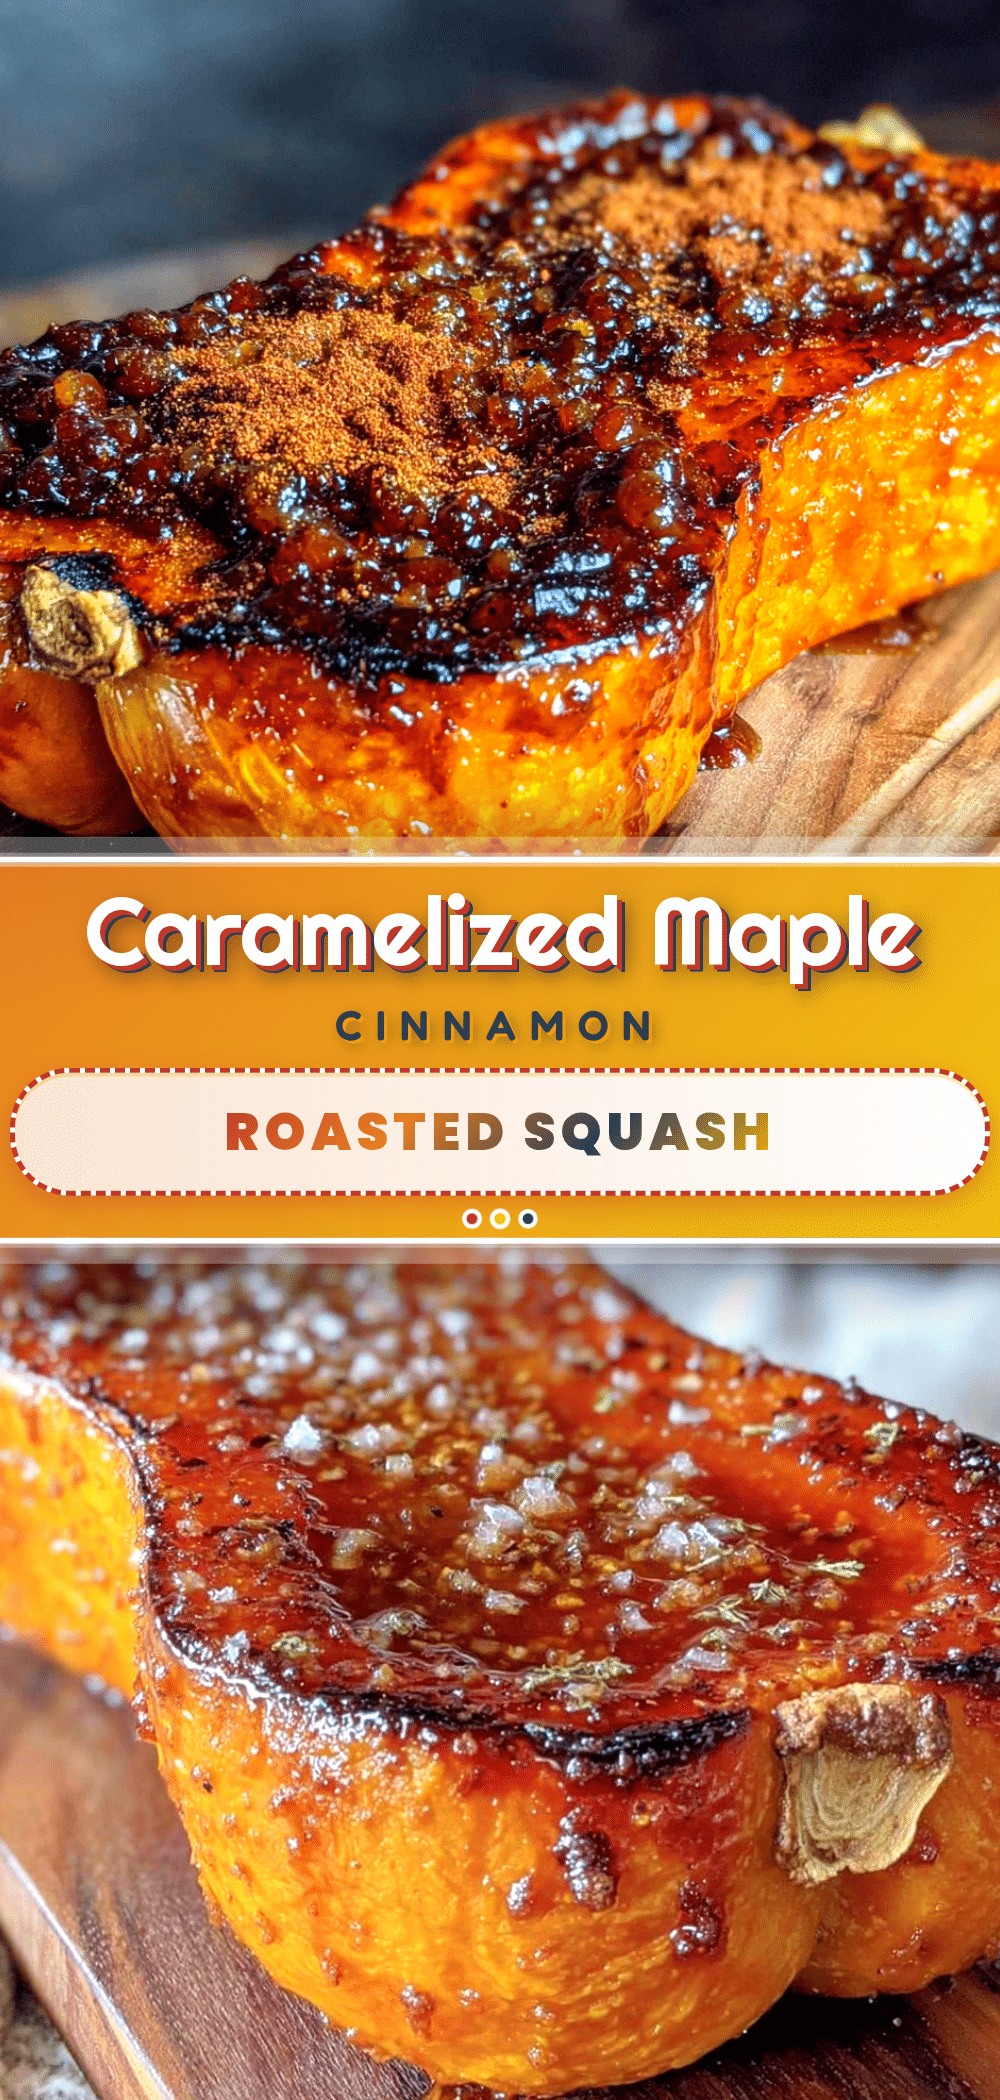
Perfect Maple Cinnamon Roasted Butternut Squash (Easy 30-Min Recipe)
This maple cinnamon roasted butternut squash is a quick and easy 30-minute side dish with caramelized edges and warm cinnamon flavor. Perfect for weeknight dinners or holiday feasts, it uses simple ingredients and a special technique to achieve perfectly tender, golden-brown squash every time.
- Prep Time: 10 minutes
- Cook Time: 30 minutes
- Total Time: 40 minutes
- Yield: 4 servings 1x
- Category: Side Dish
- Cuisine: American
Ingredients
- 1 medium butternut squash (about 2–3 pounds), peeled, seeded, and cut into 1-inch cubes
- 3 tablespoons olive oil
- 3 tablespoons pure maple syrup
- 1 teaspoon ground cinnamon
- 1/2 teaspoon salt
- 1/4 teaspoon black pepper
- 2 tablespoons unsalted butter, melted (optional)
- Optional garnish: 2 tablespoons chopped fresh parsley or thyme, and 1/4 cup toasted pecans or walnuts
Instructions
- Preheat your oven to 400°F (200°C). Place a rack in the middle position.
- Prepare the butternut squash: Using a sharp chef’s knife, carefully cut off both ends of the squash. Then cut it in half crosswise where the narrow neck meets the bulbous bottom. Stand each piece upright and slice off the skin with a vegetable peeler or sharp knife. Cut the neck into rounds, then cubes. Cut the bottom in half, scoop out the seeds with a spoon, and cut the flesh into 1-inch cubes. Try to make them uniform in size.
- Mix the coating: In a large mixing bowl, whisk together the olive oil, maple syrup, cinnamon, salt, and pepper until well combined. If using melted butter, add it now.
- Toss the squash: Add the cubed squash to the bowl and toss gently with a spatula until every piece is evenly coated.
- Arrange on the baking sheet: Line your baking sheet with parchment paper or a silicone mat. Spread the squash cubes in a single layer, making sure they are not touching each other. If necessary, use two baking sheets.
- Roast for 20 minutes: Place the baking sheet in the preheated oven and roast for 20 minutes.
- Flip and continue roasting: Remove the baking sheet from the oven and use a spatula to flip each cube over. Return to the oven and roast for another 10-15 minutes, until the squash is tender when pierced with a fork and the edges are golden brown and caramelized.
- Add optional toppings: If using nuts, sprinkle them over the squash during the last 5 minutes of roasting. Transfer to a serving dish and garnish with fresh herbs if desired.
Notes
For best caramelization, do not overcrowd the pan. Pat squash dry before tossing with coating. Use room temperature maple syrup for even coating. If squash isn’t browning after 20 minutes, increase oven temperature to 425°F for the last 5-10 minutes. For a dairy-free version, omit butter or use vegan butter. Leftovers can be stored in an airtight container in the refrigerator for up to 5 days; reheat in oven or air fryer to restore crispiness.
Nutrition
- Serving Size: 1 cup
- Calories: 180200
- Sugar: 12
- Sodium: 300
- Fat: 8
- Saturated Fat: 2
- Carbohydrates: 28
- Fiber: 5
- Protein: 2
Keywords: roasted butternut squash, maple cinnamon squash, easy side dish, 30-minute recipe, fall recipe, holiday side dish, gluten-free, vegetarian


