Love this? Save it for later!
Share the inspiration with your friends
The power went out halfway through our neighborhood’s annual Halloween block party last October, and I found myself standing by the grill, chatting with the plumber from down the street—someone I’d never pegged for a dessert enthusiast. Out of nowhere, he started describing this enchanting recipe for black cocoa sugar cookies with spiderweb icing. Honestly, I wasn’t expecting baking tips from a guy who spends all day fixing pipes, but there I was, scribbling notes on a napkin under the dim glow of a flashlight. He swore these cookies were the secret to winning over any crowd on Halloween night, and let me tell you, that cracked bowl I dropped in my rush to jot everything down was the first of many kitchen chaos moments that made this recipe unforgettable.
You know that feeling when a recipe just sticks with you because it’s not only delicious but also carries a story? That’s exactly what happened here. Every year since, I’ve found myself baking these Perfect Black Cocoa Halloween Sugar Cookies with Easy Spiderweb Icing, and honestly, they’ve become my go-to treat when I want to impress without stress. Maybe you’ve been there—looking for something spooky yet surprisingly simple that kids and adults can’t stop talking about. This recipe has that magic touch, and I’m excited to share the whole process with you.
Why You’ll Love This Recipe
After testing this recipe multiple times (and yes, making a fair share of messes), I can confidently say it’s a Halloween winner. Here’s what makes these black cocoa sugar cookies stand out:
- Quick & Easy: Ready in under 45 minutes, perfect for last-minute party prep or an impromptu baking session.
- Simple Ingredients: No tricky or exotic items — just pantry staples like black cocoa powder and basic baking supplies.
- Perfect for Halloween Celebrations: The rich black color and spiderweb icing create an instant spooky vibe that’s fun and festive.
- Crowd-Pleaser: Kids love the bold color and design, while adults appreciate the deep chocolate flavor balanced by the sweet icing.
- Unbelievably Delicious: The black cocoa gives the cookies a velvety, intense chocolate taste that’s unlike your typical sugar cookie.
What really sets this recipe apart is the spiderweb icing technique—it’s surprisingly simple but looks like you spent hours decorating. I’ve tried various icings before, but this one holds its shape perfectly and dries just right, making the cookies perfect for stacking or gifting. Plus, the texture of these cookies is just right: soft edges with a slight crisp on the outside. Honestly, every bite feels like a little celebration of Halloween spirit.
And if you’re like me, juggling a busy schedule, this recipe is a lifesaver—it lets you create something special without turning your kitchen into a disaster zone. I promise, once you try these, they’ll become a Halloween tradition you look forward to each year.
What Ingredients You Will Need
This recipe uses simple, wholesome ingredients to deliver bold flavor and a satisfying texture without the fuss. Most of these you probably have on hand, but the star is definitely the black cocoa powder, which brings that dramatic color and rich taste.
- For the Cookies:
- All-purpose flour – 2 ½ cups (320g)
- Black cocoa powder – ½ cup (50g) (I recommend Hershey’s Special Dark for its deep color and smooth flavor)
- Baking powder – 1 teaspoon
- Salt – ½ teaspoon
- Unsalted butter, softened – 1 cup (226g) (room temperature for easy mixing)
- Granulated sugar – 1 ¼ cups (250g)
- Large egg – 1 (room temperature)
- Pure vanilla extract – 1 teaspoon
- For the Spiderweb Icing:
- Powdered sugar – 2 cups (240g)
- Milk – 3 tablespoons (45ml) (use dairy-free milk if needed, like almond or oat)
- Light corn syrup – 1 tablespoon (adds shine and smoothness)
- Vanilla extract – ½ teaspoon
- Black gel food coloring – a few drops (optional for accent lines)
Feel free to swap the all-purpose flour with a gluten-free blend if you want to make these cookies gluten-free (they still turn out great!). For the icing, if you prefer a dairy-free version, coconut milk works well, though it may slightly change the flavor. The black cocoa powder is essential for that perfect spooky look, so don’t substitute regular cocoa here—trust me, the difference is night and day.
Equipment Needed
For these Perfect Black Cocoa Halloween Sugar Cookies, you’ll need some basic kitchen gear, nothing too fancy:
- Mixing bowls – a large one for the dough and a smaller one for the icing
- Electric mixer or hand mixer – really speeds up creaming the butter and sugar
- Measuring cups and spoons – accuracy matters for baking!
- Rolling pin – to get the dough even (you can use a wine bottle if you’re in a pinch)
- Cookie cutters – round or Halloween shapes, about 2.5 inches in diameter
- Baking sheet(s) – lined with parchment paper or silicone mats
- Piping bags or plastic sandwich bags – for the icing spiderweb design
- Toothpicks or fine-tipped skewer – to create the spiderweb pattern
I personally prefer using a stand mixer with a paddle attachment for the dough—it makes creaming butter and sugar so much smoother. But if you only have a hand mixer, that works perfectly too. When it comes to cookie cutters, round ones work best for the classic spiderweb look, though you can play around with shapes for a Halloween twist. For icing, don’t stress about fancy piping bags; a simple plastic bag with a tiny corner snipped off does the job just fine.
Preparation Method
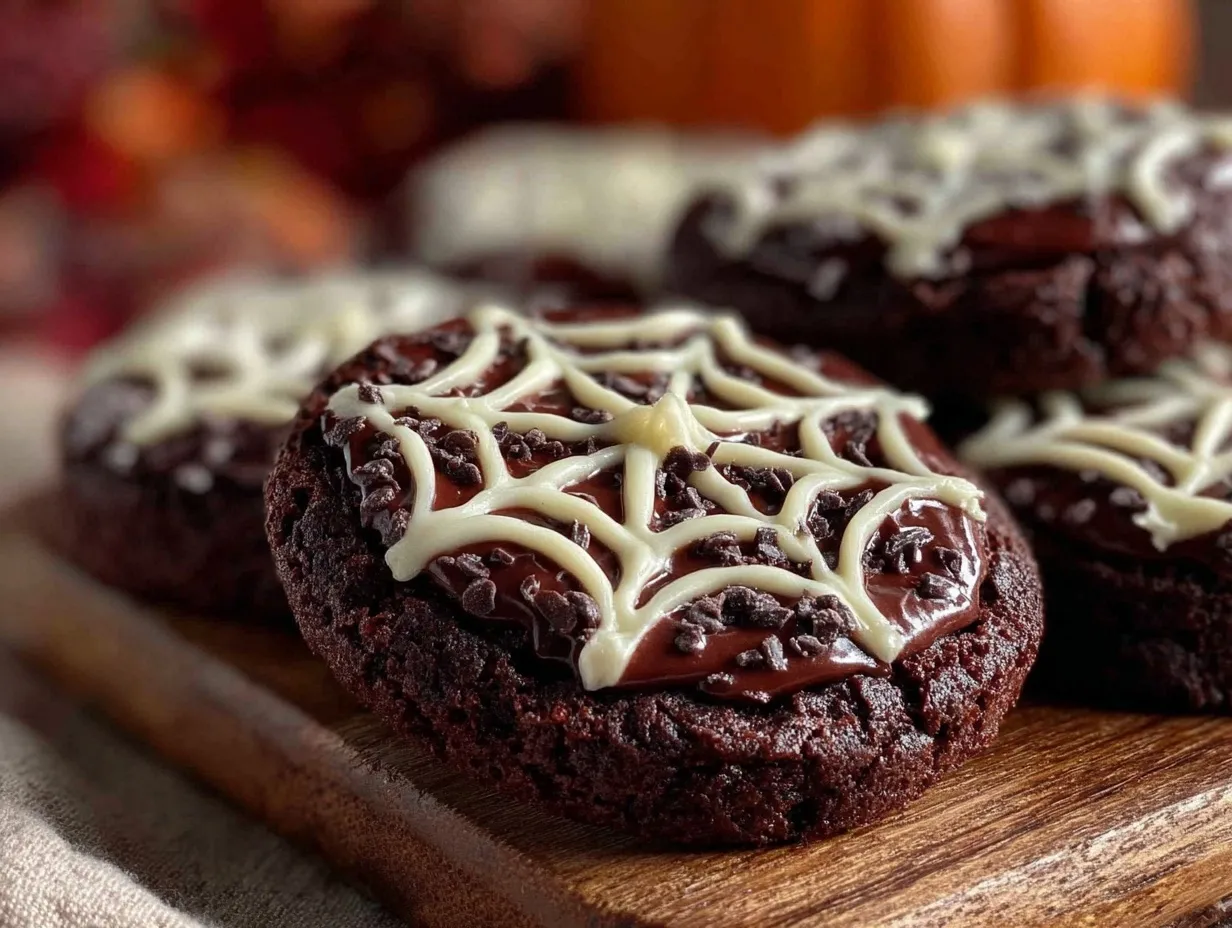
- Preheat your oven to 350°F (175°C) and line two baking sheets with parchment paper or silicone mats. This helps prevent sticking and ensures even baking.
- Mix the dry ingredients: In a medium bowl, sift together the all-purpose flour, black cocoa powder, baking powder, and salt. Set aside. This step makes sure there are no lumps and the cocoa is evenly distributed.
- Cream the butter and sugar: In a large bowl, beat the softened unsalted butter with granulated sugar using an electric mixer on medium speed until light and fluffy—about 3 to 4 minutes. This is where patience pays off; if your butter is too cold, the mixture won’t fluff properly.
- Add egg and vanilla: Beat in the egg and vanilla extract until fully incorporated. The dough will start to come together here.
- Combine wet and dry: Gradually add the dry ingredients to the wet mixture, mixing on low speed until the dough just forms. Avoid overmixing to keep the cookies tender.
- Chill the dough: Wrap the dough in plastic wrap and refrigerate for at least 30 minutes. This helps the dough firm up, making it easier to roll and cut.
- Roll and cut: Lightly flour your work surface and rolling pin. Roll the dough out to about ¼ inch (6mm) thickness. Cut out round shapes using your cookie cutter and place them on the baking sheets about 1 inch (2.5cm) apart.
- Bake: Bake the cookies for 10-12 minutes, until the edges are set but not burnt. They should feel slightly soft when you touch them—that’s perfect.
- Cool: Let the cookies cool on the baking sheet for 5 minutes before transferring to a wire rack to cool completely. This prevents them from breaking.
- Prepare the icing: In a small bowl, whisk together powdered sugar, milk, corn syrup, and vanilla until smooth. Adjust the milk or powdered sugar to get a thick but pipeable consistency.
- Decorate with spiderweb icing: Spread a thin layer of white icing on each cookie. Using a piping bag or plastic bag with a small hole, pipe concentric circles of icing (you can add black gel food coloring for the outer lines to make the spiderweb pop). Then, drag a toothpick from the center outward through the circles to create the spiderweb effect. Let the icing set for at least an hour before stacking or serving.
Pro tip: If the dough gets too soft while rolling, pop it back in the fridge for 10 minutes. It’s happened to me more times than I’d like to admit! Also, don’t rush the icing drying time—otherwise, you risk smudging your masterpiece.
Cooking Tips & Techniques
Getting the perfect texture and that striking black color is all about technique. Here are some tips I’ve picked up along the way:
- Softened butter is key: If your butter is too cold, the dough will be tough. Too soft, and the dough will be sticky. I learned this the hard way—sometimes I forget to take it out in time, and that’s when the dough sticks everywhere.
- Chill the dough: Don’t skip chilling. It prevents spreading and helps maintain those crisp edges with soft centers.
- Don’t overbake: These cookies can go from perfect to dry in minutes. Pull them out when edges look set but the centers are still a bit soft—carryover heat finishes the job.
- Use black cocoa powder, not regular cocoa: It’s darker and less bitter, giving you that dramatic black color without weird flavors.
- Spiderweb icing: The trick is steady hands and a toothpick. Dragging from the center outward creates the web, but be careful not to press too hard or the icing will mix.
- Work in small batches: Baking these cookies in batches keeps ingredients and dough fresh and manageable.
Honestly, the first time I tried piping the spiderweb, my hands were shaking so much I almost gave up. Practice makes perfect, and now it’s almost meditative for me. Plus, it’s a great excuse to sip some Halloween-themed tea while decorating!
Variations & Adaptations
Want to switch things up? These cookies are pretty flexible, so here are some tasty variations:
- Dietary swaps: Use almond flour or a gluten-free blend for a gluten-free treat. For the icing, swap milk with coconut or oat milk for dairy-free options.
- Seasonal flavors: Add a pinch of cinnamon or pumpkin spice to the dough for a fall twist. You can also swap black cocoa with a mix of regular cocoa and activated charcoal powder for a slightly different color and taste.
- Flavor twists: Stir in finely chopped peppermint candy for a minty surprise or add orange zest to the icing for a citrus pop.
- Different shapes: Use bat, pumpkin, or ghost cookie cutters and adjust the icing colors—try orange or purple for a colorful spiderweb effect.
One year, I tried adding a splash of espresso to the dough, and it gave the cookies a subtle mocha note that was unexpectedly delightful. Don’t be afraid to experiment a bit; the base recipe is forgiving and fun to play with.
Serving & Storage Suggestions
These cookies are best served at room temperature so you can fully enjoy that rich black cocoa flavor and the crisp yet tender texture. They look fantastic on a Halloween-themed platter, paired with a warm cup of spiced apple cider or a frothy hot chocolate.
For storage, keep them in an airtight container at room temperature for up to 4 days. If you want to keep them longer, freeze the plain cookies (before icing) in a sealed bag for up to 3 months. Thaw at room temperature, then decorate with icing.
When reheating, a quick 10-second zap in the microwave softens the cookies nicely, but don’t overdo it or the icing might melt. The spiderweb designs actually look cooler after a day or two as the flavors meld and the icing firms up perfectly.
Nutritional Information & Benefits
Each cookie (assuming 24 servings) contains approximately:
| Calories | Fat | Carbohydrates | Protein | Sugar |
|---|---|---|---|---|
| 150 kcal | 7g | 22g | 2g | 14g |
Black cocoa powder is rich in antioxidants and offers a deeper chocolate flavor with less sugar than traditional cocoa mixes. Butter provides healthy fats that keep you fuller longer, and this recipe uses real ingredients without artificial additives. For dietary considerations, it’s easy to adapt this recipe for gluten-free or dairy-free needs, making it accessible for many.
From a wellness perspective, I appreciate recipes like this that balance indulgence with real ingredients, making it easier to enjoy treats without guilt or compromise.
Conclusion
These Perfect Black Cocoa Halloween Sugar Cookies with Easy Spiderweb Icing have become my signature spooky treat for good reason. They’re simple enough for even the busiest of us, yet impressive enough to wow any Halloween crowd. I love how the deep black color contrasts with the delicate spiderweb design—it’s a fun way to bring a little magic to the season.
Feel free to tweak the flavors and decorations to make them your own. Whether you’re baking with kids, hosting a party, or just craving a festive snack, this recipe is a keeper. I’d love to hear how your cookies turn out or what creative twists you add—drop a comment or share your photos!
Happy baking, and here’s to a Halloween filled with sweet surprises and spooky delights!
FAQs
Can I use regular cocoa powder instead of black cocoa?
Regular cocoa powder won’t give you the same intense black color or the slightly different flavor profile. Black cocoa is key for that perfect Halloween look and taste.
How do I make the spiderweb icing if I don’t have a piping bag?
You can use a plastic sandwich bag and snip a tiny corner off to pipe the icing. A toothpick helps you drag lines outward to create the spiderweb effect.
Can I prepare the dough ahead of time?
Yes! You can make the dough up to 2 days ahead and keep it refrigerated. Just bring it to room temperature before rolling out.
What’s the best way to store these cookies?
Store them in an airtight container at room temperature for up to 4 days. For longer storage, freeze the un-iced cookies and decorate after thawing.
Is there a way to make these cookies vegan?
You can substitute the butter with a plant-based margarine and use a flax egg instead of a chicken egg. Also, use dairy-free milk in the icing. The texture might be slightly different but still delicious.
Pin This Recipe!
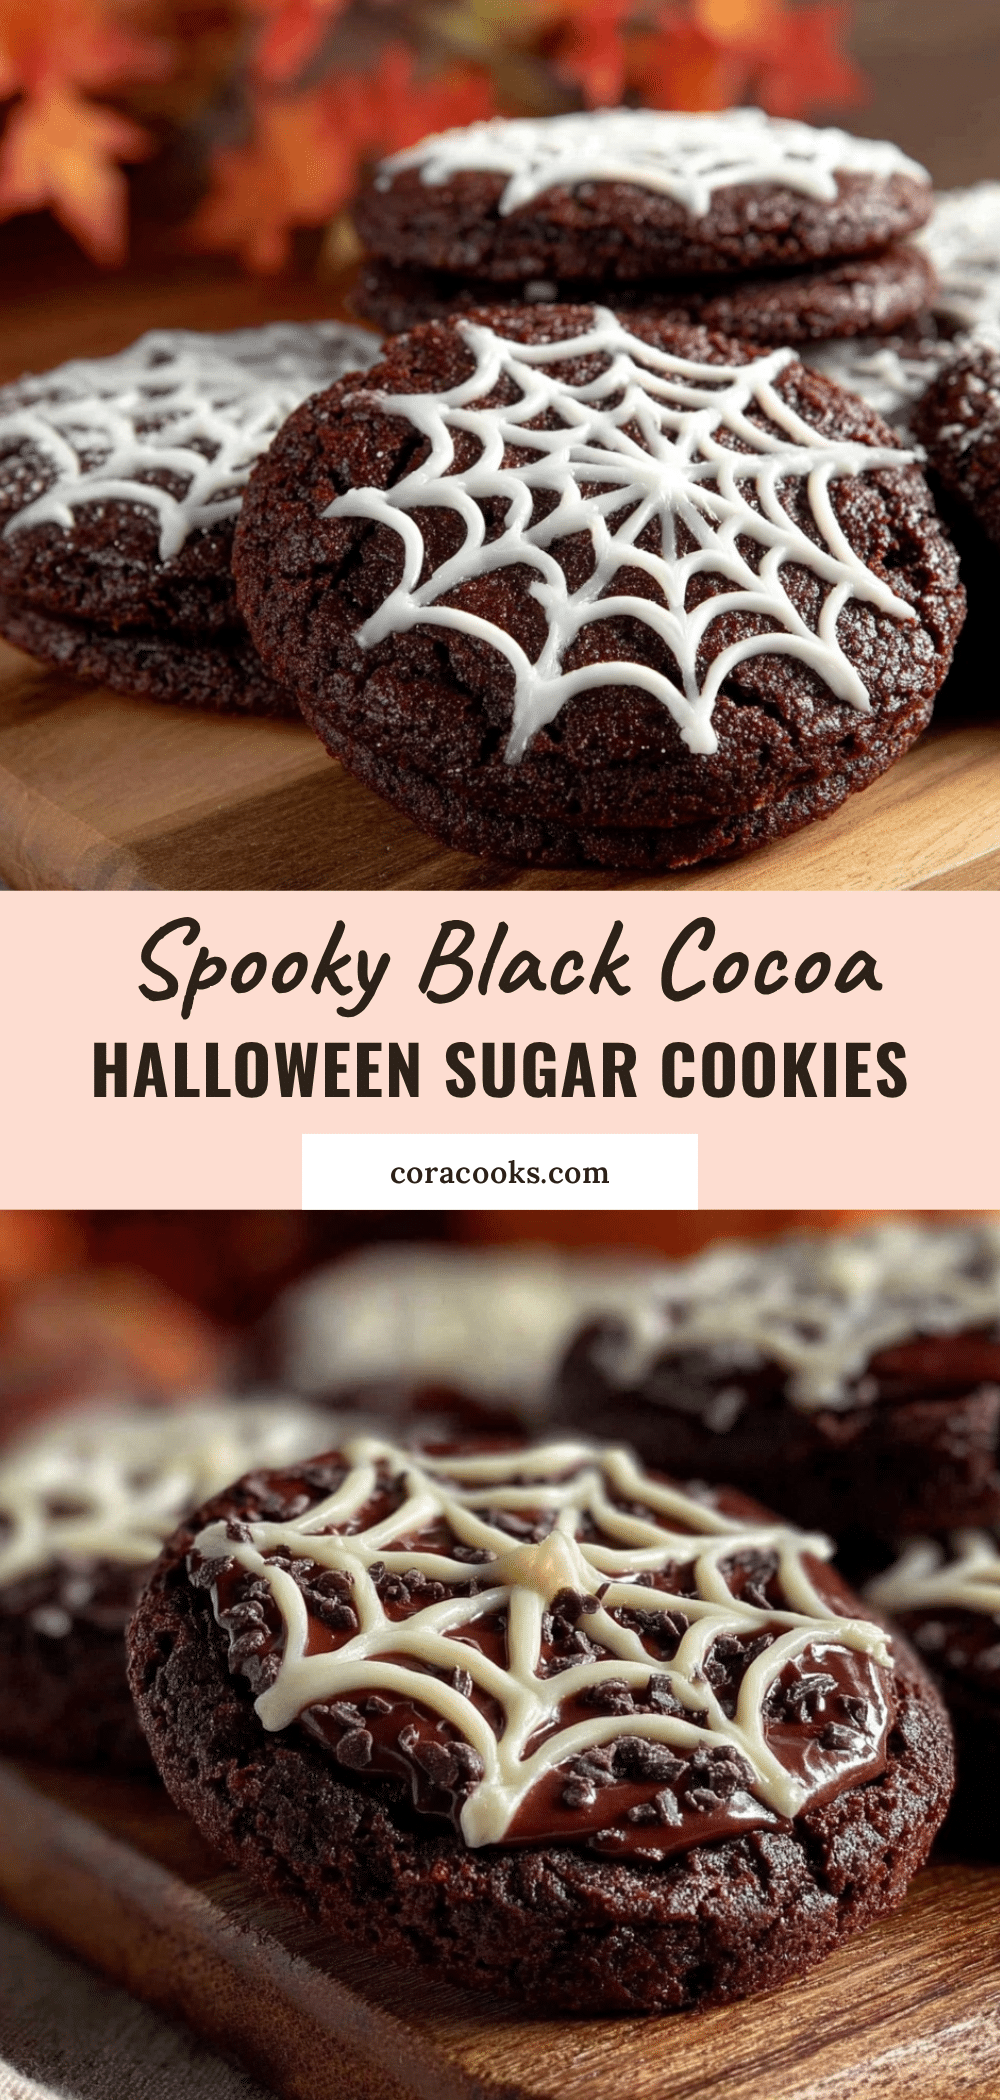
Perfect Black Cocoa Halloween Sugar Cookies with Easy Spiderweb Icing Tutorial

These black cocoa sugar cookies feature a rich, velvety chocolate flavor and are decorated with a simple yet impressive spiderweb icing, perfect for Halloween celebrations. The recipe is quick, easy, and uses pantry staples to create a spooky treat loved by kids and adults alike.
- Prep Time: 15 minutes
- Cook Time: 12 minutes
- Total Time: 45 minutes
- Yield: 24 servings 1x
- Category: Dessert
- Cuisine: American
Ingredients
- 2 ½ cups all-purpose flour (320g)
- ½ cup black cocoa powder (50g) (recommend Hershey’s Special Dark)
- 1 teaspoon baking powder
- ½ teaspoon salt
- 1 cup unsalted butter, softened (226g) (room temperature)
- 1 ¼ cups granulated sugar (250g)
- 1 large egg (room temperature)
- 1 teaspoon pure vanilla extract
- 2 cups powdered sugar (240g) (for icing)
- 3 tablespoons milk (45ml) (dairy-free options like almond or oat milk can be used)
- 1 tablespoon light corn syrup (for icing)
- ½ teaspoon vanilla extract (for icing)
- Black gel food coloring (a few drops, optional for accent lines)
Instructions
- Preheat your oven to 350°F (175°C) and line two baking sheets with parchment paper or silicone mats.
- In a medium bowl, sift together the all-purpose flour, black cocoa powder, baking powder, and salt. Set aside.
- In a large bowl, beat the softened unsalted butter with granulated sugar using an electric mixer on medium speed until light and fluffy, about 3 to 4 minutes.
- Beat in the egg and vanilla extract until fully incorporated.
- Gradually add the dry ingredients to the wet mixture, mixing on low speed until the dough just forms. Avoid overmixing.
- Wrap the dough in plastic wrap and refrigerate for at least 30 minutes.
- Lightly flour your work surface and rolling pin. Roll the dough out to about ¼ inch (6mm) thickness.
- Cut out round shapes using your cookie cutter and place them on the baking sheets about 1 inch (2.5cm) apart.
- Bake the cookies for 10-12 minutes, until the edges are set but not burnt. They should feel slightly soft when touched.
- Let the cookies cool on the baking sheet for 5 minutes before transferring to a wire rack to cool completely.
- In a small bowl, whisk together powdered sugar, milk, corn syrup, and vanilla until smooth. Adjust consistency as needed.
- Spread a thin layer of white icing on each cookie. Using a piping bag or plastic bag with a small hole, pipe concentric circles of icing.
- Optionally add black gel food coloring for outer lines to make the spiderweb pop.
- Drag a toothpick from the center outward through the circles to create the spiderweb effect.
- Let the icing set for at least an hour before stacking or serving.
Notes
Use softened butter at room temperature for best creaming results. Chill dough to prevent spreading and maintain crisp edges with soft centers. Avoid overbaking to keep cookies tender. Use black cocoa powder for the best color and flavor; regular cocoa will not achieve the same effect. For icing, a plastic bag with a small corner snipped off works well if you don’t have a piping bag. Let icing dry fully before stacking to avoid smudging. Dough can be made up to 2 days ahead and refrigerated. For gluten-free, substitute flour with a gluten-free blend. For dairy-free icing, use coconut or oat milk.
Nutrition
- Serving Size: 1 cookie
- Calories: 150
- Sugar: 14
- Fat: 7
- Carbohydrates: 22
- Protein: 2
Keywords: Halloween cookies, black cocoa sugar cookies, spiderweb icing, spooky cookies, easy Halloween treats, sugar cookies recipe


