Love this? Save it for later!
Share the inspiration with your friends
There used to be this little ice cream shop tucked behind a laundromat on Elm Street that made the most incredible salted caramel. It wasn’t fancy—just a faded awning and a handwritten chalkboard menu—but their caramel had this deep, almost smoky sweetness that I’ve never been able to find anywhere else. When they closed two summers ago (the owner retired, which I respect but still haven’t fully accepted), I honestly went through a weird mourning period. I mean, I actually tried ordering their caramel base from a distributor. No luck.
After maybe eight or nine attempts—some were grainy disasters, one literally separated into a buttery mess in my freezer—I finally got it. And let me tell you, this Easy No-Churn Salted Caramel Ice Cream is it. It’s the exact texture I was chasing: creamy without being heavy, sweet but balanced by that flaky salt, and it doesn’t require an ice cream maker or a culinary degree. I made a batch last Tuesday for a neighbor who’d just moved in, and she texted me at 11 PM asking for the recipe. That’s when I knew I had to share it. This is the kind of frozen dessert that makes you close your eyes on the first bite, and honestly, you deserve that experience in your own kitchen.
Why You’ll Love This Recipe
You know that feeling when you’re craving something indulgent but don’t want to spend hours in the kitchen? That’s exactly why I developed this version. After testing this recipe six times (and eating way too much caramel in the process), I can confidently say this is the best no-churn salted caramel ice cream you’ll make at home.
- No Ice Cream Maker Required: Seriously, you just need a mixer and a freezer. That’s it.
- Simple Ingredients: Heavy cream, sweetened condensed milk, butter, sugar, and salt—all pantry staples.
- Ready in Under 30 Minutes of Active Time: The hardest part is waiting for it to freeze.
- Perfect Salted Caramel Balance: Not too sweet, not too salty—just that perfect hit of flaky sea salt on top.
- Crowd-Pleaser: I brought this to a family barbecue and watched three adults fight over the last scoop.
- No Eggs, No Custard, No Fuss: Traditional ice cream requires tempering eggs and constant stirring. This skips all that drama.
What makes this recipe different? It’s the technique—you caramelize the sugar with condensed milk for a deeper, more complex flavor than store-bought caramel sauce. And the texture? It’s somehow richer than churned ice cream, almost like frozen mousse. I’ve tried dozens of no-churn recipes over the years, and this is the one I keep coming back to. It’s comfort food reimagined—indulgent, satisfying, and surprisingly simple to pull off on a Tuesday night.
What Ingredients You Will Need
This recipe uses simple, wholesome ingredients to deliver bold flavor and satisfying texture without the fuss. Most of these are probably already in your kitchen, which is exactly how I like to cook.
For the Salted Caramel Sauce
- 1 cup (200g) granulated sugar (I prefer Domino or C&H for consistent caramelization)
- 6 tablespoons (85g) unsalted butter, cut into cubes and softened at room temperature (Kerrygold gives the richest flavor)
- 1/2 cup (120ml) heavy cream, at room temperature (don’t use cold—it’ll seize the caramel)
- 1 teaspoon flaky sea salt, plus more for topping (Maldon is my go-to)
- 1 teaspoon vanilla extract (pure, not imitation)
For the Ice Cream Base
- 2 cups (480ml) heavy cream, cold (look for at least 36% milk fat for best texture)
- 1 can (14 ounces or 397g) sweetened condensed milk (I use Eagle Brand—don’t substitute evaporated milk)
- 1/2 cup (120ml) prepared salted caramel sauce (from the recipe above)
- Pinch of sea salt for finishing
Ingredient Selection Tips
For the caramel, use a heavy-bottomed saucepan—trust me on this. Thin pans cause hot spots that burn the sugar before it fully melts. I learned this the hard way after scorching three batches. Also, make sure your cream and butter are at room temperature. Cold dairy added to hot caramel will cause it to seize and form lumps, and nobody wants lumpy caramel in their ice cream.
If you’re dairy-sensitive, you can substitute coconut cream for the heavy cream, though the texture will be slightly less creamy. The sweetened condensed milk is harder to replace, but there are dairy-free versions available at most grocery stores now. Just know the flavor profile will shift a bit.
Equipment Needed
- Heavy-bottomed saucepan (3-quart size works perfectly)
- Stand mixer or hand mixer (I use my KitchenAid, but a hand mixer works just as well)
- Large mixing bowl
- Medium mixing bowl
- Whisk
- Rubber spatula
- 9×5-inch loaf pan (or any freezer-safe container)
- Parchment paper
- Candy thermometer (optional but helpful for caramel)
If you don’t have a candy thermometer, don’t stress—I’ve made this recipe plenty of times using just visual cues. The caramel is ready when it turns a deep amber color, like a newly minted penny. Also, if you don’t have a loaf pan, use a 8×8-inch baking dish or even a metal mixing bowl. The key is having a wide surface area so the ice cream freezes evenly.
Preparation Method
- Make the salted caramel sauce first. Place the granulated sugar in a heavy-bottomed saucepan over medium heat. Stir constantly with a whisk or wooden spoon—don’t walk away. The sugar will clump initially, then melt into a liquid. This takes about 5-7 minutes. Watch for a deep amber color, like the color of a penny. If you’re using a thermometer, aim for 350°F (177°C).
- Add the butter carefully. Once the sugar is melted and amber, remove the pan from heat. Add the cubed butter one piece at a time, whisking vigorously. The mixture will bubble up—this is normal. Keep whisking until the butter is fully incorporated and the mixture is smooth. It should smell nutty and rich at this point.
- Slowly pour in the heavy cream. With the pan still off heat, slowly drizzle in the room-temperature cream while whisking constantly. The caramel will bubble again, so be careful. If you see lumps form, don’t panic—just return the pan to low heat and whisk until smooth. Stir in the vanilla extract and flaky sea salt. Set aside to cool completely. This makes about 1 1/2 cups of caramel.
- Whip the heavy cream. Pour the cold heavy cream into a large mixing bowl. Using a stand mixer fitted with the whisk attachment or a hand mixer, beat on medium-high speed until stiff peaks form. This takes about 3-4 minutes. You want the cream to hold its shape when you lift the whisk, but stop before it turns into butter. I once over-whipped and ended up with sweetened butter—definitely not ideal for ice cream.
- Fold in the condensed milk and caramel. In a separate medium bowl, whisk together the sweetened condensed milk and 1/2 cup of the cooled salted caramel sauce until smooth. Gently fold this mixture into the whipped cream using a rubber spatula. Use a light hand—fold until just combined, with no streaks of white remaining. Over-mixing will deflate the cream and result in a denser ice cream.
- Layer the ice cream base. Line your loaf pan with parchment paper, leaving some overhang for easy removal. Pour half of the ice cream mixture into the pan. Drizzle with 2 tablespoons of the remaining caramel sauce and use a knife to swirl it through the base. Add the remaining ice cream mixture, then drizzle with another 2 tablespoons of caramel. Sprinkle a pinch of flaky sea salt on top for that signature salted caramel finish.
- Freeze until firm. Cover the pan with plastic wrap or foil and freeze for at least 6 hours, preferably overnight. The ice cream needs time to set properly—I’ve made the mistake of checking after 4 hours and ended up with soft-serve consistency. Patience pays off here.
- Serve and enjoy. Let the ice cream sit at room temperature for 5-10 minutes before scooping. This softens it just enough for perfect scoops. Drizzle with extra caramel sauce and a final sprinkle of sea salt if you’re feeling fancy.
Cooking Tips & Techniques
Let me share a few things I learned the hard way so you don’t have to repeat my mistakes. First, don’t rush the caramel. I know it’s tempting to crank up the heat, but medium heat is your friend. High heat will burn the sugar before it fully melts, leaving you with a bitter, unusable mess. I’ve scraped more than one pan of burnt sugar into the trash—it’s not fun.
Temperature matters when adding cream to caramel. If your cream is cold, it will cause the caramel to seize into hard, grainy chunks. I learned this when I forgot to take my cream out of the fridge and ended up with a lumpy sauce that took forever to smooth out. Room temperature ingredients create a silky, pourable caramel every time.
Whipping the cream to stiff peaks is crucial for the right texture. Under-whipped cream will result in a dense, icy ice cream. Over-whipped cream turns into butter. Look for peaks that stand straight up when you lift the whisk—that’s the sweet spot. If you’re unsure, err on the side of slightly under-whipped rather than over-whipped, since you can always whip a little more.
Patience during freezing is non-negotiable. I know you want to taste it immediately—I do too—but 6 hours is the minimum. Overnight is better. The caramel needs time to fully integrate with the cream base, and the texture improves significantly after 12-24 hours. I once scooped at 5 hours and got a spoonful of semi-frozen cream with caramel puddles. Not terrible, but not the masterpiece it becomes after a full freeze.
Use a warm knife for clean cuts if you’re serving slices. Run your knife under hot water, dry it, then slice. This works especially well if you’re serving this as a frozen dessert bar or for a party presentation.
Variations & Adaptations
One of the best things about this recipe is how easily it adapts to different cravings and dietary needs. Here are a few variations I’ve tested and loved:
- Chocolate Salted Caramel: Add 1/4 cup unsweetened cocoa powder to the sweetened condensed milk before mixing. The chocolate and caramel combo is absolutely divine—think salted caramel brownie but frozen.
- Vegan Version: Use full-fat coconut cream instead of heavy cream, and a dairy-free sweetened condensed milk (Nature’s Charm makes a great one). The caramel sauce can be made with coconut cream and vegan butter. The texture is slightly different—more coconut-forward—but still incredibly creamy.
- Boozy Salted Caramel: Add 2 tablespoons of bourbon or dark rum to the caramel sauce after removing it from heat. The alcohol lowers the freezing point, resulting in a softer, more scoopable ice cream. Plus, it adds a lovely warmth that pairs beautifully with the caramel.
- Nutty Crunch: Fold in 1/2 cup of toasted pecans or candied walnuts after swirling in the caramel. The crunch contrasts beautifully with the creamy base. I made this for Thanksgiving last year and it was gone before the pie.
- Lower Sugar Option: Use a sugar-free sweetened condensed milk and reduce the sugar in the caramel to 3/4 cup. The texture will be slightly less creamy, but the flavor still holds up well.
I personally love the boozy version—it’s my go-to for adult dinner parties. Something about that bourbon-caramel combination feels sophisticated without being fussy. Just be aware that it takes longer to freeze solid because of the alcohol content.
Serving & Storage Suggestions
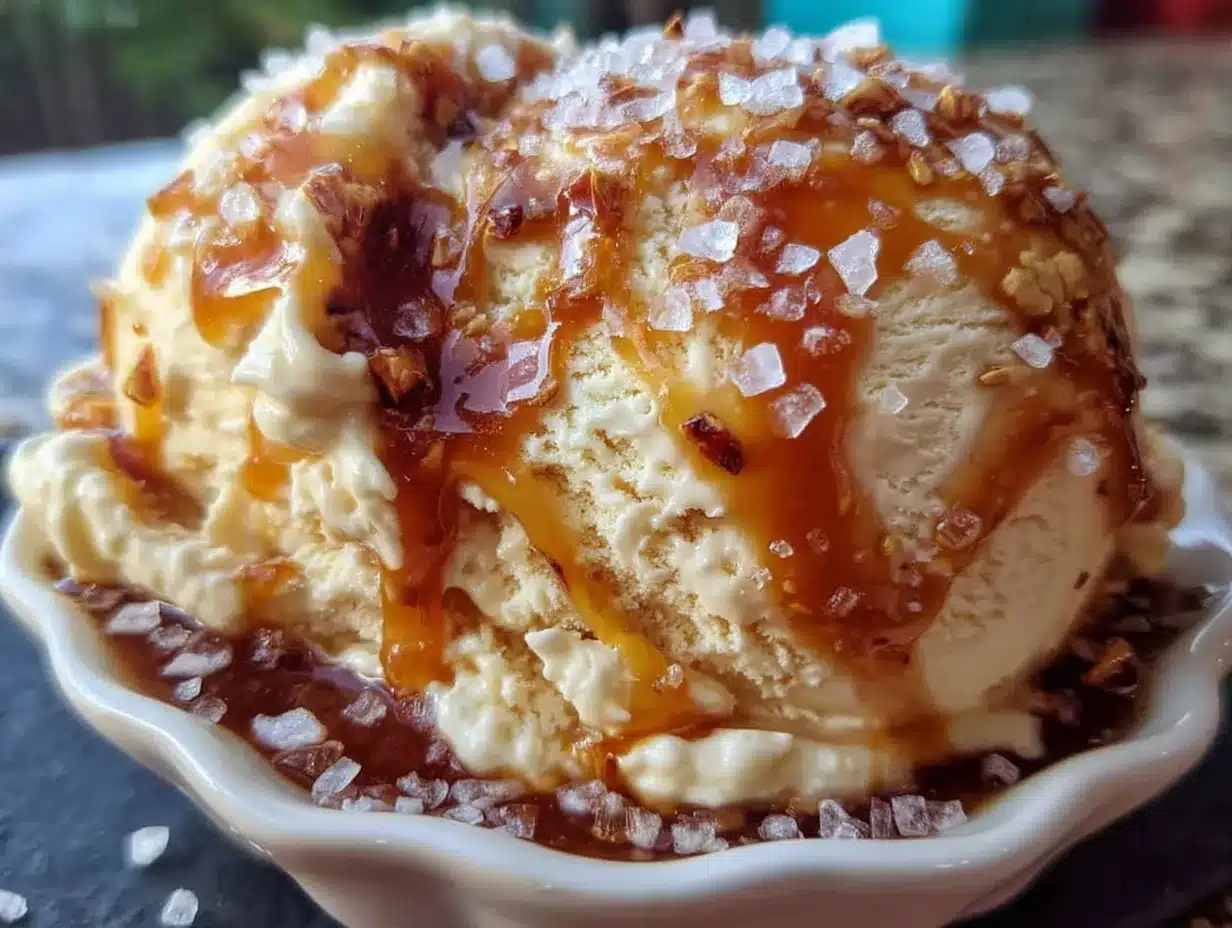
This no-churn salted caramel ice cream is best served slightly softened—let it sit at room temperature for 5-10 minutes before scooping. The texture becomes silky and scoopable, like premium gelato. I like to serve it in chilled bowls with an extra drizzle of warm salted caramel sauce and a final sprinkle of flaky sea salt.
For a beautiful presentation, scoop into glass dessert cups or martini glasses. Top with a dollop of whipped cream and a caramel drizzle. It also pairs wonderfully with warm desserts—try it alongside a slice of apple pie, a warm brownie, or even a simple chocolate chip cookie. The temperature contrast is heavenly.
Storage: Keep the ice cream in an airtight container in the freezer for up to 2 weeks. Press a piece of parchment paper directly onto the surface before sealing to prevent ice crystals from forming. If you notice any freezer burn after a few days, just scrape off the top layer—the ice cream underneath is still perfectly creamy.
Reheating tips: If the ice cream becomes too hard after several days, let it sit at room temperature for 15-20 minutes before scooping. You can also microwave the container for 10-15 seconds to soften the edges. For leftover caramel sauce, store it in a jar in the refrigerator for up to 2 weeks. Reheat gently in the microwave or on the stovetop before serving.
Flavor-wise, this ice cream actually improves after a day or two in the freezer. The caramel flavor deepens and becomes more complex, and the texture becomes smoother. I always make it a day ahead when I’m planning to serve it for guests.
Nutritional Information & Benefits
While this is definitely an indulgence, there are a few bright spots worth mentioning. The heavy cream provides healthy fats that help with satiety, and the caramel offers a touch of calcium and iron. The flaky sea salt adds trace minerals like magnesium and potassium.
Here’s the approximate nutritional breakdown per serving (1/2 cup, based on 8 servings):
- Calories: 380
- Fat: 24g
- Saturated Fat: 15g
- Carbohydrates: 38g
- Sugar: 35g
- Protein: 4g
- Sodium: 290mg
Dietary considerations: This recipe contains dairy and is not suitable for vegans (unless using the vegan adaptations above). It’s naturally gluten-free and contains no eggs. If you’re watching your sugar intake, consider the lower sugar variation mentioned earlier.
From a wellness perspective, I believe in enjoying treats in moderation. This ice cream is made from real ingredients—no stabilizers, no artificial flavors, no preservatives. When I make it, I know exactly what’s going into my body, and that feels better than any store-bought pint. Plus, the act of making it from scratch is its own kind of therapy—there’s something meditative about stirring caramel until it turns golden.
Conclusion
This Easy No-Churn Salted Caramel Ice Cream has become my signature dessert, and for good reason. It’s the kind of recipe that looks impressive but requires almost no effort—my favorite kind of magic trick. The caramel is rich and complex, the texture is impossibly creamy, and that final sprinkle of sea salt makes every bite sing.
I love that this recipe doesn’t demand perfection. If your caramel seizes a little, just warm it gently and whisk it smooth. If you over-whip the cream, fold it gently and accept a slightly denser ice cream—it’ll still be delicious. This isn’t about being a perfect baker; it’s about creating something beautiful and satisfying with your own hands.
I’d love to hear how yours turns out! Leave a comment below and let me know if you tried any of the variations, or if you came up with your own twist. Share a photo on Pinterest and tag me—I love seeing your creations. And if you’re looking for another no-churn favorite, try my cookies and cream no-churn ice cream for another crowd-pleasing option. Happy scooping, friends!
Frequently Asked Questions
Can I use store-bought caramel sauce instead of making my own?
You absolutely can, but the flavor won’t be as deep or complex. Homemade caramel has a richer, more nuanced taste that really shines in this recipe. If you’re short on time, look for a high-quality jarred caramel—just avoid the kind with corn syrup and artificial flavors.
Why did my caramel turn out grainy?
Grainy caramel usually happens when sugar crystals form during cooking. To prevent this, make sure your saucepan and utensils are completely clean—any residual particles can cause crystallization. Also, stir constantly and avoid introducing cold ingredients too quickly. If your caramel does seize, add a splash of warm water and whisk over low heat until smooth.
How long does this ice cream keep in the freezer?
It stays fresh for up to 2 weeks in an airtight container. After that, it may develop ice crystals or lose some of its creamy texture. I recommend making it no more than a week ahead for the best flavor and texture.
Can I make this without a stand mixer?
Yes! A hand mixer works perfectly fine for whipping the cream. You can even whip it by hand with a whisk if you’re feeling ambitious—it’ll take about 5-7 minutes of vigorous whisking. The results are the same either way.
Can I double this recipe?
Definitely. Just double all the ingredients and use a larger container for freezing. Keep in mind that a larger batch may take longer to freeze solid—plan for 8-10 hours instead of 6. You can also divide it between two loaf pans for faster freezing.
Pin This Recipe!
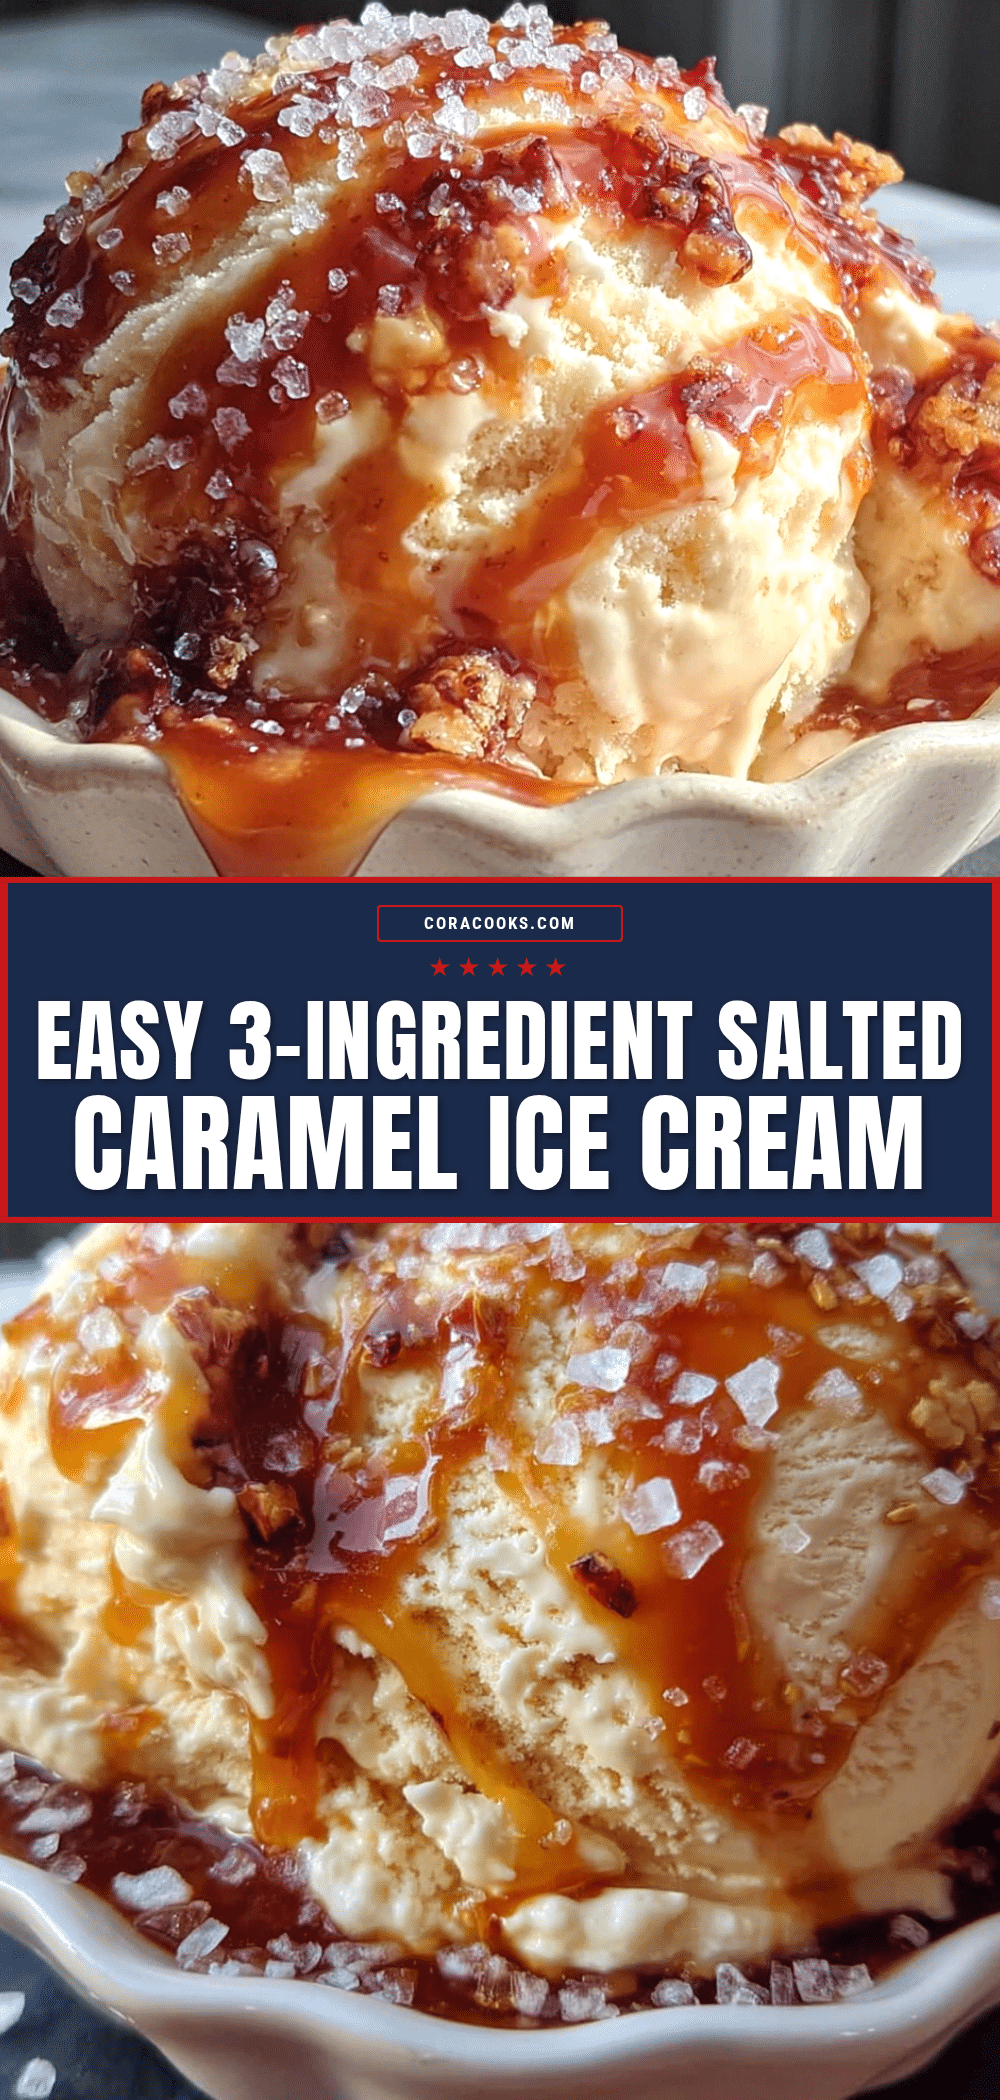
Easy No-Churn Salted Caramel Ice Cream Recipe

This Easy No-Churn Salted Caramel Ice Cream is creamy, sweet, and balanced with flaky salt. No ice cream maker required, just a mixer and a freezer.
- Prep Time: 20 minutes
- Cook Time: 10 minutes
- Total Time: 6 hours 30 minutes (including freezing)
- Yield: 8 servings 1x
- Category: Dessert
- Cuisine: American
Ingredients
- 1 cup (200g) granulated sugar
- 6 tablespoons (85g) unsalted butter, cut into cubes and softened at room temperature
- 1/2 cup (120ml) heavy cream, at room temperature
- 1 teaspoon flaky sea salt, plus more for topping
- 1 teaspoon vanilla extract
- 2 cups (480ml) heavy cream, cold
- 1 can (14 ounces or 397g) sweetened condensed milk
- 1/2 cup (120ml) prepared salted caramel sauce
- Pinch of sea salt for finishing
Instructions
- Make the salted caramel sauce first. Place the granulated sugar in a heavy-bottomed saucepan over medium heat. Stir constantly with a whisk or wooden spoon until the sugar melts into a deep amber liquid, about 5-7 minutes. If using a thermometer, aim for 350°F (177°C).
- Remove the pan from heat. Add the cubed butter one piece at a time, whisking vigorously until fully incorporated and smooth.
- Slowly drizzle in the room-temperature heavy cream while whisking constantly. The caramel will bubble. Stir in vanilla extract and flaky sea salt. Set aside to cool completely.
- Pour the cold heavy cream into a large mixing bowl. Using a stand mixer or hand mixer, beat on medium-high speed until stiff peaks form, about 3-4 minutes.
- In a separate medium bowl, whisk together the sweetened condensed milk and 1/2 cup of the cooled salted caramel sauce until smooth. Gently fold this mixture into the whipped cream using a rubber spatula until just combined.
- Line a 9×5-inch loaf pan with parchment paper. Pour half of the ice cream mixture into the pan. Drizzle with 2 tablespoons of remaining caramel sauce and swirl with a knife. Add the remaining ice cream mixture, drizzle with another 2 tablespoons of caramel, and sprinkle a pinch of flaky sea salt on top.
- Cover the pan with plastic wrap or foil and freeze for at least 6 hours, preferably overnight.
- Let the ice cream sit at room temperature for 5-10 minutes before scooping. Drizzle with extra caramel sauce and a final sprinkle of sea salt if desired.
Notes
Don’t rush the caramel; use medium heat. Ensure cream and butter are at room temperature to prevent seizing. Whip cream to stiff peaks but not over-whipped. Freeze at least 6 hours, preferably overnight. For clean slices, use a warm knife.
Nutrition
- Serving Size: 1/2 cup
- Calories: 380
- Sugar: 35
- Sodium: 290
- Fat: 24
- Saturated Fat: 15
- Carbohydrates: 38
- Protein: 4
Keywords: no-churn ice cream, salted caramel, easy ice cream, homemade ice cream, no ice cream maker


