Love this? Save it for later!
Share the inspiration with your friends
I was digging through the back of my pantry last Tuesday, looking for a can of black beans I was sure I’d seen, when my fingers brushed against a dented can of white beans I’d bought on a whim months ago. The label was slightly torn, and honestly, I almost put it back. But then the smell hit me — not from the can, but from somewhere deep in my memory. It was the smell of my neighbor Mrs. Delgado’s kitchen, that specific mix of cumin and oregano and something warm and chicken-y that used to drift through the wall between our apartments every other Sunday. I was twenty-two, living in that tiny studio with the cracked linoleum, and she’d always knock on my door around five with a bowl wrapped in foil. “You’re too skinny,” she’d say, pressing it into my hands. “Eat.” I never got her recipe. She moved away years ago, and I never asked. But standing there in my own kitchen, holding that can of beans, I felt this sudden, almost desperate need to make that chili. Not a version of it. That one. The one that tasted like Sunday afternoons and someone looking out for you.
So I grabbed the beans, some chicken thighs from the freezer, and my Instant Pot — because let’s be real, I didn’t have the patience for a stovetop simmer. I wanted that flavor, and I wanted it fast. Maybe you’ve been there, chasing a taste you can’t quite name but can feel in your chest. This Easy White Chicken Chili in the Instant Pot is my closest attempt at recreating that memory. It’s not Mrs. Delgado’s exact recipe — I’ll never know all her secrets — but it’s warm, it’s comforting, and it comes together in about 10 minutes of active time. Honestly, it might even be better than I remember. Or maybe it’s just the feeling of finally getting close to something you thought you’d lost.
Why You’ll Love This Recipe
I’ve made this Easy White Chicken Chili more times than I can count, and every single time, it delivers. It’s the kind of recipe that makes you look like you spent hours in the kitchen when really, you were folding laundry while the Instant Pot did all the work. Here’s why it’s become my go-to for everything from quiet weeknights to full-blown dinner parties.
- 10-Minute Prep : No kidding. Chop an onion, open a few cans, and you’re done. The Instant Pot handles the rest. I’ve timed myself.
- Pantry-Friendly Ingredients : Canned white beans, jarred salsa verde, frozen corn — I almost always have these on hand. No special trips to the store required.
- Perfect for Hosting : This is the dish you make when friends are coming over and you want to actually enjoy their company instead of sweating over the stove. Set out bowls of toppings and let everyone customize their own.
- Crowd-Pleaser : I’ve served this to picky eaters, spice-averse relatives, and chili purists. Empty bowls every time. It’s creamy without being heavy, and the flavor is bold without being overwhelming.
- Unbelievably Delicious : The texture is where this recipe shines. The white beans break down just enough to create a naturally creamy broth, while the chicken stays tender and shreddable. It’s comfort in a bowl.
What makes this version different from the dozens of white chicken chili recipes out there? It’s the technique. Instead of adding cream or flour to thicken the chili, I let the Instant Pot do the work. The pressure cooking process breaks down the beans slightly, releasing their natural starches and creating that velvety consistency without any dairy. And the salsa verde? That’s my secret weapon. It adds brightness and a gentle heat that builds as you eat. This isn’t just another white chicken chili — it’s the one I’d serve to impress, and the one I make just for myself on a cold Tuesday night.
What Ingredients You Will Need
This recipe uses simple, wholesome ingredients that come together to create something genuinely special. Most of these are pantry staples for me now, and I bet you’ll feel the same way after the first batch.
- For the Chili Base:
- 1 tablespoon olive oil (I use extra virgin, but any neutral oil works)
- 1 medium yellow onion, diced (about 1 cup)
- 4 cloves garlic, minced (adds that aromatic backbone)
- 1 ½ pounds boneless, skinless chicken breasts or thighs (thighs stay juicier under pressure, but breasts work great too)
- 2 cans (15 ounces each) white beans, drained and rinsed (cannellini or great northern beans are my favorites; they hold their shape but break down slightly for creaminess)
- 1 can (4 ounces) diced green chiles (mild or medium, depending on your heat preference)
- 1 cup salsa verde (I prefer Herdez for its bright, tangy flavor, but any brand works)
- 3 cups low-sodium chicken broth (better than bouillon paste mixed with water is my lazy go-to)
- 1 teaspoon ground cumin
- 1 teaspoon dried oregano
- ½ teaspoon smoked paprika (optional, but adds a subtle smokiness)
- Salt and black pepper, to taste
- For the Creamy Finish (Optional but Recommended):
- ½ cup heavy cream or full-fat coconut milk (for a dairy-free version, coconut milk adds a lovely richness)
- Juice of 1 lime (brightens everything up)
- For Toppings (The Best Part):
- Fresh cilantro, chopped
- Diced avocado
- Shredded Monterey Jack cheese
- Sour cream or Greek yogurt
- Tortilla chips or strips
- Sliced jalapeños (for extra heat)
Ingredient Tips: I’ve tested this with both canned and dried beans, and canned wins for convenience every time. Just make sure to drain and rinse them well — the liquid in the can can make the chili overly salty. For the salsa verde, look for one that’s tomatillo-based rather than tomato-based for that authentic tang. And if you’re feeding a crowd, double everything except the broth — the Instant Pot handles it beautifully.
Equipment Needed
You don’t need a fancy kitchen to make this Easy White Chicken Chili, but a few key tools will make the process smoother. Here’s what I use:
- Instant Pot (6-quart or 8-quart) : This is non-negotiable for the pressure cooking method. I have the Duo Plus 6-quart, and it’s perfect for this recipe. If you’re cooking for a crowd, the 8-quart handles double batches with ease.
- Wooden Spoon or Spatula : For sautéing the aromatics and scraping up any browned bits from the bottom of the pot. A silicone spatula works too, but I prefer wood for its durability.
- Sharp Chef’s Knife : Dicing an onion and mincing garlic goes so much faster with a good knife. I use a 8-inch Wusthof, but any sharp knife will do.
- Cutting Board : Preferably one with a groove to catch juices. I learned this the hard way after a chicken juice disaster on my counter.
- Measuring Cups and Spoons : For accuracy, especially with the spices. I keep a set of magnetic measuring spoons on my fridge for quick access.
- Can Opener : A reliable one. I’ve had too many can openers break mid-recipe, so I splurged on a smooth-edge OXO model.
- Two Forks or a Hand Mixer : For shredding the chicken after cooking. Forks work fine, but if you’re making a big batch, a hand mixer on low speed shreds chicken in seconds. It’s a game-changer.
Budget-Friendly Alternatives: If you don’t have an Instant Pot, you can make this in a regular Dutch oven or large pot on the stovetop. Just simmer the chili covered for about 30-40 minutes until the chicken is cooked through and the flavors meld. The texture won’t be quite as creamy, but it’s still delicious.
Preparation Method
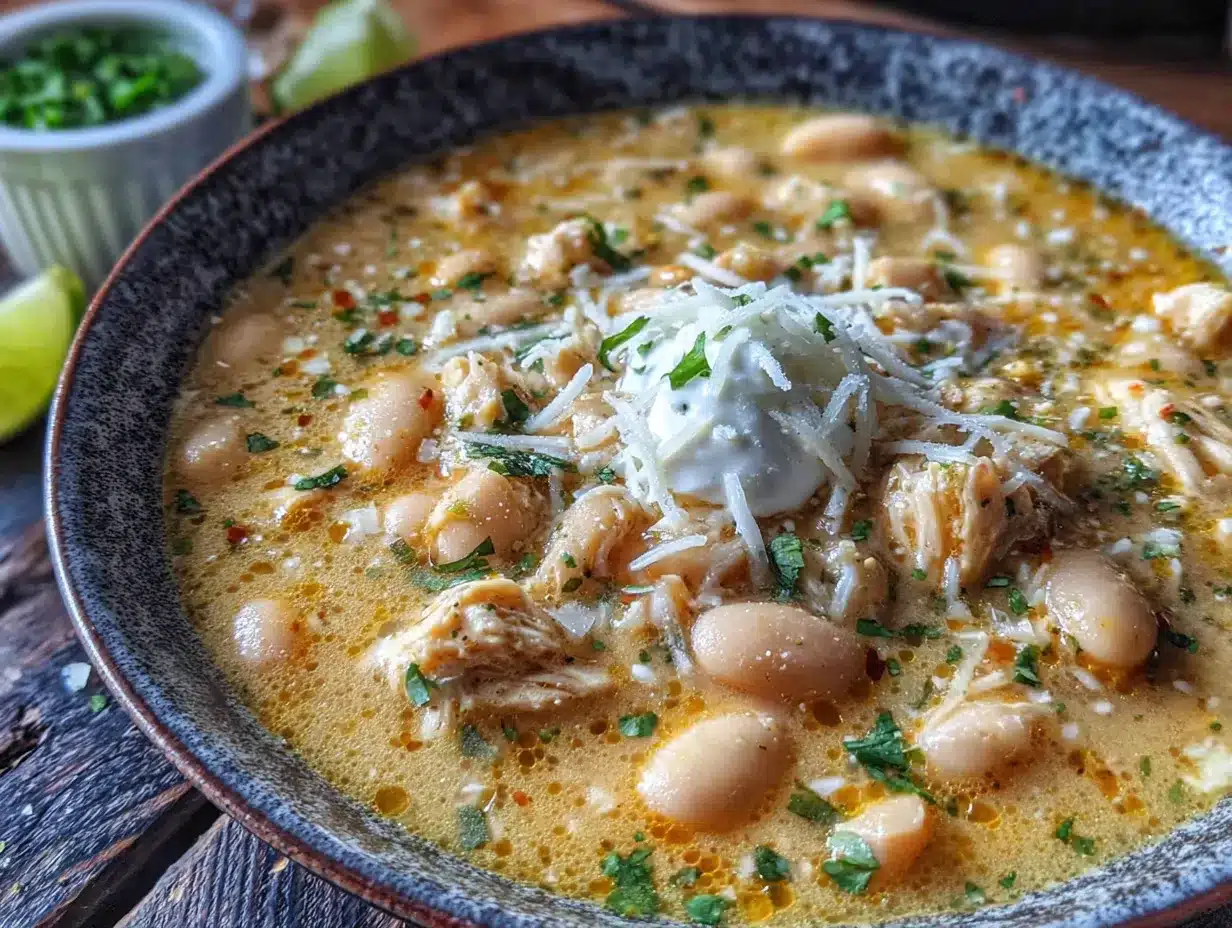
Let me walk you through this step by step. I’ve made this Easy White Chicken Chili so many times that I could do it with my eyes closed, but I’ll share all the little tricks I’ve picked up along the way.
- Sauté the Aromatics : Turn your Instant Pot to the Sauté function and let it heat up for about 2 minutes. Add the olive oil, then toss in the diced onion. Cook for 3-4 minutes, stirring occasionally, until the onion is soft and translucent. Add the minced garlic and cook for another 30 seconds until fragrant. Don’t let the garlic brown — it gets bitter. (I’ve definitely burned garlic before, and it’s not a mistake you make twice.)
- Bloom the Spices : Sprinkle the cumin, oregano, and smoked paprika over the onions and garlic. Stir constantly for about 30 seconds. This step wakes up the flavors and makes them more aromatic. Your kitchen will smell amazing at this point — honestly, I think this is my favorite part of the process.
- Deglaze the Pot : Pour in about ½ cup of the chicken broth and use your wooden spoon to scrape up any browned bits stuck to the bottom of the pot. This is crucial — if you skip it, you might get a “Burn” warning from your Instant Pot later. I learned this the hard way during a particularly distracted cooking session.
- Add the Remaining Ingredients : Add the remaining chicken broth, salsa verde, diced green chiles, drained white beans, and the chicken breasts or thighs. Nestle the chicken into the liquid so it’s mostly submerged. Don’t stir too much — just make sure everything is in the pot.
- Pressure Cook : Close the lid and set the valve to Sealing. Select Manual or Pressure Cook on High for 10 minutes. Yes, only 10 minutes! The Instant Pot works its magic quickly. It will take about 10-15 minutes to come to pressure, then the timer starts.
- Natural Release : When the timer beeps, let the pressure release naturally for 10 minutes. This is important — it allows the chicken to stay tender and the flavors to meld. After 10 minutes, carefully turn the valve to Venting to release any remaining pressure.
- Shred the Chicken : Open the lid and use two forks to shred the chicken right in the pot. It should fall apart easily. If it doesn’t, give it another minute or two under pressure. (This has happened to me with larger chicken breasts, and a quick 2-minute pressure cook fixes it.)
- Finish with Cream and Lime : Stir in the heavy cream or coconut milk and lime juice. Let the chili sit for 5 minutes off the heat — it will thicken slightly as it cools. Taste and adjust seasoning with salt and pepper. I usually add about ½ teaspoon of salt and a good crack of black pepper.
- Serve and Garnish : Ladle the chili into bowls and let everyone add their own toppings. I like to set out small bowls of cilantro, avocado, cheese, sour cream, and tortilla chips so guests can customize. It makes the presentation feel special without any extra work for you.
Sensory Cues: At step 1, the onions should smell sweet, not sharp. At step 2, the cumin and oregano should release an earthy, warm aroma. When you open the lid after pressure cooking, the broth should look slightly creamy and the chicken should be opaque and tender. If the broth seems thin, don’t worry — it will thicken as it sits.
Cooking Tips & Techniques
After making this Easy White Chicken Chili at least two dozen times, I’ve collected a few hard-won lessons. Here are the tips that make the biggest difference.
Don’t Skip the Sauté Step : I know it’s tempting to just dump everything in the pot and hit start, but sautéing the onions and spices first builds a flavor foundation that pressure cooking alone can’t replicate. It takes an extra 5 minutes, and it’s worth every second.
Watch Your Liquid Levels : The Instant Pot needs at least 1 cup of liquid to come to pressure, but too much liquid will make your chili watery. I’ve found that 3 cups of broth plus the salsa verde and canned chiles is the sweet spot. If you’re doubling the recipe, don’t double the broth — stick with 3-4 cups total.
Shred Chicken the Easy Way : For large batches, I use a hand mixer on low speed right in the pot. It shreds the chicken in about 10 seconds with minimal mess. Just be careful not to overmix, or you’ll end up with chicken mush. (Ask me how I know.)
Thicken Without Flour : If your chili is thinner than you’d like, mash about ½ cup of the beans against the side of the pot with a fork before adding the cream. The bean starches will thicken the broth naturally. This trick works like magic and keeps the chili gluten-free.
Make It Ahead : This chili actually tastes better the next day. The flavors meld and deepen overnight. So if you’re hosting a dinner party, make it a day ahead and reheat gently on the stovetop or in the Instant Pot on Sauté mode. Your future self will thank you.
Common Mistake to Avoid : Don’t add the cream or coconut milk before pressure cooking. Dairy can curdle under high pressure, and coconut milk can separate. Always add them after the pressure cooking is done. I made this mistake once, and the curdled cream ruined the whole batch. Learn from my failure.
Variations & Adaptations
One of the things I love about this Easy White Chicken Chili is how adaptable it is. Here are some variations I’ve tried and loved.
- Spicy Version : Add 1-2 diced jalapeños (seeds and all) with the onions, and use hot salsa verde instead of mild. For extra heat, stir in a teaspoon of chipotle powder or a minced serrano pepper at the end. My husband loves this version — I usually make a separate batch for myself with mild heat.
- Vegetarian Adaptation : Skip the chicken and use 3 cans of white beans instead of 2. Add a diced zucchini or bell pepper for texture. Use vegetable broth instead of chicken broth. The cooking time stays the same, and the result is surprisingly hearty. I’ve served this to vegetarians who didn’t miss the meat at all.
- Dairy-Free/Clean Eating : Replace the heavy cream with full-fat coconut milk or cashew cream. The coconut milk adds a subtle sweetness that pairs beautifully with the lime and cilantro. For a whole30 version, skip the beans and add extra vegetables like cauliflower florets or diced sweet potatoes.
- Slow Cooker Method : If you don’t have an Instant Pot, sauté the onions and garlic on the stovetop, then transfer everything except the cream and lime to a slow cooker. Cook on low for 6-8 hours or high for 3-4 hours. Shred the chicken, stir in the cream and lime, and serve. The texture won’t be quite as creamy, but the flavor is still fantastic.
- Flavor Twist: Green Chile Chicken Chili : Add a can of hominy (drained) along with the beans for a more traditional posole-style chili. The hominy adds a pleasant chewiness that contrasts with the creamy beans. I discovered this variation by accident when I was out of white beans and used hominy instead — it was a happy accident.
Serving & Storage Suggestions
This Easy White Chicken Chili is incredibly versatile when it comes to serving. Here’s how I like to present it and store it.
Serving Temperature and Presentation : Serve the chili hot, straight from the Instant Pot. I ladle it into wide, shallow bowls so the toppings have room to shine. Arrange the toppings in small bowls on a tray — cilantro, diced avocado, shredded cheese, sour cream, and tortilla chips. For a dinner party, I also add sliced radishes and pickled jalapeños for color and crunch. The presentation is beautiful with minimal effort.
Complementary Dishes : This chili pairs beautifully with a simple side salad dressed with lime vinaigrette, or with warm cornbread. For drinks, a cold Mexican lager or a lime-infused sparkling water is perfect. If you’re serving it as part of a larger spread, it goes well with Mexican street corn salad or avocado tomatillo salsa for dipping.
Storage Instructions : Store leftover chili in an airtight container in the refrigerator for up to 5 days. The flavors actually improve after a day or two. For longer storage, freeze the chili (without the cream and toppings) in freezer-safe bags or containers for up to 3 months. I like to freeze individual portions for quick lunches.
Reheating Methods : Reheat on the stovetop over medium-low heat, stirring occasionally, until warmed through. Add a splash of broth or water if it’s too thick. You can also reheat in the microwave in 30-second bursts, stirring between each. If frozen, thaw overnight in the refrigerator before reheating. Stir in the cream and lime juice after reheating for the freshest flavor.
How Flavors Develop : The chili will thicken as it sits in the refrigerator because the beans continue to absorb liquid. This is normal and actually desirable — the texture becomes even creamier. If you prefer a thinner consistency, add a little broth when reheating.
Nutritional Information & Benefits
This Easy White Chicken Chili is packed with protein and fiber, making it a satisfying meal that keeps you full. Here’s the estimated nutritional breakdown per serving (based on 6 servings, without toppings):
| Nutrient | Amount per Serving |
|---|---|
| Calories | 320 |
| Protein | 32g |
| Carbohydrates | 28g |
| Fiber | 8g |
| Fat | 10g |
| Saturated Fat | 4g |
| Sodium | 680mg |
Health Benefits : White beans are an excellent source of plant-based protein and fiber, which supports digestive health and helps stabilize blood sugar. Chicken provides lean protein for muscle repair and satiety. The salsa verde and green chiles add vitamin C and antioxidants. If you use Greek yogurt instead of sour cream, you’ll boost the protein content even further.
Dietary Considerations : This recipe is naturally gluten-free. For a dairy-free version, use coconut milk and skip the cheese and sour cream toppings. For a lower-sodium option, use no-salt-added canned beans and low-sodium broth. The chili is also relatively low in carbohydrates compared to traditional beef and bean chili, making it suitable for moderate low-carb diets.
Conclusion
This Easy White Chicken Chili has become a staple in my kitchen for good reason. It’s the recipe I turn to when I need something comforting, satisfying, and — let’s be honest — impressive without the stress. Every time I make it, I think of Mrs. Delgado and her foil-wrapped bowls of warmth. I think of that tiny apartment and the way food can connect us to people and places we’ve lost. And I think about how sometimes, the simplest recipes carry the most meaning.
I hope you’ll make this chili your own. Add extra heat if that’s your thing, load it up with toppings, or keep it simple with just a squeeze of lime and a handful of cilantro. However you make it, I promise it will be delicious. And if you serve it to friends or family, watch their faces when they take that first bite. That quiet moment of satisfaction? That’s the whole point.
I’d love to hear how it turns out for you. Drop a comment below and let me know your favorite toppings, or tag me in your photos if you share them online. Happy cooking, friends.
Frequently Asked Questions
Can I use frozen chicken in the Instant Pot for this recipe?
Yes, you can use frozen chicken breasts or thighs. Add 2-3 extra minutes to the pressure cooking time (12-13 minutes total) and make sure the chicken is fully submerged in the liquid. The natural release time stays the same. Just be aware that frozen chicken may release more liquid, so your chili might be slightly thinner.
How do I prevent the “Burn” warning on my Instant Pot?
The Burn warning usually happens when food sticks to the bottom of the pot. To avoid this, always deglaze the pot after sautéing by adding a bit of broth and scraping up any browned bits. Also, make sure you have at least 1 cup of liquid in the pot before pressure cooking. Don’t stir the ingredients after adding the broth — let the liquid settle at the bottom.
Can I make this recipe in a regular pot instead of an Instant Pot?
Absolutely. Sauté the onions and garlic in a large Dutch oven or pot over medium heat. Add the remaining ingredients (except the cream and lime), bring to a boil, then reduce heat to low, cover, and simmer for 30-40 minutes until the chicken is cooked through. Shred the chicken, stir in the cream and lime, and serve. The stovetop version is just as delicious, though the texture won’t be quite as creamy.
What’s the best way to thicken white chicken chili?
My favorite method is to mash about half a cup of the cooked beans against the side of the pot with a fork before adding the cream. The starches from the beans naturally thicken the broth. You can also let the chili simmer uncovered for 5-10 minutes after pressure cooking to reduce the liquid. Avoid adding flour or cornstarch — it changes the texture and flavor.
How long does white chicken chili last in the fridge?
Stored in an airtight container, this chili will keep in the refrigerator for up to 5 days. The flavors actually improve after a day or two as the spices meld. For longer storage, freeze the chili (without the cream and toppings) for up to 3 months. Thaw overnight in the refrigerator and reheat gently on the stovetop, adding a splash of broth if needed.
Pin This Recipe!
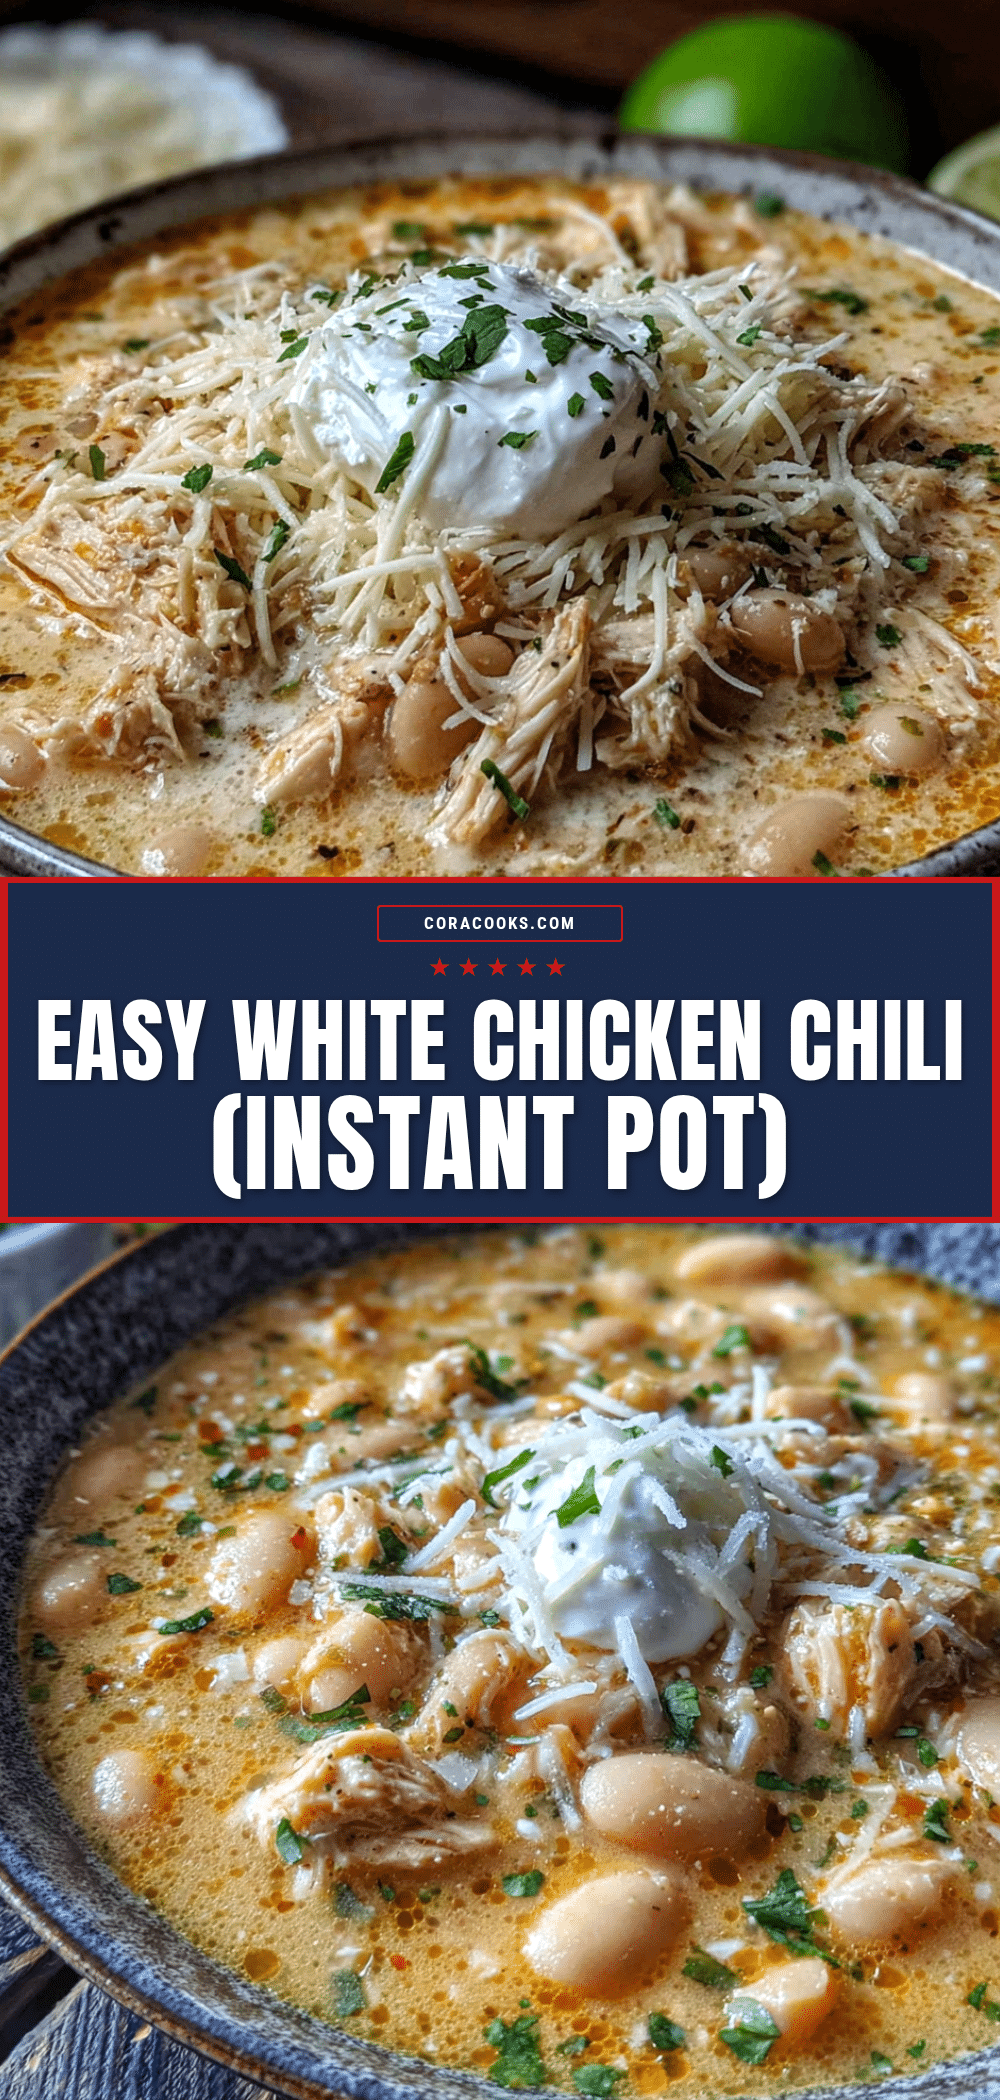
Easy White Chicken Chili (Instant Pot) Best 10-Min Recipe

This Easy White Chicken Chili is a comforting, creamy, and flavorful dish made in the Instant Pot with minimal prep. It’s perfect for busy weeknights and is packed with protein and fiber.
- Prep Time: 10 minutes
- Cook Time: 10 minutes
- Total Time: 30 minutes
- Yield: 6 servings 1x
- Category: Main Course
- Cuisine: Mexican
Ingredients
- 1 tablespoon olive oil
- 1 medium yellow onion, diced (about 1 cup)
- 4 cloves garlic, minced
- 1 ½ pounds boneless, skinless chicken breasts or thighs
- 2 cans (15 ounces each) white beans, drained and rinsed (cannellini or great northern)
- 1 can (4 ounces) diced green chiles
- 1 cup salsa verde
- 3 cups low-sodium chicken broth
- 1 teaspoon ground cumin
- 1 teaspoon dried oregano
- ½ teaspoon smoked paprika (optional)
- Salt and black pepper, to taste
- ½ cup heavy cream or full-fat coconut milk (optional)
- Juice of 1 lime (optional)
- Fresh cilantro, chopped (for topping)
- Diced avocado (for topping)
- Shredded Monterey Jack cheese (for topping)
- Sour cream or Greek yogurt (for topping)
- Tortilla chips or strips (for topping)
- Sliced jalapeños (for topping)
Instructions
- Turn Instant Pot to Sauté function and heat for 2 minutes. Add olive oil and diced onion. Cook 3-4 minutes until soft and translucent. Add minced garlic and cook 30 seconds until fragrant.
- Sprinkle cumin, oregano, and smoked paprika over onions and garlic. Stir constantly for 30 seconds to bloom spices.
- Pour in ½ cup chicken broth and use a wooden spoon to scrape up any browned bits from the bottom of the pot (deglaze).
- Add remaining chicken broth, salsa verde, diced green chiles, drained white beans, and chicken. Nestle chicken into liquid.
- Close lid, set valve to Sealing. Select Manual or Pressure Cook on High for 10 minutes.
- When timer beeps, let pressure release naturally for 10 minutes. Then carefully turn valve to Venting to release remaining pressure.
- Open lid and shred chicken with two forks directly in the pot.
- Stir in heavy cream or coconut milk and lime juice. Let chili sit for 5 minutes off heat to thicken. Season with salt and pepper to taste.
- Ladle into bowls and serve with desired toppings.
Notes
For a thicker chili, mash about ½ cup of beans against the side of the pot before adding cream. Do not add cream or coconut milk before pressure cooking to avoid curdling. Chili tastes even better the next day.
Nutrition
- Serving Size: 1 serving (about 1.5
- Calories: 320
- Sugar: 4
- Sodium: 680
- Fat: 10
- Saturated Fat: 4
- Carbohydrates: 28
- Fiber: 8
- Protein: 32
Keywords: white chicken chili, instant pot chili, easy chili, chicken chili, white chili, 10 minute chili