Love this? Save it for later!
Share the inspiration with your friends
I was standing in the school pickup line last Tuesday when the car door next to me opened, and this wave of warm, cheesy steam hit my face. It was so specific—that cozy, almost nutty smell of melted cheddar mixing with something green. And just like that, I was nine years old again, sitting at my best friend Maria’s kitchen table, watching her mom scoop what she called “emergency rice” into a thermos. I hadn’t thought about that lunch in twenty years. But there I was, suddenly craving it like crazy.
Maria’s mom wasn’t fancy in the kitchen. She used whatever was in the fridge—leftover rice, a handful of frozen broccoli, and a mountain of shredded cheese. She’d stir it all together on the stove, pack it hot into a thermos, and hand it to Maria with a wink. I remember being so jealous of that lunch. My sandwiches always got soggy by noon, but Maria’s rice stayed warm and gooey until the final bell. Honestly, I think that memory stuck with me because it wasn’t just about the food. It was about the feeling of opening that thermos and knowing someone thought ahead for you.
Fast forward to last week, and I was determined to recreate that feeling for my own kids. I mean, maybe you’ve been there—staring at a lunchbox, wondering how to send something hot that won’t turn into a sad, cold mess by lunchtime. This recipe for Easy Thermos Cheesy Broccoli Rice Bowls is my attempt to bottle that same warmth and care. It’s simple, it’s forgiving, and honestly, it’s the kind of lunch that makes you feel like you’re getting a hug in the middle of a school day. And let me tell you, after testing it about four times (and eating way too much cheese rice myself), I finally nailed it.
Why You’ll Love This Recipe
Let me be real with you—I’ve made a lot of school lunches that ended up in the trash. Dry sandwiches, mushy fruit, you name it. But these Easy Thermos Cheesy Broccoli Rice Bowls? They’re different. They actually get eaten. Here’s why this recipe works so well for busy families like ours.
- Quick & Easy: This comes together in under 20 minutes. Seriously. You can throw it together while you’re packing backpacks and hunting for lost shoes.
- Simple Ingredients: No fancy grocery trips needed. You probably have rice, frozen broccoli, and cheese in your kitchen right now.
- Perfect for School Lunches: It stays warm in a thermos for hours. No microwave needed at school. Just open and eat.
- Crowd-Pleaser: My kids fought over the last spoonful. Even my picky eater asked for seconds. That never happens.
- Unbelievably Delicious: The cheese gets all melty and coats every grain of rice. The broccoli softens just enough. It’s comfort food in a thermos.
What makes this recipe different from other cheesy rice recipes? It’s all about the timing. I learned the hard way that if you add the broccoli too early, it turns to mush. If you add the cheese too late, it clumps. This version gets the texture just right—creamy, cheesy, with little pockets of tender broccoli in every bite. It’s not just another lunch idea. It’s the one your kids will actually look forward to opening.
What Ingredients You Will Need
This recipe uses simple, wholesome ingredients to deliver that warm, cheesy comfort without any fuss. Everything is easy to find and probably already in your pantry or fridge.
- 1 cup long-grain white rice (uncooked) — I prefer jasmine rice for its slightly floral aroma, but basmati or regular white rice works great too. Brown rice will take longer to cook, so adjust the liquid and time if you go that route.
- 2 cups low-sodium chicken or vegetable broth — This adds way more flavor than water. I use Swanson’s low-sodium broth because it lets me control the salt. You can use water in a pinch, but the rice won’t be as tasty.
- 1 ½ cups frozen broccoli florets — No need to thaw them first. Frozen broccoli is actually perfect here because it softens just right during cooking. I like the Bird’s Eye brand for consistent size.
- 1 ½ cups shredded sharp cheddar cheese — Please shred it yourself from a block. Pre-shredded cheese has anti-caking agents that stop it from melting smoothly. I learned this the hard way after a few grainy batches. Sharp cheddar gives the most flavor, but mild cheddar works if that’s what you have.
- 2 tablespoons unsalted butter — This adds richness and helps prevent the rice from sticking. You can use salted butter, just reduce the added salt later.
- ½ teaspoon garlic powder — Not fresh garlic. Garlic powder distributes evenly and doesn’t overpower the cheese. Trust me on this one.
- ¼ teaspoon onion powder — Optional, but it adds a subtle savory note that kids won’t notice but will miss if it’s gone.
- Salt and black pepper to taste — Start with ½ teaspoon salt and ¼ teaspoon pepper. Adjust at the end.
- ¼ cup milk (any kind) — This thins the cheese sauce just enough to coat the rice evenly. Whole milk gives the creamiest result, but 2% or even oat milk works fine.
Ingredient Selection Tips: Look for broccoli florets that are bright green without freezer burn. If using fresh broccoli, cut them into very small, bite-sized pieces so they cook quickly. For the cheese, blocks of Tillamook or Cabot sharp cheddar are my go-to choices. They melt like a dream.
Equipment Needed
You don’t need a fancy kitchen for this recipe. Here’s what you’ll need:
- Medium saucepan with a tight-fitting lid — A 2-quart pot works perfectly. The lid is important for steaming the rice evenly. I use my old Farberware pot that’s seen better days, and it still does the job.
- Wooden spoon or silicone spatula — For stirring without scratching your pot. A metal spoon works too, just be gentle.
- Cutting board and knife — Only if you’re using fresh broccoli. For frozen, you can skip this.
- Measuring cups and spoons — For accuracy. I’m usually a “glug and sprinkle” cook, but rice needs precise measurements to turn out right.
- Cheese grater — If you’re shredding your own cheese (which you should). A box grater is fine, or use the shredding disc on your food processor if you have one.
- Thermos — A wide-mouth thermos is best for this recipe. I use a Stanley thermos that keeps food hot for up to 6 hours. Pre-heat it by filling it with boiling water for 5 minutes before adding the rice.
- Small bowl — For mixing the milk and cheese if you want to do it separately.
Budget-Friendly Options: If you don’t have a thermos, you can pack this in a microwave-safe container and reheat it at school. But honestly, a good thermos is worth the investment. Check thrift stores—I found my Stanley for three dollars.
Preparation Method
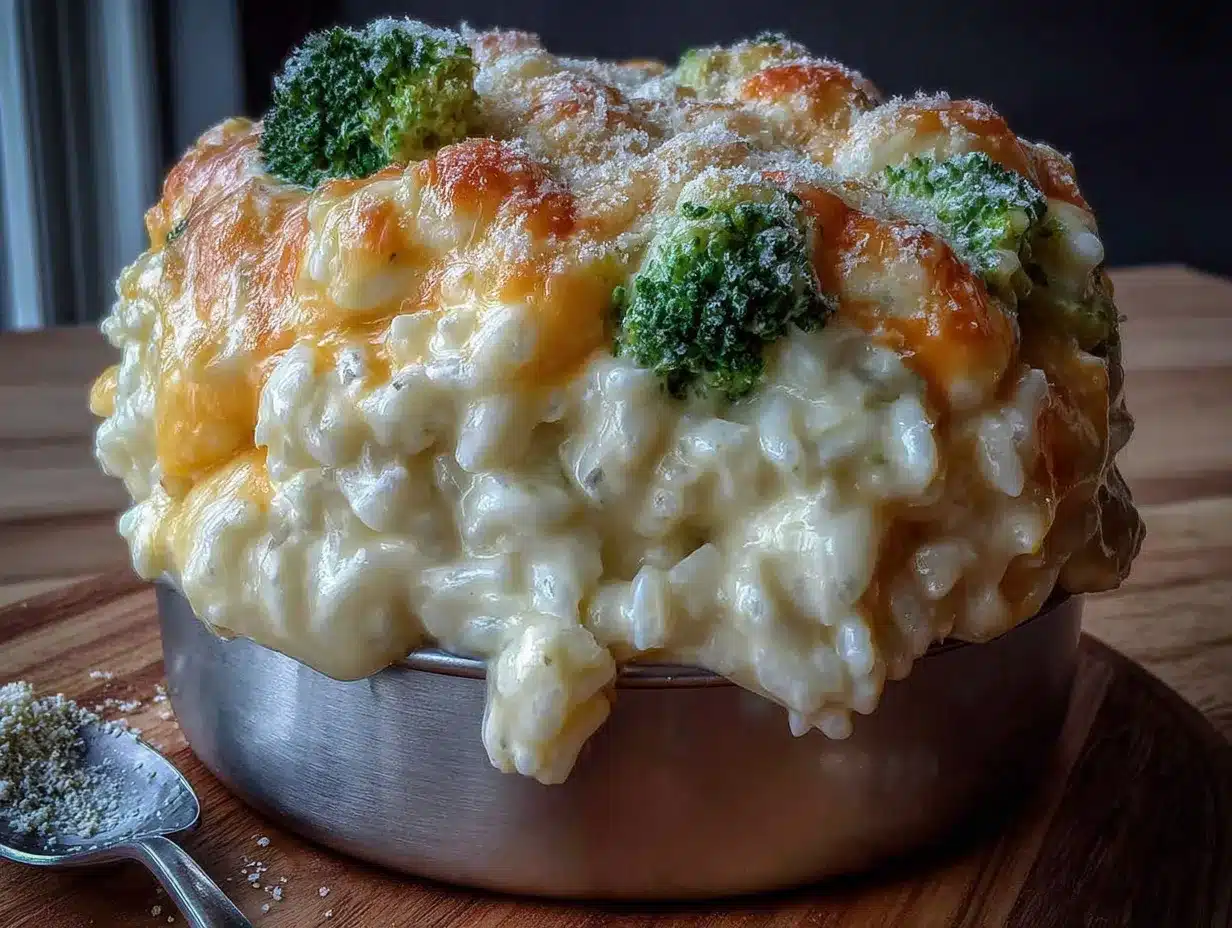
- Rinse the rice (1 minute): Place the 1 cup of rice in a fine-mesh strainer and rinse under cold water until the water runs clear. This removes excess starch and prevents the rice from turning gummy. I skipped this step once, and my rice turned into a gluey mess. Never again.
- Toast the rice (3 minutes): In your medium saucepan, melt the 2 tablespoons of butter over medium heat. Add the rinsed rice and stir constantly for 2-3 minutes until the grains look slightly translucent and smell nutty. This step adds so much flavor. Don’t walk away—it can burn fast.
- Add the broth and seasonings (1 minute): Pour in the 2 cups of broth, then add the garlic powder, onion powder, ½ teaspoon salt, and ¼ teaspoon pepper. Stir everything together. The liquid will bubble up immediately—that’s normal.
- Cook the rice (15 minutes): Bring the mixture to a boil, then reduce the heat to low. Cover the saucepan with the lid and let it simmer for 15 minutes. Do not lift the lid during this time. I know it’s tempting, but steam is what cooks the rice evenly. Set a timer and walk away.
- Add the broccoli (5 minutes): After 15 minutes, remove the lid. The rice should be tender and most of the liquid absorbed. Add the frozen broccoli florets right on top. Don’t stir them in yet. Cover the pot again and let it cook for another 5 minutes. The steam will soften the broccoli perfectly without turning it into mush.
- Add the cheese and milk (2 minutes): Remove the pot from the heat. Sprinkle the shredded cheddar cheese over the rice and broccoli, then pour in the ¼ cup of milk. Stir gently until the cheese is completely melted and everything is coated. The residual heat will do the work. If the mixture seems too thick, add another tablespoon of milk.
- Season and adjust (1 minute): Taste the rice and add more salt or pepper if needed. Remember that cheese is already salty, so go easy. I usually add just a pinch more black pepper for a little kick.
- Pack the thermos (2 minutes): While the rice is still piping hot, fill your pre-heated thermos. Pack it tightly to minimize air pockets, which helps retain heat. Close the lid immediately. The rice should stay warm for at least 4-5 hours.
Sensory Cues: The rice should look fluffy, not clumpy. The broccoli should be bright green and tender when pierced with a fork. The cheese should form a smooth, creamy sauce that coats every grain. If you see any stringy or clumpy cheese, you either added it too late or the heat was too low.
Cooking Tips & Techniques
I’ve made this recipe about a dozen times now, and I’ve definitely learned a few things the hard way. Here are my best tips to help you avoid my mistakes.
Don’t rush the toasting step. I know it seems like an extra step, but toasting the rice in butter before adding liquid is what gives this dish that deep, almost popcorn-like flavor. I skipped it once when I was in a hurry, and the rice tasted flat. It’s worth the three minutes.
Use a timer for the rice. I’m guilty of thinking I can eyebit it, but rice is unforgiving. Fifteen minutes covered, no peeking. The first time I made this, I lifted the lid at minute ten to check, and the rice ended up slightly crunchy. Set a timer and trust the process.
Shred your own cheese. I cannot stress this enough. Pre-shredded cheese is coated in potato starch or cellulose to prevent clumping, which also prevents smooth melting. Your sauce will be grainy and sad. I learned this lesson after making a batch for a school potluck that nobody touched. Block cheese melts like a dream.
Pre-heat your thermos. This is the secret to hot lunches. Fill your thermos with boiling water, close the lid, and let it sit for 5 minutes while you finish cooking. Dump the water right before adding the rice. The hot interior keeps the food warm for hours. I forgot to do this once, and my kid’s lunch was lukewarm by noon. Never again.
Double the recipe for leftovers. This recipe makes about 3 cups of rice, which is perfect for one thermos. But if you’re already cooking, make a double batch. The leftovers reheat beautifully in the microwave with a splash of milk. I often eat it for lunch the next day myself.
Multitasking strategy: While the rice is cooking, use that time to pack the rest of the lunchbox—fruit, crackers, a napkin. It makes the morning rush feel much more manageable.
Variations & Adaptations
This recipe is super flexible. Here are some ways to change it up based on what you have or what your family likes.
- Vegetarian/Vegan Version: Use vegetable broth instead of chicken broth. For a vegan version, swap the butter for olive oil or vegan butter, use nutritional yeast instead of cheese (about 3 tablespoons), and use unsweetened almond milk. It won’t be as creamy, but it’s still tasty.
- Gluten-Free: This recipe is naturally gluten-free as long as you use gluten-free broth. Double-check your broth label—some brands add wheat-based flavorings.
- Protein Boost: Add 1 cup of shredded cooked chicken or diced ham along with the cheese. My husband loves this version for his work lunches. Just make sure the meat is hot when you add it.
- Different Veggies: Swap broccoli for frozen peas, diced carrots, or chopped green beans. I’ve made it with a frozen mixed vegetable blend, and it worked great. Just adjust the cooking time—peas only need 2 minutes of steaming.
- Spicy Kick: Add ¼ teaspoon of red pepper flakes or a dash of hot sauce when you add the cheese. My teenager loves this version. I keep it mild for the younger one.
- Cheese Variations: Try a mix of cheddar and Monterey Jack for extra creaminess, or use pepper jack for a little heat. Gouda or Swiss also work, but they have stronger flavors that kids might not love.
Personal Variation: I once made this with leftover brown rice and added a spoonful of cream cheese along with the cheddar. It was ridiculously creamy. My kids called it “fancy rice” and asked for it again. So now I keep a block of cream cheese in the fridge just for this.
Serving & Storage Suggestions
These Easy Thermos Cheesy Broccoli Rice Bowls are best served hot, straight from the thermos. But here’s how to make the most of them.
Serving Temperature: The rice should be steaming hot when packed. By lunchtime, it will be warm—not piping hot, but comfortably so. If your thermos is good quality, it should still be warm enough to melt butter on a roll.
Presentation: I like to pack the rice in the thermos and then add a small container of extra shredded cheese or a few crackers on the side. My kids love crushing the crackers on top for a little crunch. It’s not necessary, but it makes lunch feel special.
Complementary Sides: These rice bowls pair well with apple slices, baby carrots, or a simple side salad. For a heartier lunch, add a hard-boiled egg or a yogurt tube. My kids also love a small container of ranch dressing for dipping the broccoli pieces.
Storage Instructions: Leftovers can be stored in an airtight container in the refrigerator for up to 4 days. The rice will absorb some moisture and become softer, but it’s still delicious. To reheat, add a splash of milk or water and microwave in 30-second intervals, stirring between each, until hot.
Freezer Tips: You can freeze this recipe for up to 2 months. Let it cool completely, then transfer to a freezer-safe container. Thaw overnight in the refrigerator before reheating. The texture will be slightly softer after freezing, but the flavor holds up well.
Flavor Development: Honestly, this dish tastes even better the next day. The flavors meld together overnight, and the cheese sauce gets even creamier. I often make a double batch on Sunday night just for Monday’s lunch.
Nutritional Information & Benefits
Here’s the nutritional breakdown for one serving (about 1 ½ cups of the prepared rice bowl, based on the recipe as written):
| Nutrient | Amount Per Serving |
|---|---|
| Calories | 485 |
| Total Fat | 22g |
| Saturated Fat | 13g |
| Cholesterol | 60mg |
| Sodium | 680mg |
| Total Carbohydrates | 52g |
| Dietary Fiber | 3g |
| Sugars | 3g |
| Protein | 18g |
| Calcium | 350mg |
| Iron | 2.5mg |
Health Benefits: Broccoli is packed with vitamin C, fiber, and antioxidants. The cheese provides calcium for strong bones, and the rice offers energy-sustaining carbohydrates. This is a balanced meal that keeps kids full and focused through the afternoon. I love that it sneaks in a vegetable without any fuss.
Dietary Considerations: This recipe is vegetarian and can be made gluten-free with the right broth. It contains dairy, so it’s not suitable for vegans or those with lactose intolerance without modifications. The saturated fat content is moderate, so it’s fine as an occasional lunch rather than an everyday staple.
From my perspective as a mom, I feel good sending this in a lunchbox. It’s not health food, but it’s real food—made from ingredients I recognize and can pronounce. That counts for a lot.
Conclusion
These Easy Thermos Cheesy Broccoli Rice Bowls have honestly become a staple in our house. They’re quick, they’re comforting, and they solve that eternal problem of sending a hot lunch to school without a microwave. I love that I can make them in under 20 minutes, pack them in a thermos, and know my kids are eating something warm and satisfying.
I’d love for you to try this recipe and make it your own. Maybe add some extra veggies, swap the cheese, or throw in some leftover chicken. The beauty of this dish is how forgiving it is. It’s built for real life, not perfect food photos.
If you make these rice bowls, I’d be so happy if you came back and left a comment below. Tell me how your kids liked them, or what variations you tried. And if you have a thermos lunch that your family loves, I’m always looking for new ideas. Share this recipe with a friend who needs an easy lunch win—we all deserve a little less stress in the morning.
Happy cooking, and here’s to warm lunches and happy kids!
Frequently Asked Questions
Can I use brown rice instead of white rice?
Yes, but you’ll need to adjust the cooking time. Brown rice takes about 40-45 minutes to cook, so add more broth (about 2 ½ cups) and simmer covered for 40 minutes before adding the broccoli. The texture will be chewier, but it works.
How do I keep the rice from getting mushy in the thermos?
The key is to not overcook the rice before packing it. Cook it until just tender, then pack it hot. The residual heat in the thermos will continue to cook it slightly, but it won’t turn mushy if you started with properly cooked rice.
Can I make this recipe ahead of time?
Absolutely. You can make the rice bowl up to 4 days in advance and store it in the refrigerator. Reheat it on the stove or in the microwave with a splash of milk before packing it into a pre-heated thermos. The flavors actually get better overnight.
My cheese sauce turned out grainy. What went wrong?
This usually happens when you use pre-shredded cheese or when the heat is too high. Always shred cheese from a block and add it off the heat. The residual warmth is enough to melt it smoothly. If it’s already grainy, try stirring in a tablespoon of milk or cream to smooth it out.
Can I add meat to this recipe?
Yes! Diced cooked chicken, ham, or even crumbled cooked sausage work great. Add the meat along with the cheese so it heats through. Just make sure the meat is already fully cooked and hot before adding it to the rice.
Pin This Recipe!
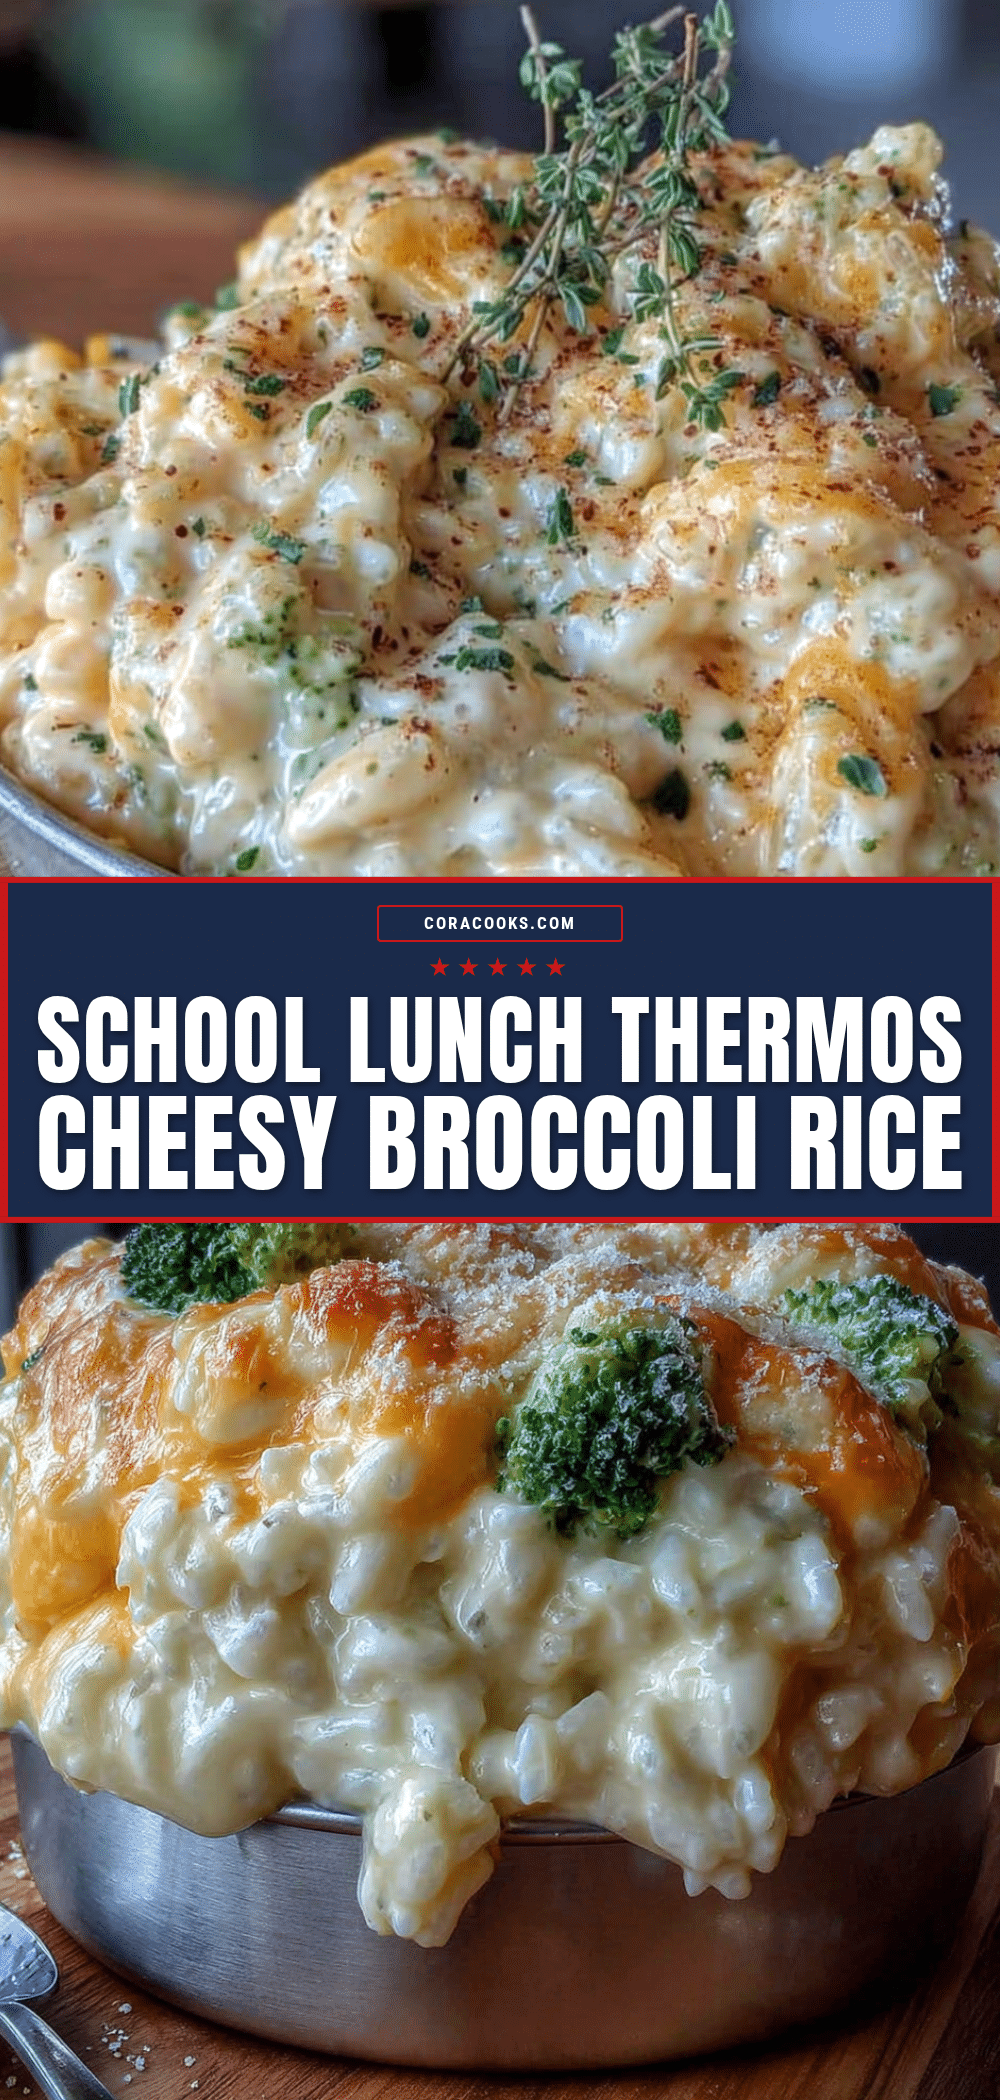
Easy Thermos Cheesy Broccoli Rice Bowls for School Lunch

These Easy Thermos Cheesy Broccoli Rice Bowls are a quick, comforting, and kid-friendly lunch that stays warm in a thermos for hours. Made with simple ingredients like rice, frozen broccoli, and sharp cheddar cheese, this recipe is perfect for busy school mornings.
- Prep Time: 5 minutes
- Cook Time: 20 minutes
- Total Time: 25 minutes
- Yield: 4 servings 1x
- Category: Main Course
- Cuisine: American
Ingredients
- 1 cup long-grain white rice (uncooked)
- 2 cups low-sodium chicken or vegetable broth
- 1 ½ cups frozen broccoli florets
- 1 ½ cups shredded sharp cheddar cheese
- 2 tablespoons unsalted butter
- ½ teaspoon garlic powder
- ¼ teaspoon onion powder
- Salt and black pepper to taste
- ¼ cup milk (any kind)
Instructions
- Rinse the rice: Place the 1 cup of rice in a fine-mesh strainer and rinse under cold water until the water runs clear.
- Toast the rice: In a medium saucepan, melt the 2 tablespoons of butter over medium heat. Add the rinsed rice and stir constantly for 2-3 minutes until the grains look slightly translucent and smell nutty.
- Add the broth and seasonings: Pour in the 2 cups of broth, then add the garlic powder, onion powder, ½ teaspoon salt, and ¼ teaspoon pepper. Stir everything together.
- Cook the rice: Bring the mixture to a boil, then reduce the heat to low. Cover the saucepan with the lid and let it simmer for 15 minutes. Do not lift the lid during this time.
- Add the broccoli: After 15 minutes, remove the lid. Add the frozen broccoli florets right on top. Don’t stir them in yet. Cover the pot again and let it cook for another 5 minutes.
- Add the cheese and milk: Remove the pot from the heat. Sprinkle the shredded cheddar cheese over the rice and broccoli, then pour in the ¼ cup of milk. Stir gently until the cheese is completely melted and everything is coated.
- Season and adjust: Taste the rice and add more salt or pepper if needed.
- Pack the thermos: While the rice is still piping hot, fill your pre-heated thermos. Pack it tightly to minimize air pockets. Close the lid immediately.
Notes
Pre-heat your thermos by filling it with boiling water for 5 minutes before adding the rice. Shred your own cheese from a block for the smoothest melt. Do not lift the lid while the rice is cooking to ensure even cooking. Leftovers can be stored in the refrigerator for up to 4 days and taste even better the next day.
Nutrition
- Serving Size: 1 ½ cups
- Calories: 485
- Sugar: 3
- Sodium: 680
- Fat: 22
- Saturated Fat: 13
- Carbohydrates: 52
- Fiber: 3
- Protein: 18
Keywords: thermos lunch, cheesy broccoli rice, school lunch, easy lunch, kid-friendly, broccoli rice bowls, hot lunch


