Love this? Save it for later!
Share the inspiration with your friends
I was standing in the baking aisle of my local grocery store last October, staring at a display of gummy worms, when the fluorescent lights flickered and for one split second, I was seven years old again. The smell of that particular plastic packaging mixed with the faint antiseptic cleaner of the linoleum floor—and suddenly I was in my Aunt Rita’s tiny galley kitchen, the one with the yellow linoleum countertops and the perpetually dripping faucet. She had just pulled a tray of these little cups from the fridge, and I remember thinking they looked like tiny graves for bugs, but in the best possible way. She handed me one with a plastic spoon and said, “Go on, eat the dirt.” I was suspicious for about half a second. Then I tasted it—the cool creaminess, the crunch of the cookie crumb “soil,” and the weirdly perfect squish of a gummy worm peeking out. I laughed so hard chocolate pudding almost came out of my nose. My aunt passed away three years ago, and I haven’t been able to find a dirt cup that tastes quite like hers since. This is my best attempt at getting it right—and honestly, I think I finally nailed it.
Maybe you’ve had a version of these before. Maybe you’ve made them with boxed pudding and store-bought whipped topping, and they were fine. But let me tell you, there is a difference between “fine” and the kind of spooky graveyard dirt cup that makes kids (and adults, let’s be honest) actually close their eyes for that second bite. I mean, these are the kind of Halloween treats that disappear before the actual trick-or-treaters even show up. I’ve tested this recipe about six times now—there was the batch where the pudding was too runny, the batch where I forgot the cream cheese (disaster), and the batch where I got a little too enthusiastic with the gummy worms and it looked more like a horror movie than a cute graveyard. But this version? This version is the one. It’s the one I’d serve at a Halloween party without a second thought, and the one I’ll be making for every October gathering from now on.
Why You’ll Love This Recipe
Look, I get it. Halloween treats can be a whole production. You’ve got the Pinterest-perfect cakes that take three hours, the elaborate cookies that require royal icing skills you definitely don’t have, and the candy apples that somehow always end up a sticky mess. These Easy Spooky Graveyard Dirt Cups are none of that. They are the kind of recipe that makes you look like a holiday hero without actually breaking a sweat. Here’s why they work:
- Quick & Easy : From start to finish, you’re looking at about 20 minutes of active work. The hardest part is waiting for the pudding to set in the fridge. I mean, seriously—that’s it.
- Simple Ingredients : You probably already have most of this stuff in your kitchen. Cream cheese, milk, pudding mix, whipped topping, and cookies. No weird specialty items, no trips to three different stores.
- Perfect for Halloween Parties : These are the ultimate make-ahead dessert. You can assemble them the night before, and they actually get better as they sit. The cookies soften into the pudding just enough to create that “dirt” texture that’s so satisfying.
- Crowd-Pleaser : I’ve served these to kids, adults, picky eaters, and people who claim they “don’t do dessert.” Every single person went back for seconds. It’s the gummy worms—they’re irresistible.
- Unbelievably Delicious : This isn’t just chocolate pudding in a cup. The cream cheese layer adds a tangy richness that takes it from “kid snack” to “legitimate dessert.” The texture is creamy, crunchy, and chewy all at once.
What makes this version different from the hundred other dirt cup recipes out there? It’s the cream cheese. Most recipes just use instant pudding and Cool Whip, and while that works, it’s one-note. Adding cream cheese gives it that slight tang, that richness, that makes you think, “Wait, this is actually good.” Plus, I’ve nailed the ratios so the pudding sets up perfectly—not too runny, not too stiff. It’s the kind of dessert that feels indulgent but doesn’t leave you feeling like you need a nap afterward. It’s comfort food with a spooky twist, and honestly, it’s the best version I’ve ever made.
What Ingredients You Will Need
This recipe uses simple, wholesome ingredients to deliver that creamy, crunchy, slightly spooky texture without any fuss. Most of these are pantry staples, and the ones that aren’t are easy to find at any grocery store. Let me walk you through what you need and why each one matters.
For the Cream Cheese Layer
- 8 ounces cream cheese, softened to room temperature — This is the secret weapon. It adds richness and a slight tang that balances the sweetness. Don’t skip it, and don’t use cold cream cheese or you’ll end up with lumps. Trust me, I learned this the hard way.
- 1/2 cup granulated sugar — Just enough to sweeten the cream cheese without making it cloying. You could use powdered sugar if you prefer a smoother texture, but granulated works fine.
- 1 teaspoon vanilla extract — Pure vanilla if you have it, imitation works in a pinch. It rounds out the flavors and makes everything taste a little more “homemade.”
- 1 cup heavy cream — Whipped to soft peaks. You can use store-bought whipped topping if you’re in a hurry, but freshly whipped cream is noticeably better. It’s lighter, fluffier, and doesn’t have that weird aftertaste.
For the Chocolate Pudding Layer
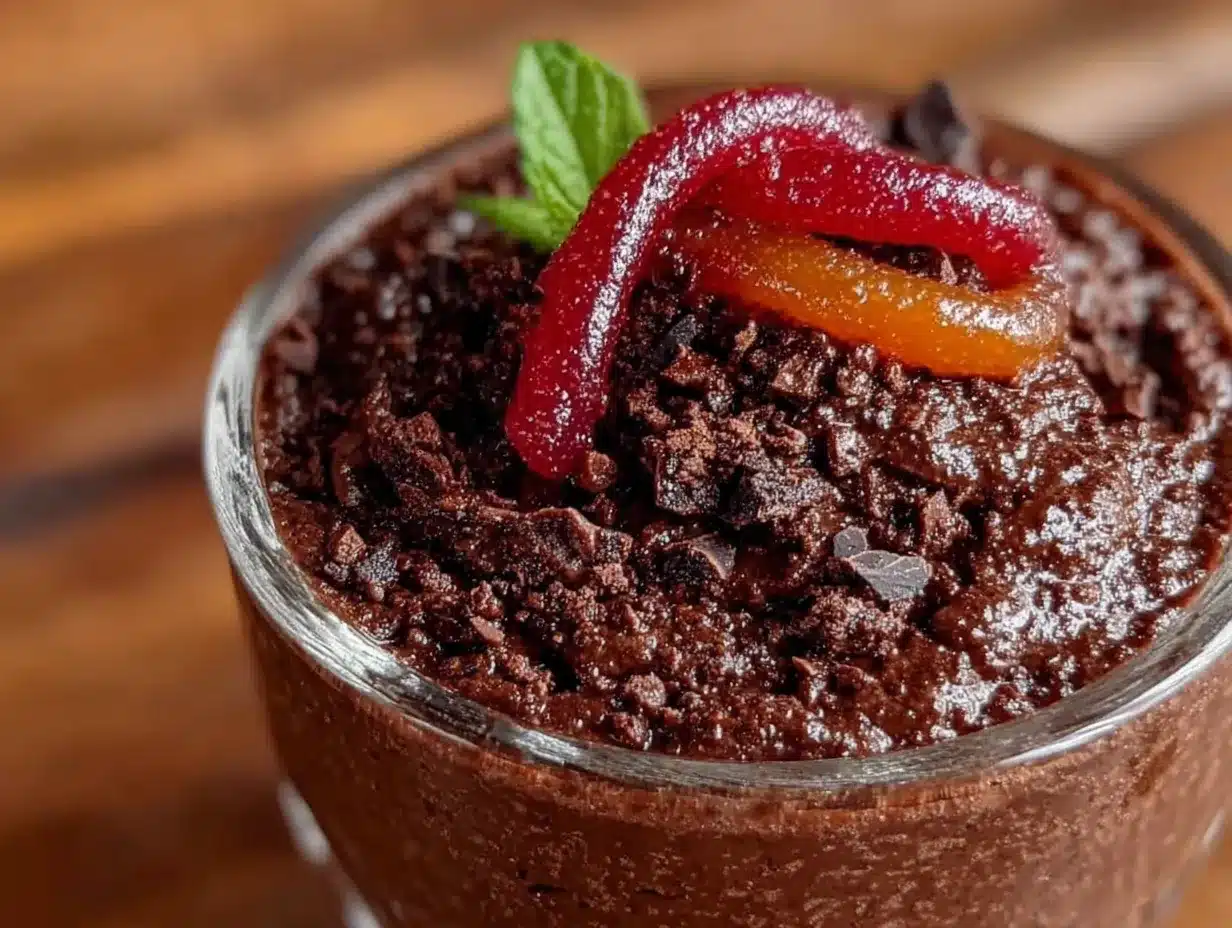
- 1 (3.9 ounce) box instant chocolate pudding mix — I recommend Jell-O brand for consistency, but any brand works. Don’t use cook-and-serve pudding—it won’t set up the same way and you’ll end up with soup.
- 2 cups cold whole milk — Whole milk gives the pudding a creamier texture. You can use 2% or even oat milk in a pinch, but whole milk is best. The fat content helps the pudding set properly.
For the “Dirt” Topping
- 1 (14.3 ounce) package chocolate sandwich cookies (like Oreos) — You’ll need about 20 cookies. Don’t bother removing the cream filling—it all gets crushed together and adds to the “dirt” texture. I’ve tried this with gluten-free chocolate cookies and it works great.
- 2 tablespoons melted butter — Optional, but it helps the cookie crumbs clump together slightly, giving them a more realistic “soil” texture. If you’re dairy-free, use coconut oil.
For the Spooky Decorations
- Gummy worms — The classic choice. I like the sour ones for a little tangy contrast, but regular work too. You’ll need about 2-3 per cup.
- Halloween-themed sprinkles — Think orange and black jimmies, or little candy eyeballs. Totally optional, but they make it look more festive.
- Small tombstone decorations — You can find these at party stores or online. Or just use rectangular cookies with “RIP” written in icing. I’ve done both.
A quick note on substitutions: If you’re dairy-free, use dairy-free cream cheese, coconut cream instead of heavy cream, and your favorite non-dairy milk. The texture will be slightly different, but still delicious. For a lower-sugar version, use sugar-free pudding mix and a sugar substitute in the cream cheese layer. I’ve tested this with stevia and it works, though the texture is a tiny bit grittier.
Equipment Needed
You don’t need a lot of fancy equipment for this recipe, which is part of the appeal. Here’s what you’ll actually use:
- Electric hand mixer or stand mixer — For whipping the cream and beating the cream cheese. You could do this by hand with a whisk, but your arm will hate you. I’ve done it, and it’s not fun.
- Mixing bowls — You’ll need at least two: one for the cream cheese mixture and one for the pudding. I use glass bowls because they’re easy to clean and don’t retain smells.
- Measuring cups and spoons — For accuracy. I know some people eyeball it, but for this recipe, precise measurements matter, especially for the pudding.
- Food processor or rolling pin — For crushing the cookies into “dirt.” A food processor gives you the most consistent texture, but a zip-top bag and a rolling pin works just as well. It’s actually kind of therapeutic to smash them.
- Small clear cups or glasses — The clear cups are essential for the visual effect. You want to see the layers of pudding, cream cheese, and dirt. I use 8-ounce plastic cups from the party store, but small mason jars or even juice glasses work beautifully.
- Spatula — For scraping every last bit of cream cheese mixture into the cups. Waste not, want not.
- Refrigerator — For setting the pudding and chilling the cups. Make sure you have space before you start.
If you don’t have a food processor, don’t stress. I’ve made these using a zip-top bag and a heavy skillet, and the crumbs were actually more varied in size, which looked more like real dirt. Plus, it’s a great way to get out any aggression after a long day.
Preparation Method
Alright, let’s get into the nitty-gritty. This recipe comes together in stages, but none of them are complicated. Here’s exactly how to do it.
- Make the cream cheese layer. In a large mixing bowl, beat the softened cream cheese with the sugar and vanilla extract until smooth and fluffy. This takes about 2-3 minutes with an electric mixer on medium speed. Scrape down the sides of the bowl halfway through. The mixture should be completely smooth with no lumps. If you see lumps, keep beating—they’ll eventually break up.
- Whip the cream. In a separate bowl, whip the heavy cream until soft peaks form. You want it to hold its shape but still be billowy, not stiff. If you over-whip it, you’ll end up with butter, so stop as soon as it looks like whipped cream. Gently fold the whipped cream into the cream cheese mixture using a spatula. Fold, don’t stir—you want to keep as much air in the mixture as possible. Set this aside.
- Make the chocolate pudding. In another bowl, whisk together the instant pudding mix and cold milk. Whisk for about 2 minutes until the mixture thickens. It will be quite runny at first, then suddenly it will start to set. That’s normal. Let it sit for 5 minutes to fully thicken. If it’s still runny after 5 minutes, your milk might not have been cold enough, or you might have used the wrong type of pudding. Don’t panic—just pop it in the fridge for 10 minutes and it will firm up.
- Crush the cookies. While the pudding is setting, crush your chocolate sandwich cookies. If using a food processor, pulse until you have fine crumbs with a few slightly larger pieces. If using a bag and rolling pin, put the cookies in a zip-top bag, seal it, and go to town. You want a mix of fine crumbs and small chunks—that’s what gives it that realistic dirt texture. Stir in the melted butter if using, and set aside.
- Assemble the cups. Now for the fun part. Start with a layer of the cream cheese mixture—about 2 tablespoons per cup. Spread it evenly across the bottom. Next, add a layer of chocolate pudding—again, about 2 tablespoons. You want the layers to be roughly equal. Repeat until the cup is about three-quarters full. The order doesn’t matter too much, but I like the cream cheese on bottom because it creates a nice contrast with the dark pudding on top.
- Add the dirt. Sprinkle a generous layer of cookie crumbs over the top of each cup. You want it to completely cover the pudding so no chocolate is showing. Press down gently so the crumbs stick to the pudding. This is your “soil” layer, so make it look good.
- Decorate spookily. Now add your gummy worms. I like to poke them in so they look like they’re crawling out of the dirt. Leave a few half-buried and let a few sit completely on top. Add your tombstone decorations and sprinkle with Halloween sprinkles if using. The more chaotic, the better—graveyards aren’t tidy.
- Chill and set. Refrigerate the cups for at least 2 hours before serving. This is crucial—the pudding needs time to fully set, and the cookie crumbs need time to soften slightly into the pudding. Overnight is even better. The flavors meld together and the texture becomes perfectly creamy.
A quick note on timing: The active prep time is about 20 minutes, but you need to factor in the chilling time. I usually make these in the morning for a Halloween party that evening, or the night before. They hold up beautifully in the fridge for up to 2 days, though the cookie crumbs will continue to soften the longer they sit. If you prefer a crunchier “dirt,” add the cookie crumbs just before serving.
Cooking Tips & Techniques
I’ve made these Easy Spooky Graveyard Dirt Cups more times than I care to count, and I’ve learned a few things along the way. Here are my best tips for getting them perfect every time.
Softening cream cheese is non-negotiable. I know, I know—you’re in a hurry and you think you can just beat cold cream cheese until it smooths out. You can’t. You’ll end up with lumpy cream cheese and a grainy texture. Leave it on the counter for 30 minutes before you start, or if you’re really pressed for time, microwave it in 10-second bursts until it’s soft but not melted. I’ve done the microwave method more times than I’d like to admit, and it works.
Don’t overmix the pudding. Instant pudding sets up quickly, and if you keep whisking after it’s thickened, you’ll break down the structure and end up with a runny mess. Whisk for exactly 2 minutes, then stop. Let it sit undisturbed for 5 minutes to fully set. If you’re worried, you can always test a spoonful after 3 minutes—it should be thick and glossy.
Crush cookies to the right consistency. You want a mix of fine crumbs and small chunks. If all the crumbs are too fine, it looks like cocoa powder, not dirt. If they’re too chunky, it looks like you just threw broken cookies on top. Aim for about 75% fine crumbs and 25% small pieces. My secret: pulse the cookies in the food processor about 8-10 times, then check the texture. If it’s too fine, add a few more cookies and pulse just once or twice.
Let the cups chill properly. I once served these after only 45 minutes in the fridge, and the pudding was still soupy. It was a disaster. The 2-hour minimum is not a suggestion—it’s a requirement. The pudding needs time to fully set, and the layers need time to meld together. Patience is key here.
Make extra. Seriously. These disappear fast, and you don’t want to be the person who only made six cups for a party of ten. I usually double the recipe and still end up with empty cups. They’re that popular.
Variations & Adaptations
One of the best things about this recipe is how easy it is to adapt. Here are some of my favorite variations:
Peanut Butter Dirt Cups : Add 1/4 cup creamy peanut butter to the cream cheese mixture before folding in the whipped cream. It adds a savory-sweet depth that pairs beautifully with the chocolate. Just make sure to use a natural peanut butter that isn’t too oily, or the texture will be off. I’ve made this version for a Halloween potluck and it was the first thing to disappear.
Vegan-Friendly Version : Use dairy-free cream cheese, coconut cream (chilled and whipped), and your favorite non-dairy milk. The texture will be slightly different—coconut cream is a bit denser than dairy whipped cream—but it’s still delicious. I recommend using a high-quality dark chocolate pudding mix to mask any coconut flavor.
Gluten-Free Option : Use gluten-free chocolate sandwich cookies. There are several brands available now, and they work perfectly. Just check the label to make sure your pudding mix is also gluten-free—most are, but it’s worth verifying.
Spooky Spider Cups : Instead of gummy worms, use black licorice strings to create spider legs. Place a chocolate-covered caramel candy in the center for the body, and arrange the licorice legs around it. It’s a fun twist that looks genuinely creepy.
Mint Chocolate Version : Add 1/2 teaspoon peppermint extract to the cream cheese mixture and use mint chocolate sandwich cookies instead of regular. Top with crushed peppermint candies for an extra festive touch. This is my personal favorite for Christmas, but it works for Halloween too.
Individual Trifles : If you don’t have small cups, layer everything in a large glass bowl for a graveyard trifle. Use a full package of cookies for the dirt layer and arrange the gummy worms and tombstones on top. It’s a showstopper for parties.
Serving & Storage Suggestions
These Easy Spooky Graveyard Dirt Cups are best served cold, straight from the fridge. The contrast between the cool, creamy pudding and the slightly softened cookie crumbs is what makes them so satisfying. I like to serve them with a small spoon and a napkin, because kids (and adults) will absolutely get chocolate on their faces.
For a Halloween party, arrange the cups on a tray or platter and let guests grab their own. I like to add a few extra gummy worms around the base of each cup for visual effect. You can also label each cup with a small tombstone that says “RIP” or “Here Lies My Diet” for a laugh. If you’re feeling extra creative, use a food-safe marker to write names on the cups.
Storage : These cups will keep in the refrigerator for up to 3 days. The cookie crumbs will continue to soften over time, so if you prefer a crunchier texture, add the dirt layer just before serving. If you’re making them ahead of time, I recommend preparing the cream cheese mixture, pudding, and cookie crumbs separately, then assembling the cups a few hours before serving. The gummy worms will also soften slightly if left in the fridge too long, so add those right before serving if you want them to stay chewy.
Freezing : I don’t recommend freezing these cups. The texture of the pudding and cream cheese will become grainy and watery when thawed. If you need to make them far in advance, freeze the components separately and assemble fresh.
One thing I love about this recipe is how the flavors develop over time. The first day, the pudding is light and fluffy and the cookie crumbs are crunchy. By the second day, the crumbs have softened into the pudding, creating a more uniform texture that’s almost like a mousse. Both versions are delicious, so don’t stress about timing. They’re good no matter when you serve them.
Nutritional Information & Benefits
Let’s be real—these are a treat, not a health food. But that doesn’t mean they can’t fit into a balanced lifestyle. Here’s the estimated nutritional breakdown for one cup (assuming 8 servings per recipe):
| Nutrient | Amount per Serving |
|---|---|
| Calories | 420 |
| Total Fat | 28g |
| Saturated Fat | 16g |
| Cholesterol | 75mg |
| Sodium | 380mg |
| Total Carbohydrates | 40g |
| Dietary Fiber | 2g |
| Sugars | 28g |
| Protein | 5g |
Now, here’s the good news: the cream cheese and heavy cream provide some calcium and protein, and the dark cocoa in the pudding has antioxidants. The cookie crumbs are mostly empty calories, but hey—it’s Halloween. You’re allowed to have fun. If you’re looking to lighten things up, use reduced-fat cream cheese, light whipped topping, and sugar-free pudding mix. I’ve tested that version and it’s about 280 calories per cup, with a slightly less rich texture but still plenty of flavor.
For those with dietary restrictions: this recipe contains dairy, gluten (unless using gluten-free cookies), and soy (in the cookies). The gummy worms may contain gelatin, so check the label if you’re vegetarian. I’ve seen vegan gummy worms at specialty stores, though they’re harder to find.
Conclusion
Look, I know there are about a million Halloween dessert recipes out there. But these Easy Spooky Graveyard Dirt Cups are the ones I come back to year after year. They’re fun, they’re delicious, and they’re genuinely easy to make. You don’t need to be a pastry chef or have a kitchen full of specialty tools. You just need some basic ingredients, a little patience for the chilling time, and a willingness to have fun with it.
I love that this recipe brings people together. I’ve made them with my nieces and nephews, watched them giggle as they poked gummy worms into the “dirt,” and seen their faces light up when they took that first bite. It’s the kind of recipe that creates memories, which is really what cooking is all about, isn’t it?
So go ahead—give these a try. Customize them however you like. Add extra gummy worms, skip the cream cheese layer if you’re in a hurry, or go all out with the decorations. There’s no wrong way to make them. And when you do, come back and let me know how they turned out. Leave a comment below, share a photo, tell me about your own Halloween memories. I’d love to hear from you. Happy haunting, and happy eating!
Frequently Asked Questions
Can I make these dirt cups ahead of time?
Absolutely. In fact, they’re better when made a day ahead. The flavors meld together and the texture becomes perfectly creamy. Just add the gummy worms and any crunchy decorations right before serving to keep them from getting soggy.
Can I use sugar-free pudding mix?
Yes, sugar-free instant pudding mix works perfectly. Just follow the same instructions. The texture will be slightly less creamy, but still delicious. I’ve made this version for friends watching their sugar intake and they didn’t notice a difference.
How do I prevent the cookie crumbs from getting soggy?
The cookie crumbs will soften over time—that’s part of the charm. But if you want them to stay crunchy, add the dirt layer just before serving. You can prepare the pudding and cream cheese layers ahead of time, then top with fresh cookie crumbs when you’re ready to serve.
Can I use a different type of cookie for the dirt?
Absolutely. Chocolate wafer cookies, graham crackers, or even chocolate teddy grahams all work. The texture will vary slightly, but the effect is the same. I’ve used gluten-free chocolate cookies with great results.
How many cups does this recipe make?
This recipe makes about 8 servings using 8-ounce cups. If you’re using smaller cups, you’ll get more servings. I usually double the recipe for parties because these disappear fast. Better to have leftovers than run out!
Pin This Recipe!
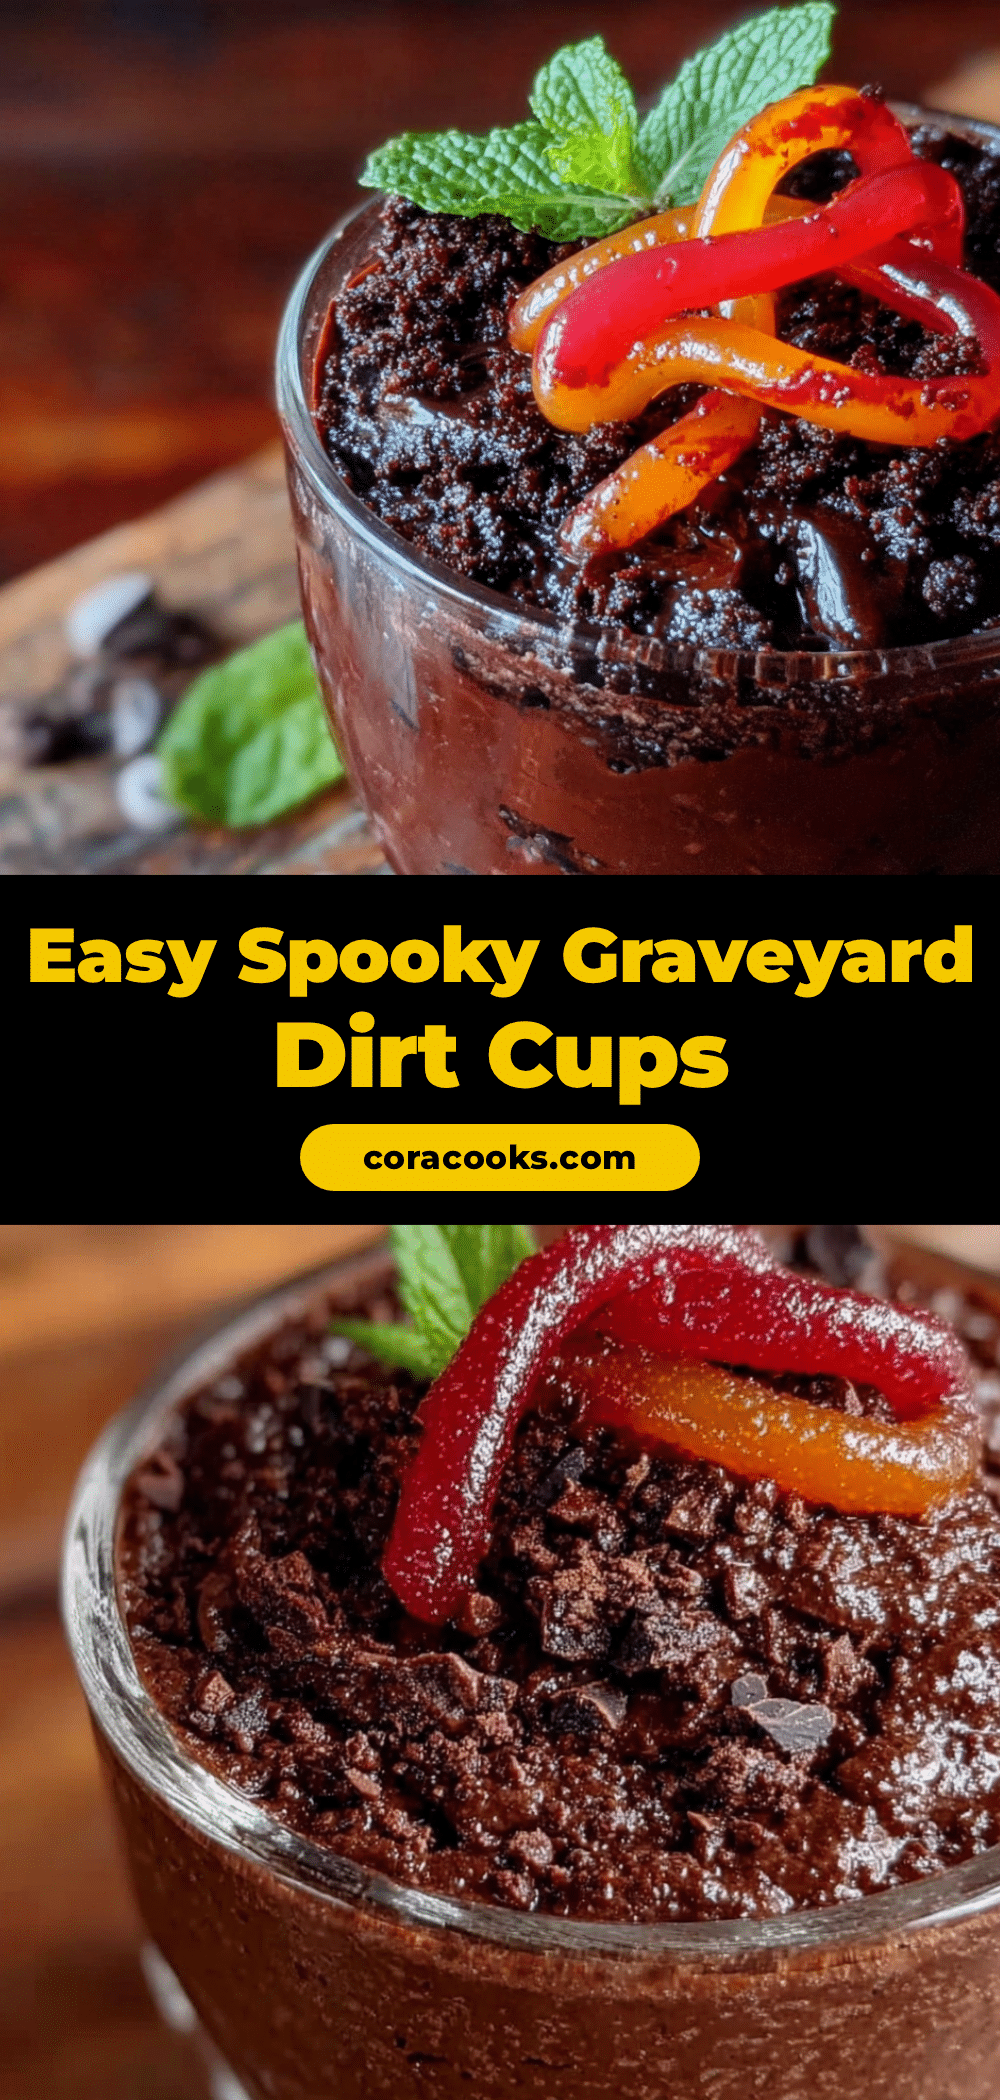
Easy Spooky Graveyard Dirt Cups: Best Halloween Dessert

These Easy Spooky Graveyard Dirt Cups are a fun and delicious Halloween treat with layers of creamy cheesecake, chocolate pudding, and crushed cookie ‘dirt,’ topped with gummy worms and spooky decorations. They’re quick to make and perfect for parties.
- Prep Time: 20 minutes
- Cook Time: 0 minutes
- Total Time: 2 hours 20 minutes (includes chilling)
- Yield: 8 servings 1x
- Category: Dessert
- Cuisine: American
Ingredients
- 8 ounces cream cheese, softened to room temperature
- 1/2 cup granulated sugar
- 1 teaspoon vanilla extract
- 1 cup heavy cream
- 1 (3.9 ounce) box instant chocolate pudding mix
- 2 cups cold whole milk
- 1 (14.3 ounce) package chocolate sandwich cookies (like Oreos), about 20 cookies
- 2 tablespoons melted butter (optional)
- Gummy worms (2-3 per cup)
- Halloween-themed sprinkles (optional)
- Small tombstone decorations (optional)
Instructions
- Make the cream cheese layer: In a large mixing bowl, beat the softened cream cheese with the sugar and vanilla extract until smooth and fluffy, about 2-3 minutes with an electric mixer on medium speed. Scrape down the sides of the bowl halfway through.
- Whip the cream: In a separate bowl, whip the heavy cream until soft peaks form. Gently fold the whipped cream into the cream cheese mixture using a spatula. Set aside.
- Make the chocolate pudding: In another bowl, whisk together the instant pudding mix and cold milk for about 2 minutes until the mixture thickens. Let it sit for 5 minutes to fully thicken.
- Crush the cookies: Crush the chocolate sandwich cookies into fine crumbs with a few slightly larger pieces using a food processor or a zip-top bag and rolling pin. Stir in the melted butter if using. Set aside.
- Assemble the cups: Start with a layer of the cream cheese mixture (about 2 tablespoons) in each cup. Add a layer of chocolate pudding (about 2 tablespoons). Repeat until the cup is about three-quarters full.
- Add the dirt: Sprinkle a generous layer of cookie crumbs over the top of each cup, completely covering the pudding. Press down gently so the crumbs stick.
- Decorate spookily: Poke gummy worms into the dirt so they look like they’re crawling out. Add tombstone decorations and sprinkle with Halloween sprinkles if using.
- Chill and set: Refrigerate the cups for at least 2 hours before serving. Overnight is even better.
Notes
The cream cheese layer is the secret to a richer flavor. For best results, let the cups chill for at least 2 hours, or overnight. The cookie crumbs will soften over time; add them just before serving if you prefer a crunchier texture. Gummy worms can be added right before serving to keep them chewy.
Nutrition
- Serving Size: 1 cup
- Calories: 420
- Sugar: 28
- Sodium: 380
- Fat: 28
- Saturated Fat: 16
- Carbohydrates: 40
- Fiber: 2
- Protein: 5
Keywords: Halloween dessert, dirt cups, graveyard cups, chocolate pudding, cream cheese, gummy worms, easy dessert, no-bake