Love this? Save it for later!
Share the inspiration with your friends
My neighbor, Carol, wasn’t trying to impress anyone that Tuesday afternoon. I’d stopped by to return her measuring cup—the one I’d borrowed three weeks prior and kept meaning to give back—and the smell hit me before I even got through the screen door. It was warm, buttery, and undeniably autumnal, like someone had bottled the scent of a perfect October day. There she was, standing in her slippers and a faded sweater, pulling a glass dish out of the oven. She looked at me like I was the crazy one for standing there with my mouth hanging open.
“Oh, that?” she said, waving her hand dismissively. “It’s just a dump cake. My daughter’s coming over later.” Just a dump cake. She said it the same way someone might say “I made toast.” But let me tell you, there was nothing “just” about it. The top was a gorgeous, golden-brown crust, and I could see little rivulets of caramel peeking through the cracks. I mean, I practically invited myself in for a slice. Honestly, maybe you’ve been there—that moment when you smell something so good you forget all social graces.
Carol’s version was a classic pumpkin dump cake, but she had this habit of drizzling salted caramel over everything. It wasn’t a recipe she followed; it was a reflex. And that little reflex, that casual, unthinking addition, turned an already wonderful dessert into something I still dream about. I went home that evening, not with her measuring cup (I forgot it again), but with a serious craving and a new obsession. This Easy Salted Caramel Pumpkin Dump Cake is my best attempt at recreating that moment. It’s the dessert that makes you close your eyes after the first bite, and it’s so simple, you’ll feel like you’re getting away with something.
Why You’ll Love This Recipe
This isn’t just another pumpkin dessert. After testing this recipe a half-dozen times (much to my family’s delight, and my waistline’s dismay), I can confidently say this version stands apart. It’s the kind of recipe that makes you look like a baking hero with almost zero effort. Here’s why it works so well:
- Unbelievably Easy: We’re talking 5 minutes of prep. You literally dump the ingredients into a pan. No mixer, no creaming butter and sugar, no complicated layers. It’s the perfect last-minute dessert for unexpected guests or a busy weeknight when you need a little comfort.
- Simple, Pantry-Friendly Ingredients: You likely have most of these items in your pantry right now. Canned pumpkin, a box of yellow cake mix, eggs, butter, and caramel sauce. No trips to a specialty grocery store required.
- Perfect for Fall Gatherings: Whether it’s Thanksgiving, a Friendsgiving potluck, or just a cozy Sunday night, this cake is a guaranteed crowd-pleaser. It tastes like a warm hug in a bowl, especially when served with a scoop of vanilla ice cream.
- That Salted Caramel Twist: The salted caramel isn’t just a garnish; it bakes into the cake, creating pockets of gooey, buttery sweetness that perfectly balances the earthy pumpkin and warm spices. It’s the “special something” that makes people ask for the recipe.
- Foolproof Results: Dump cakes are notoriously forgiving. You can’t overmix them, and the baking time has a good amount of wiggle room. It’s a fantastic recipe for beginner bakers or for more experienced cooks who just want a guaranteed win without the stress.
This recipe is the best version of a fall classic because it prioritizes flavor without the fuss. It’s comfort food reimagined—faster, easier, but with the same soul-soothing satisfaction. Perfect for impressing guests without breaking a sweat.
What Ingredients You Will Need
This recipe uses simple, wholesome ingredients to deliver that big, bold fall flavor. Most of these are pantry staples, which makes this the perfect go-to dessert when a craving strikes.
- For the Pumpkin Base:
- 1 can (15 oz) pure pumpkin puree (not pumpkin pie filling). I personally prefer Libby’s for its consistent, smooth texture.
- 1 can (12 oz) evaporated milk. This adds richness without being as heavy as cream.
- 3 large eggs, at room temperature. This helps everything blend together smoothly.
- 1 cup granulated sugar.
- 1 tablespoon pumpkin pie spice. You can make your own with 2 tsp cinnamon, 1/2 tsp ginger, 1/2 tsp nutmeg, and 1/4 tsp cloves.
- 1/2 teaspoon salt. This enhances all the other flavors.
- For the Cake Layer:
- 1 box (15.25 oz) yellow cake mix. Duncan Hines or Betty Crocker both work great. Do NOT prepare the mix; use it dry.
- 1/2 cup (1 stick) unsalted butter, melted. Using unsalted butter lets you control the salt level, especially with the caramel.
- For the Salted Caramel Swirl & Topping:
- 1/2 cup good-quality salted caramel sauce. I love using Stonewall Kitchen or a homemade batch if I have it on hand. If you only have unsalted caramel sauce, just add a pinch of flaky sea salt to the sauce before using.
- Optional but recommended: 1/2 cup chopped pecans or walnuts for a little crunch.
- Flaky sea salt, for finishing (like Maldon). This is non-negotiable in my book!
Substitution Guidance: For a gluten-free version, use a gluten-free yellow cake mix. For a dairy-free option, substitute the evaporated milk with a full-fat can of coconut milk and use a plant-based butter alternative (like Miyoko’s) for the melted butter. The texture will be slightly different, but still delicious.
Equipment Needed
You don’t need a fancy kitchen to pull this off. Here’s what you’ll need:
- A 9×13-inch Baking Dish: Glass or ceramic works best. A metal pan will work, but you’ll need to watch the baking time as it may cook faster.
- Large Mixing Bowl: For whisking together the pumpkin base.
- Whisk: To ensure a lump-free pumpkin mixture.
- Measuring Cups and Spoons: For accuracy, especially with the spices.
- Small Microwave-Safe Bowl: To melt your butter.
- Rubber Spatula: For scraping every last bit of that delicious pumpkin base into the pan.
- Knife or Skewer: For swirling the caramel into the cake batter.
I’ve made this in a disposable aluminum pan for a potluck before, and it worked like a charm. Don’t overthink the equipment—use what you have!
Preparation Method
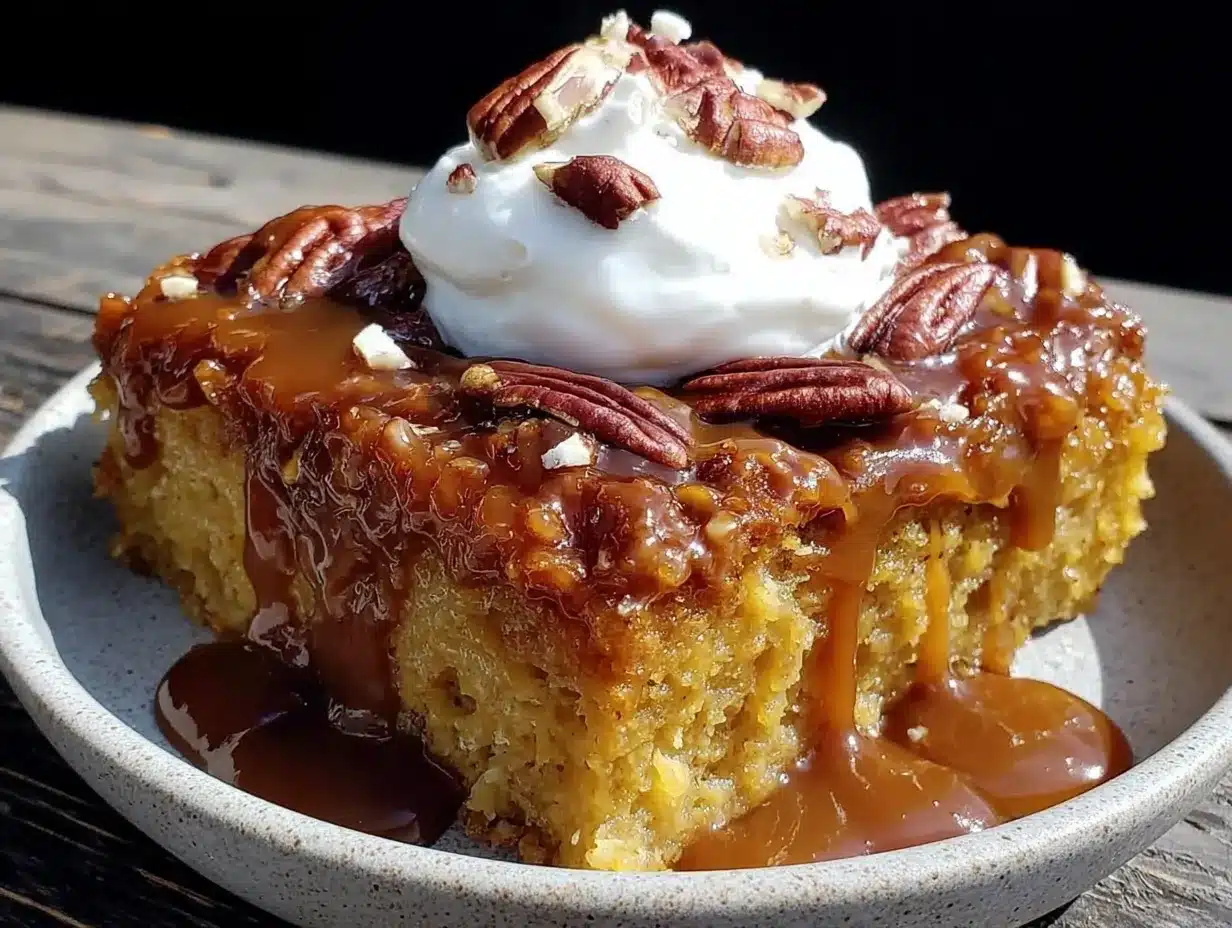
This is where the magic happens. Remember, we’re “dumping,” not “baking.” The process is incredibly straightforward, but I have a few tips to ensure perfect results every time.
- Preheat and Prep: First things first, preheat your oven to 350°F (175°C). Lightly grease your 9×13-inch baking dish with non-stick spray or a little butter. This is a crucial step—don’t skip it, or you’ll be fighting to get that first piece out.
- Make the Pumpkin Base: In your large mixing bowl, combine the can of pumpkin puree, evaporated milk, eggs, granulated sugar, pumpkin pie spice, and salt. Whisk until everything is completely smooth and well-combined. You’re looking for a silky, uniform mixture. It should smell like fall already.
- Pour the Base: Pour the pumpkin mixture into your prepared baking dish. Spread it into an even layer with your spatula. It will look a little thin and soupy—that’s totally normal.
- Dump the Cake Mix: Now for the fun part. Evenly sprinkle the entire box of dry yellow cake mix over the top of the pumpkin mixture. Don’t stir it in! Just let it sit there on top. This is the “dump” in dump cake. The dry mix will absorb the moisture from the pumpkin base as it bakes, creating a beautiful, crumbly topping.
- Add the Nuts (Optional): If you’re using chopped pecans or walnuts, sprinkle them evenly over the dry cake mix. They add a wonderful textural contrast.
- Drizzle the Butter: Take your melted butter and drizzle it as evenly as you can over the entire surface of the dry cake mix. Try to cover as much of the dry mix as possible. This butter is what will help the cake mix turn golden and crisp. Don’t worry if there are a few dry spots; the steam from the pumpkin layer will help hydrate them.
- The Caramel Swirl: Warm your salted caramel sauce for about 10-15 seconds in the microwave so it’s runny. Drizzle about half of it (1/4 cup) over the top of the buttered cake mix. Use a knife or a skewer to gently swirl the caramel into the top layer. You don’t want to mix it all the way down to the pumpkin; just create beautiful ribbons on the surface.
- Bake: Place the dish in the preheated oven and bake for 45-55 minutes. The cake is done when the top is a deep golden brown and the center is mostly set. It might still have a slight jiggle in the very center, which is fine. The edges should be bubbly and the top should be crisp. A toothpick inserted into the cake part (not the pumpkin filling) should come out clean or with a few moist crumbs.
- Cool and Finish: Let the cake cool on a wire rack for at least 20-30 minutes. This is the hardest part! The cake needs time to set up, or it will be too soupy to serve. Right before serving, drizzle the remaining 1/4 cup of salted caramel sauce over the top and sprinkle with a generous pinch of flaky sea salt.
Sensory Cues: When it’s done, your kitchen will smell like a candle shop and a bakery had a beautiful baby. The top will be a stunning, crackled golden crust, and you’ll see the caramel bubbling up at the edges. The aroma is intoxicating.
Cooking Tips & Techniques
I’ve made this cake enough times to have a few “oops” moments. Here’s what I’ve learned so you don’t have to make the same mistakes.
- Don’t Over-Bake: The biggest mistake people make is over-baking a dump cake, thinking it should be as firm as a traditional cake. It won’t be. The pumpkin filling should be custard-like and slightly soft. If you bake it until it’s completely firm, the pumpkin layer will be dry and the cake topping will be hard. Look for that slight jiggle in the center!
- Room Temperature Eggs: I know it’s a pain, but using room-temperature eggs really does make a difference. They incorporate into the pumpkin mixture more smoothly, creating a more cohesive custard. If you’re in a rush, place the eggs in a bowl of warm (not hot) water for 5 minutes.
- Even Butter Distribution: This is key for a consistent, crunchy topping. If you just dump the melted butter in one spot, you’ll get a soggy, undercooked patch. Drizzle it back and forth like you’re painting a masterpiece.
- Let It Rest: I cannot stress this enough. Let the cake cool for at least 20-30 minutes. I once served it after 10 minutes because I couldn’t wait, and it was a delicious, soupy mess. The resting time allows the pumpkin custard to set up perfectly, making it sliceable and beautiful.
- Make-Ahead Tip: This cake is actually better the next day! The flavors meld together overnight in the fridge. You can make it a day ahead, let it cool completely, cover it, and refrigerate. Serve it cold or reheat individual slices in the microwave for 20 seconds.
Variations & Adaptations
This recipe is a fantastic base for experimentation. Here are a few of my favorite ways to change it up:
- Spice It Up: For a chai-spiced version, add 1 teaspoon of ground cardamom and 1/2 teaspoon of black pepper to the pumpkin base along with the pumpkin pie spice. It adds a warm, aromatic complexity that’s incredible.
- Go Nut-Free: If you have allergies, simply omit the pecans or walnuts. For a fun crunch, try sprinkling 1/4 cup of raw pumpkin seeds (pepitas) over the top before baking.
- Chocolate Lover’s Dream: Swap the yellow cake mix for a box of spice cake mix. Then, before adding the butter, sprinkle a handful of semi-sweet chocolate chips over the dry mix. The chocolate and pumpkin combination is a classic for a reason.
- Apple-Pumpkin Fusion: Before pouring in the pumpkin base, spread one can (21 oz) of apple pie filling in an even layer on the bottom of the greased dish. Then pour the pumpkin base on top and continue with the recipe as written. It adds another layer of fruit and texture.
- Individual Servings: You can make these in small ramekins for a fun, personal dessert. Divide the pumpkin base among 6-8 greased ramekins, then top with the cake mix and butter. Bake for 20-25 minutes, or until bubbly and golden. This is perfect for a dinner party!
Serving & Storage Suggestions
This cake is a star on its own, but a few simple pairings can make it truly unforgettable.
Serving: The best way to serve this is warm, straight from the oven (after its 30-minute rest, of course!). Spoon it into a bowl and top it with a generous scoop of vanilla bean ice cream. The hot and cold contrast is pure heaven. A dollop of fresh whipped cream is also a fantastic choice. For an extra-special touch, drizzle a little extra warm caramel sauce over the ice cream.
Storage: Leftovers (if you have any!) should be covered tightly with plastic wrap or aluminum foil and stored in the refrigerator. The cake will keep for up to 5 days. The topping will soften a bit in the fridge, but the flavor will be even more incredible as the spices and caramel meld together.
Reheating: The best way to reheat is in the microwave for about 20-30 seconds per slice. This brings back that warm, gooey texture. You can also reheat it in a 300°F oven for 10-15 minutes, but the microwave is much faster and works perfectly for this type of dessert.
Freezing: This cake freezes beautifully. Bake and cool the cake completely. Do not add the final drizzle of caramel or salt. Wrap the entire dish tightly in a layer of plastic wrap, then a layer of aluminum foil. Freeze for up to 3 months. To serve, thaw overnight in the refrigerator, then reheat in a 300°F oven until warmed through, and add the fresh caramel and salt.
Nutritional Information & Benefits
Let’s be real—this is a dessert, and it’s meant to be indulged. However, it does have a few redeeming qualities!
Estimated Nutritional Values (per serving, 1/12th of recipe):
- Calories: 420
- Fat: 18g
- Carbohydrates: 62g
- Protein: 6g
- Fiber: 3g
- Sugar: 42g
Health Benefits: The star ingredient, pumpkin, is a nutritional powerhouse. It’s packed with Vitamin A (great for your eyes and immune system), fiber (which helps with digestion), and antioxidants. The eggs provide high-quality protein, and if you add nuts, you’re getting healthy fats and a little extra protein. It’s not a health food, but it’s a dessert that makes you feel a little less guilty about that second helping.
Dietary Considerations: This recipe is vegetarian. As mentioned, it can be made gluten-free and dairy-free with simple substitutions. It is not suitable for a low-carb or keto diet due to the sugar and cake mix.
FAQs
1. Can I use pumpkin pie filling instead of pumpkin puree?
No, I would not recommend it. Pumpkin pie filling is already pre-sweetened and spiced. Using it will make the base overly sweet and throw off the spice balance. Stick with 100% pure pumpkin puree for the best results.
2. My cake topping came out soggy. What did I do wrong?
This usually happens for one of two reasons: you didn’t drizzle the butter evenly enough, or you took the cake out of the oven too early. Make sure you’re covering as much of the dry cake mix with butter as possible. Also, ensure the top is a deep golden brown and the edges are bubbly before pulling it out.
3. Can I use a different flavor of cake mix?
Absolutely! Spice cake mix is a fantastic choice for a more intense fall flavor. You could also try a butter pecan or a white cake mix for a different twist. Just avoid chocolate cake mix, as it tends to overpower the delicate pumpkin and caramel flavors.
4. Do I have to use the salted caramel?
No, you can make a classic pumpkin dump cake without it. The caramel is what makes this version special, but if you’re not a fan, simply omit it. You can also substitute it with a butterscotch or dulce de leche sauce for a different flavor profile.
5. How do I know when the cake is done in the center?
This is the trickiest part of a dump cake. The center will be the last to set. When the edges are bubbly and the top is a beautiful golden brown, give the pan a gentle jiggle. The center should have a slight wobble, like a cheesecake. A toothpick inserted into the cakey part (not the pumpkin custard) should come out clean or with a few moist crumbs. Don’t wait for the center to be completely firm.
Conclusion
This Easy Salted Caramel Pumpkin Dump Cake is more than just a recipe; it’s a feeling. It’s the warmth of a neighbor’s kitchen, the joy of a simple, perfect bite, and the comfort of a dessert that asks for nothing but delivers everything. It’s the recipe you’ll turn to again and again, from chaotic weeknights to the most festive holiday tables. Honestly, it’s the kind of dessert that makes you forget about the dishes piling up in the sink and just enjoy the moment.
I truly hope you give this a try. Don’t be afraid to make it your own—add more spice, skip the nuts, double the caramel. The best recipes are the ones that feel like yours. When you make it, and you taste that warm, gooey, salty-sweet perfection, please come back and let me know how it turned out! Drop a comment below, share a photo, or tell me your favorite way to customize it. I can’t wait to hear about your baking adventures. Happy fall, friends!
Pin This Recipe!
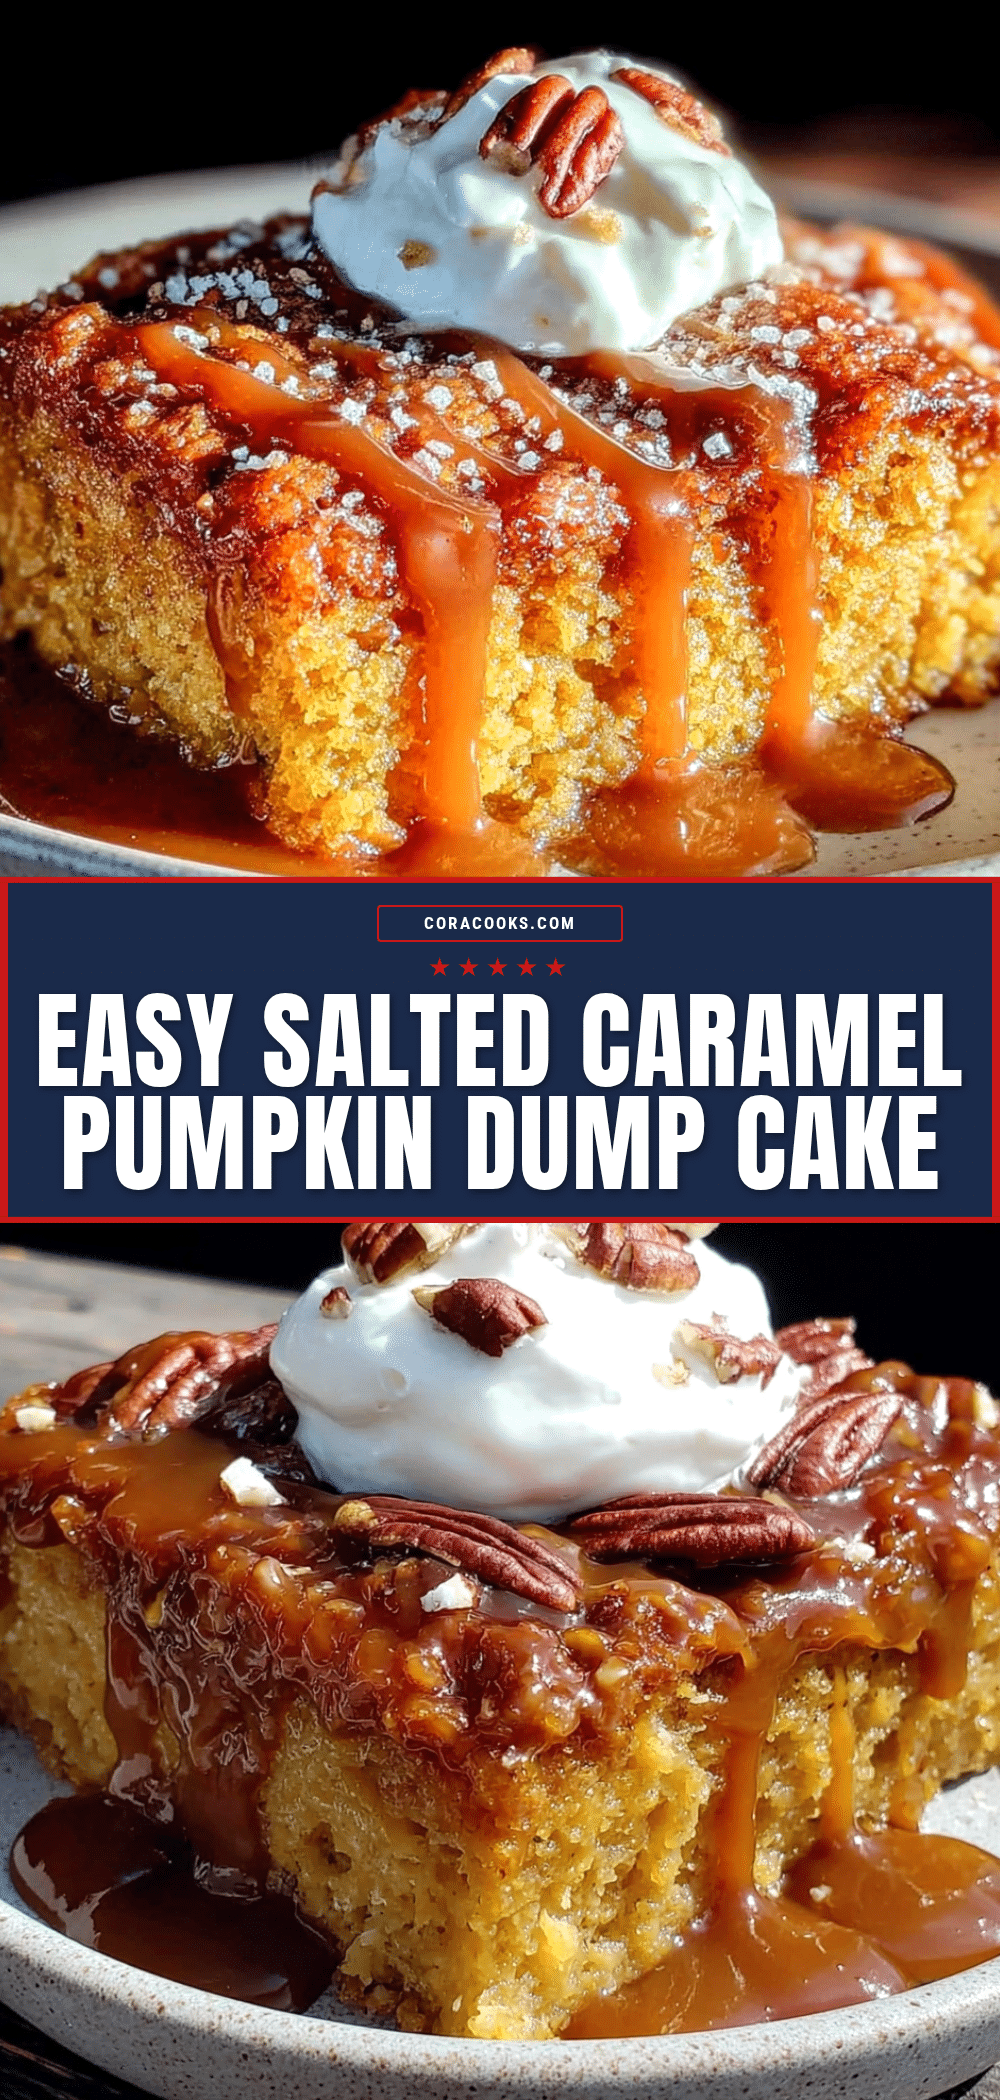
Easy Salted Caramel Pumpkin Dump Cake – Best Fall Dessert
This Easy Salted Caramel Pumpkin Dump Cake is a warm, buttery, and autumnal dessert that combines a simple pumpkin custard base with a crunchy cake mix topping and gooey salted caramel swirls. It’s a foolproof, crowd-pleasing treat perfect for fall gatherings.
- Prep Time: 5 minutes
- Cook Time: 50 minutes
- Total Time: 55 minutes
- Yield: 12 servings 1x
- Category: Dessert
- Cuisine: American
Ingredients
- 1 can (15 oz) pure pumpkin puree
- 1 can (12 oz) evaporated milk
- 3 large eggs, at room temperature
- 1 cup granulated sugar
- 1 tablespoon pumpkin pie spice
- 1/2 teaspoon salt
- 1 box (15.25 oz) yellow cake mix
- 1/2 cup (1 stick) unsalted butter, melted
- 1/2 cup good-quality salted caramel sauce
- 1/2 cup chopped pecans or walnuts (optional)
- Flaky sea salt, for finishing
Instructions
- Preheat oven to 350°F (175°C). Lightly grease a 9×13-inch baking dish.
- In a large mixing bowl, combine pumpkin puree, evaporated milk, eggs, granulated sugar, pumpkin pie spice, and salt. Whisk until smooth.
- Pour the pumpkin mixture into the prepared baking dish and spread into an even layer.
- Evenly sprinkle the entire box of dry yellow cake mix over the pumpkin mixture. Do not stir.
- If using, sprinkle chopped pecans or walnuts evenly over the dry cake mix.
- Drizzle the melted butter as evenly as possible over the entire surface of the dry cake mix.
- Warm 1/4 cup of the salted caramel sauce for 10-15 seconds in the microwave. Drizzle over the top and gently swirl with a knife or skewer.
- Bake for 45-55 minutes, until the top is deep golden brown and the center is mostly set with a slight jiggle.
- Let the cake cool on a wire rack for at least 20-30 minutes.
- Before serving, drizzle the remaining 1/4 cup of salted caramel sauce over the top and sprinkle with flaky sea salt.
Notes
For a gluten-free version, use a gluten-free yellow cake mix. For a dairy-free option, substitute evaporated milk with full-fat coconut milk and use plant-based butter. The cake is even better the next day; store covered in the refrigerator for up to 5 days. Reheat individual slices in the microwave for 20-30 seconds.
Nutrition
- Serving Size: 1 slice (1/12 of rec
- Calories: 420
- Sugar: 42
- Fat: 18
- Carbohydrates: 62
- Fiber: 3
- Protein: 6
Keywords: pumpkin dump cake, salted caramel pumpkin cake, easy fall dessert, pumpkin dessert, dump cake recipe


