Love this? Save it for later!
Share the inspiration with your friends
There used to be a tiny Italian deli on the corner of Elm and 4th in my old neighborhood that made the most incredible meatball subs. When they closed suddenly two summers ago, I actually felt a little lost. I mean, their subs were a Friday night tradition—the bread was always perfectly crusty, the sauce had this secret warmth to it, and the meatballs were these tender, oversized beauties. After maybe six or seven tries—burnt bread, bland meatballs, you name it—I finally got it. But then Halloween rolled around, and I had a crazy thought: what if I shrunk them down and wrapped them up like little mummies?
That’s how these Easy Halloween Mummy Meatball Sub Bites were born. Honestly, they started as a joke for my kid’s costume party, but now they’re the thing I look forward to making every October. There’s something so satisfying about pulling a tray of these little guys out of the oven—the crescent dough strips looking all haphazard and wrapped, the little dollops of mustard or marinara for eyes staring back at you. I mean, they’re ridiculous in the best way. And the best part? They come together in about 30 minutes, which means you actually get to enjoy the party instead of sweating in the kitchen. Maybe you’ve been there—scrambling to make something festive that doesn’t taste like a compromise. These bites are the answer.
They’re not just cute, though. They taste like the real deal. The meatballs stay juicy, the dough gets golden and flaky, and that little dip of sauce at the end ties it all together. I keep making them because they bring out that kid-like excitement in everyone who tries them. And honestly, that’s the whole point of Halloween, right?
Why You’ll Love This Recipe
Let me tell you why these little mummies are going to be your new Halloween MVP. I’ve tested this recipe at three different parties now, and they disappear every single time. Here’s what makes them special:
- Quick & Easy: From start to table in about 30 minutes. No complicated steps, no weird ingredients. Perfect for that pre-trick-or-treat rush.
- Simple Ingredients: Frozen meatballs, refrigerated crescent dough, and a few pantry staples. You probably have most of this stuff already.
- Perfect for Halloween Parties: They’re handheld, they’re festive, and they don’t require forks or plates. Total crowd-pleaser for kids and adults.
- Crowd-Pleaser: Even the picky eaters at my nephew’s party went back for seconds. Something about the mummy look just makes people smile.
- Unbelievably Delicious: The combo of savory meatball, flaky dough, and that little dip of marinara is just pure comfort food magic.
What makes this version different from other Halloween recipes I’ve tried? It’s the technique. Instead of making meatballs from scratch (which takes forever), I use high-quality frozen ones and doctor them up with a quick garlic-herb treatment. The crescent dough wraps around them perfectly, and baking them on a wire rack ensures they get crispy all around, not soggy on the bottom. I learned that trick after my first batch came out with sad, doughy undersides.
This recipe isn’t just good—it’s the kind that makes you close your eyes after the first bite. It’s Halloween fun without the Halloween fuss. Perfect for impressing guests without stress, or turning a simple snack into something memorable.
What Ingredients You Will Need
This recipe uses straightforward ingredients that come together for maximum flavor with minimum effort. Most of these are pantry staples or easy to find at any grocery store.
- Frozen fully cooked meatballs (about 24-30 mini meatballs or 12-15 regular-sized ones) – I prefer the Italian-style ones from Rosina or Aidells for the best flavor. Thaw them slightly before wrapping so they’re easier to handle.
- Refrigerated crescent roll dough (2 cans, 8 ounces each) – Pillsbury is my go-to. Look for the sheets version if you can find it, but the perforated triangles work fine too.
- Marinara sauce (½ cup, for dipping) – Use your favorite jarred brand or homemade. Rao’s is my personal favorite for its rich flavor.
- Mustard or marinara sauce for eyes (2 tablespoons) – Yellow mustard gives a classic “mummy” look, but marinara dots work too if you want everything red.
- Garlic powder (½ teaspoon) – Adds savory depth to the meatballs.
- Dried oregano (½ teaspoon) – For that Italian sub vibe.
- Salt (¼ teaspoon) – Just a pinch to balance flavors.
- Black pepper (⅛ teaspoon) – Freshly ground if possible.
- Egg wash (1 large egg + 1 tablespoon water, beaten) – Gives the dough that gorgeous golden-brown finish. Use milk if you’re out of eggs.
- Sesame seeds or everything bagel seasoning (1 tablespoon, optional) – Adds texture and makes them look even more bakery-style.
Substitution Guidance: Use gluten-free crescent dough if needed (I’ve tried it with the brand from Whole Foods and it worked great). For dairy-free, check your crescent dough labels—some brands use butter, others use oil. You can also swap the marinara for pesto or ranch for dipping if that’s more your style.
Equipment Needed
You don’t need much for this recipe, which is part of why I love it. Here’s what you’ll want to have on hand:
- Baking sheet (standard 13×18 inch) – A rimmed one works best to catch any drips.
- Wire cooling rack (fits inside the baking sheet) – This is my secret weapon. It lifts the mummies off the pan so the hot air circulates underneath, preventing soggy bottoms.
- Parchment paper or silicone baking mat – Keeps things non-stick and makes cleanup a breeze.
- Small bowl – For the egg wash.
- Pastry brush – For applying the egg wash evenly. A silicone one is easiest to clean.
- Sharp knife or pizza cutter – For cutting the crescent dough into strips. A pizza cutter makes quick work of it.
- Cutting board – For prepping the dough.
- Measuring spoons – For the seasonings.
If you don’t have a wire rack, no worries. Just bake them directly on parchment paper—they’ll still turn out great, just slightly softer on the bottom. I’ve done it both ways, and honestly, nobody complains either way.
Preparation Method
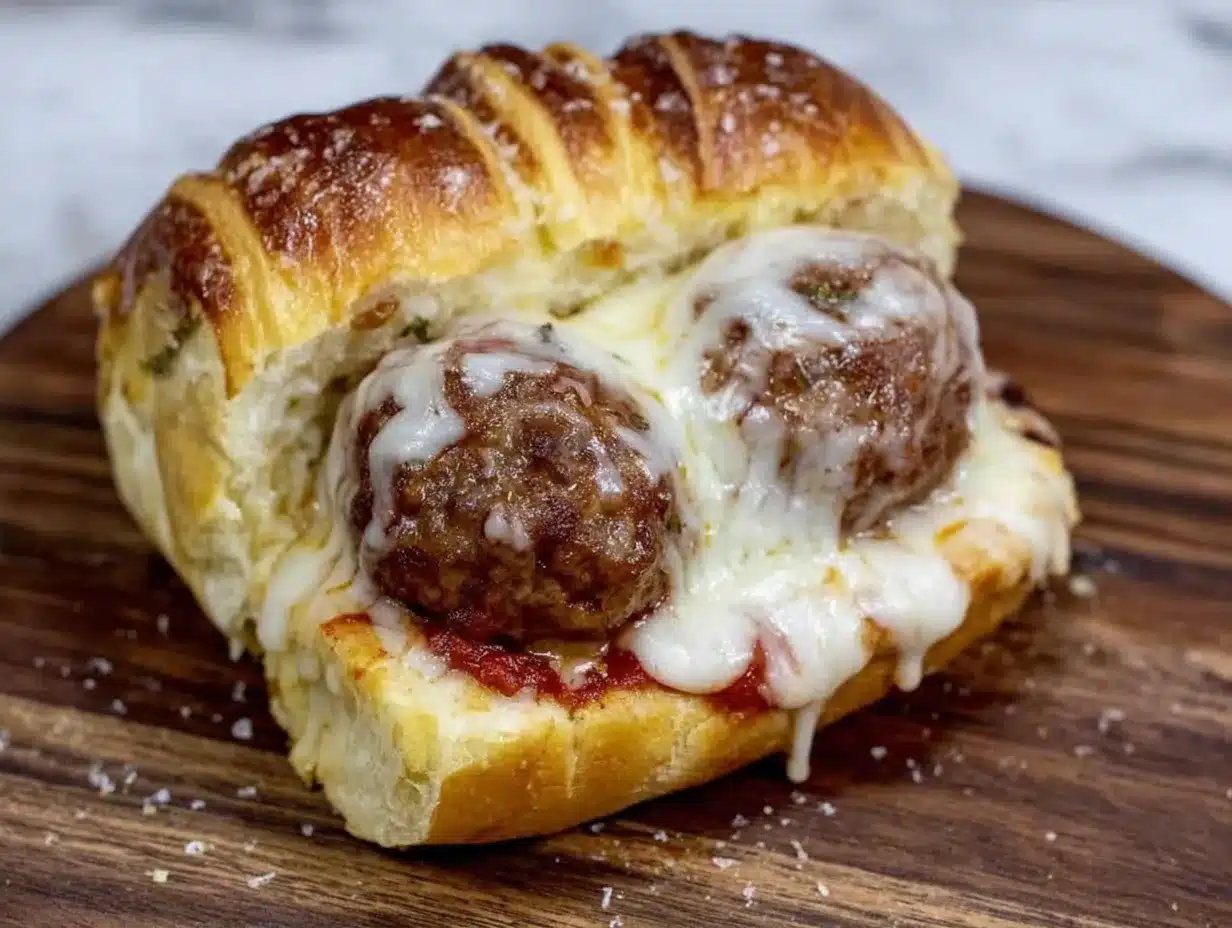
Alright, let’s make some mummies! This whole process takes about 30 minutes from start to finish. Trust me, it’s easier than it looks.
- Preheat your oven to 375°F (190°C). Place a wire rack on a baking sheet and line with parchment paper. This setup is key for crispy bottoms.
- Prepare the meatballs. If using frozen meatballs, let them sit at room temperature for about 10 minutes to thaw slightly. In a medium bowl, toss the meatballs with garlic powder, dried oregano, salt, and pepper until evenly coated. This little step adds so much flavor—don’t skip it!
- Prepare the crescent dough. Open one can of crescent dough and unroll it onto a cutting board. If using perforated triangles, press the seams together to form a solid rectangle. Use a sharp knife or pizza cutter to cut the dough lengthwise into ½-inch wide strips. You should get about 6-8 strips per can. Repeat with the second can.
- Wrap the mummies. Take one seasoned meatball and place it at the end of a dough strip. Wrap the strip around the meatball, overlapping slightly as you go, leaving a small gap near the top for the “eyes.” The wrapping doesn’t have to be perfect—in fact, the messier it looks, the more mummy-like it appears! Press the end of the strip gently to seal. Place the wrapped meatball seam-side down on the prepared baking rack. Repeat with remaining meatballs and dough strips.
- Apply the egg wash. In a small bowl, beat the egg with 1 tablespoon of water. Using a pastry brush, lightly brush each wrapped mummy with the egg wash. This gives them that beautiful golden color. Sprinkle with sesame seeds or everything bagel seasoning if using.
- Bake. Place the baking sheet in the preheated oven and bake for 12-15 minutes, or until the dough is golden brown and the meatballs are heated through. The kitchen will smell incredible at this point.
- Add the eyes. Remove from the oven and let cool for 2-3 minutes. Using a toothpick or a small squeeze bottle, add two small dots of mustard or marinara sauce to the exposed meatball area for the mummy’s eyes. Get creative—some can look sleepy, some can look surprised!
- Serve immediately. Arrange the mummy meatball bites on a platter with a bowl of warm marinara sauce for dipping. Watch them disappear.
Sensory cues: The dough should be puffed and golden when done. You’ll smell the garlic and oregano as they bake. The meatballs should feel firm but give slightly when pressed. Don’t overbake or the dough gets too hard.
Cooking Tips & Techniques
After making these about a dozen times (not kidding), I’ve picked up a few tricks that make a real difference.
Don’t overwork the dough. Crescent dough gets tough if you handle it too much. When cutting strips, use a sharp knife or pizza cutter and cut in one clean motion. If the dough starts to feel sticky or warm, pop it in the fridge for 5 minutes.
Space them out. Leave about an inch between each mummy on the baking rack. They need room for the hot air to circulate. I learned this the hard way when my first batch came out pale and doughy because they were too crowded.
Use a wire rack for baking. This is non-negotiable for me now. The rack lifts the mummies off the pan, allowing heat to circulate underneath. The result? Crispy, golden bottoms instead of soggy, steamy ones. If you don’t have a rack, flip them halfway through baking.
Make ahead tip. You can assemble these up to 4 hours ahead. Just wrap the meatballs, place them on the baking sheet, cover with plastic wrap, and refrigerate. Brush with egg wash right before baking. This is a lifesaver for parties.
Common mistake alert. Don’t wrap the dough too tightly. Leave a little breathing room around the meatball. If the dough is stretched too thin, it can tear during baking. And if you wrap too loosely, the meatball might fall out. Aim for a snug but not tight wrap.
My biggest failure. The first time I made these, I forgot to thaw the meatballs first. The dough was perfectly golden on the outside, but the meatballs were still cold in the center. Now I always let them sit out for 10 minutes before wrapping. Lesson learned.
Variations & Adaptations
One of the best things about this recipe is how easy it is to customize. Here are some variations I’ve tried and loved:
- Spicy Mummies: Toss the meatballs with ½ teaspoon of red pepper flakes or a dash of hot sauce before wrapping. Serve with spicy marinara or sriracha mayo for dipping. My husband requests this version every year.
- Cheese-Stuffed Mummies: Before wrapping, poke a small hole in the center of each meatball and stuff in a small cube of mozzarella or pepper jack cheese. The melted cheese oozes out slightly when you bite into them. So good.
- Veggie Mummies: Substitute the meatballs with store-bought veggie meatballs or make your own using lentils and mushrooms. The wrapping technique works exactly the same. I’ve made these for my vegetarian sister and she loved them.
- Breakfast Mummies: Swap the meatballs for breakfast sausage links (cut in half) and wrap in crescent dough. Serve with maple syrup for dipping instead of marinara. Perfect for a Halloween morning treat.
- Gluten-Free Version: Use gluten-free crescent dough (I’ve had good luck with the brand from Whole Foods) and check your meatball labels. Everything else stays the same, and they taste just as good.
- Air Fryer Adaptation: Cook at 350°F (175°C) for 8-10 minutes, flipping halfway through. They get even crispier in the air fryer! Just make sure not to overcrowd the basket.
Serving & Storage Suggestions
These mummy bites are best served warm, right after they come out of the oven. That’s when the dough is at its flakiest and the meatball is perfectly juicy. Arrange them on a large platter with a bowl of warm marinara sauce in the center for dipping. The contrast of the golden dough and red sauce is so festive.
For a Halloween party spread, pair them with other finger foods like spooky pumpkin deviled eggs or a bowl of creamy Halloween dip with veggie sticks. They also go great with a simple green salad if you want to round out the meal.
Storage: Leftover mummies can be stored in an airtight container in the refrigerator for up to 3 days. The dough will soften slightly, but they’re still delicious.
Reheating: The best way to reheat them is in the oven at 350°F (175°C) for 5-7 minutes. This brings back the crispiness. The microwave works in a pinch (30 seconds), but the dough will be soft. For air fryer owners, reheat at 325°F (160°C) for 3-4 minutes.
Freezing: You can freeze the assembled but unbaked mummies. Place them on a baking sheet and freeze until solid, then transfer to a freezer bag. Bake from frozen at 375°F (190°C) for 18-20 minutes, adding a few extra minutes. I’ve done this for last-minute parties and it works perfectly.
Nutritional Information & Benefits
Here’s the approximate nutritional breakdown per serving (2 mummy bites):
- Calories: 280
- Protein: 14g
- Fat: 16g
- Carbohydrates: 22g
- Fiber: 1g
- Sugar: 4g
- Sodium: 580mg
These numbers are estimates and will vary based on the specific brands you use.
Health Benefits: Meatballs provide a good source of protein, which helps keep you full and satisfied. The marinara sauce adds a serving of vegetables (tomatoes are technically a fruit, but we count them as veggies here) and contains lycopene, an antioxidant linked to heart health. Using frozen meatballs also means you’re controlling portion sizes easily.
Dietary Considerations: This recipe can be made gluten-free with the right dough. For a lower-carb option, you can wrap the meatballs in thinly sliced provolone or mozzarella cheese instead of dough—bake until the cheese is melted and slightly crispy. Always check labels if you have specific dietary needs.
Allergen Warning: Contains wheat (crescent dough), eggs (egg wash), and dairy (some dough brands). Always check your specific ingredients for allergen information.
Conclusion
These Easy Halloween Mummy Meatball Sub Bites are everything I want in a holiday recipe: fun, festive, and genuinely delicious. They’re not just cute to look at—they actually taste amazing, with that perfect combo of savory meatball, flaky dough, and tangy marinara. Whether you’re hosting a costume party, feeding hungry trick-or-treaters, or just want to make a regular October night feel special, these little guys deliver.
Don’t be afraid to make them your own. Use different sauces, try the cheese-stuffed version, or go spicy if that’s your thing. The recipe is forgiving and flexible, which is exactly what you need when you’re juggling Halloween chaos. I’d love to hear how yours turn out—leave a comment below and tell me about your mummy-making adventures. Did you add any fun variations? Did the kids love them? Share your photos on social media and tag me so I can see your creations!
Happy Halloween, and happy cooking. Trust me, once you make these, they’ll become a yearly tradition. I mean, who can resist a meatball in a cozy dough blanket? Not me, that’s for sure.
Frequently Asked Questions
Can I use homemade meatballs instead of frozen?
Absolutely! Homemade meatballs work great. Just make sure they’re fully cooked before wrapping, or adjust the baking time to ensure they reach an internal temperature of 165°F (74°C).
How do I keep the crescent dough from getting soggy?
Baking on a wire rack is the best trick. It allows air to circulate underneath the mummies, keeping the dough crispy. Also, make sure your meatballs aren’t too wet—pat them dry with a paper towel if needed.
Can I make these ahead of time for a party?
Yes! Assemble them up to 4 hours ahead and refrigerate. Brush with egg wash right before baking. You can also freeze them unbaked for up to 3 months—just bake from frozen, adding a few extra minutes.
What can I use instead of crescent dough?
Puff pastry works beautifully, though it’s a bit richer. You can also use pizza dough rolled thin, or even refrigerated biscuit dough flattened out. Each gives a slightly different texture, but all are delicious.
How do I make the eyes look more fun?
Get creative! Use small dots of sriracha for spicy eyes, sliced black olives for a classic look, or tiny dots of cream cheese for white eyes. You can even use candy eyes for a sweeter version if you’re making a dessert variation.
Pin This Recipe!
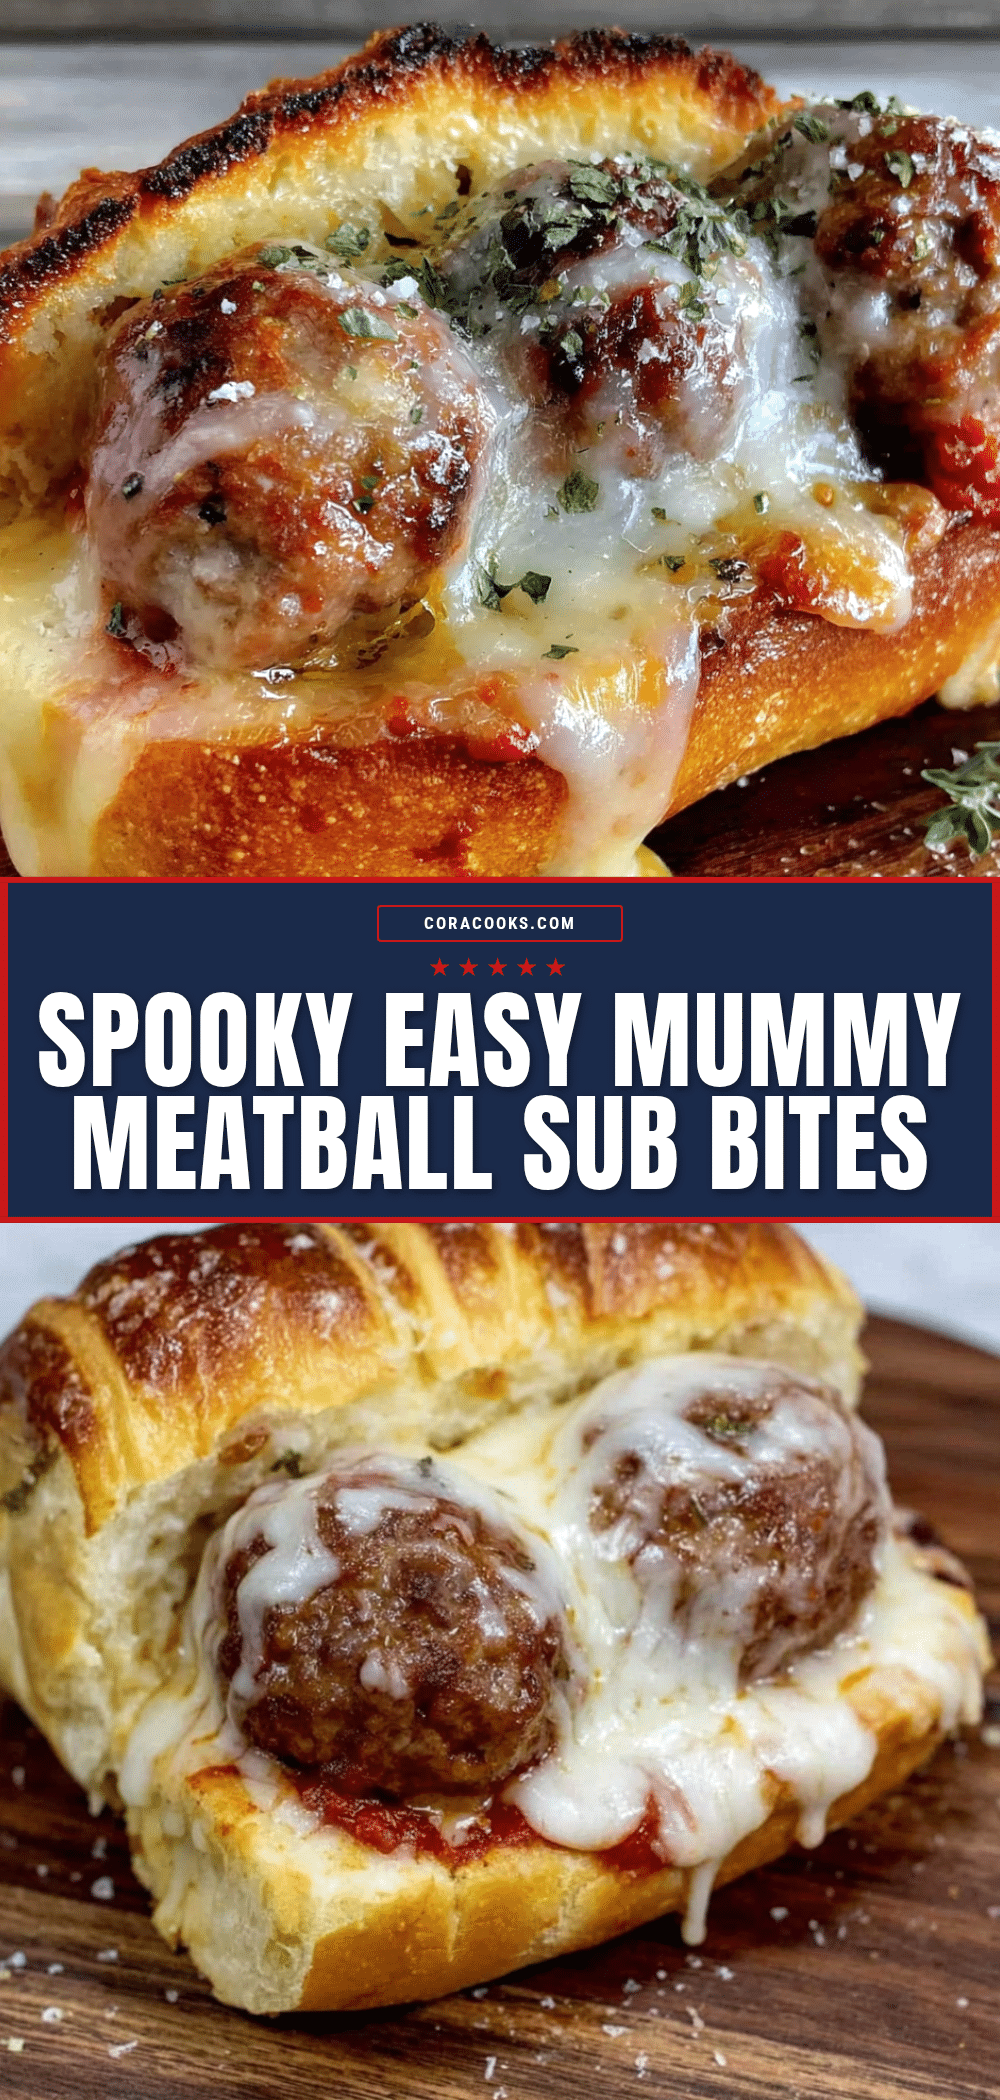
Easy Halloween Mummy Meatball Sub Bites: 30-Minute Recipe

These fun and festive mummy meatball sub bites are made with frozen meatballs wrapped in crescent dough, baked until golden, and served with marinara dipping sauce. Perfect for Halloween parties, they come together in just 30 minutes.
- Prep Time: 15 minutes
- Cook Time: 15 minutes
- Total Time: 30 minutes
- Yield: 12 servings (2 mummy bites per serving) 1x
- Category: Appetizer
- Cuisine: American
Ingredients
- 24–30 mini frozen fully cooked meatballs (or 12–15 regular-sized)
- 2 cans (8 ounces each) refrigerated crescent roll dough
- ½ cup marinara sauce (for dipping)
- 2 tablespoons mustard or marinara sauce (for eyes)
- ½ teaspoon garlic powder
- ½ teaspoon dried oregano
- ¼ teaspoon salt
- ⅛ teaspoon black pepper
- 1 large egg (for egg wash)
- 1 tablespoon water (for egg wash)
- 1 tablespoon sesame seeds or everything bagel seasoning (optional)
Instructions
- Preheat oven to 375°F (190°C). Place a wire rack on a baking sheet and line with parchment paper.
- Let frozen meatballs sit at room temperature for 10 minutes to thaw slightly. In a medium bowl, toss meatballs with garlic powder, dried oregano, salt, and pepper until evenly coated.
- Open one can of crescent dough and unroll onto a cutting board. If using perforated triangles, press seams together to form a solid rectangle. Cut dough lengthwise into ½-inch wide strips (about 6-8 strips per can). Repeat with second can.
- Place one seasoned meatball at the end of a dough strip. Wrap the strip around the meatball, overlapping slightly, leaving a small gap near the top for eyes. Press end to seal. Place seam-side down on prepared baking rack. Repeat with remaining meatballs and dough strips.
- In a small bowl, beat egg with 1 tablespoon water. Brush each wrapped mummy with egg wash. Sprinkle with sesame seeds or everything bagel seasoning if using.
- Bake for 12-15 minutes, until dough is golden brown and meatballs are heated through.
- Remove from oven and let cool for 2-3 minutes. Using a toothpick or small squeeze bottle, add two small dots of mustard or marinara sauce to the exposed meatball area for eyes.
- Serve immediately with warm marinara sauce for dipping.
Notes
For best results, bake on a wire rack to prevent soggy bottoms. Assemble up to 4 hours ahead and refrigerate; brush with egg wash just before baking. To freeze, assemble unbaked mummies, freeze solid, then transfer to a freezer bag. Bake from frozen at 375°F for 18-20 minutes.
Nutrition
- Serving Size: 2 mummy bites
- Calories: 280
- Sugar: 4
- Sodium: 580
- Fat: 16
- Saturated Fat: 5
- Carbohydrates: 22
- Fiber: 1
- Protein: 14
Keywords: Halloween, mummy, meatball, sub, bites, appetizer, party, crescent dough, 30-minute