Love this? Save it for later!
Share the inspiration with your friends
Hand me that piping bag, my friend said, and I knew we were in for something good. It was a drizzly Tuesday afternoon, and I was at my neighbor Maria’s house, watching her wrangle a bowl of glossy, stiff-peaked meringue. I had stopped by to borrow a cookie sheet—mine had mysteriously vanished into the depths of my garage—and she had me cornered at her kitchen island, a whisk in one hand and a bag of chocolate chips in the other. She didn’t even ask if I wanted to help. She just handed me the bag and said, “You’re making the eyes.”
I had never made meringue cookies before. Honestly, the thought of whipping egg whites always felt a little intimidating—like one wrong move and you’d end up with a flat, weepy mess. But Maria was the kind of cook who turned every kitchen task into a conversation. We talked about her garden tomatoes, the stray cat that kept sneaking into her shed, and how her grandmother used to make these same little ghost cookies every October, but with raisins instead of chocolate chips. I was hooked. I mean, who could resist a ghost cookie with a face?
That afternoon, we made a batch so cute and so perfectly spooky that I knew I had to adopt the recipe as my own. Over the years, I’ve tweaked it—swapping out the raisins for mini chocolate chips (because let’s be real, chocolate makes everything better), and perfecting the baking time so they stay crisp and ghostly white. Every time I make these, I think of Maria and that rainy Tuesday. Maybe you’ve had a moment like that—a recipe that found you when you weren’t looking and stuck around because it was just too good to forget.
Why You’ll Love This Recipe
These Spooky Cute Ghost Meringue Cookies are the kind of treat that makes people stop and smile. They are light, airy, and melt-in-your-mouth sweet, with tiny chocolate chip eyes that give them the most adorable—and slightly mischievous—little faces. Whether you’re planning a Halloween party, a fall baking day, or just want something fun to do with the kids, these cookies are a total win.
- Quick & Easy: From start to finish, you’re looking at about an hour and a half—most of which is hands-off baking time. The active prep is only about 15 minutes.
- Simple Ingredients: You only need four ingredients: egg whites, sugar, cream of tartar, and mini chocolate chips. That’s it. No fancy extracts or hard-to-find items.
- Perfect for Halloween: These little ghosts are the star of any spooky spread. They’re cute enough for kids and clever enough for adults.
- Crowd-Pleaser: I’ve brought these to potlucks and watch parties, and they disappear fast. People can’t resist something this charming.
- Unbelievably Delicious: The texture is like a light, crisp cloud that dissolves on your tongue. The tiny chocolate chips add little bursts of richness that balance the sweetness perfectly.
What makes this recipe different from the rest? It’s the technique. I learned the hard way that meringue can be finicky—if your bowl has even a trace of grease, your whites won’t whip. I’ll show you exactly how to avoid that. Plus, the way we pipe these ghosts gives them that perfect, wobbly, ghost-like shape without any special nozzles. And the chocolate chip eyes? You place them just right so they look like they’re peeking out from a sheet. It’s the kind of detail that makes these cookies feel special.
Honestly, this recipe isn’t just good—it’s the kind that makes you close your eyes after the first bite. It’s comfort food reimagined as a light, airy confection that feels indulgent without being heavy. Perfect for impressing guests without stress, or turning a simple afternoon into something memorable.
What Ingredients You Will Need
This recipe uses simple, wholesome ingredients to deliver bold flavor and satisfying texture without the fuss. Most of these are pantry staples, so you probably already have everything you need.
- 3 large egg whites, at room temperature (this is important—cold eggs won’t whip as high)
- 3/4 cup (150g) granulated sugar (use superfine sugar if you have it; it dissolves faster)
- 1/4 teaspoon cream of tartar (stabilizes the meringue and helps it hold its shape)
- 1/2 teaspoon vanilla extract (optional, but adds a lovely warmth; I use pure vanilla, not imitation)
- 1/4 cup (45g) mini chocolate chips (for the eyes; I prefer Ghirardelli or Enjoy Life for allergy-friendly options)
Ingredient Tips & Substitutions
- Egg whites: Fresh eggs separate better than older ones. If you’re nervous about separating, crack each egg into a small bowl first, then transfer the white to your mixing bowl. That way, if a yolk breaks, it doesn’t ruin the whole batch.
- Sugar: You can use regular granulated sugar, but superfine sugar dissolves more easily. If you only have regular, give it a quick whirl in the food processor for a few seconds.
- Cream of tartar: If you don’t have it, you can use 1/2 teaspoon of lemon juice or white vinegar instead. It serves the same purpose—stabilizing the egg whites.
- Chocolate chips: Mini chips work best because they’re small enough to stay put on the meringue without sinking. Regular chips are too heavy and will slide off. You can also use dairy-free chocolate chips if needed.
- Vanilla extract: Feel free to skip it or swap with almond extract for a different flavor. Just don’t add too much liquid—it can deflate the meringue.
I personally recommend using room-temperature eggs. I’ve tested this with cold eggs, and the meringue just doesn’t get as fluffy. If you forget to take them out of the fridge, place the whole eggs in a bowl of warm water for about 5 minutes. Works like a charm.
Equipment Needed
You don’t need a lot of fancy gadgets for this recipe, but a few key tools will make your life much easier.
- Electric mixer (stand mixer or hand mixer—either works; I use my KitchenAid because it’s hands-free, but a hand mixer is perfectly fine)
- Large mixing bowl (glass or metal is best; plastic can hold onto grease)
- Piping bag (disposable or reusable; if you don’t have one, a zip-top bag with the corner snipped off works great)
- Large round piping tip (like a Wilton 1A or any 1/2-inch round tip; you can also just snip the bag without a tip for a rustic look)
- Baking sheet (lined with parchment paper—do not use wax paper or foil)
- Small offset spatula (optional, for smoothing the meringue if needed)
- Kitchen scale (optional, but helpful for accurate sugar measurement)
I’ve made these cookies with a hand mixer plenty of times, and they turn out just as good. The key is to be patient and let the mixer do the work. If you’re using a stand mixer, start on low speed and gradually increase to high. If you’re using a hand mixer, anchor the bowl with a damp towel underneath so it doesn’t slide around. A little tip: wash your mixing bowl and whisk attachment with hot soapy water and dry it thoroughly before starting. Any trace of grease will ruin your meringue.
Preparation Method
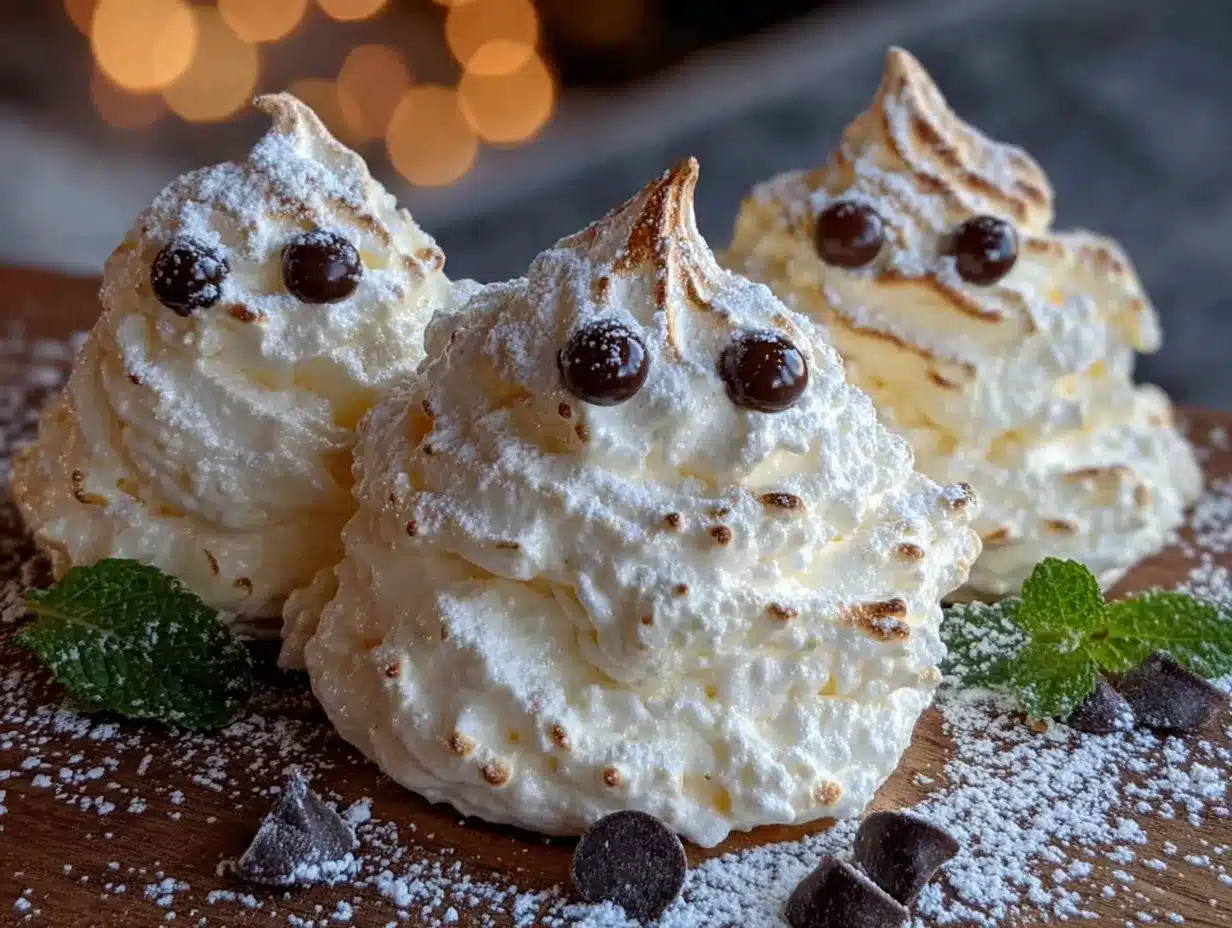
Let’s get into the nitty-gritty. Follow these steps carefully, and you’ll have a batch of spooky cute ghosts in no time.
- Preheat and prep. Preheat your oven to 200°F (95°C). Line a large baking sheet with parchment paper. Set aside.
- Start whipping the egg whites. In a clean, dry mixing bowl, add the room-temperature egg whites and cream of tartar. Using an electric mixer, beat on medium speed until soft peaks form—about 2-3 minutes. You’ll know it’s ready when the whites are frothy and hold a soft, droopy peak when you lift the beater.
- Add the sugar gradually. With the mixer running on low speed, add the sugar one tablespoon at a time. This is important—adding it all at once can deflate the whites. Once all the sugar is added, increase the speed to high and beat until stiff, glossy peaks form. This takes about 5-7 minutes. The meringue should be thick, shiny, and hold a firm peak that doesn’t flop over. Rub a little between your fingers—if it feels gritty, keep beating. It should be smooth.
- Add vanilla. Gently fold in the vanilla extract with a rubber spatula. Do this by hand, not with the mixer, to avoid over-beating.
- Prepare the piping bag. Fit your piping bag with the round tip or simply snip off the corner. Fill the bag with the meringue. You can use a tall glass to hold the bag open while you fill it—less mess.
- Pipe the ghosts. Hold the piping bag straight up and down, about 1/2 inch above the parchment. Squeeze gently to form a round base, then pull straight up while squeezing to create a tall, wobbly ghost shape. Release pressure and pull away quickly. Don’t worry if they look a little uneven—that’s part of their charm. Space them about 1 inch apart; they don’t spread much.
- Add the chocolate chip eyes. While the meringue is still wet, gently press two mini chocolate chips into each ghost to form eyes. Place them close together near the top of the ghost. If you want a scared or surprised look, place them a little higher. For a goofy look, place them unevenly.
- Bake low and slow. Place the baking sheet in the preheated oven and bake for 60-75 minutes. The cookies are done when they are dry to the touch and easily lift off the parchment. They should be pale and matte, not browned. If they start to brown, your oven is too hot—open the door slightly to let out heat.
- Cool completely. Turn off the oven and leave the cookies inside with the door slightly ajar for another 30 minutes. This helps them dry out fully and prevents cracking. Then transfer them to a wire rack to cool completely.
- Store or serve. Once fully cooled, store in an airtight container at room temperature for up to 2 weeks. Do not refrigerate—they will get sticky.
Pro tip from my kitchen: I once forgot to add the cream of tartar, and my meringue never got stiff. It was a sad, flat batch of ghost puddles. Don’t skip it! Also, if you’re making these on a humid day, the meringue can absorb moisture from the air and become sticky. Try to bake them on a dry day, or run a dehumidifier in the kitchen if you have one.
Cooking Tips & Techniques
Making meringue can feel like a science experiment, but once you know a few tricks, it becomes second nature. Here are some tips I’ve picked up from my own kitchen mishaps.
- No grease allowed. Egg whites are unforgiving. Even a tiny bit of yolk or oil will stop them from whipping. Wash your bowl and whisk with hot soapy water, then wipe with vinegar to be extra safe.
- Room temperature rules. Cold egg whites don’t whip as high. Let them sit out for 30 minutes before starting. If you’re in a rush, place the eggs in a bowl of warm water for 5 minutes.
- Be patient with sugar. Adding sugar too fast can deflate the meringue. Take your time—add it slowly and let it dissolve fully. The meringue should feel smooth between your fingers, not grainy.
- Don’t over-beak. Once the meringue is stiff and glossy, stop. Over-beating can cause it to separate and become grainy. You’ll see little beads of liquid forming—that’s a sign you’ve gone too far.
- Pipe with confidence. Ghosts are supposed to look a little wonky. Embrace the wobble. If you want more defined shapes, you can use a star tip for a ruffled edge, but I love the simplicity of a round tip.
- Low heat is key. Meringue cookies are baked, not cooked. The low temperature dries them out without browning. If your oven runs hot, use an oven thermometer to double-check.
- Humidity is the enemy. Meringue loves dry air. If you’re baking on a rainy day, your cookies might turn out chewy instead of crisp. Store them in an airtight container immediately after cooling.
I once left my meringue in the oven too long because I got distracted by a phone call. They came out slightly tan and tasted a little toasted. Not my finest moment. Now I set a timer and check them at the 60-minute mark. Learn from my mistakes!
Variations & Adaptations
One of the best things about this recipe is how easy it is to customize. Here are a few ways to make these ghosts your own.
- Dietary Swaps: Use dairy-free chocolate chips for a vegan-friendly option (just note that the meringue itself is naturally dairy-free and gluten-free). For a lower-sugar version, you can use a sugar substitute like monk fruit sweetener, but the texture may be slightly different.
- Flavor Twists: Add a pinch of cinnamon or pumpkin pie spice to the sugar before whipping for a fall-inspired ghost. Or swap the vanilla for peppermint extract for a wintery version—just use a little less, as peppermint is stronger.
- Colorful Ghosts: Add a drop of food coloring to the meringue before piping. Gel colors work best because they don’t add liquid. Try a pale orange or green for a spooky vibe, or pink for a Valentine’s Day ghost.
- Different Faces: Instead of chocolate chips, use mini M&M’s, sprinkles, or even tiny candied eyes (the kind you find at baking supply stores). You can also pipe a tiny mouth with melted chocolate after baking.
- No Piping Bag?: No problem. Use a zip-top bag with a corner snipped off, or simply spoon the meringue onto the parchment in small dollops and shape them into ghost-like forms with the back of a spoon. They won’t be as tall, but they’ll still be adorable.
- Savory Twist: Okay, this one is weird, but I tried it once: a tiny pinch of salt and black pepper in the meringue. It was… interesting. Not recommended for everyone, but if you’re adventurous, go for it.
My personal favorite variation is adding a pinch of cinnamon and using dark chocolate chips. The warm spice pairs beautifully with the sweet, airy meringue. Give it a try!
Serving & Storage Suggestions
These ghost meringue cookies are best served at room temperature, straight from the container. They have a light, crisp texture that practically dissolves in your mouth. Here’s how to serve and store them like a pro.
- Serving Temperature: Room temperature is ideal. If you’ve stored them in a cool pantry, let them sit out for 5 minutes before serving.
- Presentation Ideas: Arrange them on a platter with a few fake spiderwebs or plastic spiders for a Halloween party. Or stack them in a clear jar tied with a ribbon for a cute homemade gift. Kids love them as lunchbox surprises.
- Complementary Dishes: Serve them alongside hot cocoa, coffee, or a glass of cold milk. They also pair nicely with a fruit platter or a cheese board—the sweetness balances sharp cheeses like cheddar.
- Storage Instructions: Store in an airtight container at room temperature for up to 2 weeks. Do not refrigerate—the moisture will make them sticky. If you live in a humid climate, add a silica gel packet (like the ones in shoe boxes) to the container to absorb excess moisture.
- Freezing: Yes, you can freeze them! Place the cooled cookies in a single layer in a freezer-safe container, with parchment between layers. Freeze for up to 3 months. Thaw at room temperature for 10 minutes before serving. They may lose a little crispness, but they’re still delicious.
- Flavor Development: Honestly, these cookies taste best within the first week. After that, they might start to absorb a little moisture from the air and become slightly chewy. Still tasty, but not as crisp. I usually make them no more than 3 days before I plan to serve them.
One time, I stored them in a plastic container without a tight seal, and they turned soft within a day. Now I always use a container with a rubber gasket. Lesson learned!
Nutritional Information & Benefits
These ghost meringue cookies are surprisingly light compared to most cookies. Each cookie (based on a batch of 24) contains approximately:
- Calories: 25-30
- Carbohydrates: 6g
- Sugar: 5g
- Protein: 0.5g
- Fat: 0.5g
- Sodium: 10mg
Health Benefits: The main ingredient is egg whites, which are a good source of protein without the fat and cholesterol of the yolk. They also contain selenium and riboflavin. The sugar provides quick energy, but since these cookies are so light, it’s easy to eat a few without overdoing it. The chocolate chips add a small amount of antioxidants (if you use dark chocolate).
Dietary Considerations: This recipe is naturally gluten-free, dairy-free (if you use dairy-free chocolate chips), and low in fat. It’s not suitable for a low-sugar diet unless you use a sugar substitute. Always check your chocolate chip labels if you have allergies—some brands are processed in facilities that handle nuts.
I personally love that these cookies let me enjoy a sweet treat without feeling heavy. They’re perfect for when you want something indulgent but not overly rich.
Conclusion
These Spooky Cute Ghost Meringue Cookies with Chocolate Chip Eyes are more than just a Halloween treat—they’re a little piece of kitchen magic. They’re light, adorable, and surprisingly easy to make, even if you’ve never worked with meringue before. I love how they bring a smile to everyone who sees them, and the way they practically melt in your mouth is just the cherry on top.
I hope you give them a try and make them your own. Maybe add a different spice, use colorful chips, or pipe them into different shapes. The beauty of this recipe is that it’s forgiving and fun. Don’t worry if your ghosts look a little lopsided—mine still do, and I’ve been making them for years. That’s what makes them charming.
If you make these, I’d love to hear about it. Leave a comment below and let me know how they turned out, or share a photo on Pinterest and tag me. Happy baking, and may your ghosts be ever so slightly spooky and completely adorable!
Frequently Asked Questions
Can I use liquid egg whites from a carton?
I wouldn’t recommend it. Carton egg whites often contain stabilizers that prevent them from whipping into stiff peaks. Fresh egg whites are best for this recipe.
Why did my meringue turn out flat?
Most likely, there was a trace of grease or yolk in your bowl. Make sure everything is squeaky clean. Also, check that your cream of tartar is fresh—it loses potency over time.
Can I make these without a piping bag?
Absolutely. Use a zip-top bag with the corner snipped off, or simply spoon the meringue onto the parchment and shape it with a spoon. They won’t be as tall, but they’ll still taste great.
How do I know when the meringue is done whipping?
Rub a small amount between your fingers. If it feels smooth and not gritty, and the meringue holds a stiff peak that doesn’t flop over, it’s ready. This usually takes 5-7 minutes on high speed.
Can I double this recipe?
Yes, but don’t try to whip more than 6 egg whites at once in a standard mixer. It’s better to make two separate batches. The baking time may also need to be extended by 10-15 minutes if you’re baking two sheets at once.
Pin This Recipe!
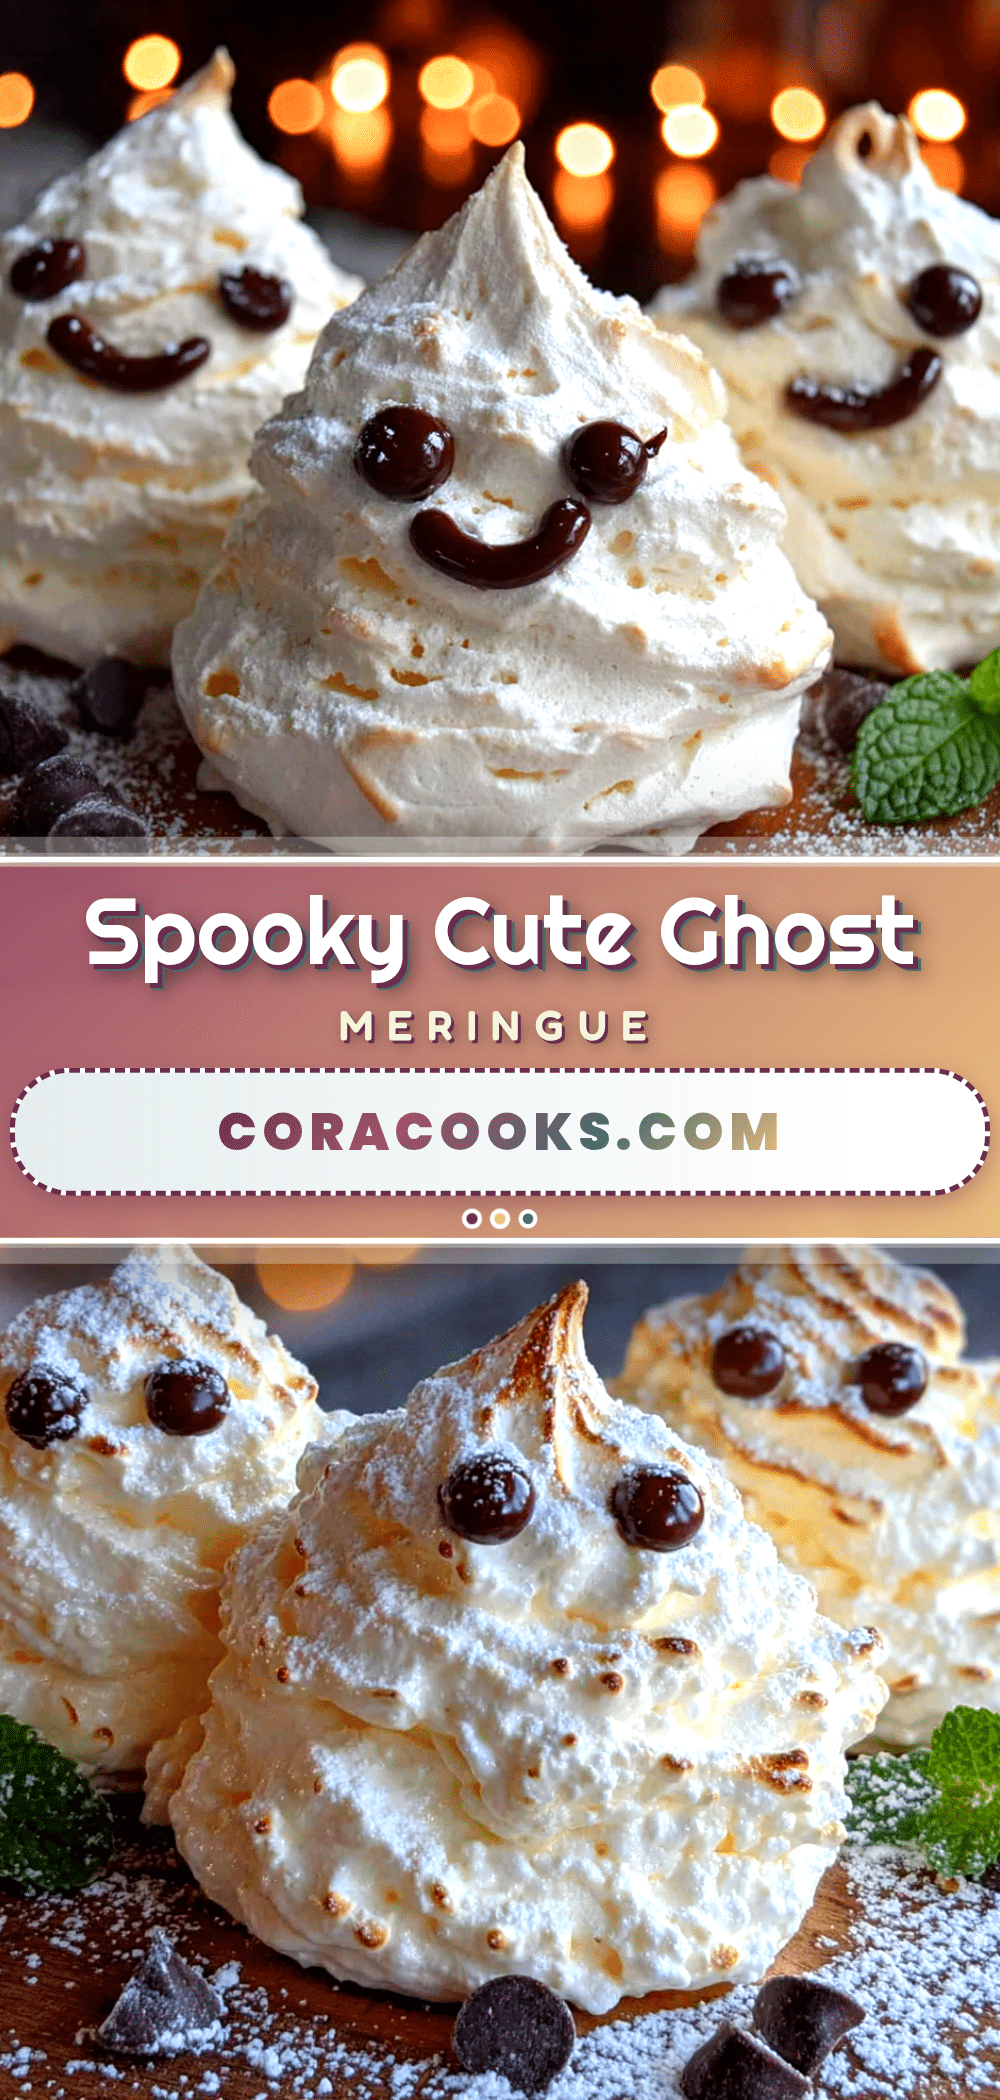
Easy Ghost Meringue Cookies: Best Spooky Chocolate Chip Eyes Recipe

These Spooky Cute Ghost Meringue Cookies are light, airy, and melt-in-your-mouth sweet, with tiny chocolate chip eyes that give them the most adorable little faces. Perfect for Halloween parties, fall baking, or a fun activity with kids.
- Prep Time: 15 minutes
- Cook Time: 60-75 minutes
- Total Time: 1 hour 30 minutes
- Yield: 24 servings 1x
- Category: Dessert
- Cuisine: American
Ingredients
- 3 large egg whites, at room temperature
- 3/4 cup (150g) granulated sugar
- 1/4 teaspoon cream of tartar
- 1/2 teaspoon vanilla extract (optional)
- 1/4 cup (45g) mini chocolate chips
Instructions
- Preheat your oven to 200°F (95°C). Line a large baking sheet with parchment paper.
- In a clean, dry mixing bowl, add the room-temperature egg whites and cream of tartar. Using an electric mixer, beat on medium speed until soft peaks form, about 2-3 minutes.
- With the mixer running on low speed, add the sugar one tablespoon at a time. Once all the sugar is added, increase the speed to high and beat until stiff, glossy peaks form, about 5-7 minutes. The meringue should be thick, shiny, and hold a firm peak.
- Gently fold in the vanilla extract with a rubber spatula.
- Fit a piping bag with a large round tip (or snip off the corner) and fill with the meringue.
- Pipe the ghosts: Hold the piping bag straight up and down, about 1/2 inch above the parchment. Squeeze gently to form a round base, then pull straight up while squeezing to create a tall, wobbly ghost shape. Release pressure and pull away quickly. Space them about 1 inch apart.
- While the meringue is still wet, gently press two mini chocolate chips into each ghost to form eyes, placing them close together near the top.
- Bake for 60-75 minutes, until the cookies are dry to the touch and easily lift off the parchment. They should be pale and matte, not browned.
- Turn off the oven and leave the cookies inside with the door slightly ajar for another 30 minutes to dry out fully.
- Transfer to a wire rack to cool completely. Store in an airtight container at room temperature for up to 2 weeks.
Notes
Make sure your bowl and whisk are completely clean and grease-free. Room temperature egg whites whip better. If you don’t have cream of tartar, use 1/2 teaspoon lemon juice or white vinegar. Avoid making these on humid days as meringue can absorb moisture and become sticky. For best results, use mini chocolate chips as regular chips are too heavy and may slide off.
Nutrition
- Serving Size: 1 cookie
- Calories: 2530
- Sugar: 5
- Sodium: 10
- Fat: 0.5
- Carbohydrates: 6
- Protein: 0.5
Keywords: ghost meringue cookies, Halloween cookies, meringue cookies, spooky cookies, chocolate chip meringue, easy Halloween dessert


