Love this? Save it for later!
Share the inspiration with your friends
There used to be a tiny bakery tucked between a dry cleaner and a vintage shop on Elm Street in my old neighborhood. The kind of place with a handwritten menu board and a bell that jingled when you walked in. Every October, they would set out a single tray of candy corn sugar cookie bars on the counter, and they would vanish within hours. When the owner retired and the bakery closed three years ago, I honestly felt a little lost. I mean, where do you find that specific, buttery, slightly chewy bar with those festive little candy corn jewels on top?
After about seven attempts—some were too cakey, one was a crumbly disaster, and another just tasted like straight sugar—I finally cracked it. Let me tell you, the satisfaction of pulling that perfect pan out of my own oven was something else. This recipe is my love letter to that little bakery and to anyone who has ever mourned a lost food memory. It has that perfect dense, soft sugar cookie base that holds up to the candy corn without getting soggy, and the whole thing comes together in one bowl. No fuss, no fancy techniques, just pure, nostalgic deliciousness.
These bars are the ultimate party treat because they look impressive with almost zero effort. You slice them into neat little squares, and suddenly you are the host who brought the showstopper. Honestly, the hardest part is not eating all the candy corn while you are pressing it into the dough. If you have been searching for a recipe that captures that fleeting, magical feeling of a seasonal bakery treat, this is it. Let me walk you through how to make these easy candy corn sugar cookie bars—they are about to become your new fall baking staple.
Why You Will Love This Recipe
Let’s be real for a second. We have all tried to make those fancy layered dessert bars that look like a Pinterest dream but end up taking three hours and dirtying every dish in the kitchen. These easy candy corn sugar cookie bars are the exact opposite of that. They are the kind of recipe that makes you look like a baking hero without the stress.
- Quick & Easy: From start to finish, these bars are ready in about 35 minutes. The dough comes together in a single bowl with a wooden spoon—no stand mixer required, which means less cleanup and more time for you to actually enjoy your own party.
- Simple Ingredients: You probably have everything in your pantry right now. Butter, sugar, eggs, flour, vanilla. The only special item is the candy corn, and let’s be honest, you can find that at any grocery store from September through November.
- Perfect for Hosting: These bars are a dream for potlucks, Halloween parties, and fall gatherings. You can make them a day ahead, slice them into neat squares, and arrange them on a platter. They travel well and stay soft for days.
- Crowd-Pleaser: Kids go crazy for the candy corn on top, and adults appreciate the nostalgic sugar cookie base. I have brought these to three different parties this season, and the pan was always empty before the main course even came out.
- Unbelievably Delicious: The texture is the real star here. The base is dense and buttery like a classic sugar cookie, but it stays soft and chewy rather than crispy. The candy corn adds a little chew and a burst of sweetness that just works.
What makes these bars different from every other candy corn dessert out there? It is the ratio. Most recipes use a cake mix or a thin cookie layer that gets overwhelmed by the candy. This version uses a from-scratch sugar cookie dough that is thick enough to support the toppings without becoming doughy or raw in the center. I tested this recipe four times to get the baking time exactly right—no one wants a gooey middle or a dry edge. These bars are the kind of treat that makes people close their eyes after the first bite and say, “Wait, can I have the recipe?”
What Ingredients You Will Need
This recipe uses simple, pantry-friendly ingredients to deliver that classic sugar cookie flavor with a festive twist. The key is using room-temperature ingredients so the dough comes together smoothly and bakes evenly. Here is everything you need:
For the Sugar Cookie Base
- 1 cup unsalted butter, softened (I prefer Land O Lakes for consistent results—it has a higher fat content that gives the bars a richer flavor)
- 1 cup granulated sugar (regular white sugar works best here; do not substitute with brown sugar as it changes the texture)
- 1 large egg, room temperature (if you forgot to take it out of the fridge, place it in a bowl of warm water for 5 minutes)
- 2 teaspoons vanilla extract (use pure vanilla extract, not imitation—it makes a noticeable difference in the overall flavor)
- 2 cups all-purpose flour (spoon and level your flour—do not scoop directly from the bag or you will end up with dry, crumbly dough)
- 1/2 teaspoon baking powder (this gives the bars a slight lift without making them cakey)
- 1/4 teaspoon salt (fine sea salt or table salt—this balances the sweetness of the candy corn)
For the Topping
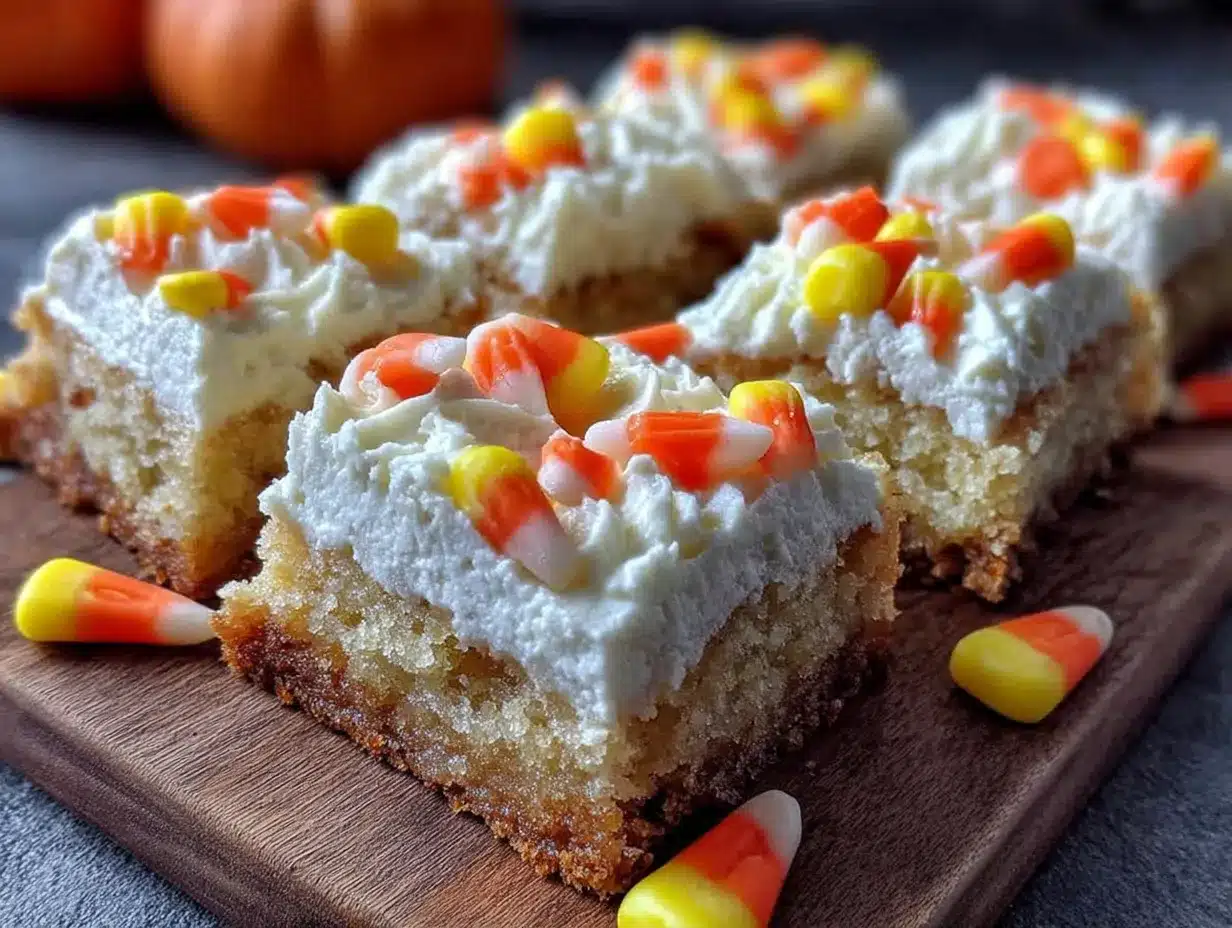
- 1 1/2 cups candy corn (you can use classic candy corn or the autumn mix with the little pumpkins—both work great)
- Optional: 1/4 cup white chocolate chips (for drizzling on top after baking—adds a nice visual touch for parties)
Ingredient Selection Tips: When choosing your butter, look for unsalted so you can control the salt level. If you only have salted butter on hand, reduce the added salt to 1/8 teaspoon. For the candy corn, I have tested this with both the Brach’s brand and store-brand versions. Brach’s holds its shape a little better during baking, but honestly, any brand works fine. Just make sure your candy corn is fresh—stale candy corn gets hard and can be unpleasant to bite into.
Substitution Guidance: If you need a dairy-free version, you can use a plant-based butter stick (not the spreadable kind in a tub) and a flax egg (1 tablespoon ground flaxseed mixed with 3 tablespoons water). The texture will be slightly less tender, but it still works. For a gluten-free option, swap the all-purpose flour with a 1:1 gluten-free baking flour blend that contains xanthan gum—I have had good results with King Arthur Measure for Measure. Do not use almond flour or coconut flour as they will not hold the structure properly.
Equipment Needed
One of the best things about this recipe is that it does not require any fancy equipment. Here is what you will need:
- 9×13-inch baking pan (a metal pan works best for even browning—glass pans can cause the edges to overbake before the center is done)
- Mixing bowls (one large bowl for the dough, one small bowl if you are melting white chocolate)
- Wooden spoon or silicone spatula (a sturdy spoon is all you need—no electric mixer required)
- Measuring cups and spoons (use dry measuring cups for the flour and sugar, and liquid measuring cups if you ever add milk)
- Parchment paper or aluminum foil (lining the pan makes lifting the bars out so much easier—trust me on this)
- Cooling rack (a wire rack allows air to circulate so the bars cool evenly without getting soggy on the bottom)
- Sharp knife (a chef’s knife or a large serrated knife works best for clean cuts through the candy corn)
Budget-Friendly Options: If you do not have a 9×13 pan, you can use two 8×8 square pans and reduce the baking time by about 5 minutes. No cooling rack? No problem—just let the bars cool in the pan for 15 minutes, then transfer them to a cutting board. I have been using the same $10 metal baking pan for years, and it works perfectly. Do not feel like you need to invest in expensive equipment for this recipe.
Preparation Method
Let me walk you through this step by step. The process is straightforward, but I have included all the little details I learned from my multiple test batches so you can nail it on the first try.
- Preheat your oven to 350°F (175°C). Line your 9×13-inch baking pan with parchment paper, leaving a little overhang on the two long sides. This creates handles that make it easy to lift the bars out later. If you do not have parchment, lightly grease the pan with butter or non-stick spray.
- In a large mixing bowl, cream together the softened butter and granulated sugar. Use your wooden spoon or spatula and mix until the mixture is light, fluffy, and pale in color—about 2 to 3 minutes of vigorous stirring. Do not rush this step! The creaming process incorporates air into the dough, which gives the bars their tender texture. If the butter is properly softened, it should be easy to mix. If your butter is still cold, you will end up with lumps, and nobody wants lumps in their cookie bars.
- Add the egg and vanilla extract. Crack the egg into a small bowl first to check for any shell fragments, then add it to the butter mixture along with the vanilla. Stir until everything is well combined and smooth. The mixture might look a little separated at first, but keep stirring and it will come together. This is also where you want to scrape down the sides of the bowl with your spatula to make sure everything is incorporated.
- In a separate small bowl, whisk together the flour, baking powder, and salt. This step ensures the baking powder and salt are evenly distributed throughout the flour. If you skip this and just dump everything in, you might end up with a pocket of baking powder that tastes bitter. Yes, I learned this the hard way on attempt number three.
- Gradually add the dry ingredients to the wet ingredients. Add about one-third of the flour mixture at a time, stirring gently after each addition. Mix just until the flour disappears—overmixing will develop the gluten and make the bars tough. The dough should be soft and slightly sticky but hold together when pressed. If it feels too dry, add a teaspoon of milk. If it feels too wet, add a tablespoon of flour.
- Press the dough into the prepared pan. This is the most satisfying part. Transfer the dough to your lined pan and use your hands or the back of a spatula to press it into an even layer. I like to lightly wet my fingers with a little water to prevent the dough from sticking to my hands. Make sure the dough reaches all the corners and is relatively flat across the top. The layer should be about 1/4-inch thick.
- Press the candy corn into the dough. Take your candy corn and gently press each piece into the dough, pointed end down or flat side down—it honestly does not matter. Arrange them in a single layer, spacing them about 1/2 inch apart. Do not push them all the way in; leave the tops exposed so they stay visible after baking. I usually use about 1 1/4 cups pressed into the dough and save the remaining 1/4 cup to sprinkle on top after baking for that extra pop of color.
- Bake for 18 to 22 minutes. Place the pan on the middle rack of your preheated oven. The bars are done when the edges are lightly golden brown and the center looks set and puffy. A toothpick inserted into the center (avoiding any candy corn) should come out clean or with a few moist crumbs. The candy corn will soften and spread slightly during baking—this is totally normal. Do not overbake or the bars will become dry and crumbly. I usually check at 18 minutes and then add a minute or two as needed.
- Let the bars cool completely in the pan on a wire rack. This is crucial. If you try to cut them while they are still warm, the candy corn will be soft and sticky, and your knife will drag through the bars, creating a mess. I know it is tempting to dig in right away, but give them at least 30 to 45 minutes to cool. For best results, let them cool completely, about 1 hour, before slicing.
- Optional: Drizzle with melted white chocolate. If you want to make these bars look extra festive for a party, melt 1/4 cup white chocolate chips in the microwave in 20-second intervals, stirring between each, until smooth. Use a fork to drizzle the melted chocolate over the cooled bars. Let the chocolate set for about 10 minutes before slicing.
- Slice and serve. Use the parchment paper handles to lift the entire block of bars out of the pan. Place on a cutting board and use a sharp knife to cut into 24 squares (6 rows by 4 rows). For clean cuts, wipe the knife clean between each slice. The candy corn might crack a little when you cut through it, but that adds to the rustic, homemade look.
Cooking Tips & Techniques
After making these easy candy corn sugar cookie bars more times than I care to admit, I have picked up a few tricks that make the process smoother and the results more consistent. Here is what I wish someone had told me before my first attempt.
Softening Butter the Right Way: This is the number one mistake I see people make. Do not microwave your butter until it is melted or even partially melted. You want it soft enough that a finger pressed into it leaves an indent, but still firm enough to hold its shape. If you are short on time, cut the butter into small cubes and let it sit on the counter for 15 minutes. If you accidentally melt it, pop it in the fridge for 5 minutes to firm up slightly before using.
The “Parchment Paper Trick”: I mentioned this in the method, but it is worth repeating. Leaving parchment paper overhang on two sides of the pan is a game-changer. It allows you to lift the entire batch of bars out of the pan in one piece, which makes slicing so much easier and cleaner. Plus, it means you do not have to scrub a greasy pan later. Win-win.
Avoiding the Soggy Bottom: Candy corn contains a lot of sugar, which can melt and create a sticky layer on the bottom of the bars. To prevent this, make sure your dough layer is thick enough—at least 1/4 inch—and do not overcrowd the candy corn. If you press too many pieces into the dough, they will melt together and create a gooey mess. Stick to the 1 1/2 cups total, and space them out evenly.
My Biggest Failure: On attempt number four, I decided to double the candy corn because I thought, “More candy is always better, right?” Wrong. The bars came out of the oven looking beautiful, but after they cooled, the candy corn had melted into a hard, sticky layer that was impossible to cut through. I ended up with a pan of crumbles and a very sad afternoon snack. Learn from my mistake—trust the measurements.
Timing and Multitasking: These bars come together so quickly that you can easily make them while doing other things. I like to prep the dough while my oven is preheating, then press the candy corn in while the oven finishes heating up. By the time the oven beeps, the pan is ready to go in. While they bake, I clean up the mixing bowl and get the serving platter ready. The whole process takes less than 30 minutes of active time.
Consistency Check: Every oven runs a little differently. If your bars are browning too quickly on the edges but the center is still soft, tent the pan loosely with aluminum foil for the last 5 minutes of baking. This prevents the edges from burning while the center finishes cooking. I have a convection oven that runs hot, so I always check my bars at the 16-minute mark.
Variations & Adaptations
One of the best things about this recipe is how easy it is to customize. Whether you are catering to dietary needs or just want to switch things up, here are some variations I have tried and loved.
Chocolate Lover’s Version: Swap out half of the candy corn for chocolate chips or M&Ms. The combination of sweet candy corn and rich chocolate is surprisingly good. I made this version for a friend’s Halloween party, and it was the first pan to empty. Just press the chocolate chips into the dough along with the candy corn, and bake as directed.
Gluten-Free Adaptation: As I mentioned earlier, use a 1:1 gluten-free baking flour blend. I have tested this with Bob’s Red Mill and King Arthur blends, and both worked well. The texture is slightly more crumbly than the original, so let the bars cool completely before slicing. You might also want to add an extra tablespoon of butter to help with moisture.
Spiced Fall Version: Add 1 teaspoon of pumpkin pie spice or cinnamon to the flour mixture. This gives the bars a warm, cozy flavor that pairs beautifully with the candy corn. I like to serve these at Thanksgiving alongside the pumpkin pie, and they always get compliments. You can also add a pinch of nutmeg for extra depth.
Vegan Option: Use plant-based butter (I like Miyoko’s for baking) and a flax egg. The texture will be a little less tender, but the flavor is still spot-on. Make sure your candy corn is vegan—some brands use gelatin, so check the label. Brach’s candy corn is vegan-friendly.
Mini Bar Bites: For a party appetizer or dessert table, press the dough into a 9×9 square pan instead of the 9×13. Bake for 15 to 18 minutes, then cut into 16 smaller squares. These bite-sized pieces are perfect for grazing and look adorable on a platter with other fall treats.
Serving & Storage Suggestions
These easy candy corn sugar cookie bars are designed to be the star of your dessert table, and they are incredibly forgiving when it comes to storage. Here is how to serve and store them for the best results.
Serving Temperature: These bars are best served at room temperature. If you have stored them in the fridge, let them sit on the counter for about 15 minutes before serving. The texture softens up and the candy corn becomes pleasantly chewy rather than hard. For an extra-special presentation, arrange the bars on a white platter or a wooden serving board and sprinkle a few extra candy corn pieces around the edges.
What to Serve Alongside: These bars are sweet and rich, so pair them with something to balance the flavors. A glass of cold milk is the classic choice, but they also go wonderfully with hot apple cider, a pumpkin spice latte, or even a scoop of vanilla ice cream. If you are hosting a fall party, set out a tray of these bars alongside some salty snacks like pretzels or popcorn—the sweet-salty combo is always a hit.
Storage Instructions: Store the bars in an airtight container at room temperature for up to 5 days. Place a piece of parchment paper between layers to prevent them from sticking together. Do not store them in the fridge unless you have to—the cold temperature can make the candy corn hard and the bars dry out faster.
Freezing Instructions: These bars freeze beautifully. Wrap the entire block (unsliced) tightly in plastic wrap, then in a layer of aluminum foil. Freeze for up to 3 months. When you are ready to serve, thaw the block in the fridge overnight, then bring to room temperature before slicing. You can also freeze individual slices wrapped in plastic wrap—perfect for grabbing a quick treat when the craving hits.
How Flavors Develop: Honestly, these bars taste even better the next day. The flavors meld together overnight, and the texture becomes even more tender and chewy. If you are making these for a party, I highly recommend baking them a day ahead. Just store them in an airtight container at room temperature, and they will be perfect for your gathering.
Nutritional Information & Benefits
Let’s be honest—these are a treat, not a health food. But that does not mean they cannot be enjoyed in moderation as part of a balanced diet. Here is the estimated nutritional breakdown for one bar (based on 24 servings):
| Nutrient | Amount per Serving |
|---|---|
| Calories | 185 |
| Total Fat | 9g |
| Saturated Fat | 5g |
| Cholesterol | 30mg |
| Sodium | 85mg |
| Total Carbohydrates | 26g |
| Sugars | 17g |
| Protein | 2g |
Health Benefits of Key Ingredients: While these bars are definitely a sweet indulgence, there are a few silver linings. Butter contains vitamin A and healthy fats that support brain function. Eggs provide high-quality protein and choline, which is important for memory and mood. And hey, candy corn is fat-free! (Okay, that is mostly a joke, but it is technically true.)
Dietary Considerations: This recipe contains gluten, dairy, and eggs. For gluten-free and vegan options, check the variations section above. The bars are nut-free as written, making them a safe option for school parties and events where nut allergies are a concern. Always double-check your ingredient labels to be sure.
Personal Wellness Perspective: I believe in enjoying treats without guilt. These bars are meant for celebrations and special moments with people you love. One bar is perfectly satisfying—pair it with a cup of tea or coffee, savor every bite, and then move on with your day. Life is too short to skip dessert.
Conclusion
These easy candy corn sugar cookie bars are everything you want in a fall dessert: simple to make, absolutely delicious, and sure to impress everyone at your party. They bring back that nostalgic bakery feeling without requiring a trip to a specialty shop or hours of effort in the kitchen. Whether you are hosting a Halloween bash, a Friendsgiving dinner, or just want a fun weekend baking project, these bars deliver every single time.
I love this recipe because it is forgiving enough for beginners but impressive enough for experienced bakers. The first time I made them successfully, I literally did a little happy dance in my kitchen. That moment when you pull the pan out of the oven and see those colorful candy corn pieces peeking through the golden dough—it just feels right. It feels like fall.
Now I want to hear from you! Have you tried making these bars? Did you add any fun twists or variations? Drop a comment below and let me know how they turned out. And if you loved this recipe as much as I do, please share it with your friends and family. Happy baking, and here is to making new memories with every sweet bite!
Frequently Asked Questions
Can I use a different type of candy corn?
Absolutely! The autumn mix with the little candy pumpkins works wonderfully. You can also use the chocolate-flavored candy corn if you want a different twist. Just avoid using the giant candy corn pieces as they are too large and will not distribute evenly.
Why did my candy corn melt into a puddle?
This usually happens if the candy corn is pressed too deeply into the dough or if the bars are overbaked. Make sure you only press the candy corn gently into the surface, leaving the tops exposed. Also, check your oven temperature with an oven thermometer—if it runs hot, the candy corn will melt faster.
Can I make these bars ahead of time?
Yes! These bars actually taste better the next day. Bake them up to 2 days in advance and store them in an airtight container at room temperature. You can also freeze the baked and cooled bars for up to 3 months. Just thaw at room temperature before serving.
How do I get clean cuts through the candy corn?
Use a sharp knife and wipe it clean between each slice. Let the bars cool completely before cutting—warm candy corn is sticky and will drag through the bars. For the cleanest cuts, chill the bars in the fridge for 15 minutes before slicing.
Can I double this recipe?
Definitely! Double all the ingredients and bake in a half-sheet pan (18×13 inches). You will need to increase the baking time by about 5 to 8 minutes. Keep an eye on the edges—they should be golden brown and the center should be set.
Pin This Recipe!
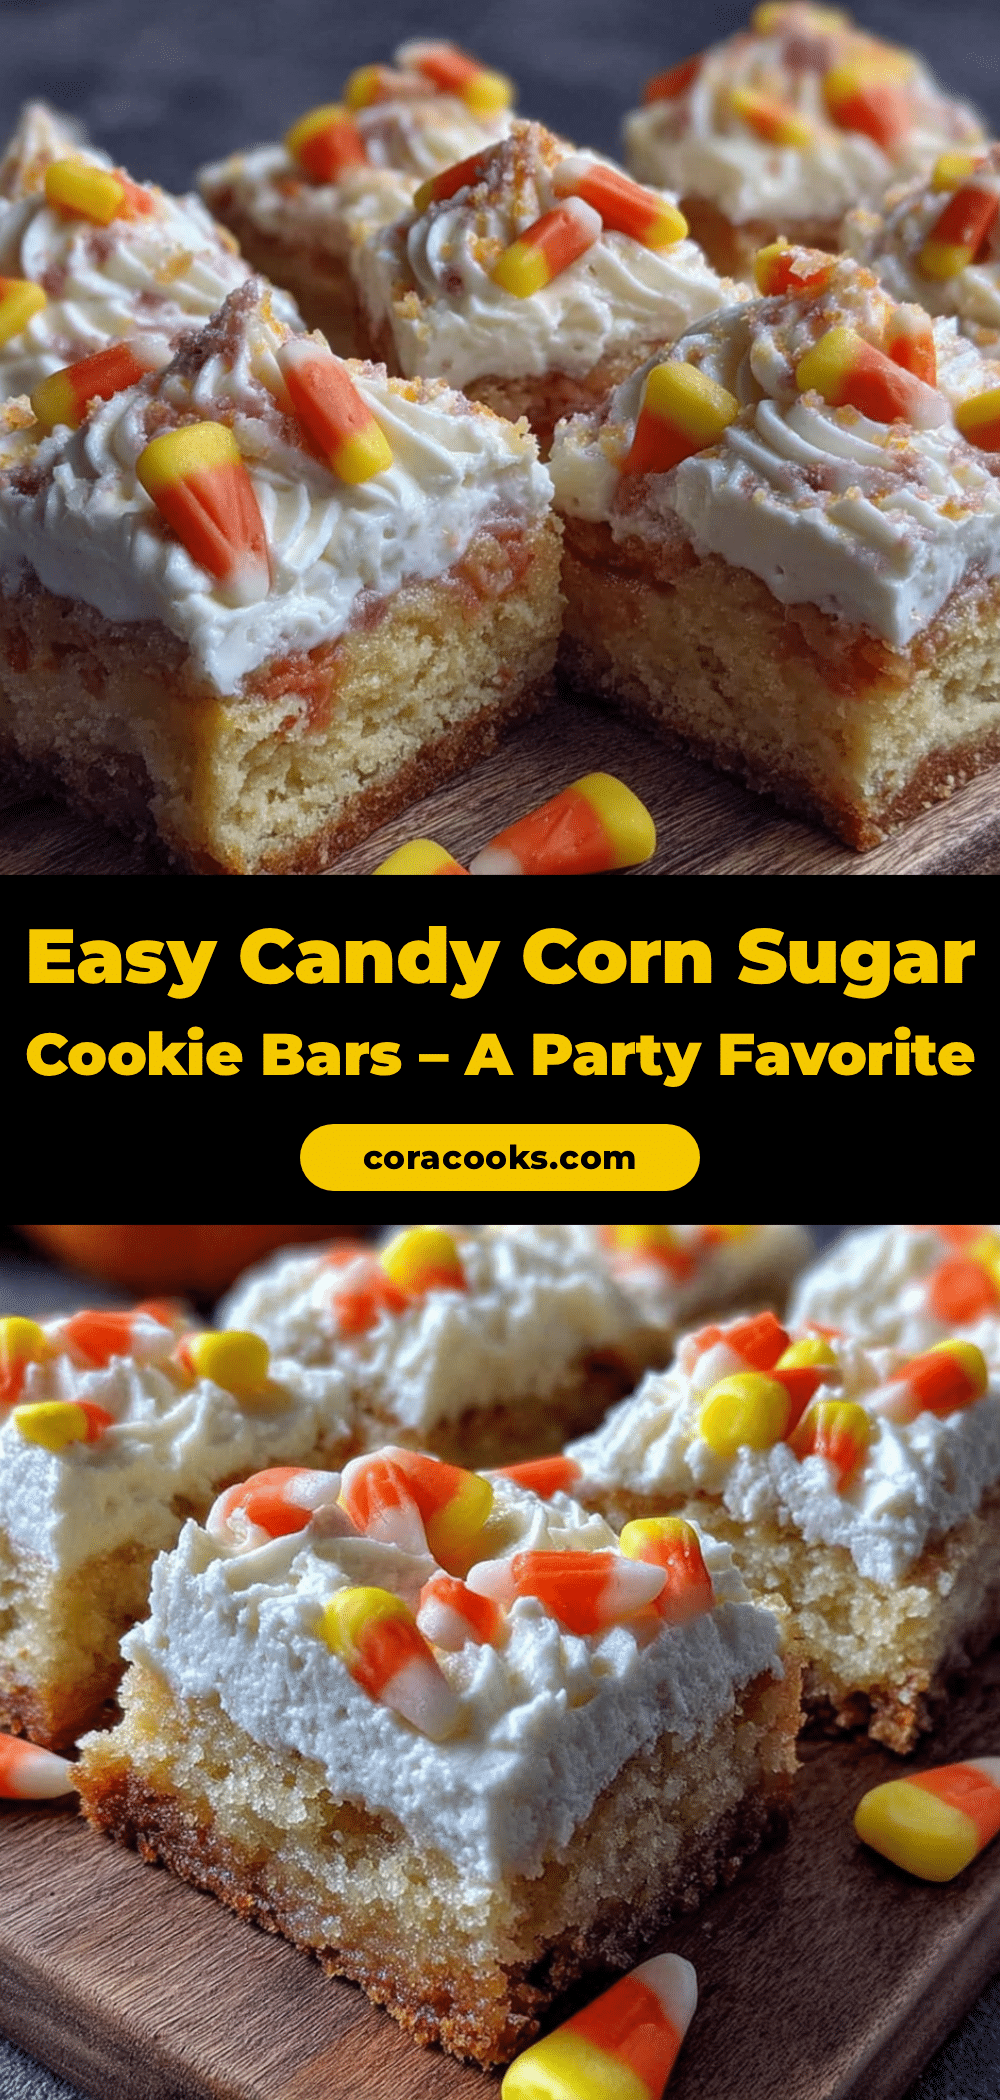
Easy Candy Corn Sugar Cookie Bars: Best Party Treat
These easy candy corn sugar cookie bars are the ultimate fall party treat. They have a dense, buttery sugar cookie base topped with festive candy corn, and they come together in one bowl with no fancy equipment.
- Prep Time: 15 minutes
- Cook Time: 20 minutes
- Total Time: 35 minutes
- Yield: 24 servings 1x
- Category: Dessert
- Cuisine: American
Ingredients
- 1 cup unsalted butter, softened
- 1 cup granulated sugar
- 1 large egg, room temperature
- 2 teaspoons vanilla extract
- 2 cups all-purpose flour
- 1/2 teaspoon baking powder
- 1/4 teaspoon salt
- 1 1/2 cups candy corn
- Optional: 1/4 cup white chocolate chips
Instructions
- Preheat your oven to 350°F (175°C). Line a 9×13-inch baking pan with parchment paper, leaving overhang on the two long sides.
- In a large mixing bowl, cream together the softened butter and granulated sugar until light, fluffy, and pale, about 2 to 3 minutes.
- Add the egg and vanilla extract, and stir until well combined and smooth.
- In a separate small bowl, whisk together the flour, baking powder, and salt.
- Gradually add the dry ingredients to the wet ingredients, mixing just until the flour disappears. The dough should be soft and slightly sticky.
- Press the dough evenly into the prepared pan, making a layer about 1/4-inch thick.
- Gently press the candy corn into the dough, spacing them about 1/2 inch apart, leaving the tops exposed.
- Bake for 18 to 22 minutes, until the edges are lightly golden and the center is set. A toothpick inserted in the center should come out clean or with a few moist crumbs.
- Let the bars cool completely in the pan on a wire rack, about 1 hour.
- Optional: Melt white chocolate chips in the microwave in 20-second intervals, then drizzle over cooled bars. Let set for 10 minutes.
- Use the parchment handles to lift the bars out of the pan. Slice into 24 squares (6 rows by 4 rows) using a sharp knife, wiping the knife clean between cuts.
Notes
For best results, use room-temperature ingredients. Do not overmix the dough. Let bars cool completely before slicing to avoid sticky candy corn. Bars taste even better the next day. Store in an airtight container at room temperature for up to 5 days, or freeze for up to 3 months.
Nutrition
- Serving Size: 1 bar
- Calories: 185
- Sugar: 17
- Sodium: 85
- Fat: 9
- Saturated Fat: 5
- Carbohydrates: 26
- Protein: 2
Keywords: candy corn, sugar cookie bars, fall dessert, Halloween treat, easy dessert, party treat


