Love this? Save it for later!
Share the inspiration with your friends
The summer I turned twenty-five, I was helping set up a small-town Fourth of July block party when the quietest person on the street—a retired librarian named Mr. Jenkins—started talking about this “magic” dessert he swore by: a Delicious Red White and Blue Layered Jello Poke Cake. Honestly, I wasn’t expecting to get baking tips from a man who spent his days shelving dusty books, but there I was, wiping down picnic tables, listening as he explained how the jello soaked right into the cake, making it moist and bursting with patriotic colors.
The way he described the layers—the vibrant red strawberry, the cool white creamy middle, and the deep blue blueberry—made me almost taste it before I’d even seen the recipe. I admit I made a bit of a mess trying it the first time (poke holes and jello syrup everywhere), but it was worth every sticky finger. Maybe you’ve been there, juggling a summer crowd and trying to keep your dessert intact, and that’s exactly why this poke cake stuck with me.
It’s not just about looking festive; it’s about that surprising burst of flavor and that nostalgic, cool sweetness on a hot day. This Delicious Red White and Blue Layered Jello Poke Cake has become my go-to for any summer gathering. Let me tell you, it’s a showstopper that’s as fun to make as it is to eat.
Why You’ll Love This Recipe
After testing this Delicious Red White and Blue Layered Jello Poke Cake multiple times—sometimes with a curious toddler helping and other times under the pressure of last-minute party prep—I can say it truly holds its own. Here’s why it’s become a favorite in my kitchen and why you might want to add it to yours:
- Quick & Easy: Comes together in under an hour, perfect for busy summer days or unexpected guests.
- Simple Ingredients: No need for fancy grocery trips; most ingredients are pantry staples or easy finds.
- Perfect for Celebrations: Instantly festive, ideal for Independence Day, Memorial Day, or any patriotic occasion.
- Crowd-Pleaser: Kids and adults alike rave about the moist, colorful layers and creamy whipped topping.
- Unbelievably Delicious: The jello-soaked layers keep the cake tender and bursting with berry flavor—nothing dry or boring here.
What sets this recipe apart is the clever poke technique paired with layering three distinct jello flavors, creating a trifecta of taste and texture. The creamy middle layer cuts through the sweetness, balancing it just right. Honestly, this isn’t your usual jello dessert—it’s a nostalgic, crowd-pleasing masterpiece that’s as much fun to make as it is to eat.
What Ingredients You Will Need
This recipe uses straightforward, wholesome ingredients that come together to create bold flavors and a colorful, satisfying texture without any fuss. Most are pantry staples, and substitutions are easy if you have dietary preferences.
- For the Cake:
- 1 box white cake mix (about 15.25 oz) – I prefer Duncan Hines for its moist crumb
- Ingredients called for on cake mix box (usually eggs, oil, water) – room temperature for best results
- For the Jello Layers:
- 1 package (3 oz) strawberry jello – dry powder
- 1 package (3 oz) blueberry jello – dry powder
- 1 package (3 oz) unflavored gelatin – optional for firmer layers
- 1 cup boiling water for each jello package
- 1 cup cold water for each jello package
- For the Creamy Layer and Topping:
- 1 container (8 oz) whipped topping – I like Cool Whip for easy use, but fresh whipped cream works too
- 1 package (3 oz) vanilla instant pudding mix (optional for extra creaminess)
- 1 cup milk (or dairy-free alternative like almond milk)
Note: For a gluten-free version, swap the white cake mix for a gluten-free option. You can also use fresh berries instead of jello powders if you want a more natural approach, though the classic poke effect with vibrant colors is harder to replicate.
Equipment Needed
- 9×13 inch baking pan – glass or metal works fine; I prefer glass for even baking and easy poking
- Mixing bowls – one large for cake batter, others for jello mixtures
- Electric mixer or whisk – for cake batter and whipped topping
- Toothpick or skewer – to poke holes in the cake for jello infusion
- Measuring cups and spoons – for accuracy
- Spatula – to spread toppings evenly
If you don’t have a toothpick, a fork works just as well for poking. I’ve found that a metal skewer pierces the cake more cleanly without tearing, but it’s not a must-have. For budget-friendly options, you can often find basic mixing bowls and pans at your local dollar store that work just fine for this recipe.
Preparation Method
- Preheat your oven to 350°F (175°C). Grease the 9×13 inch pan lightly with butter or non-stick spray. Having the pan ready before you start the batter keeps things moving smoothly.
- Prepare the cake batter. In a large bowl, combine the white cake mix with the eggs, oil, and water as instructed on the box. I usually use 3 eggs, 1/2 cup oil, and 1 cup water, but follow your box’s guidance. Mix with an electric mixer on medium speed for about 2 minutes until smooth. Scrape down the sides to ensure everything is well incorporated.
- Pour the batter into the prepared pan. Spread evenly with a spatula. This step is crucial for even baking and a uniform poke texture later.
- Bake for 28-32 minutes. Check doneness by inserting a toothpick in the center—it should come out clean. The cake should spring back lightly when pressed. Don’t overbake; you want it moist for absorbing jello.
- Cool the cake completely. This is important—warm cake will melt the jello, ruining the layers. I usually let it cool on a wire rack for at least an hour.
- Prepare the jello mixtures. For each flavor (strawberry and blueberry), dissolve the jello powder in 1 cup boiling water. Stir until fully dissolved. Then add 1 cup cold water to each and mix. Set aside to cool slightly but not set.
- Using a toothpick or skewer, poke holes all over the cake. About 1-inch apart, going deep but not through the bottom. This step lets the jello seep inside, making every bite juicy and colorful. Don’t poke too close to the edge or you’ll risk breaking the cake.
- Spoon the strawberry jello evenly over one half of the cake holes. Try to pour slowly and let it absorb instead of puddling. Then spoon the blueberry jello over the other half. This creates the red and blue layers on opposite ends.
- Refrigerate the cake for at least 3 hours. This chilling step lets the jello set inside the cake holes, creating that signature poke cake texture.
- Prepare the creamy middle layer. If using instant pudding, whisk the vanilla pudding mix with 1 cup cold milk until thickened (about 2 minutes). Fold in half the whipped topping gently for a fluffy texture.
- Spread the creamy middle layer evenly over the chilled cake. This white layer balances the jello’s sweetness and adds smoothness.
- Top with the remaining whipped topping. Use a spatula to create soft peaks for a pretty finish.
- Refrigerate for another hour before serving. This lets flavors meld and layers set perfectly.
Pro tip: If you want a firmer jello layer, dissolve a tablespoon of unflavored gelatin into the jello mixture before pouring. I’ve tried that when making this for hot outdoor parties, and it helped keep the layers intact longer.
Cooking Tips & Techniques
Making a Delicious Red White and Blue Layered Jello Poke Cake isn’t rocket science, but a few tricks can make your life easier and the results better.
- Don’t skip cooling the cake. Pouring jello over a warm cake can make the jello melt and not set properly, resulting in a soggy mess.
- Poke evenly and thoroughly. The holes let the jello flow deep inside, so spacing them about an inch apart works best.
- Use room temperature ingredients. Eggs and liquids mix better and create a more tender cake crumb.
- Chill long enough. I’ve learned the hard way that rushing the refrigeration means the jello layers won’t set fully, and the cream topping can slide off.
- Whip the topping just right. Over-whipping can make it grainy; under-whipping means it won’t hold its shape. Take it slow, and if using store-bought whipped topping, gently fold it in.
- For easy cleanup, line your pan with parchment paper. Especially helpful if you’re making this for a crowd and want to slice neat pieces.
Variations & Adaptations
This recipe is surprisingly flexible, perfect for making your own creative spin on a classic.
- Diet-Friendly: Swap the cake mix with a gluten-free version and use sugar-free jello to make it suitable for gluten intolerances and lower sugar diets.
- Seasonal Twist: Replace the strawberry and blueberry jello with raspberry and blackberry during late summer for a fresh berry punch. You can even mash fresh berries into the creamy layer for extra flavor.
- Flavor Boost: Add a teaspoon of lemon or lime zest to the whipped cream layer for a refreshing citrus note that cuts through the sweetness.
- Cooking Method: If you want a no-bake version, use a prepared sponge cake or pound cake from the store, poke it, and follow the jello layering steps.
- Personal Favorite: I’ve tried adding a thin layer of cream cheese frosting between the jello and whipped topping for an extra tangy surprise. It’s a hit every time!
Serving & Storage Suggestions
This Delicious Red White and Blue Layered Jello Poke Cake is best served chilled, straight from the fridge. The coolness brings out the best in the jello and cream layers, especially on a hot day.
For presentation, slice the cake into neat squares and serve on a bright white plate to make the colors pop. Pair it with a glass of iced tea or lemonade to complete that classic summer vibe.
Store any leftovers covered tightly with plastic wrap or in an airtight container in the refrigerator. It keeps well for up to 3 days. I’ve found that the flavors actually deepen overnight, making the next day’s slices even better.
To reheat—though I don’t recommend it—the cake can be left at room temperature for 15 minutes to soften slightly, but avoid microwaving as it will melt the jello layers.
Nutritional Information & Benefits
One slice (about 1/12 of the cake) provides roughly 250 calories, 35g carbohydrates, 7g fat, and 3g protein. The berries in the jello powder contribute antioxidants, while the whipped topping adds some calcium depending on the brand.
This dessert is gluten-free if you choose the right cake mix and jello, and can be made dairy-free by using coconut-based whipped toppings and milk alternatives. It’s a festive treat that balances sweetness with a bit of fruit flavor, making it a lighter choice than many heavy cakes.
Personally, I appreciate how this recipe allows me to share something special that feels indulgent but isn’t overly rich—perfect for those summer cookouts when you want a sweet finish without the guilt.
Conclusion
This Delicious Red White and Blue Layered Jello Poke Cake is one of those recipes that surprises you with how simple but satisfying it really is. Whether you’re celebrating a holiday or just craving a fun, colorful dessert, it’s a fantastic choice that brings smiles to the table.
Feel free to make it your own—try new jello flavors, tweak the creamy layers, or add your favorite berries. I love that this cake has a story behind it and that it keeps me coming back, year after year, for that perfect combination of nostalgic flavor and easy prep.
If you give it a try, I’d love to hear how it turns out for you—drop a comment or share your own twists and tips. Happy baking!
Frequently Asked Questions
Can I make this cake ahead of time?
Yes, prepping it a day ahead is actually ideal! It allows the jello layers to set fully and flavors to meld.
What if I don’t have a 9×13 inch pan?
You can use a similar-sized baking dish; just adjust baking time slightly and keep an eye on doneness.
Can I use fresh fruit instead of jello?
While fresh fruit is delicious, it won’t create the same poke effect because it doesn’t soak into the cake like jello does.
Is this recipe kid-friendly?
Absolutely! Kids love the bright colors and fun texture, and it’s a great way to get them involved in the kitchen.
How do I prevent the whipped topping from melting?
Keep the cake chilled until serving and avoid leaving it out at room temperature for long periods.
Pin This Recipe!
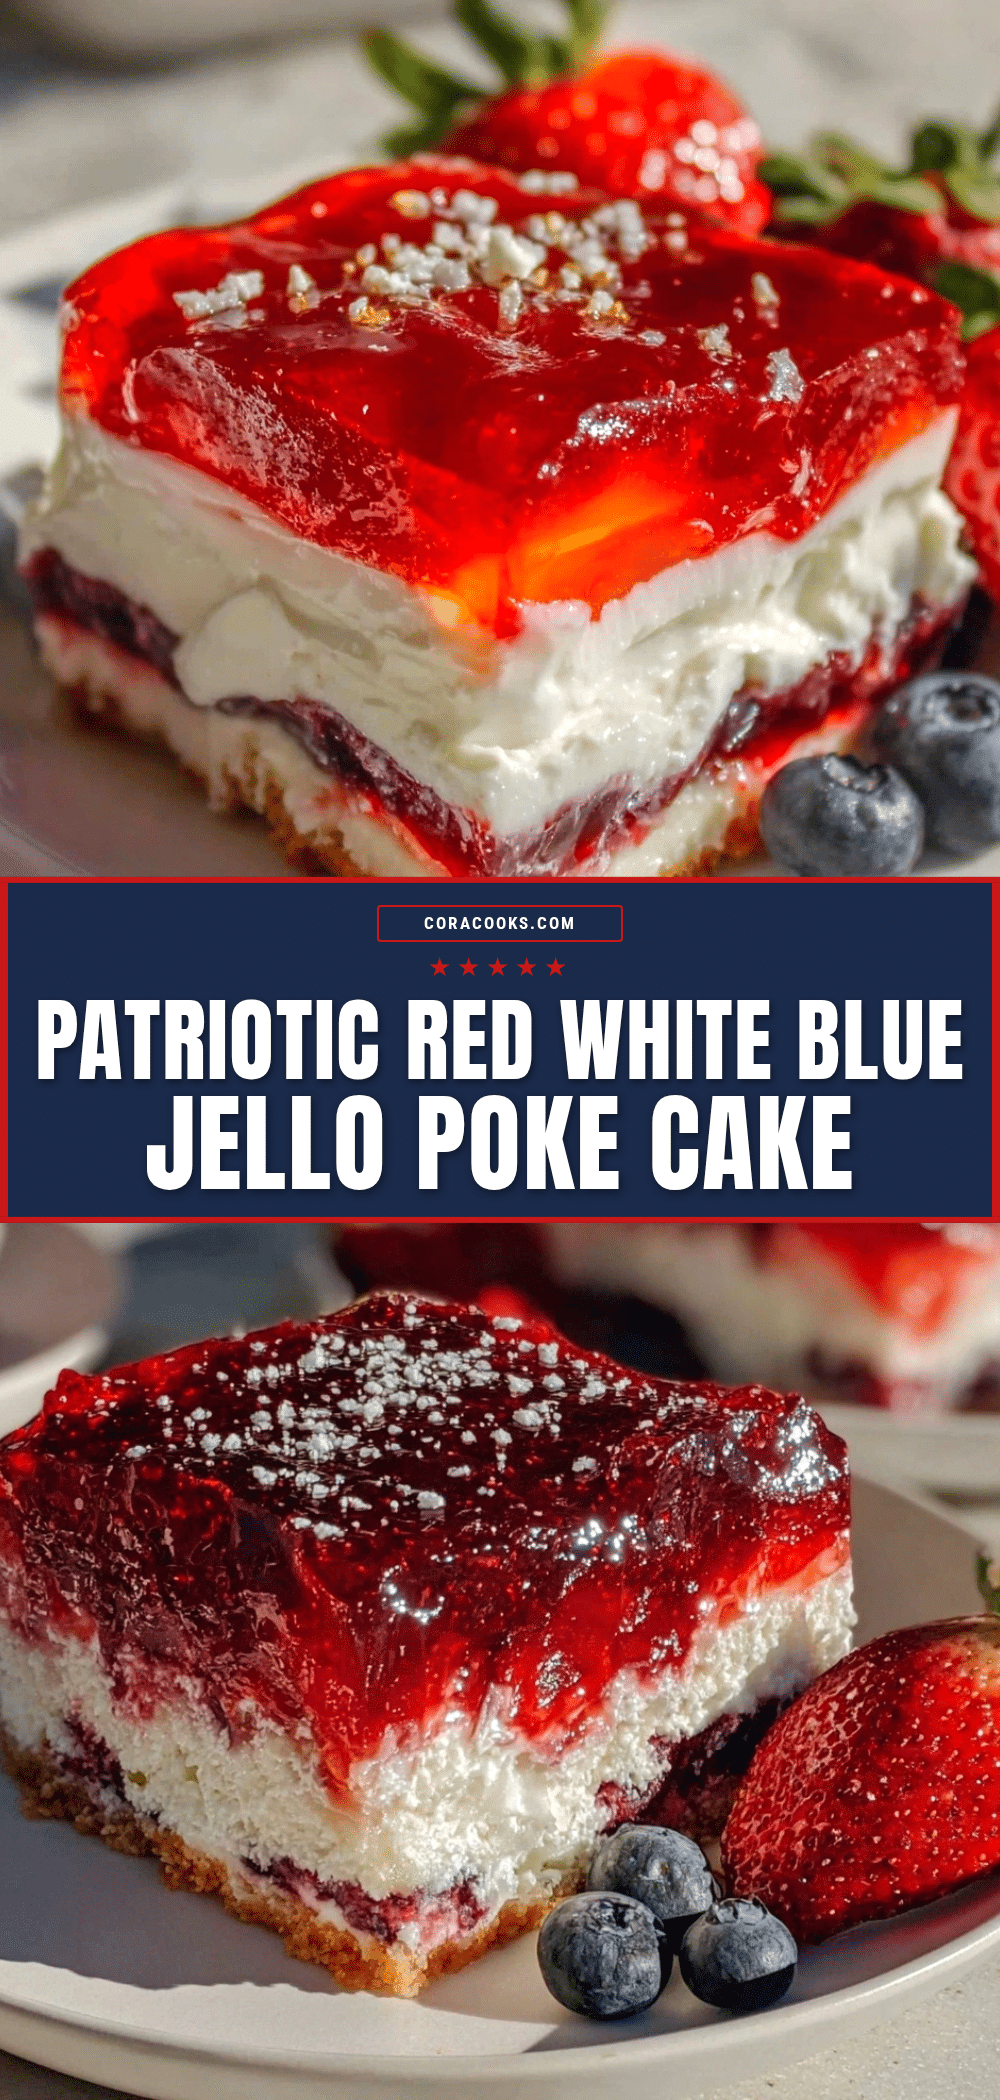
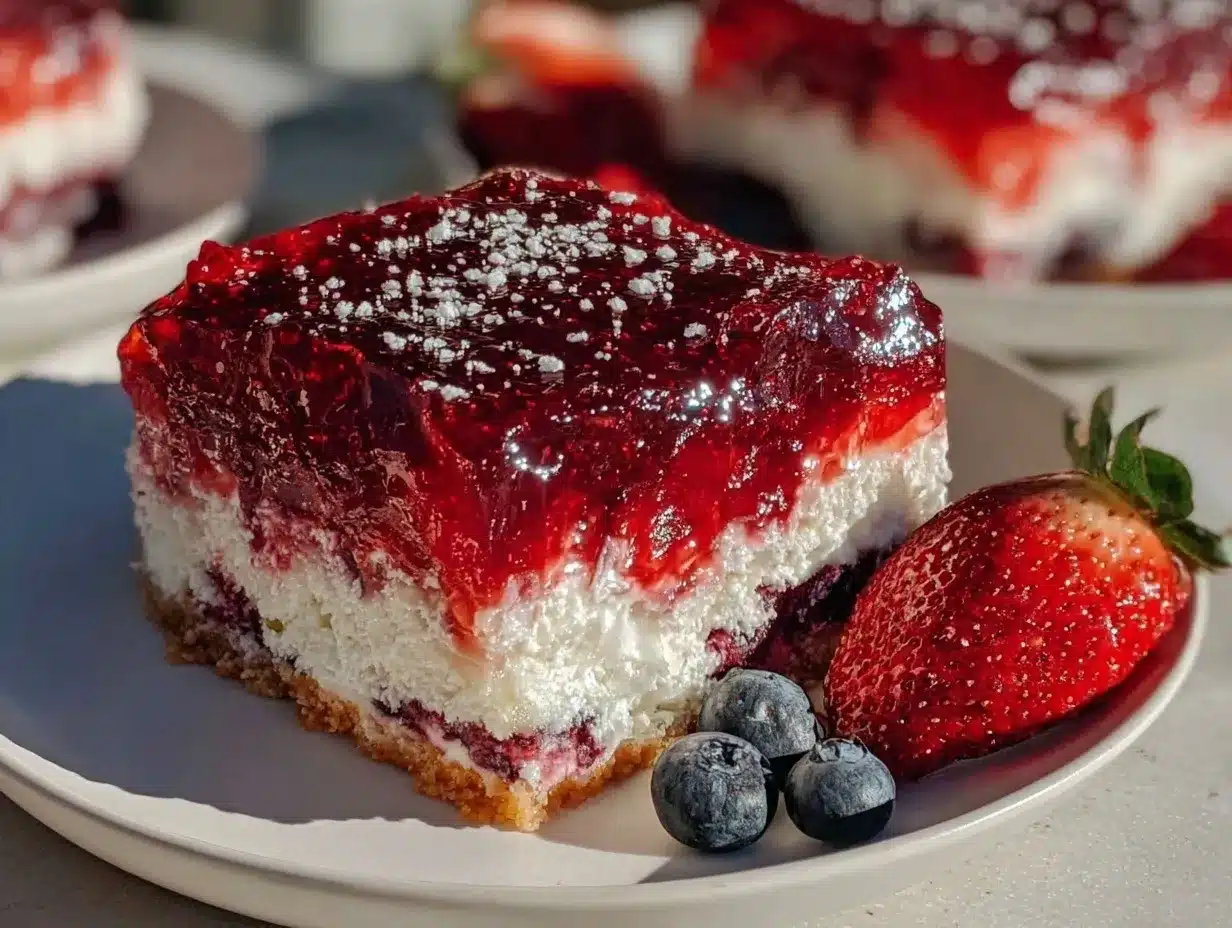
Delicious Red White and Blue Layered Jello Poke Cake

A festive and moist poke cake featuring vibrant red strawberry and deep blue blueberry jello layers with a creamy white middle, perfect for summer celebrations.
- Prep Time: 15 minutes
- Cook Time: 30 minutes
- Total Time: 4 hours 15 minutes
- Yield: 12 servings 1x
- Category: Dessert
- Cuisine: American
Ingredients
- 1 box white cake mix (about 15.25 oz)
- Ingredients called for on cake mix box (usually eggs, oil, water) – room temperature
- 1 package (3 oz) strawberry jello powder
- 1 package (3 oz) blueberry jello powder
- 1 package (3 oz) unflavored gelatin (optional)
- 1 cup boiling water for each jello package
- 1 cup cold water for each jello package
- 1 container (8 oz) whipped topping (e.g., Cool Whip) or fresh whipped cream
- 1 package (3 oz) vanilla instant pudding mix (optional)
- 1 cup milk or dairy-free alternative (e.g., almond milk)
Instructions
- Preheat oven to 350°F (175°C). Grease a 9×13 inch baking pan with butter or non-stick spray.
- Prepare cake batter by combining white cake mix with eggs, oil, and water as instructed on the box. Mix on medium speed for about 2 minutes until smooth.
- Pour batter evenly into prepared pan and spread with a spatula.
- Bake for 28-32 minutes until a toothpick inserted in the center comes out clean and cake springs back lightly when pressed.
- Cool cake completely on a wire rack for at least one hour.
- Dissolve each jello powder (strawberry and blueberry) in 1 cup boiling water, stir until dissolved, then add 1 cup cold water. Set aside to cool slightly but not set.
- Using a toothpick or skewer, poke holes about 1 inch apart all over the cake, going deep but not through the bottom.
- Spoon strawberry jello evenly over one half of the cake holes, then spoon blueberry jello over the other half.
- Refrigerate cake for at least 3 hours to let jello set inside the holes.
- If using pudding, whisk vanilla instant pudding mix with 1 cup cold milk until thickened (about 2 minutes), then fold in half the whipped topping gently.
- Spread the creamy middle layer evenly over the chilled cake.
- Top with the remaining whipped topping, spreading evenly and creating soft peaks with a spatula.
- Refrigerate for another hour before serving.
Notes
Cool the cake completely before pouring jello to prevent melting. Poke holes evenly about 1 inch apart for best jello absorption. Refrigerate long enough for jello layers to set fully. For firmer jello layers, dissolve unflavored gelatin into jello mixture before pouring. Use room temperature ingredients for a tender crumb. Line pan with parchment paper for easier cleanup and neat slices.
Nutrition
- Serving Size: 1 slice (1/12 of cak
- Calories: 250
- Fat: 7
- Carbohydrates: 35
- Protein: 3
Keywords: poke cake, jello poke cake, red white and blue dessert, patriotic dessert, summer cake, Fourth of July dessert, easy poke cake