Love this? Save it for later!
Share the inspiration with your friends
Introduction
The summer I turned thirty, I was wandering through a quirky flea market, juggling a cold lemonade and a tote bag full of thrifted books, when an unlikely conversation happened. A quiet man selling vintage kitchenware—who, honestly, looked more like a retired engineer than a baker—started talking about bread. Not just any bread, but a crispy no-knead artisan bread that he swore by for its perfect crust and rustic charm. I wasn’t expecting cooking advice from someone surrounded by chipped enamel pots and dusty rolling pins, but there I was, fascinated, as he described the magic of baking this bread in a Dutch oven.
He pulled out a crumpled recipe card, stained with years of flour and oil, and explained how the secret was in the slow fermentation and the steaming crust created by the Dutch oven’s heavy lid. I jotted down the notes, spilled a bit of lemonade on the table (classic me), and promised to try it out. That serendipitous moment turned into a ritual of weekend baking, where the kitchen would fill with the smell of toasted crust and yeasty warmth. Maybe you’ve been there—waiting for that first crackly bite, the one that makes you close your eyes and savor the comfort of homemade bread.
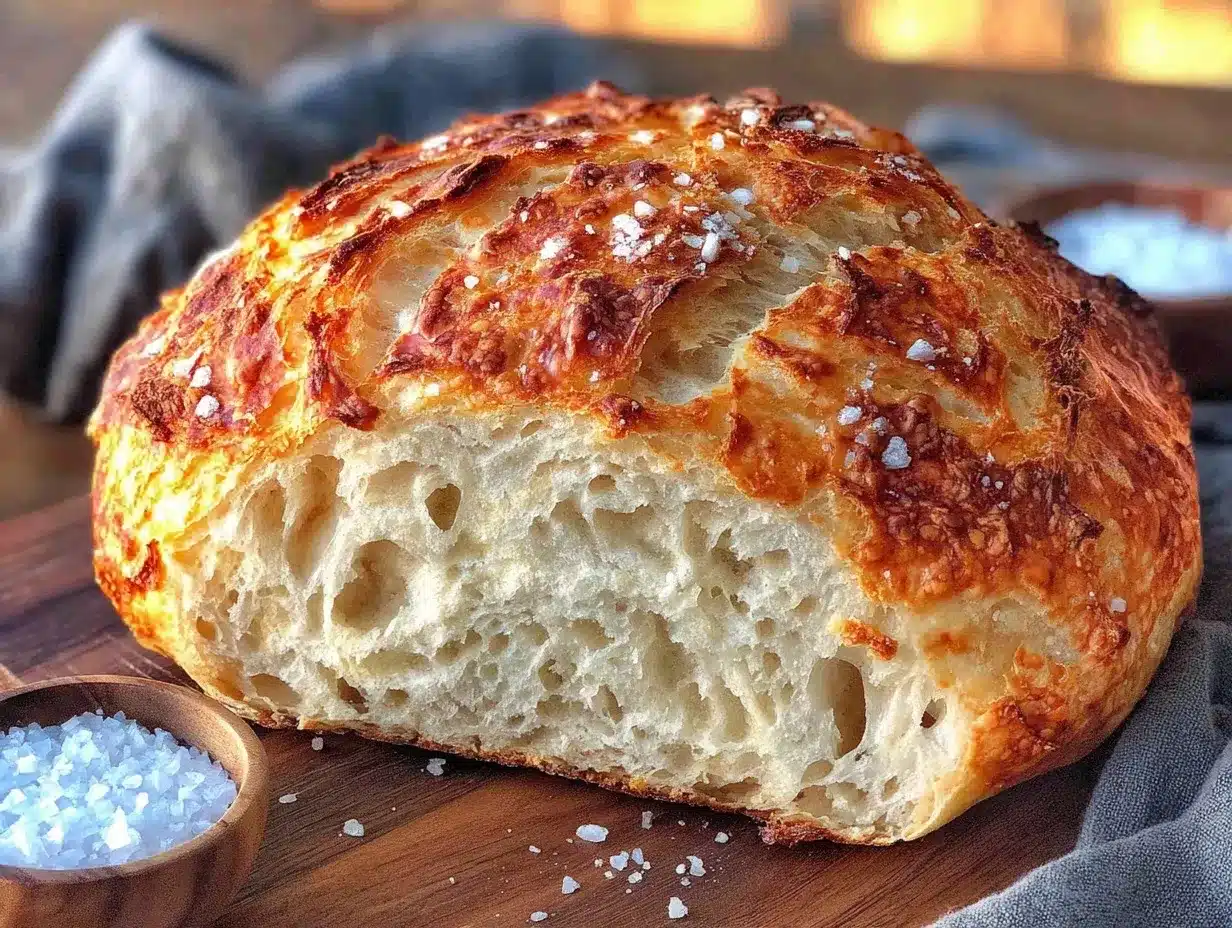
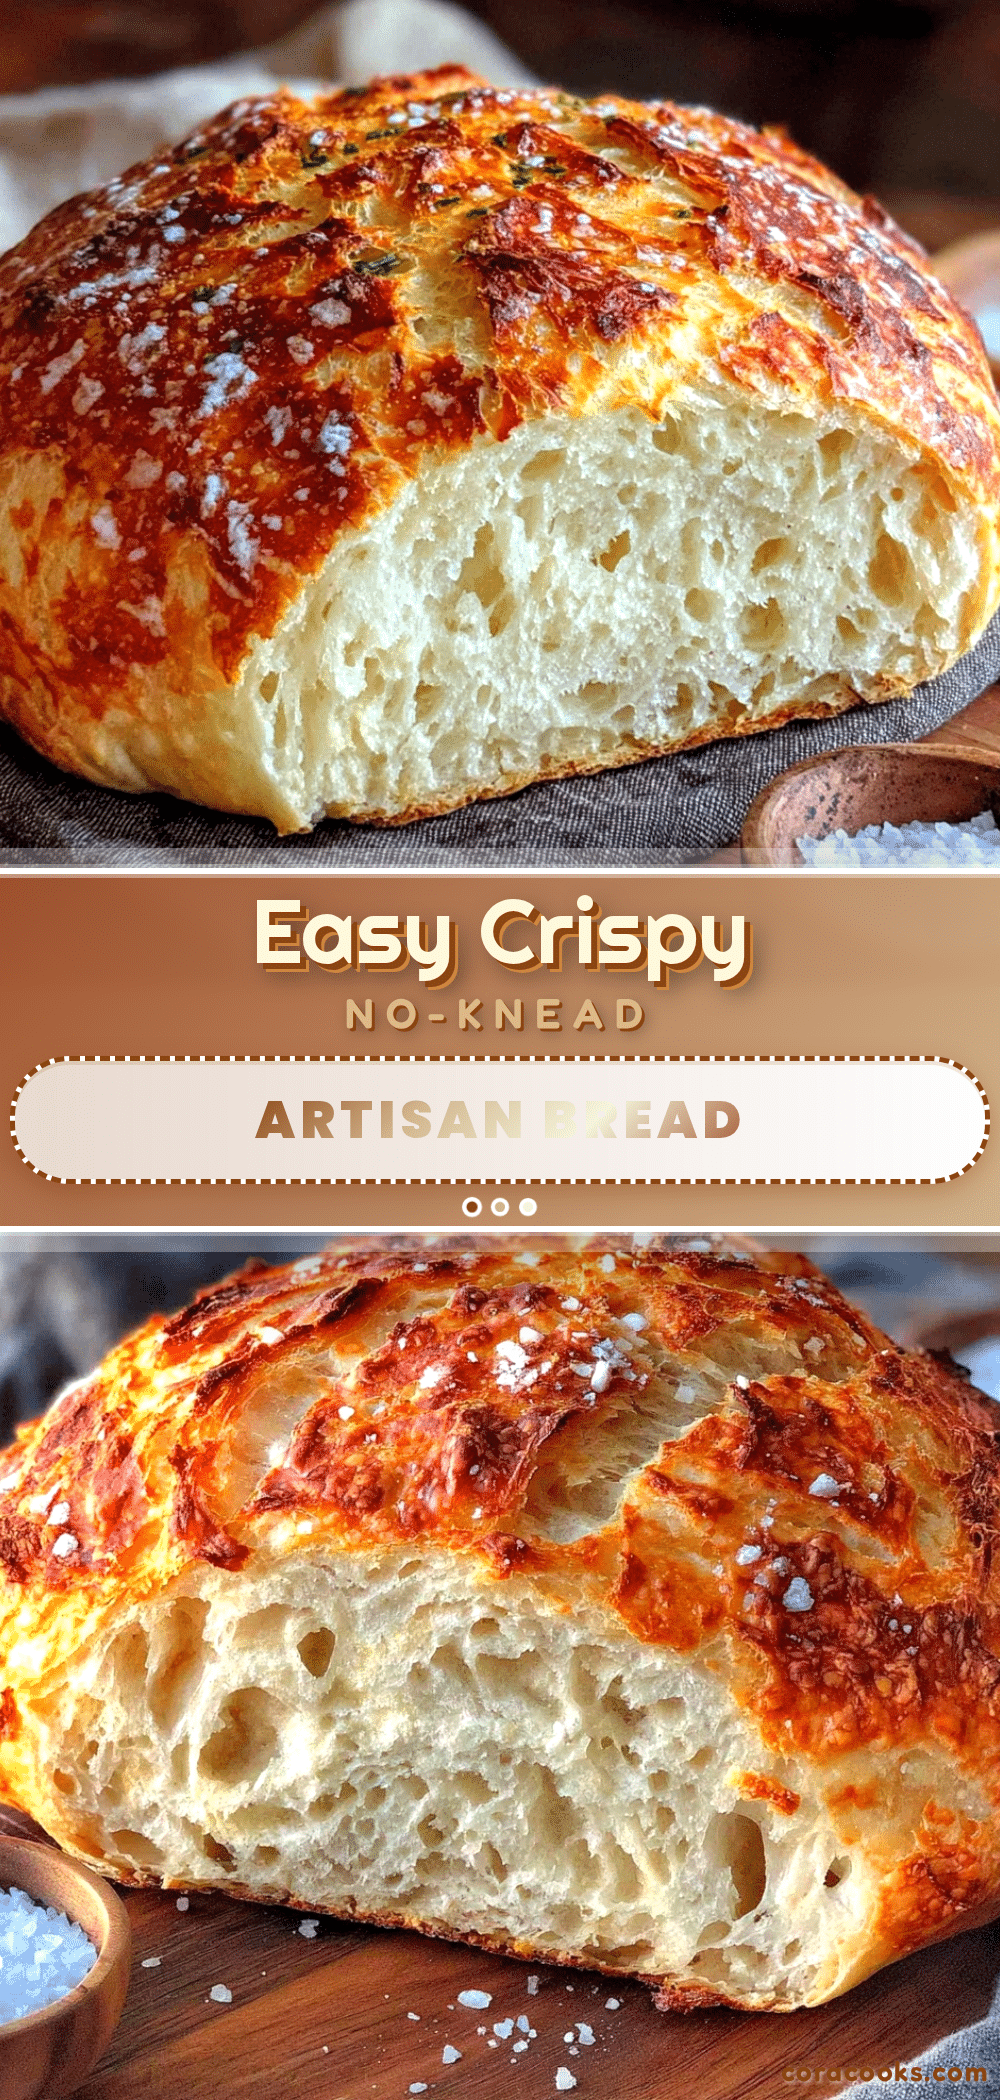
This crispy no-knead artisan bread with rustic Dutch oven crust isn’t just a loaf; it’s a story of unexpected inspiration, simple ingredients, and the joy of slow, hands-off baking that anyone can master. Let me tell you, it’s the kind of bread that makes your kitchen feel like a cozy bakery every time you pull it out of the oven.
Why You’ll Love This Recipe
Honestly, this recipe ticks all the boxes for anyone who loves fresh bread but hates the fuss. I’ve tested it countless times—sometimes rushing it, sometimes letting it rest longer—and it always delivers that perfect crust and tender crumb. Here’s why you’ll want this crispy no-knead artisan bread in your life:
- Quick & Easy: No kneading means you can mix it up in 10 minutes and let the dough do the work—ideal for busy weekdays or lazy weekends.
- Simple Ingredients: Flour, water, yeast, and salt—nothing fancy, no specialty flours needed. I usually grab King Arthur Flour for consistent results.
- Perfect for Cozy Dinners: Whether you’re serving soup, salad, or just butter, this bread shines with its crunchy crust and soft inside.
- Crowd-Pleaser: Friends and family always ask for seconds, especially when the crust crackles just right.
- Unbelievably Delicious: The Dutch oven traps steam, giving the loaf a crackly, rustic crust that tastes like it came from a fancy bakery.
This isn’t just another no-knead recipe; it’s the one I turn to when I want that authentic artisan feel without the hassle. Plus, the slow fermentation adds a depth of flavor that you don’t get with quick-rise breads. You’re not just baking bread—you’re creating a moment, a comforting ritual that’s as rewarding as it is tasty.
What Ingredients You Will Need
This recipe uses simple, wholesome ingredients to deliver bold flavor and satisfying texture without the fuss. Most are pantry staples, and you probably have them right now.
- All-purpose flour (about 3 cups / 375 g) – I recommend King Arthur or Bob’s Red Mill for best texture.
- Active dry yeast (1/4 teaspoon) – just a pinch keeps it slow and steady for flavor.
- Salt (1 1/4 teaspoons) – enhances the flavor and strengthens the dough.
- Lukewarm water (1 1/2 cups / 360 ml) – key to activate the yeast without killing it.
Optional but recommended for a rustic touch:
- Cornmeal or flour for dusting – prevents sticking and adds texture to the crust.
- Olive oil (a teaspoon) – sometimes I brush the crust lightly after baking for extra shine.
If you want to customize, whole wheat flour can be swapped for up to 1 cup (125 g) for extra nuttiness, or use bread flour for a chewier crumb. For gluten-free folks, experimenting with a gluten-free flour blend can work, but the crust won’t be quite the same.
Equipment Needed
For this recipe, the star of the show is the Dutch oven. Here’s what you’ll want to have on hand:
- Dutch oven (5 to 6-quart size) – heavy, with a tight-fitting lid. Cast iron works best for that signature crust. If you don’t have one, a thick casserole dish with a lid or a heavy oven-safe pot can work in a pinch.
- Mixing bowl – large enough to hold the dough as it rises.
- Wooden spoon or spatula – for mixing the wet and dry ingredients.
- Kitchen scale (optional but helpful) – for precise measurements, especially if you’re tweaking the recipe.
- Kitchen towel or plastic wrap – to cover the dough while it rests.
I’ve tried using a slow cooker insert or glass baking dish, but the Dutch oven’s thick walls and lid create steam that’s crucial for the crust. If you’re on a budget, a seasoned cast iron skillet with a metal bowl as a lid can be a clever workaround. Just be sure to preheat it well before adding the dough.
Preparation Method
- Mix the dry ingredients: In a large mixing bowl, combine 3 cups (375 g) of all-purpose flour, 1/4 teaspoon active dry yeast, and 1 1/4 teaspoons salt. Stir together with a wooden spoon until evenly mixed. This takes about 2 minutes.
- Add the water: Pour in 1 1/2 cups (360 ml) of lukewarm water. The temperature should be warm to the touch but not hot—around 100°F (38°C) is ideal. Mix until a shaggy, sticky dough forms. Don’t worry about kneading; just stir until all flour is hydrated. This step takes about 3 minutes.
- First rise: Cover the bowl with a kitchen towel or plastic wrap. Let it sit at room temperature for 12 to 18 hours—overnight usually works best. You’ll notice the dough bubble and triple in size. This slow fermentation is what gives the bread its flavor and texture.
- Shape the dough: After the rise, lightly flour a clean surface and scrape the dough out. It will be loose and sticky—don’t panic! Fold it over itself a couple of times to create surface tension, then shape it into a rough ball. Let it rest for about 30 minutes, covered with a towel.
- Preheat the oven: Place your Dutch oven (with the lid on) into the oven and heat to 450°F (232°C). Preheating the pot is essential to get that sizzling crust.
- Prepare for baking: Carefully remove the hot Dutch oven and sprinkle a little cornmeal or flour on the bottom to prevent sticking. Gently place the dough ball inside. Score the top with a sharp knife or razor blade to help it expand during baking.
- Bake the bread: Cover with the lid and bake for 30 minutes. Then remove the lid and bake for an additional 15 to 20 minutes until the crust is deep golden brown and crackly. The internal temperature should be about 205°F (96°C) when done.
- Cool and enjoy: Remove the bread from the Dutch oven and let it cool on a wire rack for at least an hour. I know, it’s tempting to slice it right away, but cooling lets the crumb set perfectly.
One time, I forgot to preheat the Dutch oven and ended up with a dense loaf that took forever to bake. Lesson learned—don’t skip that step! Also, if your dough feels too sticky to handle, a quick dusting of flour helps without drying it out.
Cooking Tips & Techniques
Getting that perfect crispy crust and airy crumb can feel like an art, but a few tricks make it easier:
- Use a kitchen scale: Weighing ingredients helps keep the dough consistent every time, especially the water-to-flour ratio.
- Don’t rush fermentation: The long rise is key. If you’re short on time, you can cut it to 8 hours, but flavor and texture will improve with patience.
- Preheat the Dutch oven thoroughly: A hot pot ensures steam builds up quickly, crisping the crust.
- Score the dough: Those cuts let the bread expand without cracking unpredictably.
- Use room temperature ingredients: Yeast activates best around 75°F to 85°F (24°C to 29°C). Too cold and it’s slow, too hot and it dies.
I once left the dough uncovered by mistake—big mess, dry crust! Always cover your dough to keep it moist and happy. And try to avoid adding too much flour when shaping; sticky dough is part of the charm here.
Variations & Adaptations
This crispy no-knead artisan bread recipe is flexible and easy to personalize. Here are a few ways to tweak it:
- Whole Wheat Blend: Replace up to 1 cup (125 g) of all-purpose flour with whole wheat for a nuttier flavor and denser crumb.
- Herb Infusion: Toss in a tablespoon of fresh rosemary or thyme to the dry ingredients for an aromatic twist.
- Seeded Crust: Sprinkle sesame seeds, poppy seeds, or flax seeds on top before baking for extra texture and nutrition.
- Gluten-Free Option: Use a high-quality gluten-free flour blend, but expect a softer crust and crumb.
- Different Cooking Vessels: If you lack a Dutch oven, try baking on a preheated pizza stone with a pan of water underneath to create steam.
Personally, I love adding a handful of chopped olives or sun-dried tomatoes for a Mediterranean vibe—makes a fantastic snack with some cheese. Feel free to experiment to find what suits your taste buds best!
Serving & Storage Suggestions
This bread is best enjoyed fresh, ideally still warm from the oven. A simple smear of butter or dipping in olive oil with balsamic vinegar is divine. It pairs beautifully with soups like creamy tomato or hearty lentil stew.
To store, let the bread cool completely, then wrap loosely in a clean kitchen towel and keep at room temperature for up to two days. For longer storage, slice and freeze in a zippered bag; toast slices directly from frozen for a quick snack.
Reheating in a 350°F (175°C) oven for 5-10 minutes revives the crust nicely. The flavors tend to deepen after a day, so if you can wait, you might find the bread tastes even better the next day.
Nutritional Information & Benefits
This artisan bread is a wholesome choice made with minimal ingredients—just flour, water, yeast, and salt. Each slice offers:
- Approximately 150 calories per serving (slice)
- Low fat and no added sugars
- Good source of carbohydrates for energy
- Contains gluten, so not suitable for those with celiac disease
Using simple ingredients means you avoid unnecessary preservatives or additives found in store-bought bread. For those mindful of sodium, you can reduce salt slightly without sacrificing much flavor. From my nutritionist friends, slow fermentation can improve digestibility, which is a nice bonus.
Conclusion
This crispy no-knead artisan bread with rustic Dutch oven crust is a recipe that feels like a little kitchen celebration every time you bake it. It’s simple, satisfying, and makes you feel like you’ve got a secret artisan skill without the fuss of kneading or fancy equipment.
Feel free to customize it with your favorite herbs, seeds, or flours to make it truly your own. Honestly, I keep coming back to this recipe because it’s reliable and so comforting—nothing beats the crackle of that crust when you slice in.
Try it out, share your baking wins (or spills), and let me know how your loaf turns out. Trust me, once you taste this bread, you’ll be hooked, just like I was that sunny afternoon at the flea market.
FAQs
Can I make this bread without a Dutch oven?
Yes, you can bake it on a preheated pizza stone with a pan of water to create steam, but the crust may be less crispy than with a Dutch oven.
How long can I store this bread?
Keep it wrapped in a towel at room temperature for up to two days or freeze sliced for up to three months.
Do I have to use active dry yeast?
Active dry yeast works well for this recipe, but instant yeast can also be used—just reduce the amount slightly.
Can I add flavorings like herbs or seeds?
Absolutely! Adding herbs, seeds, or even olives can make this bread uniquely yours. Just mix them into the dough or sprinkle on top before baking.
What if my dough is too sticky to handle?
That’s normal! Use lightly floured hands or a bench scraper to shape the dough. Avoid adding too much flour to keep the crumb soft.
Pin This Recipe!
Crispy No-Knead Artisan Bread Recipe Easy Rustic Dutch Oven Crust
A simple, no-knead artisan bread recipe that delivers a crispy crust and tender crumb using a Dutch oven for slow fermentation and steaming crust.
- Prep Time: 15 minutes
- Cook Time: 45 minutes
- Total Time: 13 hours
- Yield: 1 loaf (about 8 servings) 1x
- Category: Bread
- Cuisine: American
Ingredients
- 3 cups (375 g) all-purpose flour
- 1/4 teaspoon active dry yeast
- 1 1/4 teaspoons salt
- 1 1/2 cups (360 ml) lukewarm water
- Cornmeal or flour for dusting (optional)
- 1 teaspoon olive oil (optional, for brushing crust after baking)
Instructions
- In a large mixing bowl, combine 3 cups (375 g) of all-purpose flour, 1/4 teaspoon active dry yeast, and 1 1/4 teaspoons salt. Stir together with a wooden spoon until evenly mixed (about 2 minutes).
- Pour in 1 1/2 cups (360 ml) of lukewarm water (around 100°F/38°C). Mix until a shaggy, sticky dough forms, stirring until all flour is hydrated (about 3 minutes).
- Cover the bowl with a kitchen towel or plastic wrap and let it sit at room temperature for 12 to 18 hours until the dough bubbles and triples in size.
- Lightly flour a clean surface and scrape the dough out. Fold it over itself a couple of times to create surface tension, then shape into a rough ball. Let it rest for about 30 minutes, covered with a towel.
- Preheat the oven to 450°F (232°C) with the Dutch oven (with lid on) inside.
- Carefully remove the hot Dutch oven and sprinkle a little cornmeal or flour on the bottom to prevent sticking. Place the dough ball inside and score the top with a sharp knife or razor blade.
- Cover with the lid and bake for 30 minutes. Remove the lid and bake for an additional 15 to 20 minutes until the crust is deep golden brown and crackly. The internal temperature should be about 205°F (96°C).
- Remove the bread from the Dutch oven and let it cool on a wire rack for at least one hour before slicing.
Notes
Preheat the Dutch oven thoroughly to ensure a crispy crust. Use a kitchen scale for consistent results. Do not rush fermentation; a long rise improves flavor and texture. Score the dough before baking to allow expansion. Let bread cool completely before slicing to set the crumb.
Nutrition
- Serving Size: 1 slice
- Calories: 150
- Sodium: 300
- Fat: 0.5
- Carbohydrates: 30
- Fiber: 1
- Protein: 5
Keywords: no-knead bread, artisan bread, Dutch oven bread, crispy crust bread, easy bread recipe, rustic bread