Love this? Save it for later!
Share the inspiration with your friends
I wasn’t expecting baking advice from my accountant, but there I was, hunched over a stack of receipts in late March, listening to Mr. Henderson describe exactly how to make the perfect spritz cookie. It was tax season, I was stressed, and somehow between deductions and depreciation schedules, he started talking about his grandmother’s cookie press—the one she brought from Germany in 1923.
“You look like you need some butter therapy,” he said, without looking up from my W-2s. And honestly? He wasn’t wrong. I had been so wrapped up in deadlines that I forgot what it felt like to just stand in the kitchen and make something pretty. Something that takes a little patience but rewards you with that first warm, buttery bite.
So that weekend, I dug out my old cookie press—the one I’d bought at a garage sale three years ago and never used—and I gave it a shot. The first batch came out looking like sad little blobs. The second batch was better. By the third try, I had a tray full of these gorgeous little snowflakes and trees, all golden and fragrant with almond extract. I mean, I literally stood there in my kitchen, holding a warm cookie, and felt the whole week melt away. Maybe you’ve been there—that moment when a simple recipe reminds you why you love baking in the first place. That’s exactly what these cozy buttery spritz cookies did for me.
Why You’ll Love This Recipe
Let me tell you why these cookies have become my go-to for everything from holiday cookie exchanges to random Tuesday night baking sessions. I’ve tested this recipe at least a dozen times—tweaking the butter temperature, adjusting the almond extract, even trying different cookie press techniques—so you don’t have to figure it out the hard way.
- Quick & Easy: From start to finish, you’re looking at about 30 minutes. The dough comes together in one bowl, and there’s no chilling time. Seriously, no chilling. You mix, you press, you bake.
- Simple Ingredients: Butter, sugar, flour, eggs, almond extract, and a little salt. That’s it. No weird specialty items or expensive extracts. You probably have everything except maybe the almond extract, and that’s a pantry staple worth keeping.
- Perfect for Holidays & Everyday: These cookies look fancy enough for Christmas cookie platters, but they’re simple enough for a weekend baking project with kids. I’ve made them for Thanksgiving, Valentine’s Day, and just because it was raining outside.
- Crowd-Pleaser: Every single time I bring these somewhere, someone asks for the recipe. They’re not too sweet, they’re incredibly tender, and that almond flavor is just—chef’s kiss.
- Unbelievably Delicious: The texture is what gets me. These cookies are crisp on the edges, tender in the middle, and they practically dissolve on your tongue. It’s comfort food in its purest form.
What makes this recipe different from all the other spritz cookie recipes out there? It’s the ratio. I spent weeks dialing in the perfect balance of butter to flour so the cookies hold their shape in the press but still have that melt-in-your-mouth quality. Plus, the almond extract isn’t overpowering—it’s just enough to make you go, “What is that amazing flavor?”
This is the kind of cookie that makes you close your eyes after the first bite. It’s nostalgia in a cookie shape. It’s the smell of your grandmother’s kitchen, even if your grandmother never made spritz cookies. Trust me on this one.
What Ingredients You Will Need
This recipe uses simple, wholesome ingredients to deliver that signature buttery flavor and tender texture. Most of these are pantry staples, which makes this recipe perfect for spontaneous baking cravings.
- 1 cup (226g) unsalted butter, softened — I really recommend using unsalted here so you control the salt level. Let it sit out for about an hour until it’s soft but not melting. Land O’Lakes or Kerrygold both work beautifully.
- 2/3 cup (133g) granulated sugar — Regular white sugar gives these cookies that classic sweetness and helps them hold their shape. Don’t substitute with brown sugar—it changes the texture too much.
- 1 large egg, room temperature — Cold eggs can make the butter seize up. Just set your egg on the counter alongside the butter and you’re good to go.
- 1 teaspoon almond extract — This is the star flavor. I prefer Nielsen-Massey almond extract for its pure, not-too-artificial taste. But honestly, any brand works fine.
- 1/2 teaspoon vanilla extract — Just a little to round out the almond flavor. Don’t skip it—the combination is magic.
- 2 cups (250g) all-purpose flour — Spoon and level your flour for the most accurate measurement. Scooping directly from the bag can pack in too much flour and make your cookies dense.
- 1/2 teaspoon salt — Fine sea salt is my preference. It balances the sweetness and enhances the buttery flavor.
- Optional: food coloring or sprinkles — If you want to get festive, add a few drops of gel food coloring to the dough, or press sprinkles onto the cookies before baking.
Ingredient Tips: For the best texture, make sure your butter is truly softened—you should be able to press your finger into it and leave an indent without it being greasy. If you’re dairy-free, you can try using a high-quality vegan butter stick, but I haven’t tested this extensively so results may vary. For a gluten-free version, use a 1:1 gluten-free flour blend that contains xanthan gum.
Equipment Needed
You don’t need much for this recipe, but a cookie press is non-negotiable. Here’s what you’ll need:
- Cookie press — This is the most important tool. I use an OXO Good Grips cookie press and love it. It comes with multiple discs for different shapes. If you don’t have one, you can find them at most kitchen stores or online for around $20-30.
- Electric mixer — A stand mixer with the paddle attachment is ideal, but a hand mixer works just as well. You need to cream the butter and sugar until light and fluffy, and doing that by hand is… let’s just say not recommended.
- Baking sheets — Heavy-duty, light-colored baking sheets work best. Dark sheets can cause the cookies to brown too quickly on the bottom.
- Parchment paper or silicone baking mat — Don’t skip this. The cookies need a non-stick surface to release from the press cleanly.
- Cooling rack — For letting the cookies cool completely before storing.
- Spatula — A thin metal spatula works best for transferring the delicate cookies from the baking sheet to the cooling rack.
Budget-Friendly Tip: If you’re not ready to invest in a cookie press, check garage sales or Facebook Marketplace. I found mine for $5 and it works perfectly. Also, you can skip the silicone mat and just use parchment paper—it’s cheaper and works just as well.
Preparation Method
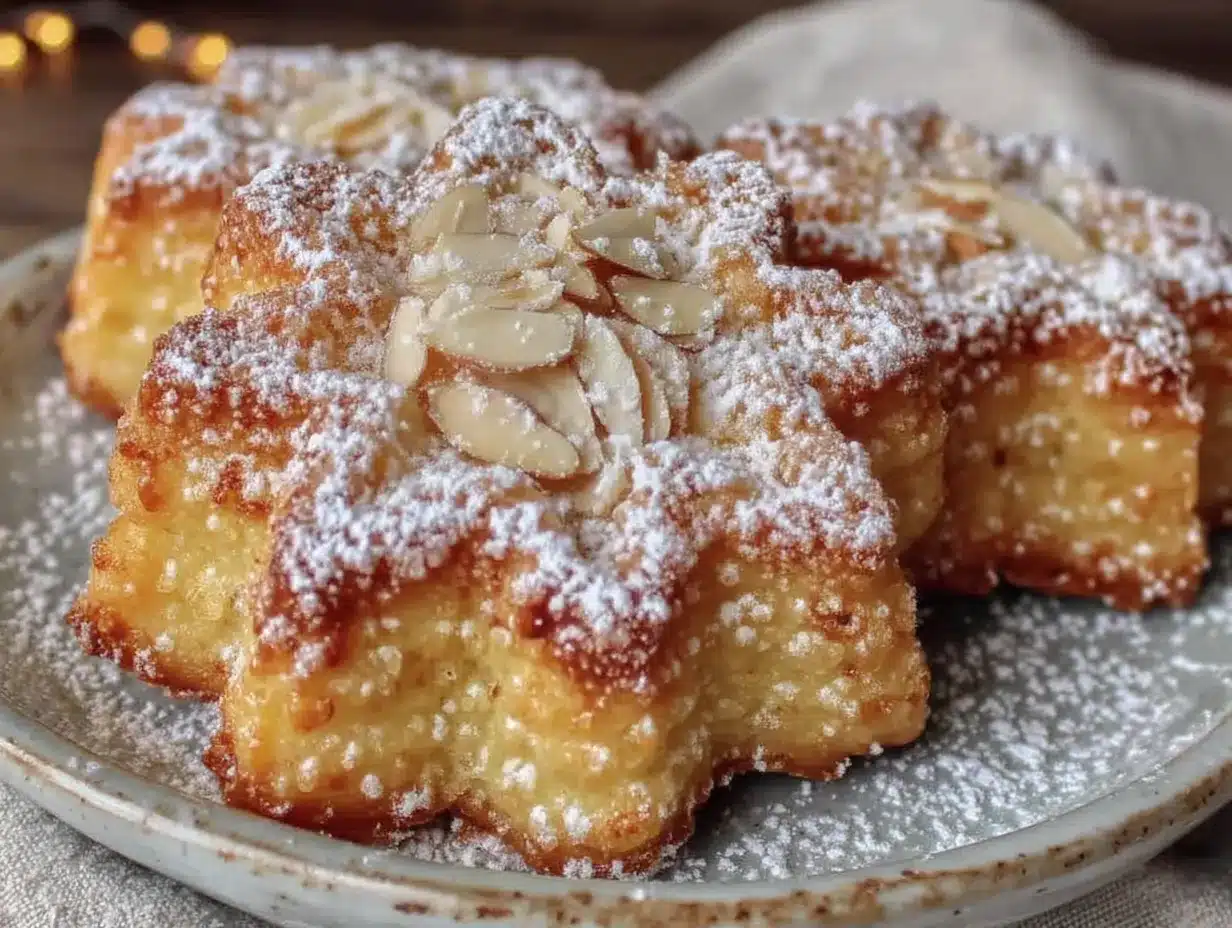
Okay, let’s get baking! I’ve broken this down step by step so you can follow along without any hiccups.
Step 1: Preheat and Prep
Preheat your oven to 375°F (190°C). Line your baking sheets with parchment paper or silicone baking mats. Don’t grease the sheets—the cookies need a little friction to release from the press properly.
Step 2: Cream the Butter and Sugar
In a large mixing bowl, beat the softened butter and granulated sugar together on medium speed for about 3-4 minutes. You want it light, fluffy, and pale in color. Scrape down the sides of the bowl halfway through. This step is crucial—proper creaming incorporates air that gives the cookies their tender texture.
Step 3: Add the Wet Ingredients
Add the egg, almond extract, and vanilla extract. Beat on medium speed until fully combined, about 1 minute. The mixture might look slightly curdled at this point—that’s totally normal. Don’t panic.
Step 4: Add the Dry Ingredients
In a separate small bowl, whisk together the flour and salt. Gradually add the flour mixture to the butter mixture, mixing on low speed just until combined. Stop as soon as you don’t see any more white streaks. Overmixing will make the cookies tough, and nobody wants that.
Step 5: Load the Cookie Press
Here’s where it gets fun. Fit your cookie press with the disc of your choice—I love the snowflake and tree shapes for winter, but the flower and star shapes are perfect year-round. Fill the press with the dough according to the manufacturer’s instructions. Most presses hold about one batch of dough.
Step 6: Press the Cookies
Hold the cookie press perpendicular to the baking sheet. Press down firmly and evenly, then lift straight up. If the dough sticks to the press, your baking sheet might be too warm, or the dough might need to be slightly firmer. Space the cookies about 1 inch apart—they don’t spread much, but they need a little breathing room.
Pro Tip: If your dough is too soft to hold its shape, pop the bowl in the fridge for 10 minutes. If it’s too stiff, let it sit at room temperature for 5 minutes. The perfect consistency is like Play-Doh—firm but pliable.
Step 7: Decorate (Optional)
If you’re using sprinkles, gently press them onto the cookies before baking. You can also add a drop of food coloring to the dough for festive colors. I once made a batch with red and green dough for Christmas—they looked like little stained glass cookies.
Step 8: Bake
Bake for 8-10 minutes, or until the edges are just barely golden. The centers will still look pale—that’s perfect. The cookies will continue to set as they cool. Let them cool on the baking sheet for 2-3 minutes, then transfer to a wire rack to cool completely.
Sensory Cue: Your kitchen will smell like butter and almond—that warm, cozy scent that makes everyone wander into the kitchen asking, “What are you making?”
Cooking Tips & Techniques
After making these cookies more times than I can count, I’ve learned a few things the hard way. Let me save you some trouble.
The Butter Temperature is Everything: This is the number one mistake I see. If your butter is too cold, the dough won’t press smoothly. If it’s too warm, the cookies will spread into puddles. Aim for that sweet spot where the butter is soft but not greasy. You should be able to press your finger into it and leave a clean indent.
Don’t Overwork the Dough: I learned this one the hard way. The first time I made these, I kept mixing because I thought it needed to be smoother. Nope. The cookies came out tough and dense. Mix just until the flour disappears, then stop.
Chill the Baking Sheets: If you’re making multiple batches, let your baking sheets cool completely between batches. A warm sheet will cause the dough to soften and stick to the press. I keep a couple extra sheets on hand so I can rotate them.
Practice Makes Perfect: Your first few cookies might look a little wonky. That’s okay. By the time you’re halfway through the batch, you’ll have the hang of it. I still laugh at my first attempt—they looked like abstract art.
Storage Tip: These cookies stay fresh for up to a week in an airtight container at room temperature. They also freeze beautifully—just layer them between sheets of parchment paper in a freezer-safe container.
Variations & Adaptations
One of my favorite things about this recipe is how versatile it is. Here are some ways to make it your own:
Flavor Variations
- Lemon Spritz: Replace the almond extract with lemon extract and add 1 tablespoon of lemon zest. Perfect for spring and summer.
- Chocolate Spritz: Replace 1/4 cup of the flour with unsweetened cocoa powder. You might need to add a tablespoon of milk if the dough seems too dry.
- Pistachio Spritz: Add 1/4 cup of finely ground pistachios to the flour mixture. The green flecks are gorgeous.
Dietary Adaptations
- Gluten-Free: Use a 1:1 gluten-free flour blend. I’ve had good luck with King Arthur Measure for Measure.
- Dairy-Free: Substitute the butter with a high-quality vegan butter stick. Miyoko’s or Country Crock Plant Butter work well.
- Egg-Free: Replace the egg with a flax egg (1 tablespoon ground flaxseed + 3 tablespoons water, let sit for 5 minutes). The texture will be slightly different but still delicious.
Seasonal Twists
For Christmas, add a few drops of red or green food coloring. For Valentine’s Day, use pink and heart-shaped discs. For fall, add a pinch of cinnamon and nutmeg to the dough. I once made a batch with orange zest and a little cardamom for a winter solstice party—they disappeared in minutes.
Serving & Storage Suggestions
These cookies are best served at room temperature, straight from the cooling rack if you can resist. They’re perfect on their own, but here are some ways to make them even more special:
Serving Ideas: Arrange them on a platter with fresh berries and a cup of hot tea or coffee. They’re also wonderful dipped in melted chocolate—just dip half the cookie and let it set on parchment paper. For a dessert board, pair them with cheese, dried fruit, and nuts. The buttery sweetness contrasts beautifully with sharp cheddar or tangy goat cheese.
Storage: Store in an airtight container at room temperature for up to 7 days. Layer them between sheets of wax paper to prevent the shapes from sticking together. If you live in a humid climate, add a piece of bread to the container—it absorbs excess moisture and keeps the cookies crisp.
Freezing: These cookies freeze like a dream. Place them in a single layer on a baking sheet and freeze until firm, then transfer to a freezer-safe container. They’ll keep for up to 3 months. To thaw, just let them sit at room temperature for 15 minutes.
Reheating: If you want that just-baked warmth, pop them in a 300°F (150°C) oven for 3-4 minutes. Don’t microwave them—they’ll get soft and lose their crisp edges.
Flavor Development: Honestly, these cookies taste even better the next day. The almond flavor mellows and melds with the butter, creating this perfectly balanced cookie that’s hard to stop eating.
Nutritional Information & Benefits
Per cookie (based on 48 cookies per batch):
- Calories: 65
- Fat: 4g
- Carbohydrates: 7g
- Protein: 1g
- Sugar: 3g
While these are definitely a treat, they’re made with simple, recognizable ingredients. Butter provides vitamin A and healthy fats, and eggs add protein. The almond extract is a great way to add flavor without extra sugar or artificial ingredients.
Dietary Considerations: This recipe contains dairy, eggs, and gluten. For allergen-friendly versions, check the variations section above. If you’re watching your sugar intake, you can reduce the sugar to 1/2 cup—the cookies will be slightly less sweet but still delicious.
I personally love that these cookies are portion-controlled. One or two is satisfying without being overwhelming. They’re the perfect little treat to enjoy with your afternoon coffee without derailing your day.
Conclusion
These cozy buttery spritz cookies with almond extract have become a staple in my kitchen for good reason. They’re quick, they’re forgiving, and they deliver that warm, nostalgic feeling that only homemade cookies can provide. Whether you’re making them for a holiday party, a bake sale, or just because you need a little comfort on a rainy day, they never disappoint.
I love how customizable they are—you can change the shape, the color, the flavor, and they always turn out beautiful. And honestly? There’s something deeply satisfying about pressing those little cookies into existence. It’s meditative. It’s therapeutic. It’s butter therapy, just like Mr. Henderson said.
So go ahead and dig out that cookie press you’ve been ignoring. Give this recipe a try, and don’t be afraid to make it your own. Add sprinkles. Change the extract. Use the star disc instead of the tree. The beauty of baking is that there are no rules—just delicious possibilities.
I’d love to hear how yours turn out! Drop a comment below and tell me your favorite shape or flavor variation. And if you share a photo on Pinterest, tag me—I want to see your beautiful cookies.
Happy baking, friend. Your kitchen is about to smell amazing.
Frequently Asked Questions
Why did my spritz cookies spread too much?
This usually happens when the butter is too soft or the baking sheet is too warm. Make sure your butter is softened but not melted, and let your baking sheets cool completely between batches. Chilling the dough for 10 minutes can also help.
Can I make the dough ahead of time?
Absolutely! You can refrigerate the dough for up to 3 days. Just let it sit at room temperature for about 15 minutes before pressing—it needs to be soft enough to go through the press but firm enough to hold its shape.
Why won’t my cookie press work properly?
There are a few common culprits. First, make sure your dough is the right consistency—it should be like Play-Doh. If it’s too stiff, add a teaspoon of milk. If it’s too soft, chill it for 10 minutes. Also, make sure your baking sheet isn’t greased and that you’re holding the press perpendicular to the sheet.
Can I use margarine instead of butter?
I don’t recommend it. Butter gives these cookies their signature flavor and texture. Margarine has a higher water content, which can cause the cookies to spread and lose their shape. Stick with real butter for the best results.
How do I get the cookies off the baking sheet without breaking them?
Let them cool on the baking sheet for 2-3 minutes first—this allows them to firm up slightly. Then use a thin metal spatula to gently lift them. If they’re still sticking, let them cool a minute longer. Patience is key here!
Pin This Recipe!
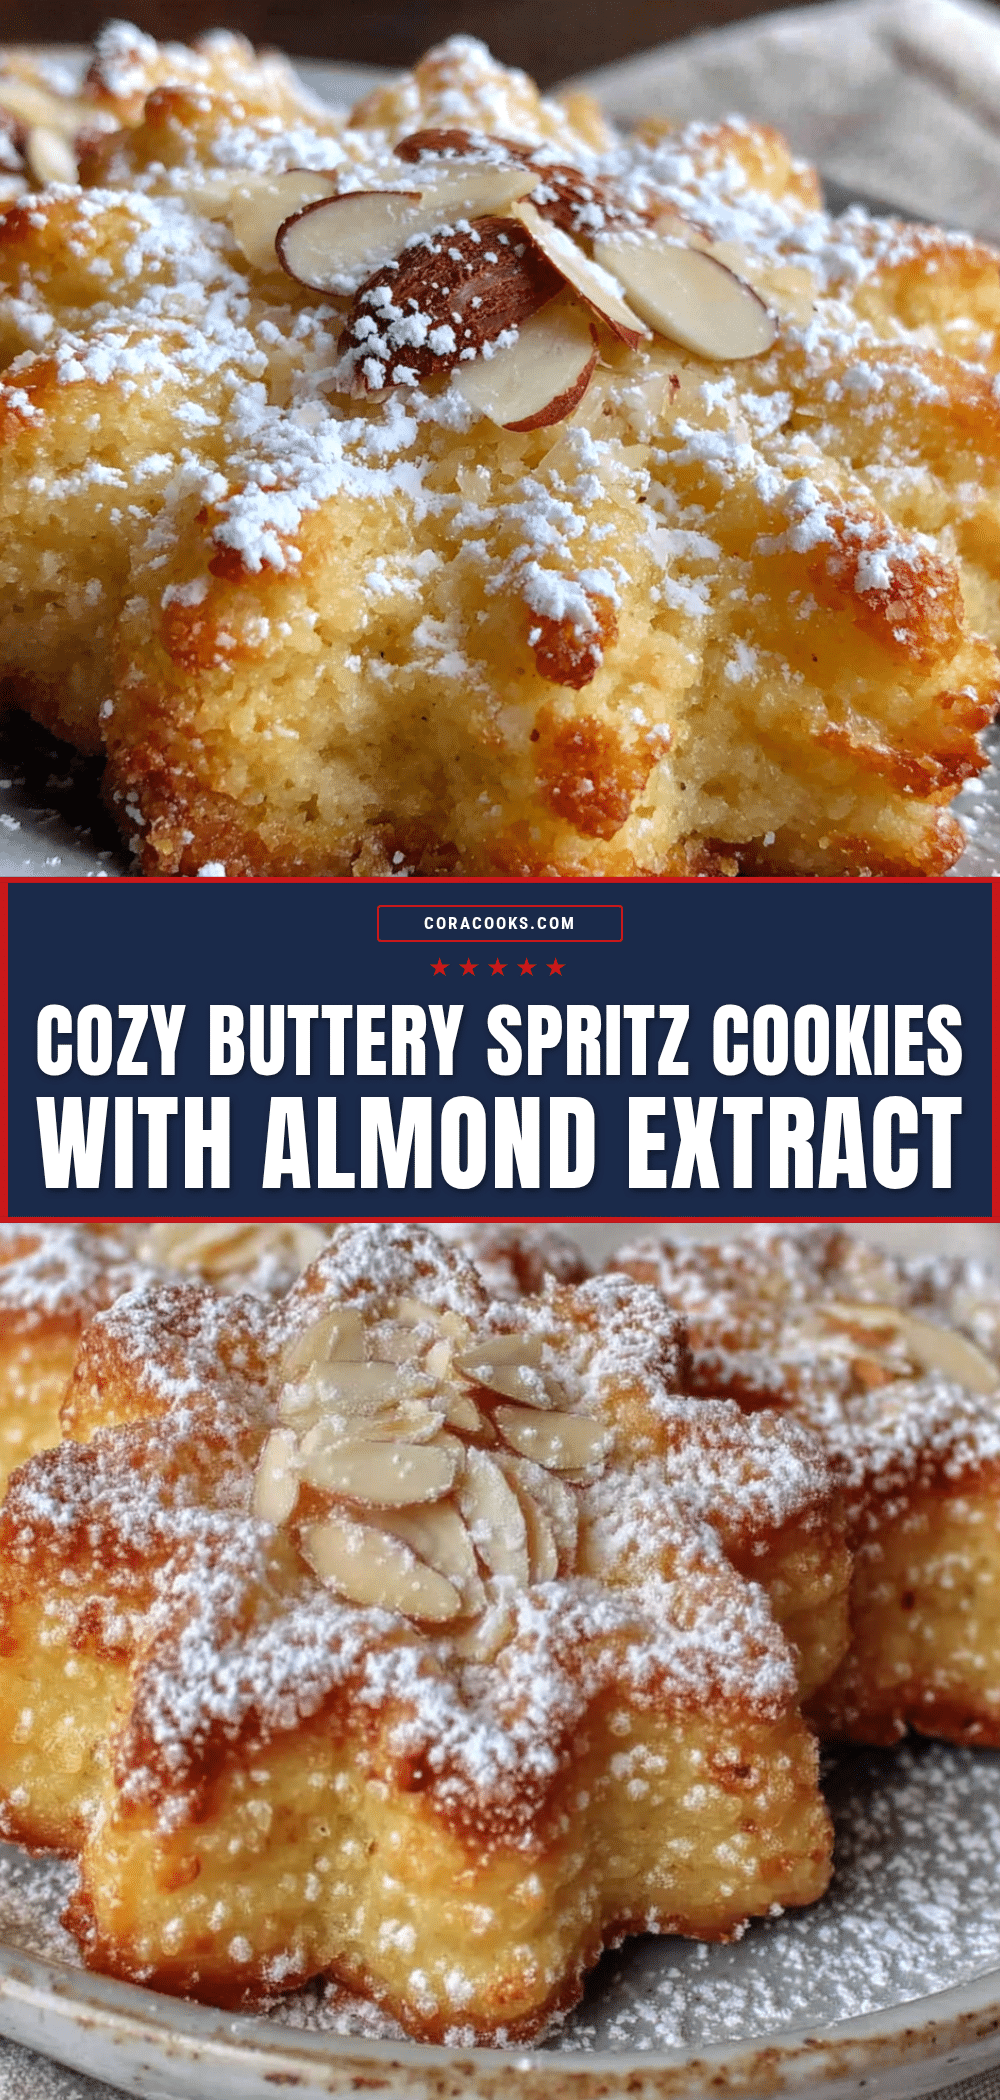
Cozy Buttery Spritz Cookies with Almond Extract

These quick and easy spritz cookies are made with simple ingredients like butter, sugar, flour, and almond extract. They come together in about 30 minutes with no chilling time, and the buttery, tender texture with a hint of almond makes them perfect for holidays or any day.
- Prep Time: 15 minutes
- Cook Time: 10 minutes
- Total Time: 25 minutes
- Yield: 48 cookies 1x
- Category: Dessert
- Cuisine: German
Ingredients
- 1 cup (226g) unsalted butter, softened
- 2/3 cup (133g) granulated sugar
- 1 large egg, room temperature
- 1 teaspoon almond extract
- 1/2 teaspoon vanilla extract
- 2 cups (250g) all-purpose flour
- 1/2 teaspoon salt
- Optional: food coloring or sprinkles
Instructions
- Preheat your oven to 375°F (190°C). Line your baking sheets with parchment paper or silicone baking mats. Do not grease the sheets.
- In a large mixing bowl, beat the softened butter and granulated sugar together on medium speed for about 3-4 minutes until light, fluffy, and pale in color. Scrape down the sides of the bowl halfway through.
- Add the egg, almond extract, and vanilla extract. Beat on medium speed until fully combined, about 1 minute. The mixture might look slightly curdled—that’s normal.
- In a separate small bowl, whisk together the flour and salt. Gradually add the flour mixture to the butter mixture, mixing on low speed just until combined. Stop as soon as you don’t see any more white streaks. Do not overmix.
- Fit your cookie press with the disc of your choice. Fill the press with the dough according to the manufacturer’s instructions.
- Hold the cookie press perpendicular to the baking sheet. Press down firmly and evenly, then lift straight up. Space the cookies about 1 inch apart.
- If using sprinkles, gently press them onto the cookies before baking. You can also add a drop of food coloring to the dough for festive colors.
- Bake for 8-10 minutes, or until the edges are just barely golden. The centers will still look pale. Let them cool on the baking sheet for 2-3 minutes, then transfer to a wire rack to cool completely.
Notes
Butter temperature is crucial—softened but not melted. If dough is too soft, chill for 10 minutes; if too stiff, let sit at room temperature for 5 minutes. Cookies stay fresh for up to a week in an airtight container at room temperature and freeze well for up to 3 months. For best results, let baking sheets cool completely between batches.
Nutrition
- Serving Size: 1 cookie
- Calories: 65
- Sugar: 3
- Sodium: 35
- Fat: 4
- Saturated Fat: 2.5
- Carbohydrates: 7
- Protein: 1
Keywords: spritz cookies, buttery cookies, almond extract cookies, easy cookie recipe, holiday cookies, cookie press cookies