Love this? Save it for later!
Share the inspiration with your friends
Hand me that cookie cutter shaped like a leaf, my neighbor said, and I’ll show you something better. It was the Tuesday before Thanksgiving, and I was frantically trying to keep my three-year-old occupied while simultaneously burning a batch of sugar cookies. I mean, honestly, the kitchen looked like a flour bomb had gone off, and I was this close to calling it quits on our baking session. But my neighbor, an older woman named Mrs. Kowalski who had raised four kids of her own, just smiled and took my son’s hand.
She traced his little hand on a piece of parchment paper, cut it out, and laid it over my rolled-out dough. “There,” she said, “now you have a turkey that’s actually yours.” And that was it — no fancy instructions, no lecture about patience. Just a simple, brilliant idea that turned our messy afternoon around. You know that feeling when someone shows you a trick that makes you wonder why you never thought of it yourself? That was this moment.
These Classic Turkey Hand Sugar Cookies for Kids have become our November tradition ever since. They’re not perfect, and that’s the whole point. Some turkeys end up with six fingers, others look more like mutant chickens, but every single one is made by a little hand that’s proud of its work. The recipe itself stayed with me because it’s not about the cookie — it’s about the moment. The flour on the floor, the giggles, the way a child’s face lights up when they see their own handprint turned into something edible. Maybe you’ve been there, trying to force a Pinterest-perfect holiday while your toddler eats raw dough. Let me tell you, these cookies are the messy, wonderful solution.
Why You’ll Love This Recipe
Let’s be honest — most Thanksgiving cookies are a hassle. You need special cutters, steady hands for decorating, and a patience level most of us lost somewhere around the second cup of coffee. These Classic Turkey Hand Sugar Cookies for Kids flip all of that on its head. They’re designed for little hands to make, which means your job is mostly just supervising and sneaking a few broken pieces.
- No Special Equipment Needed : Forget hunting for turkey-shaped cutters at the back of your pantry. All you need is your child’s hand and a butter knife. That’s it.
- Kid-Approved Mess Factor : Kids love getting their hands in dough, tracing their own hands, and piling on candy decorations. This recipe encourages the mess instead of fighting it.
- Quick & Easy : The dough comes together in about 15 minutes, and the cookies bake in 8-10 minutes. From start to finish, you’re looking at under an hour, including decorating time.
- Perfect for Thanksgiving Prep : While you’re busy with the big meal, these cookies keep kids entertained and involved in the holiday spirit. They feel like they’re contributing something special.
- Naturally Imperfect : Every cookie looks different, which teaches kids that handmade things have their own beauty. No two turkeys are alike, and that’s the charm.
This isn’t just another sugar cookie recipe — it’s a memory-making tool disguised as a baking project. I’ve tested this with kids aged 2 to 12, and every single one of them beams with pride when they see their handprint turkey. The dough is sturdy enough to hold its shape but soft enough for little fingers to work with. And the taste? Buttery, sweet, with that perfect slight crisp on the edges. It’s the kind of cookie that makes you close your eyes after the first bite, even if you’ve got sprinkles stuck to your cheek.
What Ingredients You Will Need
This recipe uses simple, pantry-friendly ingredients to create a buttery, tender sugar cookie that holds its shape beautifully during baking. You likely have most of these already, which makes this a perfect last-minute Thanksgiving activity.
For the Sugar Cookie Dough
- 2 ¾ cups all-purpose flour (spooned and leveled — don’t scoop directly from the bag or you’ll end up with dense cookies)
- 1 cup unsalted butter, softened to room temperature (I prefer Kerrygold for its rich flavor, but any good butter works)
- 1 cup granulated sugar
- 1 large egg, room temperature
- 2 teaspoons vanilla extract (pure vanilla, not imitation, makes a noticeable difference)
- ½ teaspoon baking powder
- ½ teaspoon salt
For the Royal Icing
- 2 cups powdered sugar
- 2 tablespoons meringue powder (this gives the icing that smooth, hard finish — Wilton brand is reliable)
- 3-4 tablespoons water (add slowly — you want a thick but pipeable consistency)
- ½ teaspoon vanilla extract
For Decorating
- Orange and yellow gel food coloring (gel gives vibrant color without thinning the icing)
- Brown candy melts or chocolate chips (for the turkey body)
- Candy eyes (the little ones with black pupils look cutest)
- Orange sprinkles or small orange candies (for the beak)
- Red candy-coated chocolates (for the wattle — that red dangly bit under the beak)
Ingredient Tips: If you don’t have meringue powder, you can substitute with 2 tablespoons of pasteurized egg whites and skip the water. For a dairy-free version, use vegan butter sticks (not the spreadable kind) — I’ve had good results with Earth Balance. And if you’re short on time, store-bought sugar cookie dough works in a pinch, though the texture won’t be quite as tender.
Equipment Needed
- Electric mixer (handheld or stand mixer both work — I use my KitchenAid for the dough, but honestly, a wooden spoon and some elbow grease does the job too)
- Rolling pin (if you don’t have one, a wine bottle with the label peeled off works surprisingly well)
- Baking sheets (two is ideal so you can prep one while the other bakes)
- Parchment paper (non-negotiable — silicone mats work too, but parchment makes cleanup so much easier)
- Butter knife (for tracing and cutting the hand shapes)
- Piping bags or zip-top bags (for the royal icing — I actually prefer zip-top bags with a tiny corner snipped off; less mess)
- Cooling rack (wire rack is best, but a clean counter works if you’re patient)
- Small bowls (for separating and coloring the icing)
Budget-Friendly Tip: You don’t need fancy piping tips. A small zip-top bag with a tiny hole cut in the corner gives you perfect control for the amount of decorating these cookies need. I’ve been using the same trick for years, and it saves me from washing piping tips.
Preparation Method
-
Make the dough. In a large bowl, beat the softened butter and granulated sugar together until light and fluffy — about 3 minutes on medium speed. You want it pale yellow and airy. Add the egg and vanilla extract, then beat until combined. In a separate bowl, whisk together the flour, baking powder, and salt. Gradually add the dry ingredients to the wet mixture, mixing on low speed until a soft dough forms. Don’t overmix, or your cookies will be tough.
-
Chill the dough. Divide the dough into two discs, wrap each in plastic wrap, and refrigerate for at least 30 minutes. This step is crucial — cold dough is much easier to roll and cut without sticking. I once skipped this step and ended up with a sticky mess that I had to scrape off the counter with a spatula. Learn from my mistake.
-
Preheat and prep. Preheat your oven to 350°F (175°C). Line two baking sheets with parchment paper. Take one disc of dough out of the fridge and let it sit for 5 minutes to soften slightly — just enough to roll without cracking.
-
Roll the dough. On a lightly floured surface, roll the dough to about ¼-inch thickness. Keep your surface and rolling pin lightly floured, but not too much, or the cookies will taste floury. The dough should be smooth and not sticky.
-
Trace and cut the handprints. Here’s the fun part. Have your child place their hand flat on the rolled-out dough. Using a butter knife, gently trace around their hand, cutting about ¼ inch away from their fingers. Lift the traced handprint carefully with a spatula and place it on the prepared baking sheet. Space them about 2 inches apart — they’ll spread a little. If the dough gets too soft, pop the baking sheet in the fridge for 10 minutes.
-
Bake. Bake for 8-10 minutes, or until the edges are just barely golden. The centers will look slightly underdone — that’s exactly what you want. Overbaked cookies get hard and lose that tender crumb. Let them cool on the baking sheet for 5 minutes, then transfer to a cooling rack to cool completely. Warm cookies will melt your icing into a puddle, so be patient.
-
Make the royal icing. While the cookies cool, whisk together the powdered sugar, meringue powder, and 3 tablespoons of water in a medium bowl. Add the vanilla and beat on medium speed for 4-5 minutes until the icing is thick, glossy, and forms stiff peaks. Add the remaining tablespoon of water if it’s too thick — you want a consistency that holds its shape but spreads slightly when piped.
-
Color the icing. Divide the icing into two bowls. Add orange gel food coloring to one bowl and yellow to the other. Stir until evenly colored. Transfer each color to separate piping bags or zip-top bags. Snip a tiny corner off each bag.
-
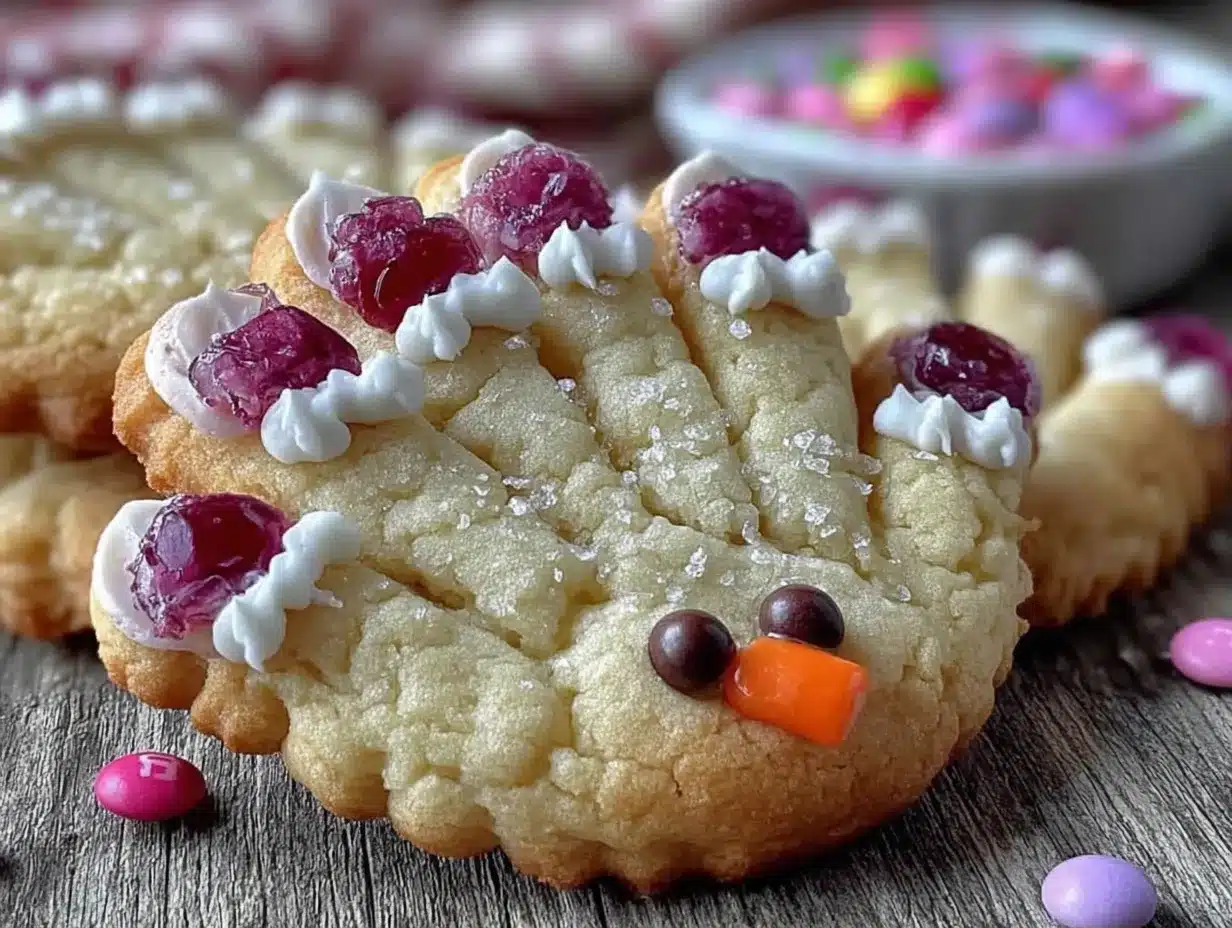
Decorate the turkey feathers. Pipe alternating orange and yellow stripes on the fingers of the handprint cookies. These are the turkey feathers. Let the kids go wild — some stripes will be thick, some thin, some wobbly. That’s the beauty of it. Let the icing set for about 15 minutes until it’s slightly firm to the touch.
-
Add the turkey body. Melt the brown candy melts according to package directions (usually 30-second bursts in the microwave, stirring between each). Using a toothpick or small spatula, spread a small oval of melted chocolate in the center of the palm area. This is the turkey’s body. Press two candy eyes onto the chocolate, then add an orange sprinkle for the beak and a red candy for the wattle. The chocolate will act as glue, so work quickly before it hardens.
-
Let everything set. Allow the decorated cookies to sit at room temperature for about 30 minutes until the icing and chocolate are fully set. Then transfer them to a serving platter or package them in cellophane bags for gifts.
Cooking Tips & Techniques
I’ve made these Classic Turkey Hand Sugar Cookies for Kids at least a dozen times, and I’ve learned a few things the hard way. First, the dough temperature is everything. If it gets too warm, it becomes sticky and impossible to trace. If your dough starts sticking to the rolling pin, just pop it back in the fridge for 10 minutes. I once tried to power through a sticky dough and ended up with a handprint that looked more like a blobfish. Not cute.
Another mistake I made early on was rolling the dough too thin. You want ¼ inch — any thinner and the cookies will be brittle and break when you try to lift them. Any thicker and they’ll puff up too much during baking, losing that delicate handprint shape. Trust me, I’ve tested both extremes, and ¼ inch is the sweet spot.
For the royal icing, here’s a pro tip: if it’s too runny, add more powdered sugar one tablespoon at a time. If it’s too thick, add water drop by drop. The consistency should be like thick glue — it holds a ribbon when you lift the spoon but slowly settles back into the bowl. And please, let the cookies cool completely before icing. I know it’s hard to wait, but warm cookies will turn your beautiful icing into a sticky mess. I learned this when I tried to rush the process for a playdate — the kids ended up with rainbow-colored fingers and very confused-looking turkeys.
Finally, if you’re baking with multiple kids, have each child’s handprint on a separate baking sheet. That way, you know whose cookie is whose, and you avoid the inevitable “That one’s mine!” arguments. I label the parchment paper with their initials before baking — it saves so much drama.
Variations & Adaptations
Dietary Variations
Gluten-Free Version: Substitute the all-purpose flour with a 1:1 gluten-free baking flour blend. I’ve used Bob’s Red Mill with great results — just add an extra tablespoon of butter to compensate for the drier texture. The cookies will be slightly more crumbly, but the taste is still wonderful.
Vegan Version: Use vegan butter sticks and replace the egg with a flax egg (1 tablespoon ground flaxseed mixed with 3 tablespoons water, let sit for 5 minutes). For the royal icing, use aquafaba (the liquid from a can of chickpeas) instead of meringue powder — 3 tablespoons of aquafaba whipped to stiff peaks works beautifully.
Flavor Variations
Spiced Turkey Cookies: Add 1 teaspoon of cinnamon and ½ teaspoon of nutmeg to the dry ingredients. The warm spices make these taste even more like a cozy Thanksgiving treat. I tried this last year and my kids ate them before I could even decorate them.
Chocolate Handprint Turkeys: Replace ¼ cup of the flour with unsweetened cocoa powder for a chocolate version. The dark cookies look gorgeous with bright orange and yellow icing — it’s like a stained glass effect.
Seasonal Adaptations
Christmas Handprint Cookies: Skip the turkey decorations and use red and green icing with a snowman face in the palm. The handprint shape works for reindeer too — just add antlers and a red nose.
Easter Handprint Cookies: Turn the handprint into a spring flower by piping petals on the fingers and adding a yellow center in the palm. Pastel colors make these adorable for Easter baskets.
Serving & Storage Suggestions
These cookies are best served at room temperature, ideally within a few hours of decorating. The royal icing needs time to fully harden, so if you’re serving them at a Thanksgiving gathering, make them the day before and let them set overnight. They look gorgeous arranged on a platter with the handprints facing up, like a little flock of turkeys.
For storage, place the decorated cookies in a single layer in an airtight container, with parchment paper between layers if you need to stack them. They’ll stay fresh for up to 5 days at room temperature. Do not refrigerate them — the moisture in the fridge can make the icing sticky and cause the cookies to soften.
Freezing is a great option if you want to prep ahead. Freeze the undecorated baked cookies in a freezer-safe container for up to 3 months. When you’re ready to decorate, just thaw them at room temperature for about 30 minutes, then ice and decorate as usual. I always make a double batch of dough and freeze half for last-minute Thanksgiving emergencies. The flavors actually develop nicely after freezing — the cookies taste even more buttery.
If you’re gifting these, place them in a cellophane bag tied with a ribbon. They make wonderful homemade gifts for teachers, neighbors, or grandparents. Just be prepared for the gushing compliments — these cookies have a way of making people emotional. My mother-in-law still has a photo of the first handprint turkey my son made for her, saved on her phone.
Nutritional Information & Benefits
Let’s be real — these are sugar cookies with icing and candy. They’re a treat, not a health food. But here’s the estimated nutritional breakdown per cookie (based on 12 cookies): approximately 280 calories, 12g fat, 40g carbohydrates, 3g protein, and 22g sugar. The butter provides a small amount of vitamin A, and the egg adds a bit of protein and choline.
From a wellness perspective, I look at these cookies differently. The real nutritional value here is in the experience — the fine motor skills kids practice while tracing and decorating, the creativity they express, the family bonding over a shared project. I’d rather my kids have one of these homemade cookies with real butter and vanilla than a packaged cookie filled with preservatives and artificial flavors. Plus, the portion control is built in — each handprint is a single serving, and kids tend to eat them slowly because they’re so proud of their work.
For those with allergies, this recipe contains wheat, dairy, and eggs. The royal icing uses meringue powder, which contains dried egg whites. If you’re avoiding eggs, use the vegan variation I mentioned above. And always double-check your candy decorations for allergen information — some candy eyes contain trace amounts of soy or nuts.
Conclusion
These Classic Turkey Hand Sugar Cookies for Kids have become our family’s most treasured Thanksgiving tradition, and I honestly believe every family needs a recipe like this. It’s not about perfect piping or bakery-quality cookies — it’s about the flour on your kitchen floor, the giggles as little fingers trace their own hands, and the way a child’s face lights up when they see their creation on the dessert table. Mrs. Kowalski taught me that the best recipes aren’t the ones that look the prettiest in photos. They’re the ones that make people feel something.
I’d love to see your family’s handprint turkeys! Leave a comment below and tell me how old your kids are, or share a photo of your cookies on Pinterest and tag me. Did you try a fun variation? Did your toddler decide to eat the icing straight from the bowl? I want to hear all of it. These cookies are meant to be shared, adapted, and passed down — just like the moment my neighbor shared with me that Tuesday before Thanksgiving. Happy baking, and remember — the messier, the better.
Frequently Asked Questions
Can I use store-bought sugar cookie dough for this recipe?
Absolutely! Store-bought dough works in a pinch, though the texture won’t be as tender as homemade. Just make sure it’s the refrigerated sheet kind, not the pre-cut cookies. Roll it out slightly thinner than the package recommends to account for spreading.
How do I prevent the handprint from losing its shape during baking?
Chill the traced handprints on the baking sheet for 10-15 minutes before baking. Cold dough holds its shape much better. Also, make sure your butter isn’t too soft when you make the dough — it should be softened but still cool to the touch.
My royal icing is too runny. How do I fix it?
Add more powdered sugar, one tablespoon at a time, and beat well after each addition. The icing should be thick enough to hold a peak when you lift the whisk. If it’s still runny after adding 4 tablespoons, you may have added too much water — start over with a fresh batch using less liquid.
Can I make these cookies ahead of time for a party?
Yes! Bake the undecorated cookies up to 3 days in advance and store them in an airtight container at room temperature. Decorate them the day before or the morning of your event. The royal icing needs about 12 hours to fully harden, so plan accordingly.
My child has a nut allergy. Are these cookies safe?
The basic recipe is nut-free, but always check your ingredient labels, especially for vanilla extract (some brands use alcohol derived from nuts) and candy decorations. For the safest option, make your own royal icing from scratch and buy candy eyes and sprinkles from brands that clearly label their allergen information.
Pin This Recipe!
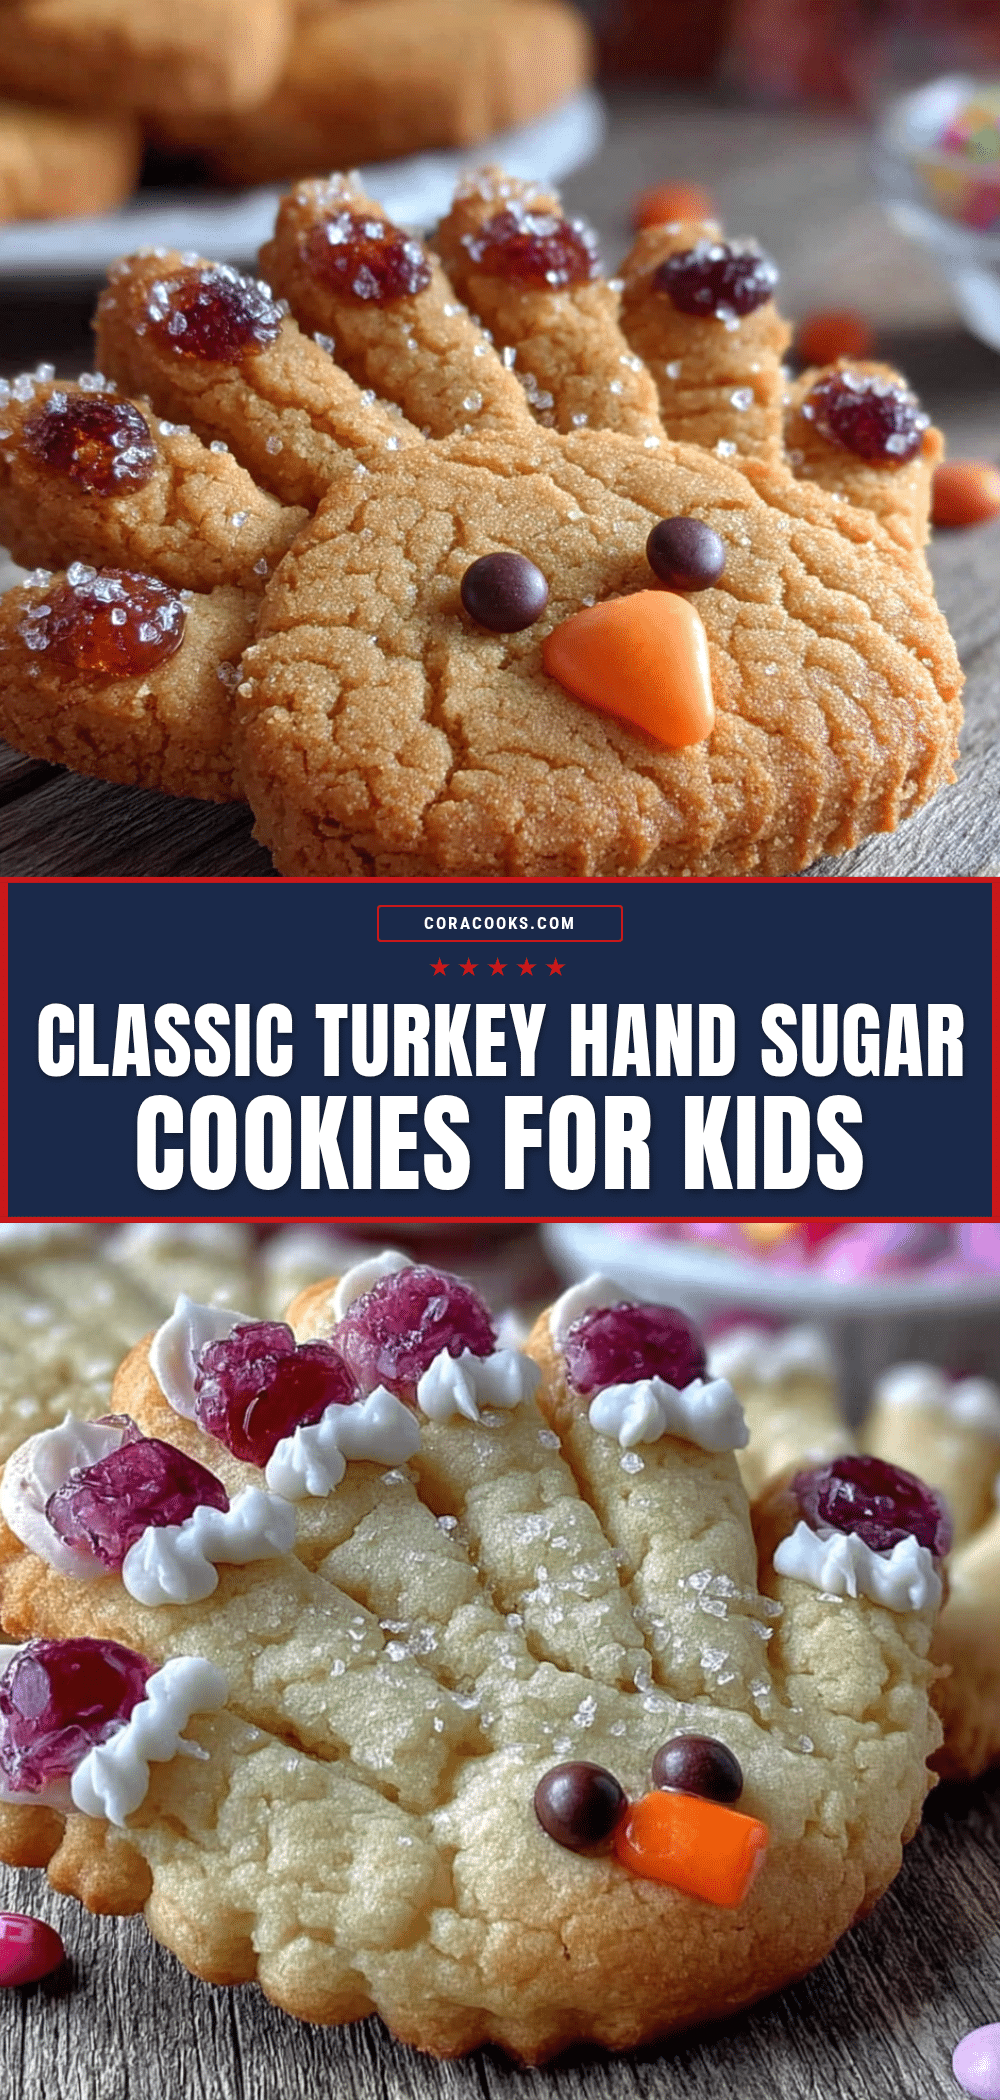
Classic Turkey Hand Sugar Cookies for Kids

A fun and easy Thanksgiving sugar cookie recipe where kids trace their own handprints to create adorable turkey cookies. Perfect for keeping little hands busy while you prepare the big meal, these cookies celebrate imperfection and family bonding.
- Prep Time: 15 minutes
- Cook Time: 10 minutes
- Total Time: 55 minutes
- Yield: 12 servings 1x
- Category: Dessert
- Cuisine: American
Ingredients
- 2 ¾ cups all-purpose flour (spooned and leveled)
- 1 cup unsalted butter, softened to room temperature
- 1 cup granulated sugar
- 1 large egg, room temperature
- 2 teaspoons vanilla extract (pure vanilla recommended)
- ½ teaspoon baking powder
- ½ teaspoon salt
- 2 cups powdered sugar
- 2 tablespoons meringue powder
- 3–4 tablespoons water
- ½ teaspoon vanilla extract
- Orange and yellow gel food coloring
- Brown candy melts or chocolate chips
- Candy eyes
- Orange sprinkles or small orange candies
- Red candy-coated chocolates
Instructions
- Make the dough: In a large bowl, beat the softened butter and granulated sugar together until light and fluffy — about 3 minutes on medium speed. Add the egg and vanilla extract, then beat until combined. In a separate bowl, whisk together the flour, baking powder, and salt. Gradually add the dry ingredients to the wet mixture, mixing on low speed until a soft dough forms. Don’t overmix.
- Chill the dough: Divide the dough into two discs, wrap each in plastic wrap, and refrigerate for at least 30 minutes.
- Preheat and prep: Preheat your oven to 350°F (175°C). Line two baking sheets with parchment paper. Take one disc of dough out of the fridge and let it sit for 5 minutes to soften slightly.
- Roll the dough: On a lightly floured surface, roll the dough to about ¼-inch thickness.
- Trace and cut the handprints: Have your child place their hand flat on the rolled-out dough. Using a butter knife, gently trace around their hand, cutting about ¼ inch away from their fingers. Lift the traced handprint carefully with a spatula and place it on the prepared baking sheet. Space them about 2 inches apart.
- Bake: Bake for 8-10 minutes, or until the edges are just barely golden. Let them cool on the baking sheet for 5 minutes, then transfer to a cooling rack to cool completely.
- Make the royal icing: While the cookies cool, whisk together the powdered sugar, meringue powder, and 3 tablespoons of water in a medium bowl. Add the vanilla and beat on medium speed for 4-5 minutes until the icing is thick, glossy, and forms stiff peaks. Add the remaining tablespoon of water if it’s too thick.
- Color the icing: Divide the icing into two bowls. Add orange gel food coloring to one bowl and yellow to the other. Stir until evenly colored. Transfer each color to separate piping bags or zip-top bags. Snip a tiny corner off each bag.
- Decorate the turkey feathers: Pipe alternating orange and yellow stripes on the fingers of the handprint cookies. Let the icing set for about 15 minutes until it’s slightly firm to the touch.
- Add the turkey body: Melt the brown candy melts according to package directions. Using a toothpick or small spatula, spread a small oval of melted chocolate in the center of the palm area. Press two candy eyes onto the chocolate, then add an orange sprinkle for the beak and a red candy for the wattle.
- Let everything set: Allow the decorated cookies to sit at room temperature for about 30 minutes until the icing and chocolate are fully set.
Notes
Dough temperature is crucial — if it gets too warm, it becomes sticky and impossible to trace. Chill the traced handprints on the baking sheet for 10-15 minutes before baking to help them hold their shape. Let cookies cool completely before icing. For best results, make undecorated cookies ahead and decorate the day before serving. Store in an airtight container at room temperature for up to 5 days. Do not refrigerate.
Nutrition
- Serving Size: 1 cookie
- Calories: 280
- Sugar: 22
- Sodium: 150
- Fat: 12
- Saturated Fat: 7
- Carbohydrates: 40
- Fiber: 1
- Protein: 3
Keywords: turkey cookies, handprint cookies, sugar cookies, Thanksgiving cookies, kids baking, easy sugar cookies, holiday cookies