Love this? Save it for later!
Share the inspiration with your friends
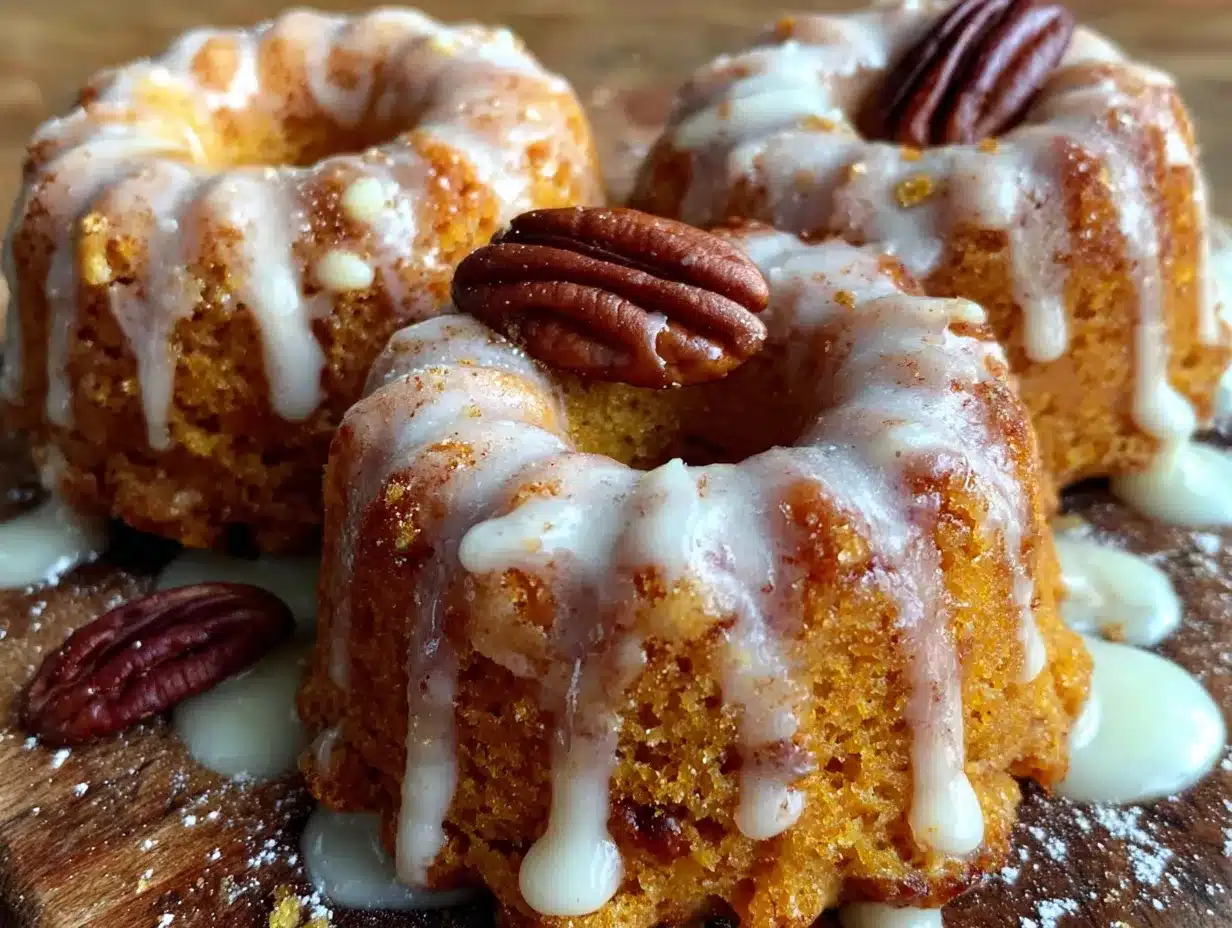
I was standing in the middle of the grocery store parking lot last October, juggling a bag of flour and my three-year-old’s juice cup, when the air shifted. It was that crisp, specific autumn smell—damp leaves, cold pavement, a faint whisper of cinnamon from somewhere. And just like that, I was seven years old, standing on a step stool in my Aunt Lena’s tiny kitchen. Her hands, dusted with flour, were handing me a miniature bundt pan. “You get to tap the pan,” she’d say, her voice warm like the oven. “Three good thumps, that’s your job.” I can still feel the cool metal of that pan, the weight of it, the serious responsibility of my task. She passed away a few years back, and honestly, I haven’t thought about those afternoons in a long time. But standing there in the parking lot, I could almost taste the maple icing—that sweet, buttery drip on a perfectly spiced little cake. It was a feeling I couldn’t shake. So, I went home, dug out the mini bundt pan I’d bought on a whim and never used, and decided to chase that ghost of a memory. This is what I came up with—a recipe for Kid-Approved Mini Pumpkin Bundt Cakes with Maple Icing that finally, finally tastes like my childhood. Maybe you’ve been there, chasing a taste you can’t quite name. This one’s for you.
Why You’ll Love This Recipe
Let’s be honest—feeding a family on a budget while trying to make everyone happy is a juggling act. These mini bundt cakes are my secret weapon. They’re not just another pumpkin recipe; they’re the one that disappears before the icing sets, and I’m not even mad about it.
- Budget-Friendly Ingredients: Everything is a pantry staple. Canned pumpkin, basic flour, eggs, and butter. No fancy trips to a specialty store required.
- Quick & Easy for Busy Nights: From mixing to glazing takes under an hour. Perfect for a Sunday afternoon project or a last-minute school bake sale.
- Kid-Approved & Pleases Picky Eaters: The mini size is a huge hit with little hands. The pumpkin flavor is mild and comforting, not overpowering, so even my veggie-skeptic nephew asks for seconds.
- Leftovers That Reheat Like a Dream: I’ve tested this. Day-old cakes, warmed for 10 seconds in the microwave? They taste like they just came out of the oven. That’s a win for a busy mom.
- Unbelievably Moist: The secret is a little bit of applesauce in the batter. It keeps the cake tender for days without making it dense. Chef-tested, family-approved, I promise.
This isn’t just another pumpkin cake. It’s the one that makes you close your eyes after the first bite because it tastes like fall should taste—warm, sweet, and a little bit nostalgic. And it’s easy enough to make on a Tuesday after school pickup.
What Ingredients You Will Need
This recipe uses simple, wholesome ingredients to deliver that cozy pumpkin flavor without any fuss. Most of these are probably in your kitchen right now, which is exactly how I like it.
For the Mini Pumpkin Bundt Cakes
- 1 ¾ cups all-purpose flour (spooned and leveled—don’t scoop straight from the bag, it packs the flour)
- 1 teaspoon baking soda
- 1 ½ teaspoons pumpkin pie spice (I prefer McCormick for a balanced blend)
- ½ teaspoon ground cinnamon (adds warmth)
- ½ teaspoon salt (balances the sweetness)
- ½ cup unsalted butter, softened (room temperature is key for a smooth batter)
- ¾ cup granulated sugar
- ¼ cup packed light brown sugar (adds moisture and a hint of molasses)
- 2 large eggs, room temperature
- 1 cup canned pumpkin puree (not pumpkin pie filling—make sure it’s 100% pure pumpkin)
- ¼ cup unsweetened applesauce (this is my secret for extra moisture)
- 1 teaspoon vanilla extract
For the Maple Icing
- 1 cup powdered sugar, sifted (sifting prevents lumps)
- 3 tablespoons pure maple syrup (not pancake syrup—real maple syrup makes a huge difference in flavor)
- 1-2 tablespoons milk (whole milk or 2% works best; start with 1 tablespoon and add more for a thinner drizzle)
- ¼ teaspoon vanilla extract
- Pinch of salt (to cut the sweetness)
Ingredient Tip: If you don’t have pumpkin pie spice, you can make your own by mixing ½ teaspoon cinnamon, ¼ teaspoon nutmeg, ¼ teaspoon ginger, and ⅛ teaspoon cloves. I’ve done this in a pinch and it works perfectly.
Equipment Needed
You don’t need a professional bakery setup for these little beauties. Here’s what I use:
- Mini Bundt Pan: A 12-cavity mini bundt pan is ideal. I got mine for under $15 at a kitchen supply store. If you don’t have one, you can use a standard 12-cup muffin tin, but the bake time will be slightly shorter (about 12-15 minutes).
- Electric Mixer: A hand mixer or stand mixer works great. I’ve made the batter by hand with a whisk in a pinch, but the mixer makes it fluffier.
- Medium and Large Mixing Bowls: One for dry ingredients, one for wet.
- Whisk and Rubber Spatula: For combining and scraping the bowl clean.
- Cooling Rack: Essential for letting the cakes cool completely before icing—otherwise, the icing just melts right off.
- Piping Bag or Ziploc Bag: For drizzling the icing neatly. A small ziploc bag with the corner snipped off works like a charm and saves you from buying a piping bag.
Budget-Friendly Tip: If you don’t own a mini bundt pan, check your local thrift store. I found my second one for three dollars, and it works perfectly.
Preparation Method
Alright, let’s get to the good part. Here’s how to make these little cakes come to life.
- Preheat and Prep Your Pan: Preheat your oven to 350°F (175°C). Generously grease your mini bundt pan with butter or non-stick baking spray. I cannot stress this enough—don’t skimp on the grease. I once forgot to grease one cavity properly, and that cake came out in crumbles. Use a pastry brush to get into all the nooks and crannies. Dust lightly with flour if you’re feeling extra cautious.
- Whisk the Dry Ingredients: In a medium bowl, whisk together the flour, baking soda, pumpkin pie spice, cinnamon, and salt. Set this aside. This step ensures the spices are evenly distributed throughout the batter, so every bite is perfectly spiced.
- Cream the Butter and Sugars: In a large bowl, beat the softened butter, granulated sugar, and brown sugar together on medium speed for about 2-3 minutes, until it’s light and fluffy. You’re looking for a pale, creamy texture. Scrape down the sides of the bowl with your spatula.
- Add the Eggs and Wet Ingredients: Beat in the eggs one at a time, making sure each is fully incorporated before adding the next. Then, add the pumpkin puree, applesauce, and vanilla extract. Mix on low speed until just combined. The batter will look a little loose and orange—that’s perfect.
- Combine Wet and Dry: Gradually add the dry ingredient mixture to the wet ingredients, mixing on low speed. Mix just until you no longer see streaks of flour. Do not overmix—overworking the batter will make the cakes tough. A few small lumps are totally fine.
- Fill the Pan: Spoon the batter into the prepared mini bundt pan, filling each cavity about ¾ full. I use a small cookie scoop for this—it keeps things neat and ensures even portions. You should get exactly 12 mini bundt cakes.
- Bake: Bake for 14-16 minutes, or until a toothpick inserted into the center of a cake comes out clean or with a few moist crumbs. The edges should be lightly golden. Every oven runs a little differently, so start checking at the 12-minute mark if yours runs hot.
- Cool in the Pan: Let the cakes cool in the pan for 5 minutes. This is crucial—it allows the cakes to set so they don’t fall apart when you turn them out. After 5 minutes, invert the pan onto a cooling rack and gently tap it to release the cakes. Let them cool completely, about 20-30 minutes. Don’t rush this step. I’ve tried icing warm cakes, and it’s a sticky, melty disaster.
- Make the Maple Icing: While the cakes are cooling, make the icing. In a small bowl, whisk together the sifted powdered sugar, maple syrup, vanilla extract, and a pinch of salt. Add milk, one tablespoon at a time, whisking until you reach a smooth, drizzle-able consistency. It should be thick enough to coat the back of a spoon but thin enough to pour.
- Glaze the Cakes: Once the cakes are completely cool, place them on a wire rack over a baking sheet (to catch drips). Drizzle the icing generously over each cake. I use a spoon, but a piping bag gives you more control. Let the icing set for about 10 minutes before serving.
Cooking Tips & Techniques
I’ve made this recipe more times than I can count, and I’ve learned a few things the hard way. Here are my best tips for success.
- The Great Grease Debate: Use a baking spray that contains flour. I use Baker’s Joy or Crisco with flour. It’s the only thing that guarantees my mini bundts release cleanly every single time. Butter alone can leave you with stuck cake.
- Room Temperature Ingredients Matter: I know, it’s annoying to wait. But cold eggs and cold butter don’t cream properly, and your batter will be lumpy. Take your eggs and butter out of the fridge 30 minutes before you start. Trust me, the texture is worth it.
- Don’t Overmix the Batter: This is the number one mistake I see. Once you add the flour, mix just until it’s combined. Overmixing develops the gluten, and you’ll end up with tough, dense cakes instead of light, tender ones.
- Use a Toothpick to Test Doneness: Ovens are liars. Mine runs hot, so I always check at the 12-minute mark. If the toothpick comes out clean, they’re done. If there’s wet batter, give them another 2 minutes and check again.
- Multitasking Strategy: While the cakes are baking, clean up your dishes. While they’re cooling, make the icing. This way, you’re never standing around waiting, and you’ll have a clean kitchen by the time you’re glazing.
Variations & Adaptations
One of the best things about this recipe is how easy it is to tweak. Here are some of my favorite variations.
- Gluten-Free Version: Substitute the all-purpose flour with a 1:1 gluten-free baking flour blend. I’ve used Bob’s Red Mill with great results. The texture is slightly more crumbly, but still delicious.
- Dairy-Free Adaptation: Use vegan butter or coconut oil in place of the unsalted butter. For the icing, swap the milk with almond milk or oat milk. It works perfectly—just make sure your butter is softened.
- Chocolate Chip Pumpkin Bundts: Fold in ½ cup of mini chocolate chips into the batter before baking. The chocolate melts into little pockets of sweetness that pair beautifully with the pumpkin spice. My kids go absolutely wild for this version.
- Spiced Maple Glaze: Add an extra ¼ teaspoon of pumpkin pie spice or a pinch of nutmeg to the icing. It gives it a little extra warmth that’s perfect for a chilly fall evening.
- Mini Loaves Instead of Bundts: If you don’t have a mini bundt pan, pour the batter into a greased mini loaf pan (makes about 4 mini loaves). Bake for 20-25 minutes, or until a toothpick comes out clean.
Serving & Storage Suggestions
These little cakes are incredibly versatile. Here’s how I serve and store them.
Serving: I like to serve these at room temperature, right after the icing has set. They’re perfect for a fall brunch, a school bake sale, or just a cozy afternoon snack. For a fun presentation, arrange them on a tiered cake stand and dust with a little extra cinnamon. They pair beautifully with a hot cup of coffee or a glass of cold milk for the kids.
Storage: Store any leftover cakes in an airtight container at room temperature for up to 3 days. The icing will stay glossy and beautiful. If you stack them, place a piece of parchment paper between the layers to prevent sticking.
Freezing: These cakes freeze like a dream. Place the cooled, un-iced cakes on a baking sheet and freeze for 1 hour until solid. Then transfer them to a freezer-safe bag or container. They’ll keep for up to 3 months. When you’re ready to enjoy, thaw them at room temperature, then make the fresh icing and drizzle. The flavor is just as good as the day you baked them.
Reheating: For a quick treat, pop a cake in the microwave for 10-15 seconds. It warms the cake and softens the icing slightly—it’s like a fresh-from-the-oven experience. Honestly, it’s my favorite way to eat them.
Nutritional Information & Benefits
Here’s a rough estimate of what you’re getting in each mini bundt cake (based on 12 servings). Please note these are estimates and can vary based on specific ingredients used.
| Nutrient | Amount Per Serving |
|---|---|
| Calories | 210 kcal |
| Carbohydrates | 34g |
| Protein | 3g |
| Fat | 8g |
| Saturated Fat | 5g |
| Cholesterol | 45mg |
| Sodium | 180mg |
| Fiber | 1g |
| Sugar | 22g |
| Vitamin A | 45% DV |
| Calcium | 2% DV |
| Iron | 4% DV |
Health Benefits: Pumpkin is packed with Vitamin A, which is great for eye health and your immune system. The applesauce adds natural sweetness and moisture, allowing us to use a little less oil. These are a treat, yes, but they’re a treat that sneaks in some good stuff for your family.
Dietary Considerations: This recipe is vegetarian. For a gluten-free or dairy-free option, see the variations section above. It contains gluten, dairy, and eggs.
Conclusion
So there you have it—my attempt to bottle up a childhood memory and share it with you. These Kid-Approved Mini Pumpkin Bundt Cakes with Maple Icing are more than just a recipe. They’re a little piece of fall that you can hold in your hand. They’re the smell of Aunt Lena’s kitchen, the serious job of tapping the pan, and the sweet, sticky joy of a maple-glazed bite.
I hope you make these for your family. I hope you let the kids tap the pan and maybe sneak a little extra icing. I hope they become a tradition in your home, the way they have in mine. And honestly, I’d love to hear about it. Did you try a variation? Did your picky eater ask for seconds? Drop a comment below and let me know. Your stories are what make this whole thing worth it. Until next time, happy baking!
Frequently Asked Questions
Can I use fresh pumpkin instead of canned?
Yes, you can. Roast a small sugar pumpkin, scoop out the flesh, and puree it until smooth. Just make sure to drain any excess liquid—fresh pumpkin can be a bit more watery than canned. You’ll need about 1 cup of puree.
Why did my mini bundt cakes stick to the pan?
This happens to the best of us. It usually means the pan wasn’t greased well enough, or the cakes were turned out too soon. Next time, use a baking spray with flour and let the cakes cool in the pan for a full 5 minutes before inverting.
Can I make these ahead of time?
Absolutely. You can bake the cakes a day in advance and store them in an airtight container at room temperature. Make the icing and glaze them just before serving for the freshest look and taste.
How do I get the icing to look so neat?
Use a piping bag or a ziploc bag with a tiny corner snipped off. Drizzle in a back-and-forth motion over the cakes. If the icing is too thick, add a tiny splash of milk; if it’s too thin, add a little more powdered sugar.
Can I double this recipe?
Yes, this recipe doubles beautifully. Just make sure your mixer bowl is large enough to handle the extra batter. You may need to bake in batches if you only have one mini bundt pan.
Pin This Recipe!
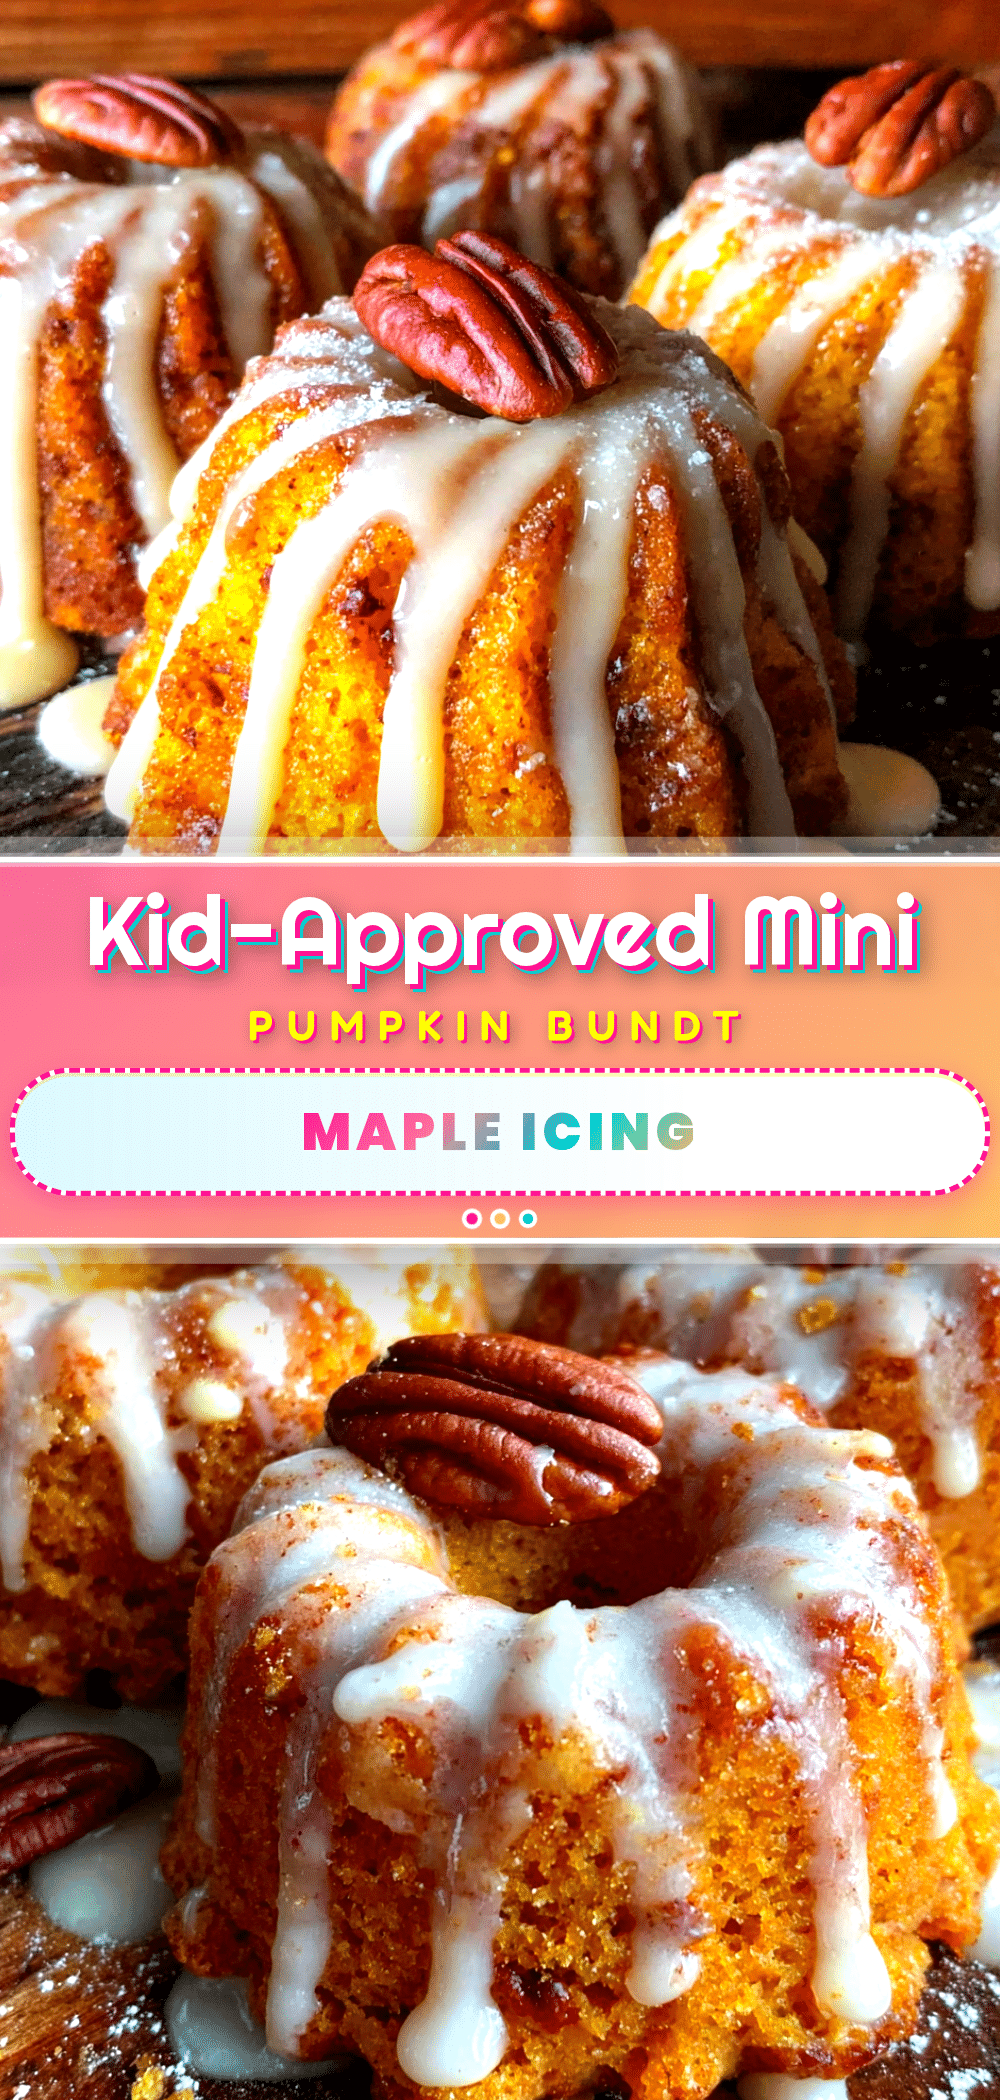
Best Mini Pumpkin Bundt Cakes with Maple Icing
These moist and tender mini pumpkin bundt cakes are topped with a sweet maple icing. They’re a budget-friendly, kid-approved fall treat that comes together in under an hour, perfect for busy weeknights or special occasions.
- Prep Time: 15 minutes
- Cook Time: 16 minutes
- Total Time: 45 minutes
- Yield: 12 servings 1x
- Category: Dessert
- Cuisine: American
Ingredients
- 1 ¾ cups all-purpose flour (spooned and leveled)
- 1 teaspoon baking soda
- 1 ½ teaspoons pumpkin pie spice
- ½ teaspoon ground cinnamon
- ½ teaspoon salt
- ½ cup unsalted butter, softened
- ¾ cup granulated sugar
- ¼ cup packed light brown sugar
- 2 large eggs, room temperature
- 1 cup canned pumpkin puree (not pumpkin pie filling)
- ¼ cup unsweetened applesauce
- 1 teaspoon vanilla extract
- 1 cup powdered sugar, sifted
- 3 tablespoons pure maple syrup
- 1–2 tablespoons milk (whole milk or 2%)
- ¼ teaspoon vanilla extract
- Pinch of salt
Instructions
- Preheat your oven to 350°F (175°C). Generously grease a 12-cavity mini bundt pan with butter or non-stick baking spray. Dust lightly with flour if desired.
- In a medium bowl, whisk together the flour, baking soda, pumpkin pie spice, cinnamon, and salt. Set aside.
- In a large bowl, beat the softened butter, granulated sugar, and brown sugar together on medium speed for 2-3 minutes until light and fluffy. Scrape down the sides of the bowl.
- Beat in the eggs one at a time, ensuring each is fully incorporated. Add the pumpkin puree, applesauce, and vanilla extract. Mix on low speed until just combined.
- Gradually add the dry ingredient mixture to the wet ingredients, mixing on low speed until just combined. Do not overmix; a few small lumps are fine.
- Spoon the batter into the prepared mini bundt pan, filling each cavity about ¾ full. You should get exactly 12 mini bundt cakes.
- Bake for 14-16 minutes, or until a toothpick inserted into the center of a cake comes out clean or with a few moist crumbs. The edges should be lightly golden.
- Let the cakes cool in the pan for 5 minutes. Then invert the pan onto a cooling rack and gently tap to release the cakes. Let them cool completely, about 20-30 minutes.
- While the cakes are cooling, make the icing. In a small bowl, whisk together the sifted powdered sugar, maple syrup, vanilla extract, and a pinch of salt. Add milk, one tablespoon at a time, whisking until you reach a smooth, drizzle-able consistency.
- Once the cakes are completely cool, place them on a wire rack over a baking sheet. Drizzle the icing generously over each cake. Let the icing set for about 10 minutes before serving.
Notes
For best results, use room temperature ingredients. Do not overmix the batter. Grease the pan generously to prevent sticking. For a gluten-free version, substitute all-purpose flour with a 1:1 gluten-free baking flour blend. For a dairy-free version, use vegan butter and almond or oat milk.
Nutrition
- Serving Size: 1 mini bundt cake
- Calories: 210
- Sugar: 22
- Sodium: 180
- Fat: 8
- Saturated Fat: 5
- Carbohydrates: 34
- Fiber: 1
- Protein: 3
Keywords: mini pumpkin bundt cakes, maple icing, fall dessert, pumpkin recipe, kid-friendly, easy pumpkin cake


