Love this? Save it for later!
Share the inspiration with your friends
This was supposed to be a slow-simmered, deeply layered Spanish rice situation. I had the sofrito prepped, the saffron measured out, and a whole afternoon cleared on my calendar. Then my kid decided 3:00 PM was the perfect time for a meltdown about a missing toy, the phone rang twice, and I grabbed a jar of cheddar cheese powder instead of the cumin I had reached for. I didn’t even realize the mistake until the cheese hit the pan. Honestly, I almost cried into the skillet. But I stirred it anyway, added a little extra broth to loosen things up, and served it with a side of pure frustration.
The first bite stopped me mid-sentence. It was creamy, savory, and so ridiculously satisfying that I forgot I was supposed to be annoyed. My family inhaled it. My husband asked if I could make it every week. And I sat there, fork halfway to my mouth, realizing I had accidentally stumbled onto something better than the original plan. Maybe you’ve been there — that moment when a kitchen disaster turns into a new favorite. This cheesy ground beef and rice skillet is that story, every single time.
I’ve made it at least a dozen times since that chaotic afternoon. It’s become my go-to for nights when I need dinner on the table fast, without sacrificing the cozy, homemade feeling we all crave. It’s not fancy. It’s not complicated. But it is, without a doubt, the kind of meal that makes you close your eyes after the first bite. And honestly, that’s the best kind of cooking accident.
Why You’ll Love This Recipe
This isn’t just another weeknight dinner — it’s the one you’ll actually look forward to making. I’ve tested this recipe more times than I can count, tweaking the cheese ratio and the rice-to-beef balance until it hit that perfect spot. Here’s why it stands out from the crowd:
- Quick & Easy: From start to finish, this dish comes together in about 15 minutes. No complicated steps, no waiting around — just simple cooking that fits into even the busiest evenings.
- Simple Ingredients: You probably already have most of these in your pantry and fridge. No fancy grocery store trips required. It’s the definition of a pantry-friendly meal.
- Perfect for Busy Weeknights: Whether you’re juggling homework, late meetings, or just want to relax after a long day, this skillet delivers comfort without the stress.
- Crowd-Pleaser: I’ve served this to picky kids, hungry teenagers, and adults who claim they don’t eat “simple” food. Every single person has asked for seconds. It’s that good.
- Unbelievably Delicious: The combination of seasoned ground beef, tender rice, and melty cheese creates a texture and flavor that feels like a warm hug. It’s comfort food at its finest.
What makes this recipe different is the technique. Instead of cooking the rice separately and mixing it in later, everything simmers together in one skillet. This allows the rice to absorb all the savory beef flavor, creating a cohesive, deeply satisfying dish. It’s not just another version of cheesy rice — it’s the best version, born from a happy accident and perfected through repeated testing.
This recipe is for those nights when you need something reliable, something that tastes like effort even when it took almost none. It’s the kind of meal that makes you feel like you’ve got dinner handled, no matter what the day threw at you.
What Ingredients You Will Need
This recipe relies on simple, wholesome ingredients that work together to create big flavor without any fuss. Most of these are pantry staples, which makes this dish perfect for those “I have no idea what’s for dinner” moments.
- Ground Beef (1 lb): I prefer 80/20 ground beef for this recipe. The extra fat adds flavor and keeps the meat juicy. If you’re using leaner beef (like 90/10), you might want to add a tablespoon of olive oil to the pan to prevent dryness.
- Long-Grain White Rice (1 cup, uncooked): This is my go-to for skillet meals. It cooks up fluffy and separate, and it absorbs the beef broth beautifully. Basmati or jasmine rice also work well. Avoid instant rice — it can turn mushy.
- Beef Broth (2 cups): Use a good-quality broth here, as it’s the main liquid the rice cooks in. I recommend Swanson or Kitchen Basics for consistent flavor. Low-sodium is fine, but you’ll need to adjust the salt later.
- Shredded Cheddar Cheese (1 ½ cups): Sharp cheddar gives the best flavor, but mild cheddar works too. For an extra creamy texture, I sometimes mix in a handful of shredded mozzarella. Grate your own cheese if you can — pre-shredded cheese has anti-caking agents that can make the sauce grainy.
- Onion (1 medium, diced): Yellow or white onion adds a savory base note. If you’re in a hurry, you can use ½ teaspoon of onion powder instead, but fresh onion really makes a difference.
- Garlic (3 cloves, minced): Fresh garlic is non-negotiable here. It adds that aromatic punch that makes the whole kitchen smell amazing. Jarred minced garlic works in a pinch, but use 1 ½ teaspoons.
- Tomato Paste (2 tablespoons): This adds depth and a slight tanginess that balances the richness of the cheese. It also helps thicken the sauce slightly.
- Paprika (1 teaspoon): Smoked paprika is my secret weapon here. It adds a subtle smokiness that makes the dish feel more complex. Regular paprika works too.
- Dried Oregano (½ teaspoon): A little goes a long way. Oregano adds an earthy, slightly floral note that complements the beef.
- Salt and Black Pepper (to taste): Start with ½ teaspoon of salt and ¼ teaspoon of pepper, then adjust at the end. Remember that the broth and cheese both add salt.
- Optional Garnishes: Fresh parsley or green onions add a pop of color and freshness. A dollop of sour cream or a dash of hot sauce on top is also fantastic.
Substitution Guidance: For a gluten-free version, ensure your beef broth is certified gluten-free (most are, but check the label). For a dairy-free option, use a plant-based cheddar-style shreds and a dairy-free broth. Ground turkey or chicken can replace the beef — just add a tablespoon of olive oil to the pan first.
Equipment Needed
You don’t need a fully stocked kitchen to make this recipe. In fact, you probably already have everything you need.
- Large Skillet or Dutch Oven (12-inch): A deep, wide skillet is ideal. I use my Lodge cast iron skillet for this — it holds heat evenly and the sides are high enough to prevent splattering. A non-stick skillet works too, but be careful not to scratch it when stirring.
- Wooden Spoon or Silicone Spatula: For breaking up the ground beef and stirring the rice. A wooden spoon gives you good leverage, while a silicone spatula is gentler on non-stick pans.
- Measuring Cups and Spoons: Accurate measurements matter here, especially for the broth and rice. Eyeballing can lead to mushy or undercooked rice.
- Cheese Grater: If you’re grating your own cheese (which I highly recommend), a box grater or a microplane works well. Pre-shredded cheese is convenient, but freshly grated melts much smoother.
- Cutting Board and Knife: For dicing the onion and mincing the garlic. A sharp chef’s knife makes this task quick and easy.
Budget-Friendly Options: If you don’t have a large skillet, a deep sauté pan or even a large saucepan will work. Just make sure it has a lid. You can also use a chef’s knife from a basic set — it doesn’t need to be fancy, just sharp.
Personal Note: I learned the hard way that using a too-small skillet leads to a mess. The rice needs room to expand and absorb the liquid. Trust me on this one — go with a 12-inch skillet or larger. Your stovetop will thank you.
Preparation Method
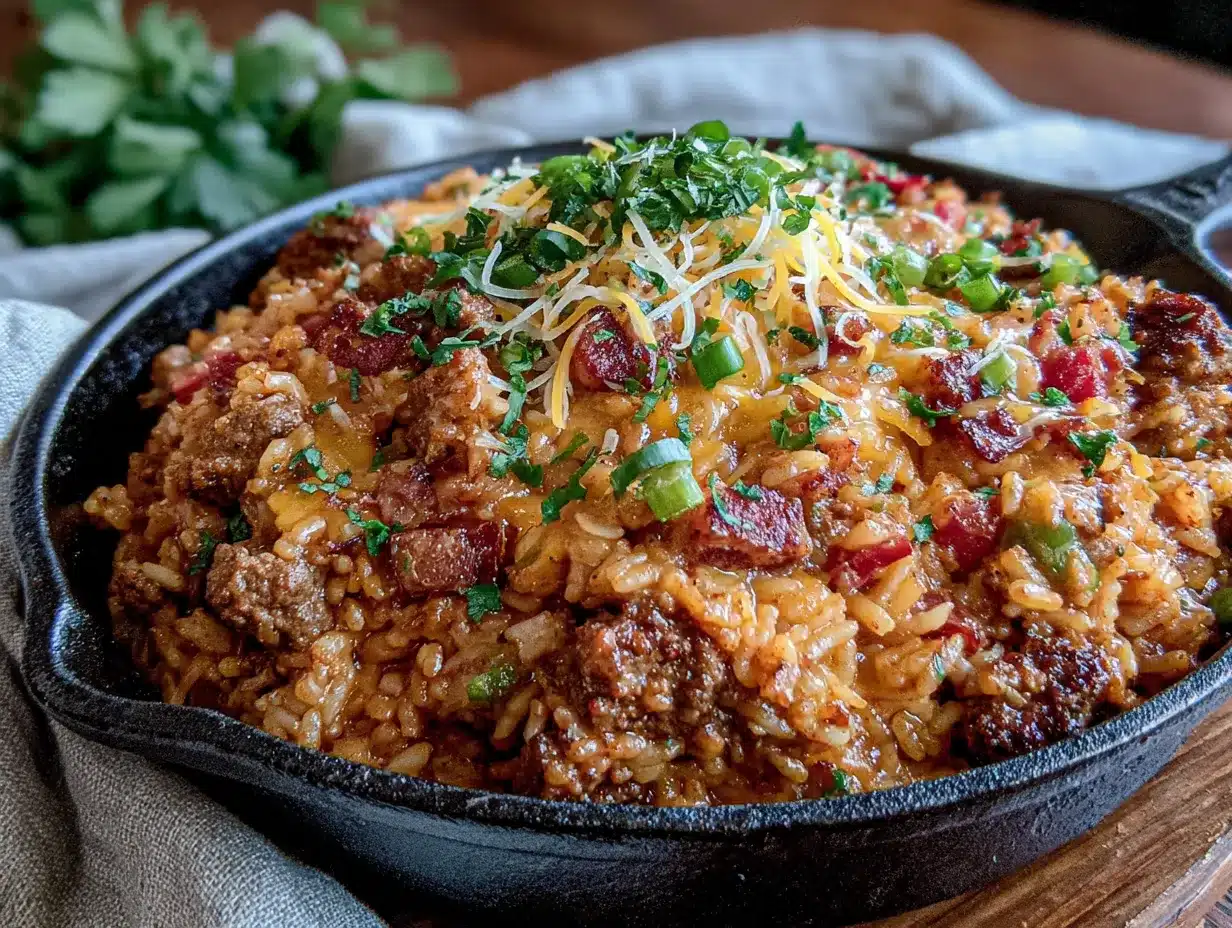
Let’s get cooking. This entire dish comes together in about 15 minutes, so have everything prepped and ready before you start. Trust me, it makes the process so much smoother.
- Brown the Ground Beef (3-4 minutes): Place your large skillet over medium-high heat. Add the ground beef and break it apart with your wooden spoon. Cook, stirring occasionally, until the beef is browned and no longer pink. There’s no need to drain the fat unless you used a very fatty blend (like 70/30). The fat adds flavor to the rice. Once browned, use a slotted spoon to transfer the beef to a plate, leaving about 1 tablespoon of drippings in the pan.
- Sauté the Aromatics (2 minutes): Reduce the heat to medium. Add the diced onion to the pan with the reserved drippings. Cook for about 1 minute, until the onion starts to soften and turn translucent. Add the minced garlic and cook for another 30 seconds, stirring constantly. You want the garlic fragrant, not burnt. If the pan looks dry, add a splash of olive oil.
- Toast the Rice (1 minute): Add the uncooked rice to the pan. Stir it around in the onion-garlic mixture for about 1 minute. This toasting step is crucial — it coats the rice in fat and flavor, and it helps the grains stay separate as they cook. You’ll notice the rice starts to smell slightly nutty.
- Add the Liquids and Seasonings (1 minute): Pour in the beef broth, then stir in the tomato paste, paprika, oregano, salt, and pepper. Use your spoon to scrape up any browned bits from the bottom of the pan — that’s pure flavor. Bring the mixture to a gentle boil.
- Simmer the Rice (10-12 minutes): Return the browned ground beef to the pan. Stir everything together, then reduce the heat to low. Cover the skillet with a tight-fitting lid. Let it simmer gently for 10-12 minutes, or until the rice is tender and has absorbed most of the liquid. Do not lift the lid during this time — the steam is what cooks the rice evenly. If you’re worried about sticking, you can check once at the 8-minute mark.
- Add the Cheese (1 minute): Once the rice is cooked, remove the lid. Sprinkle the shredded cheddar cheese evenly over the top. Cover the skillet again and let it sit off the heat for 1-2 minutes, until the cheese is melted and gooey. Alternatively, you can stir the cheese in for a creamier texture. I like to leave about half on top for that beautiful, melty finish.
- Rest and Serve (2 minutes): Let the skillet rest for 2 minutes after adding the cheese. This allows the flavors to meld and the dish to set slightly. Fluff the rice gently with a fork, then serve hot. Garnish with fresh parsley or green onions if you like.
Sensory Cues: At step 3, the rice should look slightly glossy and smell toasty. At step 5, the mixture should be bubbling gently around the edges. When the rice is done, it should be tender but still have a slight bite — not mushy. The cheese should be fully melted and stretchy when you lift the lid.
Personal Tip: I always set a timer for 10 minutes when the rice starts simmering. It’s easy to get distracted, and overcooked rice is a sad thing. Also, if the rice isn’t quite done after 12 minutes, add 2 tablespoons of water, cover, and cook for another 2 minutes. It’s a simple fix that saves the dish.
Cooking Tips & Techniques
After making this recipe more times than I can count, I’ve picked up a few tricks that make a real difference. Here are my best tips for skillet success.
Don’t Skip Toasting the Rice: I know it’s tempting to just dump everything in and let it cook, but that one minute of toasting changes everything. It adds a subtle nuttiness and helps the rice grains stay separate. I once skipped this step when I was in a hurry, and the rice turned out clumpy and bland. Never again.
Use a Lid That Fits Snugly: If your lid is loose, steam escapes, and the rice won’t cook properly. If your skillet doesn’t have a matching lid, use a piece of aluminum foil pressed tightly over the top, then place a baking sheet or another pan on top to hold it in place. It’s not pretty, but it works.
Let the Cheese Melt Off the Heat: This is a game-changer. If you add the cheese while the pan is still on the burner, it can overcook and become greasy. Turning off the heat and letting the residual warmth melt the cheese gives you that perfect, creamy consistency.
Season in Layers: Don’t dump all the salt in at once. Season the beef lightly as it browns, then add more with the broth, and taste at the end. This builds depth of flavor without making the dish too salty. I learned this lesson after a few overly salty batches.
Common Mistake: Overcrowding the Pan: If you’re doubling the recipe, use two skillets or cook in batches. A crowded pan traps steam, which prevents the beef from browning properly. You want that golden-brown crust, not gray, steamed meat.
Timing Strategy: While the rice simmers, use that time to wash the cutting board and knife, or set the table. It makes cleanup a breeze and gives you a moment to breathe before dinner is served.
Variations & Adaptations
This recipe is incredibly versatile. Here are some of my favorite ways to switch it up, depending on what I’m craving or what’s in my fridge.
- Southwest Style: Add ½ cup of frozen corn and a drained can of black beans along with the broth. Swap the cheddar for pepper jack cheese, and top with a squeeze of lime juice and fresh cilantro. This version is perfect for taco night leftovers.
- Vegetarian Version: Replace the ground beef with a 15-ounce can of drained and rinsed black beans or 1 ½ cups of cooked lentils. Use vegetable broth instead of beef broth. The cooking time stays the same, and the result is just as hearty and satisfying.
- Spicy Kick: Add ½ teaspoon of red pepper flakes or a diced jalapeño (seeds removed) along with the onion. You can also stir in a tablespoon of hot sauce at the end. This is my go-to when I need a little extra warmth on a cold day.
- Cheese Swap: Try using a mix of Monterey Jack and sharp cheddar for a milder, creamier flavor. For a smoky twist, use smoked gouda or a bit of crumbled feta on top. Each cheese brings its own personality to the dish.
- Herb Infusion: Stir in a handful of fresh spinach or chopped kale during the last 2 minutes of cooking. The greens wilt down beautifully and add a pop of color and nutrition. I also love adding a teaspoon of dried thyme or rosemary for an earthy note.
Personal Variation: One night, I had leftover roasted red peppers in the fridge, so I chopped them up and stirred them in with the cheese. The sweetness of the peppers balanced the savory beef perfectly. It’s now one of my favorite ways to make this dish.
Serving & Storage Suggestions
This cheesy ground beef and rice skillet is best served hot, straight from the pan. The cheese should be melted and stretchy, and the rice should be tender and flavorful.
Serving Temperature: Serve immediately after resting for 2 minutes. If you let it sit too long, the rice can continue to absorb liquid and become softer. For a fun presentation, serve it in individual bowls with a sprinkle of fresh parsley or green onions on top.
Complementary Dishes: This skillet is a complete meal on its own, but it pairs beautifully with a simple side salad dressed with lemon vinaigrette. Steamed broccoli or roasted green beans also make excellent accompaniments. For a heartier meal, serve it with warm tortillas or crusty bread to soak up any extra cheesy goodness.
Storage Instructions: Store leftovers in an airtight container in the refrigerator for up to 4 days. The flavors actually meld and deepen overnight, making it even better the next day. To reheat, place a portion in a skillet over medium-low heat with a splash of water or broth. Cover and cook for 3-4 minutes, stirring occasionally, until heated through. You can also microwave it in 30-second bursts, stirring in between.
Freezer Tips: This recipe freezes well for up to 3 months. Let it cool completely, then transfer to a freezer-safe container. To thaw, place it in the refrigerator overnight. Reheat in a skillet as directed above. The texture of the rice may soften slightly after freezing, but the flavor remains fantastic.
Flavor Development: I find that this dish tastes even better the next day. The rice absorbs more of the savory broth, and the cheese melds into a cohesive, creamy sauce. It’s one of those rare recipes that actually improves with time.
Nutritional Information & Benefits
Here’s an approximate nutritional breakdown for one serving (based on 4 servings):
- Calories: 520
- Protein: 32g
- Fat: 22g
- Carbohydrates: 45g
- Fiber: 2g
- Sugar: 3g
- Sodium: 780mg
Health Benefits: This dish provides a good balance of protein, carbohydrates, and fat, making it a satisfying meal that keeps you full for hours. Ground beef is an excellent source of iron and B vitamins, which support energy levels. The calcium from the cheese is great for bone health. If you’re looking to reduce the sodium, use low-sodium broth and reduce the added salt.
Dietary Considerations: This recipe is naturally gluten-free (check your broth label). For a lower-carb option, you can replace the rice with cauliflower rice — just reduce the cooking time to 5-7 minutes. For a lower-fat version, use lean ground beef and reduced-fat cheese.
Personal Wellness Perspective: I love that this recipe feels indulgent without being over-the-top. It’s the kind of meal that satisfies a comfort food craving while still fitting into a balanced diet. Plus, knowing exactly what goes into it gives me peace of mind.
Conclusion
This easy 15-minute cheesy ground beef and rice skillet is proof that the best recipes often come from the most unexpected places. What started as a kitchen disaster turned into a weeknight staple that my family genuinely loves. It’s quick, it’s simple, and it delivers that cozy, satisfying feeling we all crave after a long day.
I hope you give this recipe a try and make it your own. Maybe you’ll add a little extra spice, swap in a different cheese, or throw in some leftover veggies. That’s the beauty of a one-skillet meal — it’s forgiving, flexible, and always delicious. Let me know how it turns out in the comments below. What’s your favorite way to customize it? I’d love to hear your stories and tips.
Until next time, happy cooking — and don’t be afraid of a little kitchen chaos. You never know what delicious accident is waiting to happen.
Frequently Asked Questions
Can I use brown rice instead of white rice?
Yes, but you’ll need to adjust the cooking time and liquid. Brown rice typically takes 30-40 minutes to cook and requires about 2 ½ cups of broth. You’ll also need to simmer it covered for longer, so this won’t be a 15-minute meal. I recommend using parboiled or instant brown rice for a quicker version.
Can I make this recipe in an Instant Pot?
Absolutely. Use the sauté function to brown the beef and cook the aromatics. Add the rice, broth, tomato paste, and seasonings, then pressure cook on high for 5 minutes. Quick release the pressure, stir in the cheese, and serve. The texture will be slightly different — more risotto-like — but it’s still delicious.
How do I prevent the rice from sticking to the pan?
Make sure your skillet is large enough (12-inch is ideal) and that you’re using enough liquid. Don’t lift the lid while the rice is simmering, as this releases steam. If you notice sticking at the end, let the pan sit off the heat for a minute, then gently scrape the rice up with a wooden spoon. A little sticking on the bottom is normal and adds flavor.
Can I add vegetables to this dish?
Definitely. Diced bell peppers, zucchini, or mushrooms can be added along with the onion. Frozen peas or corn can be stirred in during the last 2 minutes of cooking. Just keep in mind that watery vegetables (like zucchini) may require a slightly longer cooking time to evaporate the excess moisture.
Is this recipe freezer-friendly?
Yes, it freezes well for up to 3 months. Let it cool completely, then transfer to a freezer-safe container. To thaw, place it in the refrigerator overnight. Reheat in a skillet with a splash of water or broth to restore moisture. The texture of the rice may soften slightly, but the flavor remains excellent.
Pin This Recipe!
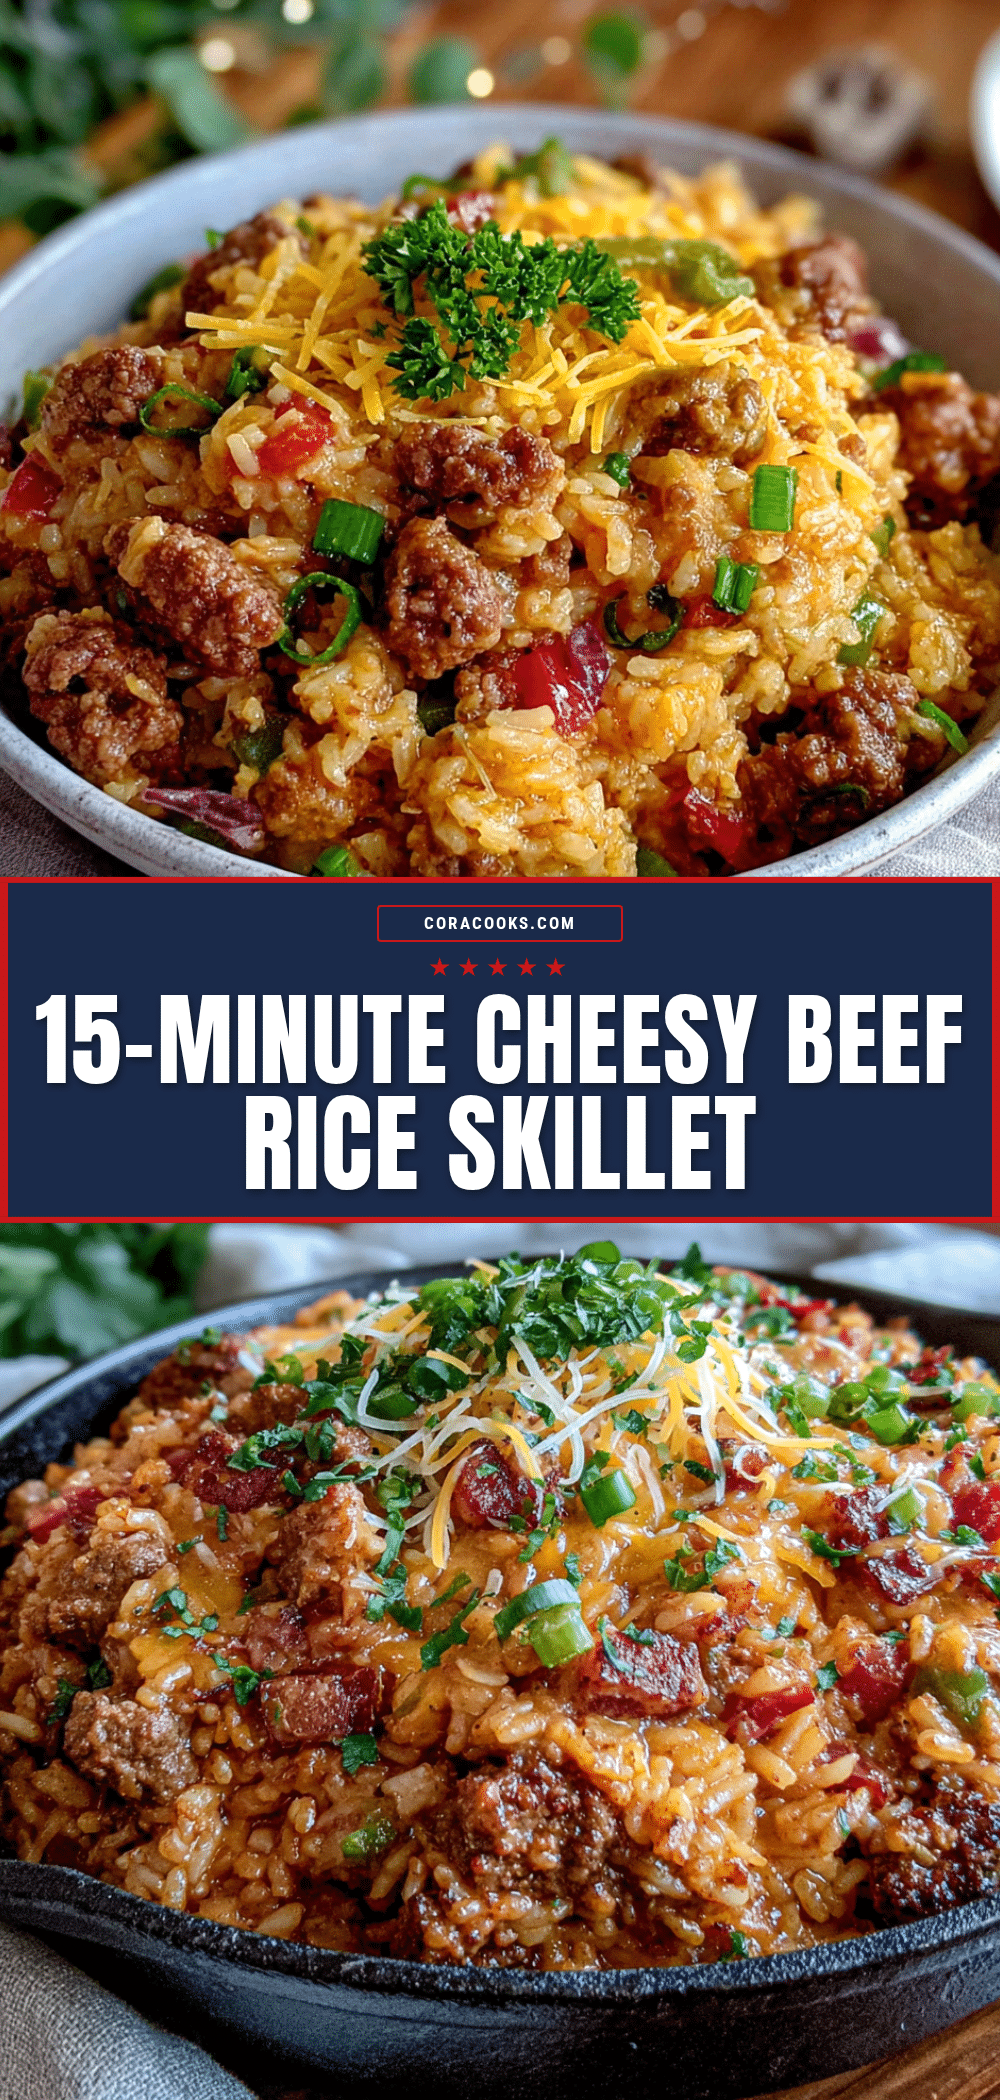
Easy 15-Minute Cheesy Ground Beef and Rice Skillet

A quick and easy one-skillet meal featuring seasoned ground beef, tender rice, and melty cheddar cheese. Perfect for busy weeknights, this comforting dish comes together in just 15 minutes using simple pantry ingredients.
- Prep Time: 5 minutes
- Cook Time: 10 minutes
- Total Time: 15 minutes
- Yield: 4 servings 1x
- Category: Main Course
- Cuisine: American
Ingredients
- 1 lb ground beef (80/20 preferred)
- 1 cup long-grain white rice, uncooked
- 2 cups beef broth
- 1 ½ cups shredded cheddar cheese
- 1 medium onion, diced
- 3 cloves garlic, minced
- 2 tablespoons tomato paste
- 1 teaspoon smoked paprika
- ½ teaspoon dried oregano
- ½ teaspoon salt (or to taste)
- ¼ teaspoon black pepper (or to taste)
- Optional: fresh parsley or green onions for garnish
Instructions
- Brown the ground beef in a large skillet over medium-high heat for 3-4 minutes, breaking it apart with a wooden spoon. Transfer to a plate, leaving about 1 tablespoon of drippings in the pan.
- Reduce heat to medium. Add diced onion to the pan and cook for 1 minute until softened. Add minced garlic and cook for 30 seconds, stirring constantly.
- Add uncooked rice to the pan and stir for 1 minute until slightly toasted and fragrant.
- Pour in beef broth, then stir in tomato paste, paprika, oregano, salt, and pepper. Scrape up any browned bits from the bottom of the pan. Bring to a gentle boil.
- Return the browned beef to the pan. Stir, reduce heat to low, cover with a tight-fitting lid, and simmer for 10-12 minutes until rice is tender and liquid is absorbed. Do not lift the lid during cooking.
- Remove from heat. Sprinkle shredded cheddar cheese evenly over the top. Cover and let sit off heat for 1-2 minutes until cheese is melted.
- Let rest for 2 minutes, then fluff with a fork. Serve hot, garnished with fresh parsley or green onions if desired.
Notes
For best results, use a 12-inch skillet or larger to give the rice room to expand. Do not lift the lid while the rice is simmering. If rice isn’t done after 12 minutes, add 2 tablespoons of water, cover, and cook for another 2 minutes. For a creamier texture, stir the cheese in instead of leaving it on top. This dish tastes even better the next day as flavors meld.
Nutrition
- Serving Size: 1 serving (about 1 ½
- Calories: 520
- Sugar: 3
- Sodium: 780
- Fat: 22
- Saturated Fat: 10
- Carbohydrates: 45
- Fiber: 2
- Protein: 32
Keywords: cheesy ground beef and rice, one skillet meal, quick dinner, weeknight dinner, ground beef recipe, cheesy rice, 15 minute meal