Love this? Save it for later!
Share the inspiration with your friends
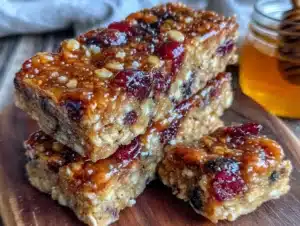
The morning meeting was in twenty minutes, and I’d completely forgotten to bring a snack. Everyone else had these fancy energy balls or artisanal pastries that looked like they took hours to prepare. I had, honestly, just a half-empty pantry and maybe ten minutes to whip up something decent. The kitchen was a mess, my favorite mixing bowl had a crack leaking oat bits everywhere, and my phone kept buzzing with reminders. You know that feeling when you’re scrambling, hoping for a miracle? Well, that’s when I threw together my chewy homemade granola bars—a quick fix made from whatever was on hand.
I wasn’t aiming to impress anyone, just wanted something that would stick with me through the afternoon slump. But, funny enough, these granola bars turned out to be the hit of the day. The texture was soft but chewy, the kind that clings just right to your teeth without falling apart, and the flavors were just right—not too sweet, perfectly nutty. Honestly, making these bars became my go-to lifesaver whenever time’s tight and hunger hits hard.
Maybe you’ve been there, staring at an empty snack drawer, wondering if you can pull off something homemade without a full grocery run or hours of prep. If so, let me tell you, these chewy homemade granola bars that stick are exactly what you need. They’re simple, fast, and surprisingly satisfying—the kind of snack you don’t just eat but remember.
Why You’ll Love This Recipe
Having tested dozens of granola bar recipes over the years, I can say this one really stands out for several reasons. It’s the perfect balance of chewy texture and hearty flavor that you want from a snack bar, especially when you’re rushing out the door or need a little pick-me-up during a hectic day.
- Quick & Easy: Comes together in about 15 minutes, with no baking required—ideal for busy mornings or last-minute snack needs.
- Simple Ingredients: Uses pantry staples like oats, nuts, honey, and dried fruits, so no scrambling for fancy items.
- Perfect for On-the-Go: These bars are sturdy enough to hold up in your bag without crumbling everywhere.
- Crowd-Pleaser: I’ve shared these at office meetings and weekend hikes, and they always get rave reviews from kids and adults alike.
- Unbelievably Delicious: The chewy texture combined with a hint of toasted nuts and natural sweetness is just right—comfort food without the guilt.
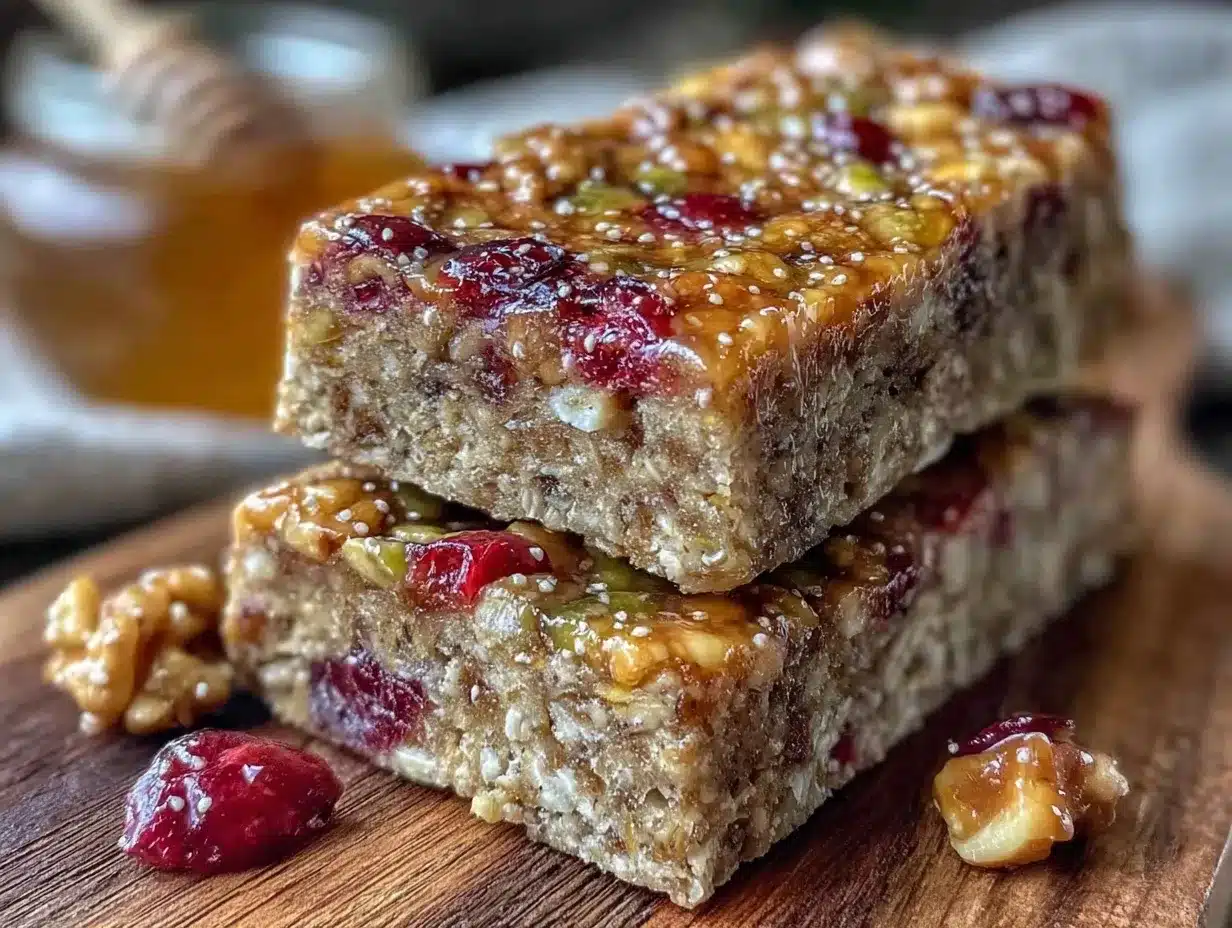
What really makes this recipe different is the way the ingredients stick together just enough without turning into a hard block. The secret is in balancing sticky binder ingredients like honey and nut butter, then gently pressing the mixture so it holds but stays soft. Plus, you can mix in whatever nuts or dried fruit you have on hand, making it a versatile snack that’s always a little bit different but always satisfying.
Honestly, these bars aren’t just snacks; they’re little moments of calm in a busy day—the kind you look forward to pulling out of your bag. I keep making them because they remind me that even when life’s hectic, a good snack can still be simple and homemade.
What Ingredients You Will Need
This recipe uses simple, wholesome ingredients to deliver chewy texture and a natural, satisfying sweetness without any fuss. Most of these are pantry basics, so it’s perfect for a spontaneous snack fix.
- Old-fashioned rolled oats: 2 cups (about 180 g) – the chewy foundation. I always use Bob’s Red Mill for best texture.
- Nut butter: ½ cup (about 128 g) – creamy peanut butter or almond butter works perfectly (use natural, unsweetened for less sugar).
- Honey or maple syrup: ⅓ cup (about 113 g) – acts as the sticky binder and adds natural sweetness.
- Dried fruit: ½ cup (about 70 g) – chopped dates, raisins, or cranberries add chew and bursts of flavor.
- Chopped nuts: ½ cup (about 60 g) – walnuts, almonds, or pecans for crunch and richness.
- Vanilla extract: 1 teaspoon – gives a subtle, warm flavor lift.
- Salt: ¼ teaspoon – balances sweetness and brings out the nutty notes.
- Optional add-ins: 2 tablespoons dark chocolate chips, chia seeds, or shredded coconut for extra texture and flavor.
You can swap nut butter for sunflower seed butter if you have a nut allergy, and use agave syrup instead of honey for a vegan-friendly version. If fresh fruit is handy, adding chopped apple or pear can be a fun seasonal twist. The key is to keep the wet and dry ingredients balanced so the bars stick together but don’t turn hard.
Equipment Needed
Making these chewy homemade granola bars requires just a handful of kitchen tools, many of which you probably already own. Here’s what you’ll need:
- Mixing bowl: A large bowl for combining ingredients. I prefer glass or stainless steel, but plastic works too.
- Measuring cups and spoons: For precise ingredient amounts—especially important for sticky binders.
- Wooden spoon or spatula: To mix the sticky batter without losing patience (trust me, it can get a bit stubborn).
- 8×8-inch baking pan or similar: For pressing the mixture into shape. If you don’t have one, a loaf pan or even a rimmed cookie sheet lined with parchment paper will do.
- Parchment paper: To line the pan and prevent sticking, making cleanup easier.
- Sharp knife: For cutting the bars evenly once set.
If you want to get fancy, a food processor can chop nuts and dried fruit quickly, but I usually do it by hand to keep a bit of chunky texture. And if you’re on a budget, just use what you have—an old cookie sheet and a butter knife can work in a pinch!
Preparation Method
- Toast the oats and nuts (optional but recommended): Preheat your oven to 350°F (175°C). Spread oats and chopped nuts on a baking sheet and toast for 8-10 minutes, stirring halfway. This step adds a toasty aroma and deepens the flavor. Let cool completely before mixing. (If you’re short on time, you can skip this step, but it does make a difference!)
- Mix the wet ingredients: In your large mixing bowl, combine ½ cup (128 g) nut butter with ⅓ cup (113 g) honey or maple syrup. Add 1 teaspoon vanilla extract and ¼ teaspoon salt. Stir until smooth and well blended. The mixture should be glossy and pourable but thick enough to hold on its own.
- Add dry ingredients: Stir in 2 cups (180 g) rolled oats, ½ cup (70 g) chopped dried fruit, and ½ cup (60 g) toasted nuts. If using, fold in optional add-ins like chocolate chips or chia seeds now. Use a sturdy spoon because the mixture will be sticky and thick. Make sure everything is coated evenly.
- Press into prepared pan: Line an 8×8-inch pan with parchment paper, leaving some overhang for easy removal. Transfer the mixture to the pan and press down firmly with a spatula or clean hands. The firmer you press, the better the bars will hold together. Aim for an even thickness about ¾ inch (2 cm).
- Chill and cut: Refrigerate the pan for at least 2 hours to set the bars. Once firm, use the parchment overhang to lift the slab from the pan. Place on a cutting board and slice into 10-12 bars with a sharp knife. Store in an airtight container either at room temperature for a day or in the fridge for longer freshness.
Pro tip: If your bars crumble when cutting, press the mixture a bit more firmly next time or chill them longer. You want them to stick, but still be chewy—not rock hard.
Cooking Tips & Techniques
One thing I learned the hard way is that the balance between wet and dry ingredients is delicate. Too much honey or nut butter makes the bars gooey and hard to cut; too little, and they fall apart. I recommend measuring carefully and pressing the mixture tightly into the pan to get that perfect chewy texture that actually sticks together.
When mixing, don’t rush. Make sure the oats and nuts are evenly coated so each bite has consistent flavor. Toasting the oats and nuts separately really amps up the nutty aroma—don’t skip it if you can help it.
Another tip: If you’re adding chocolate chips, wait until the bars are cool before mixing them in, or they’ll melt and make a mess. I like to sprinkle them on top after pressing, then gently press down to embed them.
For multitasking, start toasting the oats and nuts first, then prepare the wet ingredients while they cool—this saves a few minutes. Also, keep your knife hot by dipping it in warm water before slicing; it helps get clean cuts without crumbling.
Variations & Adaptations
These chewy homemade granola bars are a great base for many tasty twists. Here are some ideas I’ve tried or recommend:
- Gluten-Free: Use certified gluten-free oats and swap nuts for seeds like pumpkin or sunflower to avoid cross-contamination.
- Vegan: Replace honey with maple syrup or agave, and make sure your nut butter is free of added dairy ingredients.
- Seasonal Fruit: Swap dried fruit for fresh chopped apples or pears plus a sprinkle of cinnamon for a fall-inspired bar.
- Chocolate Lover’s: Add cocoa powder to the wet mix and top with dark chocolate chunks for a richer treat.
- Nut-Free: Use sunflower seed butter and seeds instead of nuts for allergy-friendly bars.
Once, I stirred in shredded coconut and a handful of chopped crystallized ginger for a tropical zing that was surprisingly addictive. Feel free to experiment with what you love and have on hand!
Serving & Storage Suggestions
These granola bars are perfect for snacking straight from the fridge or at room temperature. I like them chilled on hot days for a refreshing bite, but at room temp, they’re softer and easier to chew.
For serving, wrap individual bars in parchment paper or reusable wax wraps to grab on the go. They pair wonderfully with a cup of coffee or a glass of cold milk for a quick breakfast or afternoon boost.
Store bars in an airtight container in the refrigerator for up to a week, or freeze for up to 3 months. To thaw, just leave a bar on the counter for 10-15 minutes, or pop it in the microwave for 10 seconds if you like it warm.
Flavors actually mellow and meld a bit after a day, so if you can wait, they taste even better the next day. Just don’t wait too long—these bars don’t last long around my house!
Nutritional Information & Benefits
Each granola bar (assuming 12 bars per batch) contains approximately:
| Nutrient | Amount |
|---|---|
| Calories | 180-200 kcal |
| Protein | 5 grams |
| Carbohydrates | 22 grams (including 5 grams fiber) |
| Fat | 9 grams (mostly healthy fats) |
| Sugar | 8-10 grams (natural sugars from honey and dried fruit) |
The oats provide slow-releasing energy and fiber, while nut butter adds healthy fats and protein to keep you full longer. Using natural sweeteners keeps this snack more wholesome than store-bought bars loaded with refined sugars and preservatives.
This recipe is naturally gluten-free if you use certified oats, and can be adapted for vegan and nut-free diets. Just watch for allergies in nuts and seeds.
From a wellness perspective, these bars are a satisfying alternative to processed snacks—they help me avoid the afternoon sugar crash while still feeling indulgent enough to satisfy cravings.
Conclusion
If you’re looking for a straightforward, satisfying snack that you can whip up in a flash, these chewy homemade granola bars that stick are a winner. They hit that sweet spot between chewy and sturdy without being rock hard or crumbly. Plus, you get the joy of knowing exactly what’s inside without any mystery ingredients.
Feel free to tweak the nuts, fruits, or sweeteners to suit your taste and pantry. I love how forgiving this recipe is—it’s easy to customize and still come out great every time. Honestly, these bars have become my secret weapon for busy days, travel, or just when hunger strikes unexpectedly.
Give them a try, and let me know how you make them your own! Drop a comment below with your favorite add-ins or any tips you discover. Sharing recipes and stories is what makes cooking fun, after all. Happy snacking!
FAQs
Can I make these granola bars without nuts?
Yes! Substitute nuts with seeds like pumpkin, sunflower, or chia seeds to keep the crunch and avoid allergens.
How long do homemade granola bars last?
Stored in an airtight container in the fridge, they last about a week. For longer storage, freeze them up to 3 months.
Can I bake these granola bars instead of refrigerating?
This recipe is designed for no-bake chilling to keep the chewiness. Baking would make them crispier, which is a different texture but possible if you prefer.
What’s the best way to cut the bars cleanly?
Use a sharp knife warmed under hot water, wipe dry, then slice in one smooth motion to prevent crumbling.
Can I use quick oats instead of rolled oats?
Quick oats can be used but may result in a less chewy texture. Rolled oats are preferred for the best bite.
Pin This Recipe!
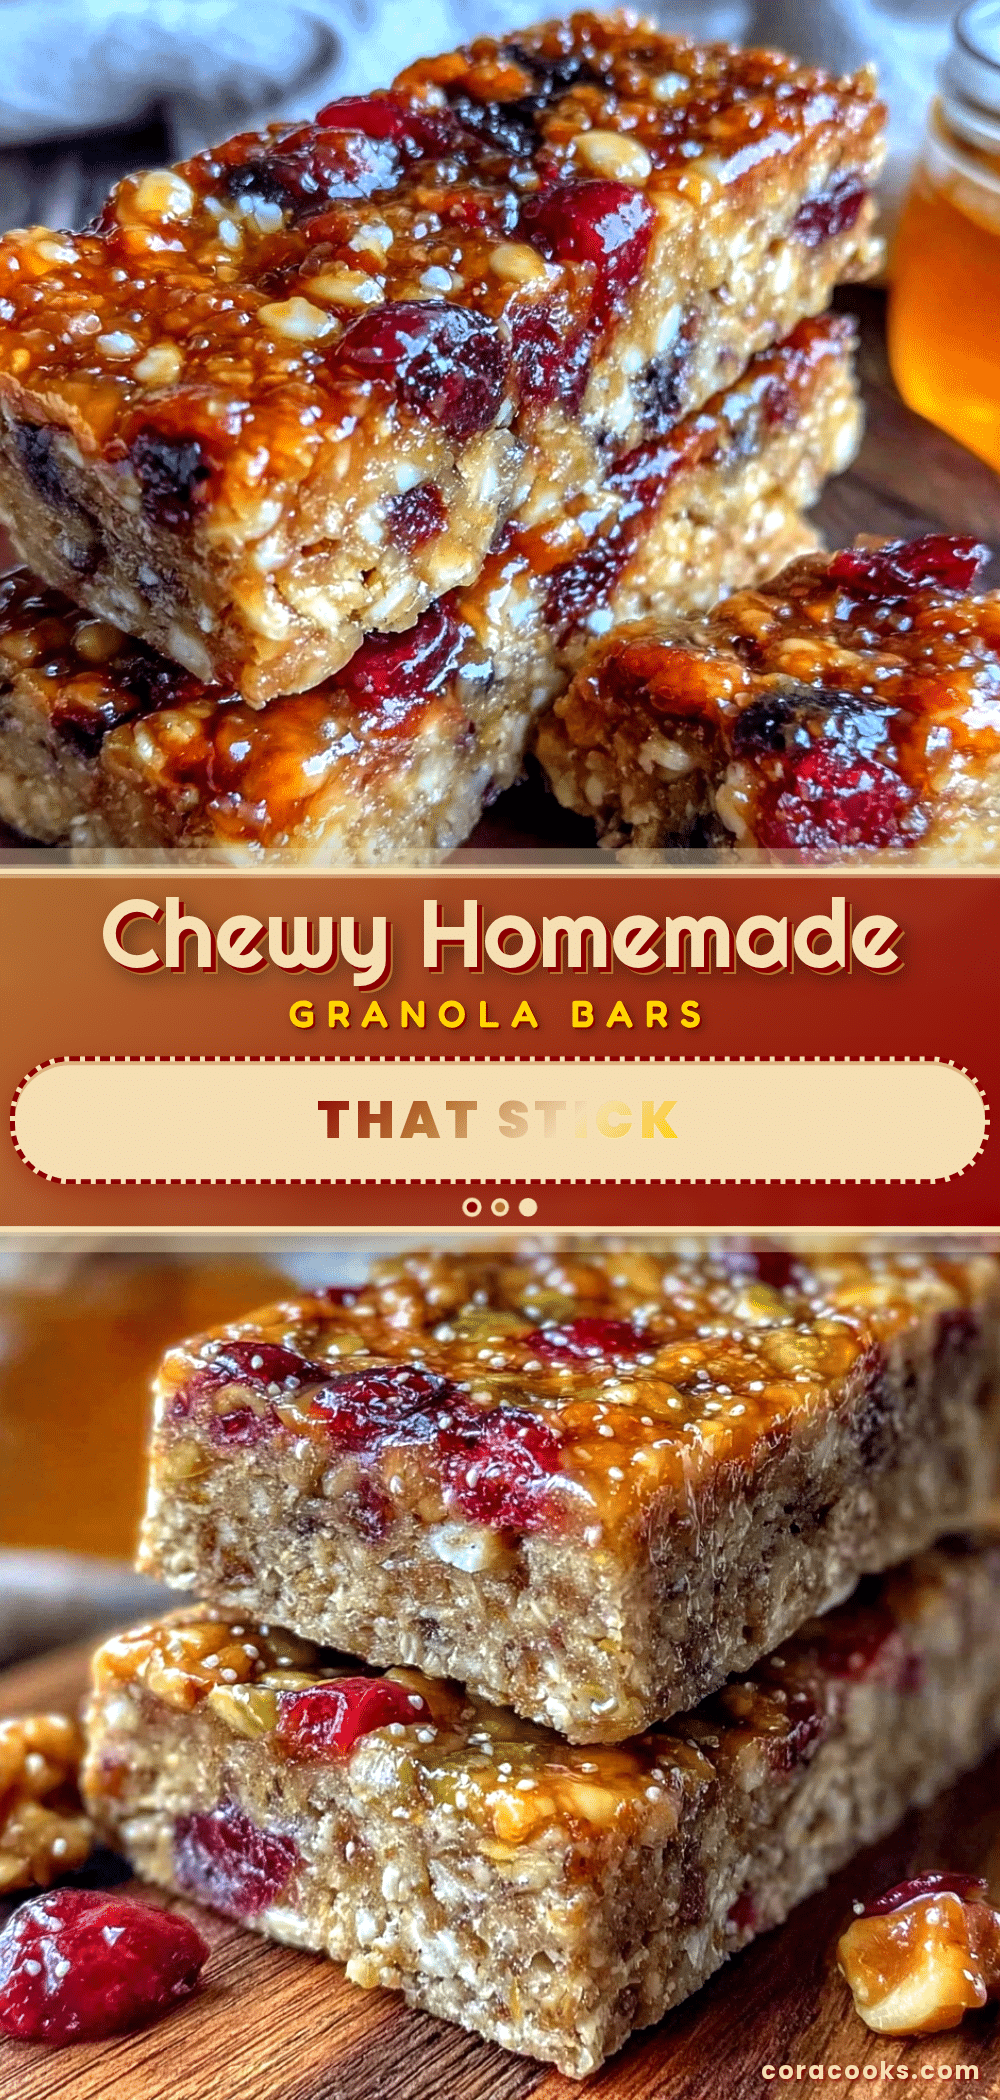
Chewy Homemade Granola Bars
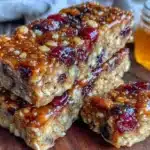
Quick and easy no-bake granola bars with a perfect chewy texture, made from simple pantry staples like oats, nut butter, honey, nuts, and dried fruit. Ideal for on-the-go snacks that are satisfying and wholesome.
- Prep Time: 15 minutes
- Cook Time: 10 minutes (toasting, optional)
- Total Time: 2 hours 25 minutes
- Yield: 10-12 bars 1x
- Category: Snack
- Cuisine: American
Ingredients
- 2 cups old-fashioned rolled oats (about 180 g)
- 1/2 cup nut butter (about 128 g) – creamy peanut butter or almond butter, natural and unsweetened
- 1/3 cup honey or maple syrup (about 113 g)
- 1/2 cup chopped dried fruit (about 70 g) – dates, raisins, or cranberries
- 1/2 cup chopped nuts (about 60 g) – walnuts, almonds, or pecans
- 1 teaspoon vanilla extract
- 1/4 teaspoon salt
- Optional add-ins: 2 tablespoons dark chocolate chips, chia seeds, or shredded coconut
Instructions
- Preheat oven to 350°F (175°C). Spread oats and chopped nuts on a baking sheet and toast for 8-10 minutes, stirring halfway. Let cool completely before mixing. (Optional but recommended)
- In a large mixing bowl, combine nut butter and honey or maple syrup. Add vanilla extract and salt. Stir until smooth and well blended.
- Stir in rolled oats, chopped dried fruit, and toasted nuts. Fold in optional add-ins if using. Mix thoroughly to coat evenly.
- Line an 8×8-inch baking pan with parchment paper, leaving overhang for easy removal. Transfer mixture to pan and press down firmly with a spatula or clean hands to about 3/4 inch (2 cm) thickness.
- Refrigerate for at least 2 hours to set. Lift the slab from the pan using parchment overhang and cut into 10-12 bars with a sharp knife.
Notes
Toasting oats and nuts is optional but enhances flavor. Press mixture firmly into pan to prevent crumbling. Chill bars for at least 2 hours before cutting. Use a warm knife for clean cuts. Bars can be stored in an airtight container in the fridge for up to 1 week or frozen for up to 3 months. Substitute ingredients to accommodate allergies or dietary preferences.
Nutrition
- Serving Size: 1 bar (if 12 bars pe
- Calories: 180200
- Sugar: 810
- Sodium: 50
- Fat: 9
- Saturated Fat: 1
- Carbohydrates: 22
- Fiber: 5
- Protein: 5
Keywords: granola bars, homemade granola bars, chewy granola bars, no bake snacks, healthy snacks, on-the-go snacks, nut butter snacks, easy granola bars