Love this? Save it for later!
Share the inspiration with your friends
Introduction
“I wasn’t expecting to master the grill on my first try,” I confessed to my friend while wiping the sweat from my brow one unusually warm Saturday afternoon. You know that feeling when you’re standing in front of a grill, armed with nothing but a vague memory of barbecue shows and a reckless amount of confidence? That was me, clutching a bag of chicken thighs and a handful of spices, ready to prove I wasn’t just a kitchen-dweller but a backyard chef in the making.
It all began when I impulsively bought a pack of chicken thighs at my local farmer’s market—yes, the same one where I accidentally knocked over a display of heirloom tomatoes the week before. I figured thighs were forgiving for beginners, and the simple dry rub recipe scribbled on a crumpled index card from a neighbor seemed doable. Honestly, I forgot half the instructions, got distracted by the neighbor’s dog, and almost set off the smoke alarm. But somewhere between the sizzling skin and that first smoky bite, I realized grilling didn’t have to be intimidating.
Maybe you’ve been there too—wanting to impress on the grill without the fuss or a laundry list of fancy ingredients. That’s exactly why this recipe stuck with me. It’s straightforward, forgiving, and lets the chicken shine with just a few pantry staples. No special skills required, just a little patience and a hungry appetite.
Why You’ll Love This Recipe
- Quick & Easy: Comes together in under 30 minutes, perfect for busy weeknights or last-minute BBQ cravings.
- Simple Ingredients: No need for exotic spices; you likely have everything in your kitchen already.
- Perfect for Beginners: This grilled chicken thigh recipe is foolproof—great for anyone new to grilling.
- Crowd-Pleaser: The juicy, flavorful thighs get rave reviews whether it’s a family dinner or casual get-together.
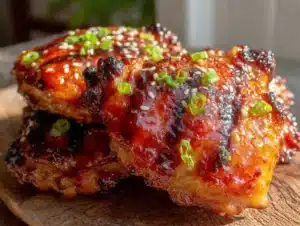
- Unbelievably Delicious: The dry rub creates a crispy, smoky crust that seals in tender, juicy meat every single time.
What sets this recipe apart? It’s the simple dry rub that perfectly balances smoky, savory, and a hint of sweetness without overwhelming the chicken. Plus, the technique is designed to keep things stress-free—you don’t have to babysit the grill or worry about flipping too often. I’ve tested this over many weekends, and the results are always consistent. It’s that kind of recipe that makes you want to close your eyes and savor the first bite—comfort food, but with a little barbecue soul.
What Ingredients You Will Need
This recipe uses simple, wholesome ingredients to deliver bold flavor and satisfying texture without the fuss. Most are pantry staples, so you won’t have to run to the store for anything fancy.
- Chicken thighs: Bone-in, skin-on (about 4-6 pieces, roughly 2 pounds / 900 grams). The skin crisps up beautifully, and the bone keeps the meat juicy.
- Olive oil: 2 tablespoons, to help the dry rub stick and promote crispiness (I prefer extra virgin for that subtle fruity note).
- Smoked paprika: 1 tablespoon, the star of the dry rub that adds smoky depth without a smoker.
- Garlic powder: 1 teaspoon, for savory warmth.
- Onion powder: 1 teaspoon, to round out the flavor.
- Brown sugar: 1 teaspoon, a touch of sweetness that caramelizes on the grill (optional but highly recommended).
- Salt: 1 teaspoon, kosher or sea salt brings out all the flavors.
- Black pepper: ½ teaspoon, freshly ground for a little bite.
- Chili powder: ½ teaspoon, for a subtle kick (optional).
If you want to switch it up, you could try swapping smoked paprika for regular paprika and add a pinch of cumin for earthiness. For those avoiding sugar, replace brown sugar with a pinch of ground coriander to keep complexity without sweetness. And if you’re after a gluten-free version, rest assured the dry rub contains no hidden gluten.
Equipment Needed
- Grill: A gas or charcoal grill works fine here—I’ve even done this on a trusty cast iron grill pan when the weather wasn’t cooperating.
- Tongs: Long-handled tongs for easy flipping without burning your fingers.
- Mixing bowl: For combining the dry rub ingredients and tossing the chicken.
- Meat thermometer: Optional but handy to check for that perfect internal temperature of 165°F (74°C).
- Basting brush: For lightly oiling the chicken if you prefer (or just use your hands).
If you don’t have a grill, a heavy skillet or broiler can work in a pinch, but the smoky flavor won’t be quite the same. For budget-friendly grilling, a small portable charcoal grill can be a great starter tool—and a trusty pair of tongs goes a long way.
Preparation Method
- Prepare the dry rub: In a medium bowl, combine 1 tablespoon smoked paprika, 1 teaspoon garlic powder, 1 teaspoon onion powder, 1 teaspoon brown sugar, 1 teaspoon salt, ½ teaspoon black pepper, and ½ teaspoon chili powder (if using). Mix well to evenly distribute the spices. (Approx. 5 minutes)
- Prep the chicken: Pat the chicken thighs dry with paper towels—this step helps the skin crisp up nicely. Drizzle 2 tablespoons olive oil over the chicken, then sprinkle the dry rub generously on both sides. Use your hands to rub it evenly into the skin and meat. Let it sit for 10-15 minutes at room temperature if you have time; otherwise, it’s okay to grill right away.
- Preheat the grill: Heat your grill to medium-high, about 400°F (200°C). If using charcoal, wait until coals are covered with white ash. Oil the grill grates lightly to prevent sticking.
- Grill the chicken: Place the thighs skin-side down on the grill. Let them cook undisturbed for 6-7 minutes until the skin is golden and crispy. Flip the thighs and grill for another 6-8 minutes. (Total grilling time about 12-15 minutes.)
- Check doneness: Use a meat thermometer to check internal temperature—it should reach 165°F (74°C). If you don’t have a thermometer, cut into the thickest part to ensure juices run clear, not pink.
- Rest the chicken: Remove from the grill and let the thighs rest for 5 minutes. This helps the juices redistribute and keeps the meat tender.
- Serve: Enjoy hot off the grill with your favorite sides!
Quick tip: If flare-ups happen, move chicken to a cooler part of the grill briefly. I once had to rescue a batch when my neighbor’s dog knocked over the lighter fluid bottle—true story! Keep a spray bottle handy to tame flames.
Cooking Tips & Techniques
Grilling chicken thighs might seem straightforward, but a few tricks make all the difference. First, drying the skin before applying the rub is key—moisture is the enemy of crispiness. I learned this the hard way, ending up with soggy skin on my second attempt.
Patience is your friend here. Resist the urge to flip too often. Let the chicken develop that beautiful crust by leaving it skin-side down without poking or moving it for at least 6 minutes. That sizzle you hear? That’s flavor happening.
Use indirect heat if your grill runs hot or the skin is browning too fast before the meat cooks through. I sometimes move the thighs to a cooler spot and close the lid to finish cooking evenly without charring.
And don’t skip resting. It might feel like torture to wait, but cutting into chicken right off the grill causes those precious juices to spill out.
Finally, multitask smartly: while the chicken grills, prep a quick salad or side dish. Trust me, having everything ready at once feels like a win every time.
Variations & Adaptations
If you want to mix things up, here are a few tasty twists:
- Spicy Kick: Add cayenne pepper or hot smoked paprika to the dry rub for a fiery touch.
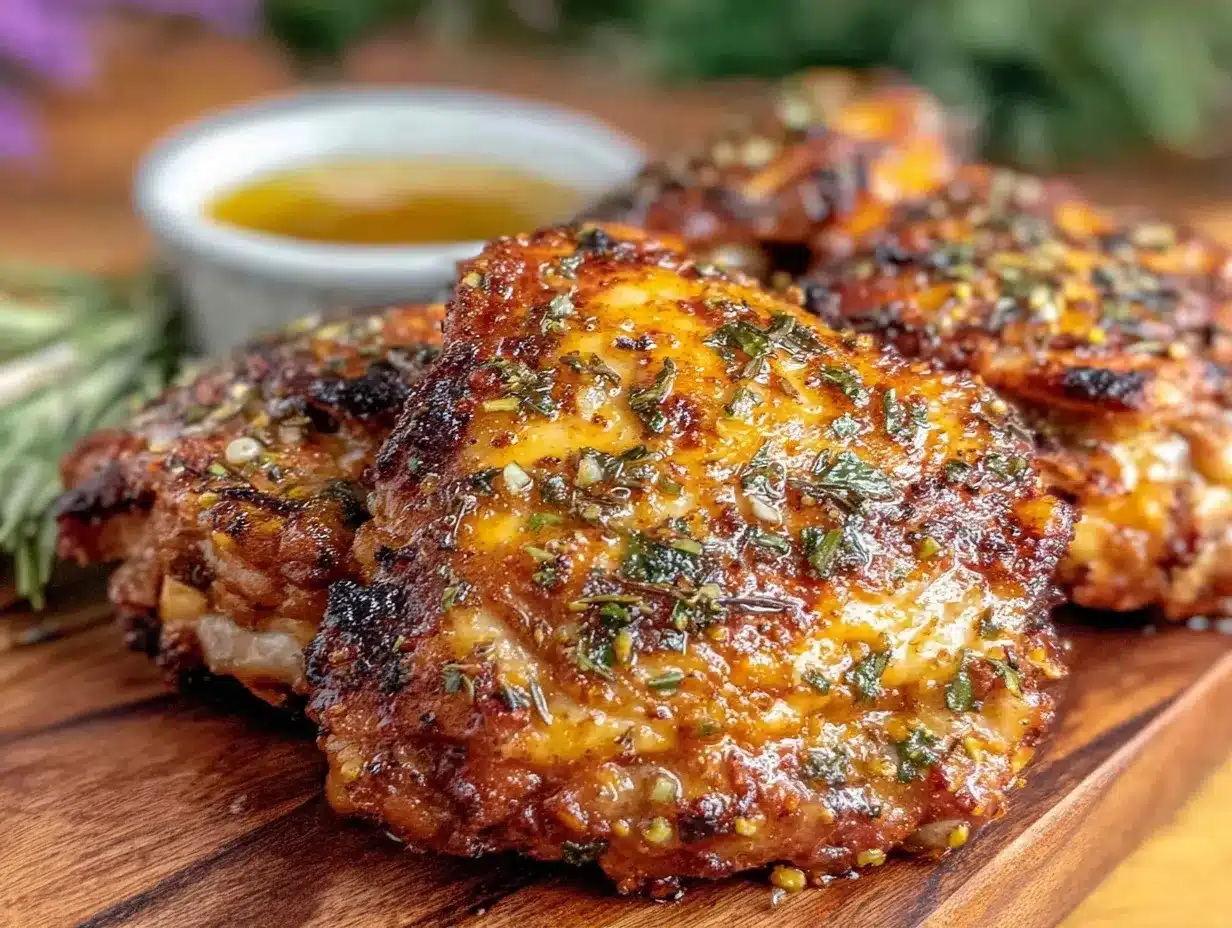
- Herby Fresh: Toss in dried thyme or rosemary to the rub for a fragrant herbal note.
- Asian-Inspired: Swap the dry rub for a simple marinade with soy sauce, ginger, garlic, and a splash of honey. Grill as usual for a tangy glaze.
For cooking methods, these thighs do well baked in the oven at 425°F (220°C) for 25-30 minutes or pan-seared over medium heat then finished in the oven if you don’t have grill access.
On the allergen front, the recipe is naturally gluten-free and dairy-free. If you want to avoid sugar, just leave out the brown sugar or use a pinch of smoked salt to maintain some complexity.
One time, I tried a lemon zest addition in the rub, and it added a bright pop that was surprisingly refreshing on a summer evening.
Serving & Storage Suggestions
Serve these grilled chicken thighs hot for the best texture and flavor. They pair beautifully with grilled veggies, a fresh garden salad, or even a creamy coleslaw.
For drinks, a chilled lager or a crisp iced tea complements the smoky notes perfectly. On a cozy night, I like a glass of lightly oaked Chardonnay alongside.
Leftovers? Store in an airtight container in the fridge for up to 3 days. Reheat gently in the oven at 300°F (150°C) to keep the skin from getting rubbery. They’re also great cold, sliced up for salads or sandwiches the next day.
Flavors develop a bit overnight, making the chicken even more savory and juicy. Honestly, sometimes the day-after leftovers taste even better.
Nutritional Information & Benefits
Each serving (about 2 chicken thighs) provides roughly 300 calories, 20 grams of protein, and 22 grams of fat, primarily from the skin, which keeps the meat moist and satisfying.
Chicken thighs are rich in iron and zinc, essential for energy and immune function. The olive oil in the rub adds heart-healthy monounsaturated fats, while the spices contribute antioxidants.
This recipe is naturally gluten-free and dairy-free, making it accessible for many dietary needs. The balance of protein and fat makes it a filling option that supports sustained energy—perfect for an active lifestyle.
Conclusion
If you’re new to grilling or just want a no-fuss recipe that delivers juicy, flavorful chicken every time, this easy beginner’s grilled chicken thighs with simple dry rub is your new best friend. It’s approachable, uses everyday ingredients, and doesn’t demand hours of prep or fancy equipment.
I love how this recipe turned my backyard grilling from a nervous experiment into a satisfying weekend ritual. Give it a try, tweak the spices to your liking, and make it your own. And hey, if you try it out, let me know how it went—comments and stories from your grill are always welcome!
Happy grilling, friends!
FAQs
Can I use boneless chicken thighs for this recipe?
Absolutely! Just reduce the cooking time by about 5 minutes and watch closely to avoid overcooking since boneless thighs cook faster.
What if I don’t have a grill—can I make this indoors?
You can use a cast iron grill pan or broiler. The flavor won’t be as smoky, but the dry rub and crisp skin still shine through.
How long can I marinate the chicken in the dry rub?
It’s best between 15 minutes and 2 hours. Longer than that and the salt can start to cure the meat, changing the texture.
Is this recipe suitable for meal prep?
Yes! These grilled thighs store well and reheat nicely, making them great for quick lunches or dinners throughout the week.
Can I freeze leftover grilled chicken thighs?
Definitely. Wrap them tightly and freeze up to 3 months. Thaw overnight in the fridge and reheat gently to keep them juicy.
Pin This Recipe!
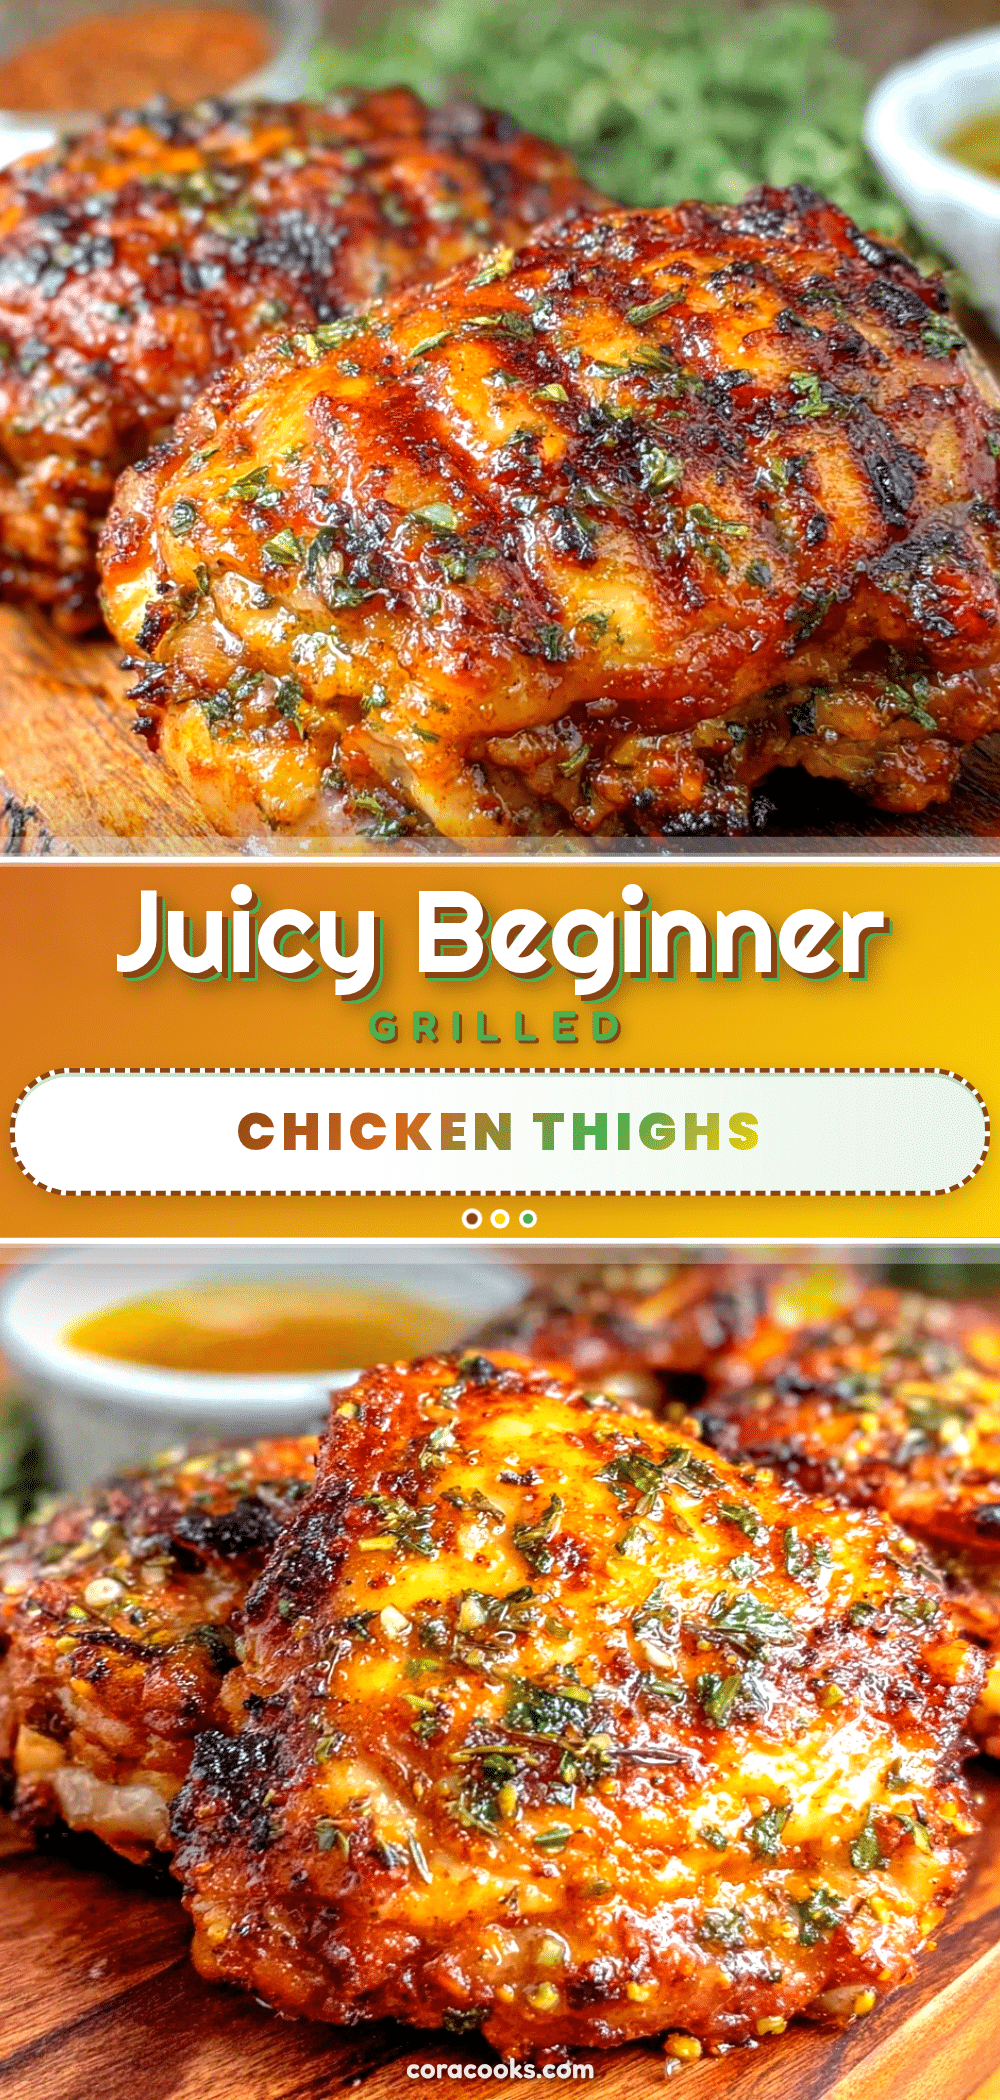
Easy Beginners Grilled Chicken Thighs Recipe with Simple Dry Rub for Perfect BBQ
A straightforward and forgiving grilled chicken thigh recipe featuring a simple dry rub that creates a crispy, smoky crust and juicy meat. Perfect for beginners and quick weeknight BBQs.
- Prep Time: 15 minutes
- Cook Time: 15 minutes
- Total Time: 30 minutes
- Yield: 4 servings 1x
- Category: Main Course
- Cuisine: American
Ingredients
- 4–6 bone-in, skin-on chicken thighs (about 2 pounds / 900 grams)
- 2 tablespoons olive oil (extra virgin preferred)
- 1 tablespoon smoked paprika
- 1 teaspoon garlic powder
- 1 teaspoon onion powder
- 1 teaspoon brown sugar (optional but recommended)
- 1 teaspoon kosher or sea salt
- 1/2 teaspoon freshly ground black pepper
- 1/2 teaspoon chili powder (optional)
Instructions
- In a medium bowl, combine smoked paprika, garlic powder, onion powder, brown sugar, salt, black pepper, and chili powder (if using). Mix well to evenly distribute the spices.
- Pat the chicken thighs dry with paper towels to help the skin crisp up.
- Drizzle olive oil over the chicken, then sprinkle the dry rub generously on both sides. Rub evenly into the skin and meat with your hands.
- Let the chicken sit for 10-15 minutes at room temperature if time allows, or grill immediately.
- Preheat grill to medium-high heat (about 400°F / 200°C). Oil the grill grates lightly to prevent sticking.
- Place chicken thighs skin-side down on the grill. Cook undisturbed for 6-7 minutes until skin is golden and crispy.
- Flip the thighs and grill for another 6-8 minutes, total grilling time about 12-15 minutes.
- Check doneness with a meat thermometer; internal temperature should reach 165°F (74°C). Alternatively, cut into the thickest part to ensure juices run clear.
- Remove chicken from grill and let rest for 5 minutes to redistribute juices.
- Serve hot with your favorite sides.
Notes
Pat chicken dry before applying rub for crispy skin. Avoid flipping too often to develop a good crust. Use indirect heat if grill is too hot to prevent charring. Let chicken rest after grilling to keep it juicy. If flare-ups occur, move chicken to cooler part of grill and use a spray bottle to control flames. Can be cooked on a cast iron grill pan or broiler if no grill is available.
Nutrition
- Serving Size: About 2 chicken thig
- Calories: 300
- Fat: 22
- Protein: 20
Keywords: grilled chicken thighs, easy BBQ chicken, beginner grilling recipe, dry rub chicken, simple grilled chicken, backyard BBQ, quick chicken recipe