Love this? Save it for later!
Share the inspiration with your friends
“You know that sound when frozen berries hit the blender? Like a tiny pop concert in your kitchen?” That’s exactly what was happening one scorching Saturday afternoon when I stumbled upon this recipe for fresh homemade mixed berry coconut popsicles. Honestly, I wasn’t planning to create a new summer obsession—I was just trying to cool off after a long walk in the park with my dog, Max, who, by the way, was way more interested in chasing squirrels than helping me in the kitchen.
The idea came from a quirky little farmers market stall tucked behind the usual hustle, where a cheerful vendor was handing out samples of fruity popsicles that tasted like sunshine wrapped in a cool hug. I was skeptical at first—coconut and berries? But after one bite, I was hooked. The combination was unexpectedly refreshing, with the creamy coconut milk smoothing out the tartness of the berries perfectly. I jotted down the ingredients on a crumpled napkin (which I almost lost when Max excitedly knocked my bag over), and later, after a few tweaks here and there, this recipe became my go-to whenever the temperature climbs and I want something light, natural, and just plain fun to eat.
Maybe you’ve been there too—searching for a treat that’s not too sweet but still feels like a reward. These popsicles are exactly that: simple, vibrant, and bursting with flavor. Plus, they’re super easy to make, which means you can whip them up even if you feel like you’re running on empty after a long day. Let me tell you, once you try these, you’ll understand why I keep coming back to this recipe all summer long.
Why You’ll Love This Fresh Homemade Mixed Berry Coconut Popsicles Recipe
After testing several versions of this popsicle recipe (and I mean several—my freezer has seen more popsicle trays than ice cubes lately), I can confidently say this one hits all the right notes. I’m always looking for treats that feel homemade but don’t take forever, and these popsicles check that box perfectly.
- Quick & Easy: Ready in under 10 minutes plus freezing time—perfect for last-minute summer cravings.
- Simple Ingredients: Uses pantry staples and fresh or frozen berries—no exotic shopping trips required.
- Perfect for Summer Gatherings: Whether it’s a backyard barbecue or a pool party, these popsicles are a crowd-pleaser.
- Crowd-Pleaser: Kids love the fruity sweetness, and adults appreciate the light coconut creaminess.
- Unbelievably Delicious: The balance of tart berries with smooth coconut milk makes every bite a refreshing delight.
This isn’t just another popsicle recipe—it’s got a little secret. The coconut milk adds this silky texture that makes the popsicles feel indulgent without being heavy. Plus, blending the berries just right keeps a little chunkiness for texture, which I think makes all the difference. Honestly, it’s the kind of treat that makes you close your eyes after the first bite and smile because it’s so pure and satisfying.
If you love refreshing summer snacks but want to skip the artificial flavors and excessive sugar, these popsicles are a fantastic choice. They’ve become my easy, no-fuss way to bring a splash of color and flavor to hot days.
What Ingredients You Will Need
This recipe uses simple, wholesome ingredients to deliver bold flavor and satisfying texture without the fuss. You probably have most of these in your kitchen already, or can find them effortlessly at your local market.
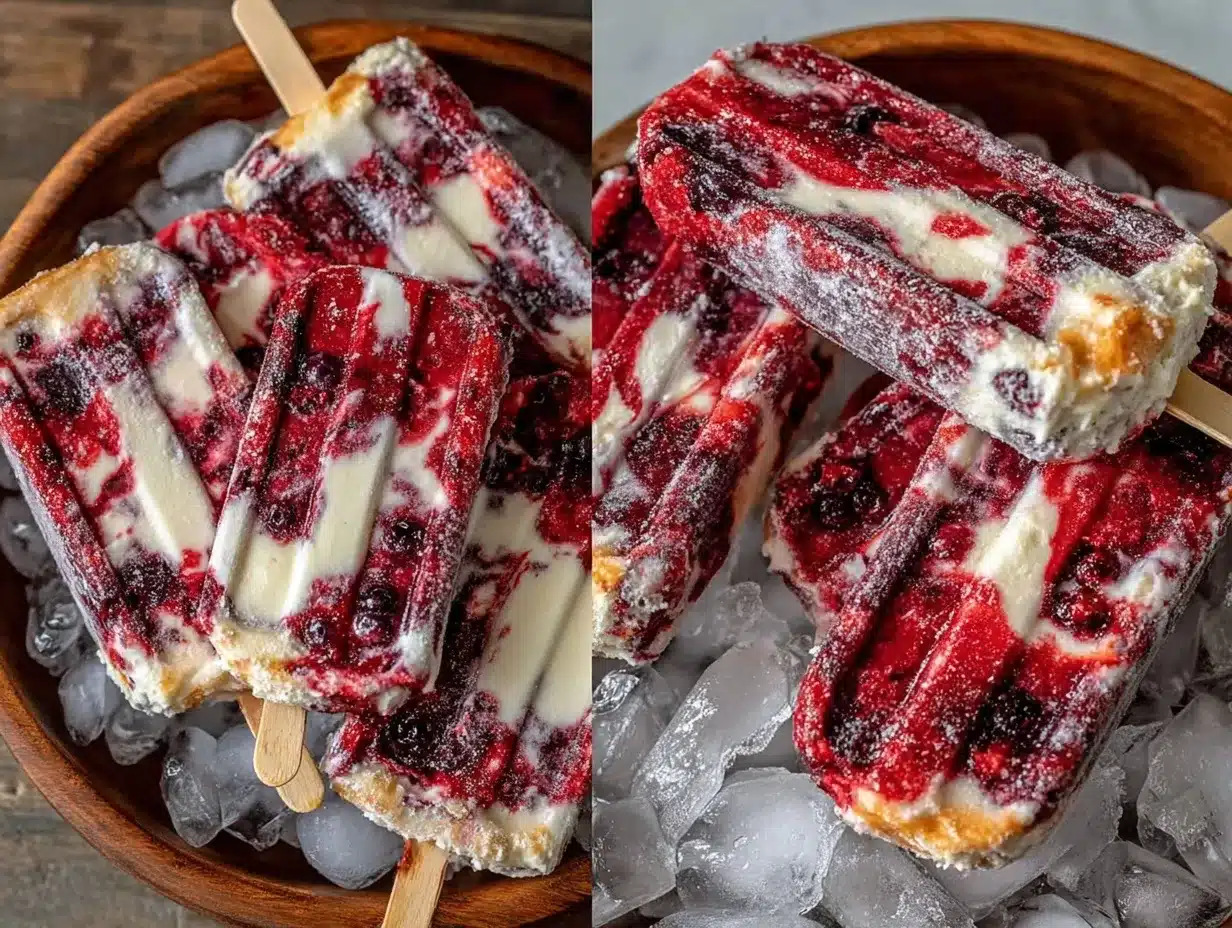
- Mixed Berries (fresh or frozen): 3 cups (about 450g) – I prefer a combo of strawberries, blueberries, raspberries, and blackberries for a vibrant flavor and color. Frozen berries work great if fresh aren’t in season.
- Coconut Milk: 1 cup (240ml), full-fat canned variety for creaminess – I recommend Chaokoh or Native Forest brands for the best texture.
- Honey or Maple Syrup: 2 tablespoons – adds natural sweetness; adjust based on berry tartness.
- Fresh Lemon Juice: 1 tablespoon – brightens the flavors and balances sweetness.
- Vanilla Extract: 1 teaspoon – optional, but it adds a lovely depth.
- Pinch of Sea Salt: enhances the overall taste by bringing out the berry notes.
Substitution tip: Use a dairy-free yogurt instead of coconut milk if you want a tangier popsicle, or almond milk for a lighter version. For a vegan-friendly sweetener, stick with maple syrup or agave nectar.
Equipment Needed
- Blender or Food Processor: Essential for blending the berries smoothly while keeping a bit of texture. I’ve used everything from high-powered blenders to simple immersion blenders — both work fine, just adjust blending time.
- Popsicle Molds: Any standard popsicle mold set will do. If you don’t have molds, small paper cups with wooden sticks make a great alternative.
- Measuring Cups and Spoons: For precise ingredient amounts.
- Mixing Bowl: To combine and adjust the mixture before pouring into molds.
- Fine Mesh Sieve (optional): If you prefer a smoother texture without seeds, strain the blended mixture.
Pro tip: If you’re like me and tend to lose popsicle sticks, buy extra—they’re cheap and save you from last-minute grocery runs. Also, rinse molds with warm water before use for easier popsicle removal.
Preparation Method
- Prepare the Berries (5 minutes): If you’re using fresh berries, rinse them gently and remove stems or leaves. Frozen berries can be used straight from the freezer but let them thaw slightly for easier blending.
- Blend the Fruit and Coconut Milk (3-4 minutes): Add the mixed berries and coconut milk to your blender. Pulse a few times to combine, then blend on medium speed until smooth but still slightly chunky. If you want a completely smooth popsicle, blend longer or strain with a fine mesh sieve.
- Add Sweetener, Lemon, and Vanilla (2 minutes): Pour the mixture into a bowl, then stir in honey or maple syrup, fresh lemon juice, vanilla extract, and a pinch of sea salt. Taste and adjust sweetness or acidity as needed.
- Fill the Popsicle Molds (5 minutes): Carefully spoon or pour the mixture into your molds, leaving a little space at the top to allow for expansion when freezing. Insert sticks and tap molds gently on the counter to release air bubbles.
- Freeze (At least 4 hours): Place molds in the freezer upright and chill until fully solid. For best texture, freeze overnight.
- Unmold and Serve: To remove popsicles easily, run warm water over the outside of the molds for 10-15 seconds. Slide popsicles out and enjoy immediately or store in a freezer-safe container.
Heads up: If your kitchen gets busy, keep the blender lid on tight—once, I had a berry explosion mid-blend, and cleaning up that mess was a workout on its own! Also, remember to stir the mixture before filling molds if it’s been sitting; the heavier coconut milk can separate slightly.
Cooking Tips & Techniques
Here are some kitchen-tested tips that have made these popsicles a consistent hit in my house:
- Use ripe, flavorful berries: The better your berries taste fresh, the better your popsicles will be. I always pick the juiciest ones.
- Don’t over-blend: Leaving some texture adds interest and a more natural feel. Over-blending can turn the popsicles into a flat puree.
- Adjust sweetness carefully: Berries vary in tartness, so taste before freezing. You can always drizzle a bit more honey on top before serving for extra sweetness.
- Freeze flat: Make sure molds sit flat to avoid uneven freezing or lopsided popsicles.
- Multitask during freezing: Use freezing time to prep toppings or clean up, so you’re ready to serve once they’re set.
- Prevent freezer burn: Store extra popsicles in a sealed container or wrap in plastic wrap to keep them tasting fresh.
Once, I tried adding chunks of fresh fruit inside the mold before freezing; it looked pretty but made the popsicles harder to release. Lesson learned: keep it blended or add chunks only after partial freezing.
Variations & Adaptations
This recipe is flexible and welcomes a few creative spins. Here are some ways I’ve personalized it over time:
- Tropical Twist: Swap mixed berries for mango and pineapple chunks with coconut milk for a sunny island vibe.
- Green Berry Popsicles: Add a handful of fresh spinach or kale for a boost of greens — the coconut milk masks the veggie flavor nicely.
- Chocolate Berry: Stir in a tablespoon of cocoa powder or mini dark chocolate chips for a dessert-like treat.
- Low Sugar: Use unsweetened coconut milk and skip the syrup if you prefer a tart, refreshing popsicle.
- Allergen-free: Use oat or rice milk instead of coconut milk if coconut is off-limits, and swap honey for maple syrup for a vegan option.
My favorite personal twist involves adding a teaspoon of freshly grated ginger to the blend — it adds a subtle kick that pairs beautifully with the berries.
Serving & Storage Suggestions
These popsicles are best served straight from the freezer on a hot day—refreshing and cooling you down instantly. I like to present them on a colorful platter with a few fresh berries scattered around for a pretty touch.
They pair wonderfully with light summer salads, crispy garlic chicken for a playful contrast, or a glass of sparkling water with lime for extra zest.
Store any leftovers in an airtight container or back in the molds, tightly covered, in the freezer. Popsicles keep well for up to 2 weeks but are best enjoyed within a few days to avoid ice crystals forming.
To reheat (if you want to soften them slightly), leave them at room temperature for 5 minutes or dip the mold briefly in warm water. The flavors tend to deepen a bit with time, making them taste even richer the next day.
Nutritional Information & Benefits
Each popsicle contains roughly 80-100 calories, depending on size and exact ingredients, making them a guilt-free treat. The berries are packed with antioxidants and vitamins C and K, which support immune health and skin vitality.
Coconut milk provides healthy fats that promote satiety and a creamy texture without dairy. This recipe is naturally gluten-free and can be made vegan easily by choosing plant-based sweeteners.
Personally, I love how these popsicles feel like a little wellness boost disguised as dessert—perfect for keeping energy up during long summer afternoons without the sugar crash.
Conclusion
Fresh homemade mixed berry coconut popsicles are a simple, refreshing treat that anyone can make with just a handful of ingredients and a little patience while they freeze. They’re perfect for cooling off on hot days or adding a splash of color and flavor to your summer routine.
Feel free to tweak the berries, sweetness, or add-ins to match your taste buds — this recipe really invites your own touch. I keep coming back to it because it’s easy, delicious, and reminds me of that unexpected joy of discovering something wonderful in the middle of a busy day.
Give it a try, and please share your own versions or tips in the comments—I’d love to hear how you make these popsicles your own. Here’s to many cool, berry-filled afternoons ahead!
Frequently Asked Questions About Fresh Homemade Mixed Berry Coconut Popsicles
- Can I use frozen berries instead of fresh?
Absolutely! Frozen berries work great and make this recipe easy year-round. - How long do these popsicles last in the freezer?
They’re best eaten within 2 weeks for optimal flavor and texture. - Can I make these without coconut milk?
Yes, substitute with almond, oat, or dairy milk, but expect a thinner texture. - Do I need to soak the popsicle sticks before freezing?
No need if you use plastic or wooden sticks designed for popsicles. Just insert them after filling the molds. - How can I make these popsicles sweeter without adding sugar?
Use riper berries or add a bit more natural sweetener like honey or maple syrup. A splash of orange juice can also enhance sweetness naturally.
Pin This Recipe!
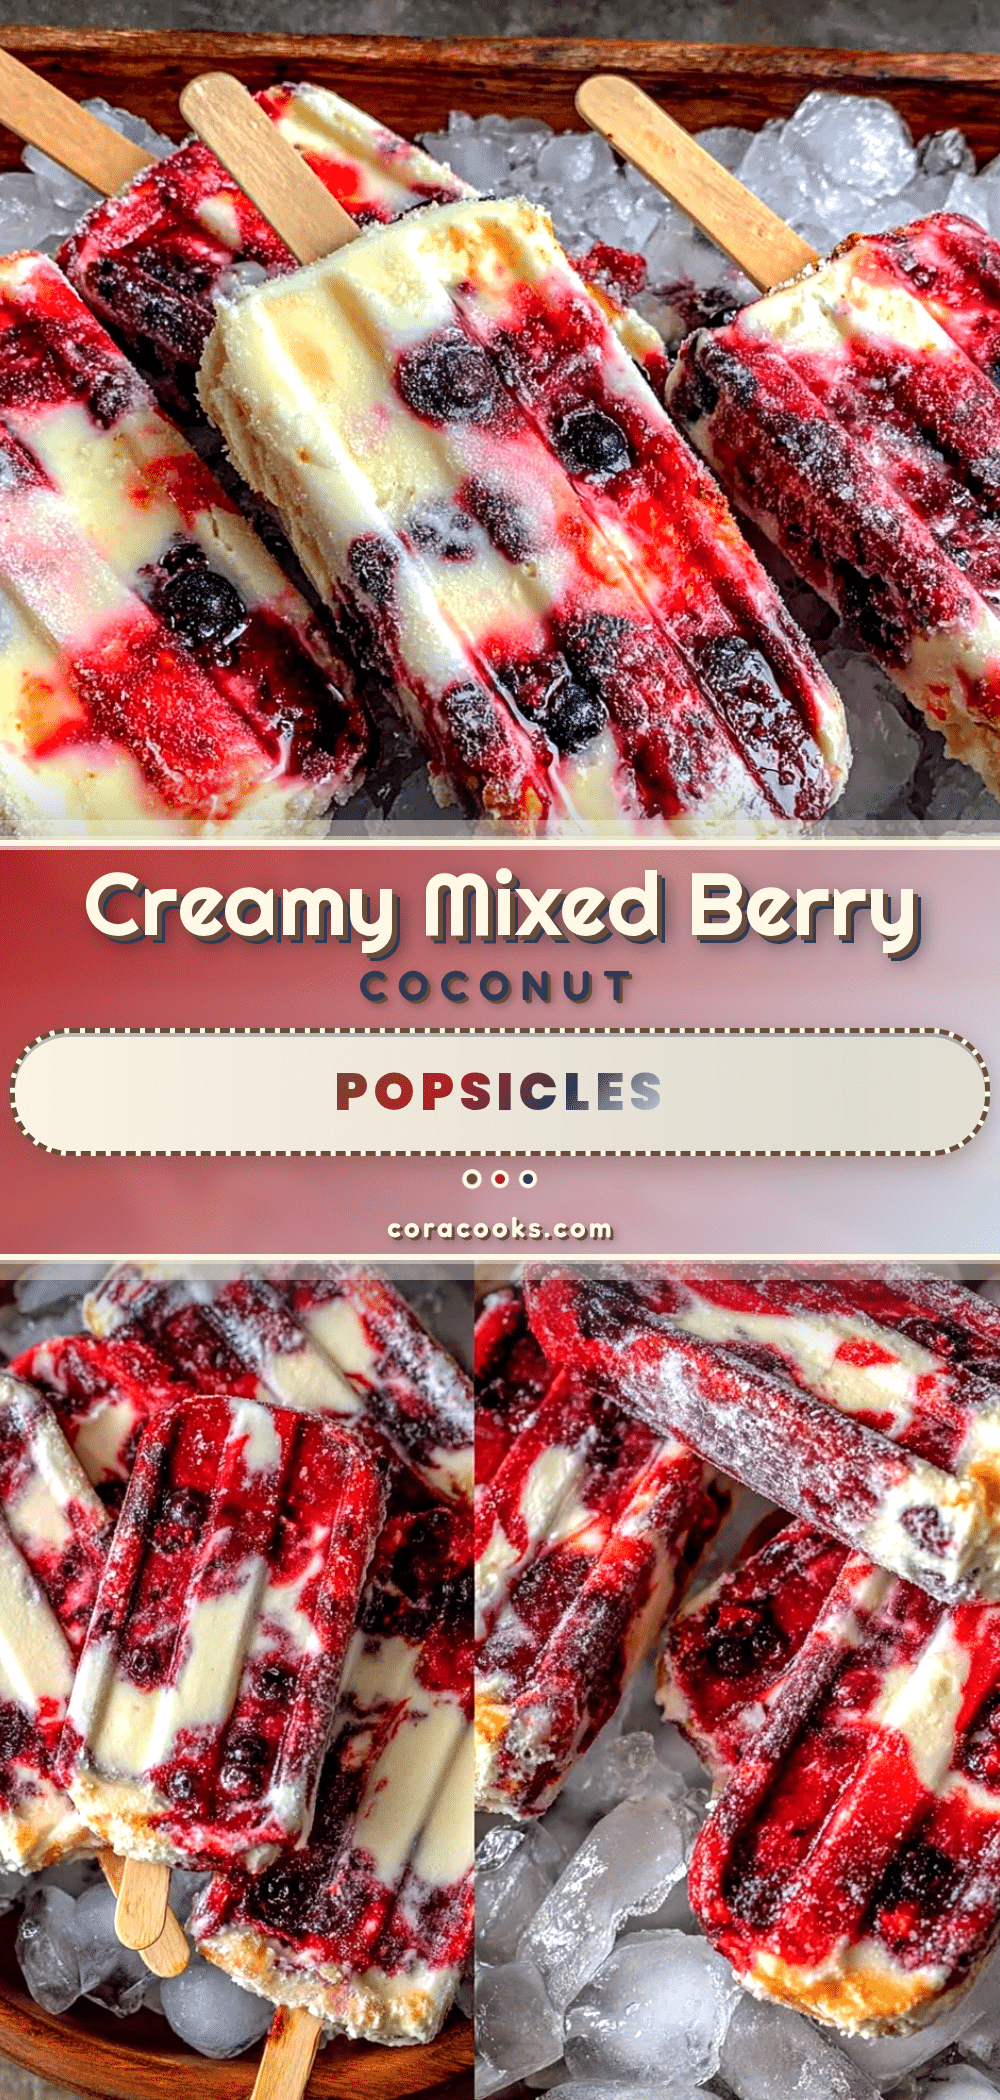
Fresh Homemade Mixed Berry Coconut Popsicles

These fresh homemade mixed berry coconut popsicles are a quick, easy, and refreshing summer treat combining tart berries with creamy coconut milk for a naturally sweet and satisfying snack.
- Prep Time: 10 minutes
- Cook Time: 0 minutes
- Total Time: 4 hours 10 minutes
- Yield: 8 popsicles 1x
- Category: Dessert
- Cuisine: American
Ingredients
- 3 cups mixed berries (fresh or frozen; strawberries, blueberries, raspberries, blackberries)
- 1 cup full-fat canned coconut milk (8 fl oz)
- 2 tablespoons honey or maple syrup
- 1 tablespoon fresh lemon juice
- 1 teaspoon vanilla extract (optional)
- Pinch of sea salt
Instructions
- Prepare the berries by rinsing fresh berries and removing stems or leaves; thaw frozen berries slightly if using.
- Add mixed berries and coconut milk to a blender. Pulse a few times to combine, then blend on medium speed until smooth but still slightly chunky. For a smoother texture, blend longer or strain with a fine mesh sieve.
- Pour the mixture into a bowl and stir in honey or maple syrup, fresh lemon juice, vanilla extract, and a pinch of sea salt. Taste and adjust sweetness or acidity as needed.
- Carefully spoon or pour the mixture into popsicle molds, leaving a little space at the top for expansion. Insert sticks and tap molds gently to release air bubbles.
- Freeze the molds upright for at least 4 hours or overnight until fully solid.
- To unmold, run warm water over the outside of the molds for 10-15 seconds and slide popsicles out. Serve immediately or store in a freezer-safe container.
Notes
Use ripe, flavorful berries for best taste. Do not over-blend to keep some texture. Adjust sweetness based on berry tartness. Freeze molds flat and upright to avoid uneven freezing. Store extra popsicles in airtight containers to prevent freezer burn. For easier unmolding, rinse molds with warm water before use.
Nutrition
- Serving Size: 1 popsicle
- Calories: 90
- Sugar: 9
- Sodium: 30
- Fat: 5
- Saturated Fat: 4.5
- Carbohydrates: 12
- Fiber: 2
- Protein: 1
Keywords: mixed berry popsicles, coconut popsicles, summer treats, homemade popsicles, healthy popsicles, dairy-free dessert, vegan popsicles