Love this? Save it for later!
Share the inspiration with your friends
It was 11:47 PM on a random Tuesday in early December, and I was absolutely desperate for something that tasted like a candy cane had a baby with a sugar cookie. I didn’t have the energy for a full-blown cookie decorating session—you know, the kind where you end up with frosting in your hair and a kitchen that looks like a flour bomb went off. But I had a half-used bag of chocolate chips, a box of white cake mix I’d bought on a whim, and a bag of crushed peppermint that was probably meant for hot chocolate. The idea that arrived was weird, honestly. What if I just… smashed it all together? No chilling the dough. No rolling pins. No fuss. I just wanted that cool, minty crunch against something soft and buttery.
I pulled out my biggest mixing bowl and just started throwing things in. I mean, let’s be real—at that hour, precision goes out the window. I accidentally used salted butter instead of unsalted, and honestly? Best mistake I ever made. The salt cut through the sweetness of the white chocolate and peppermint perfectly. I baked the first batch, and the smell that filled my kitchen was this warm, cozy, Christmas-in-a-pan kind of magic. I pulled them out, let them cool for maybe three minutes (patience is not my strong suit at midnight), and took a bite. The edges were slightly crisp, the center was soft, and the peppermint gave this little crunch that made me close my eyes. I texted my friend Sarah a photo at like 12:30 AM, and she responded, “Are you baking at midnight again?” Yes, Sarah. Yes, I am. And I regret nothing.
These cookies became my go-to for the rest of the holiday season. I made them for my neighbor’s cookie swap, for a work party, and honestly, just for myself on a few more late nights. They’re not fancy. They’re not fussy. But they taste like the best kind of Christmas memory—the kind where you’re wrapped in a blanket, watching a cheesy holiday movie, and everything just feels right. Maybe you’ve been there, standing in your kitchen at a weird hour, craving something specific that you can’t quite name. These cookies are that craving, solved.
Why You’ll Love This Recipe
Let me tell you—I’ve tested this recipe about seven times now, tweaking the ratios, trying different chocolate brands, and even testing a gluten-free version for a friend. I can say with full confidence that this is the best version. Here’s why you’re going to fall in love with these cookies:
- Quick & Easy : From start to finish, these cookies take about 25 minutes. No chilling the dough, no complicated steps. Perfect for those last-minute holiday cravings or when you realize you need a dessert for tomorrow’s party.
- Simple Ingredients : You probably have most of these in your pantry right now. Cake mix, butter, eggs, chocolate chips, and peppermint. No fancy grocery store trips required.
- Perfect for Christmas : These cookies scream “holiday cheer.” The red and white peppermint against the dark chocolate is just gorgeous on a cookie platter.
- Crowd-Pleaser : I’ve served these to kids, grandparents, and picky coworkers. Every single person has asked for the recipe. They’re that good.
- Unbelievably Delicious : The texture is what gets me every time. Soft, chewy centers with slightly crisp edges, studded with melty chocolate and crunchy peppermint. It’s pure comfort in cookie form.
What makes this recipe different from all the other peppermint cookies out there? It’s the cake mix base. Using a white cake mix gives you that soft, tender crumb without having to measure out flour, sugar, and leavening agents separately. It’s a shortcut that actually works, and the result is a cookie that tastes like you spent hours on it. Plus, the combination of semi-sweet chocolate and cool peppermint is just unbeatable. It’s not just another cookie—it’s the cookie that will make you the hero of every holiday gathering.
What Ingredients You Will Need
This recipe uses simple, wholesome ingredients to deliver that perfect holiday flavor. Everything comes together quickly, and most of these are pantry staples you probably already have. Let’s break it down:
For the Cookie Base
- 1 box (15.25 oz) white cake mix – I recommend Betty Crocker or Duncan Hines for the best texture. The cake mix is the secret to that soft, tender crumb without any fuss.
- 1/2 cup unsalted butter, melted – Let it cool slightly so it doesn’t cook the eggs when you mix everything together. If you only have salted butter, just reduce the added salt by a pinch.
- 1 large egg, room temperature – Room temperature eggs incorporate better into the batter, giving you a smoother dough.
- 1 teaspoon vanilla extract – Pure vanilla extract is best, but imitation works in a pinch. It adds warmth and depth to the flavor.
For the Mix-Ins
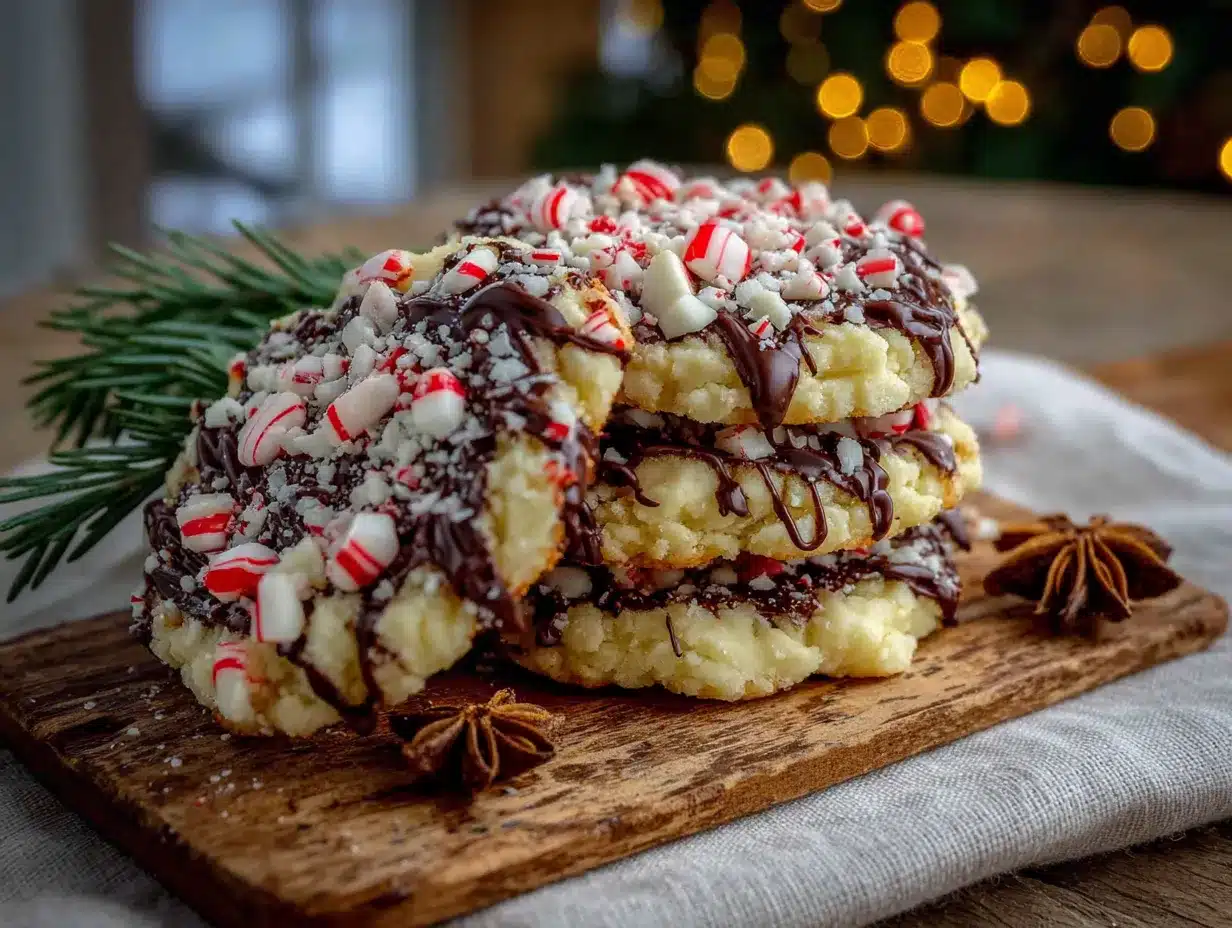
- 1/2 cup semi-sweet chocolate chips – I love Ghirardelli for their rich, melty quality. You can also use dark chocolate chips if you prefer a less sweet cookie.
- 1/2 cup white chocolate chips – These add that creamy sweetness that pairs so well with the peppermint. Use a good quality brand like Guittard or Nestlé Toll House.
- 1/3 cup crushed peppermint candies or candy canes – You can buy pre-crushed peppermint in the baking aisle, or crush your own by putting candy canes in a zip-top bag and smashing them with a rolling pin. It’s oddly satisfying, honestly.
For the Topping
- 1/4 cup crushed peppermint candies – For that beautiful, festive sprinkle on top.
- Optional: 2 tablespoons melted white chocolate – For drizzling over the finished cookies. Not necessary, but it makes them look bakery-level pretty.
Ingredient Tips : For the best texture, make sure your butter is melted but not hot. If it’s too warm, it can make the cookies spread too much. Also, when crushing your peppermint, aim for a mix of fine dust and small chunks. The fine pieces distribute flavor throughout the dough, while the chunks give you those satisfying crunchy bits. I’ve tried this with both store-bought crushed peppermint and homemade, and honestly, homemade gives you better control over the texture. Just be prepared for a little mess—peppermint dust gets everywhere!
Equipment Needed
You don’t need any fancy equipment for these cookies, which is part of their charm. Here’s what you’ll need:
- Large mixing bowl – Any bowl will do, but a wide one makes mixing easier.
- Wooden spoon or rubber spatula – For mixing the dough. I prefer a rubber spatula because it scrapes the sides clean.
- Baking sheets – Two standard baking sheets work well. If you only have one, just bake in batches.
- Parchment paper or silicone baking mat – This prevents sticking and makes cleanup a breeze. I’ve used both, and silicone mats give you slightly more even browning.
- Cookie scoop or tablespoon – For portioning the dough evenly. A 1.5-tablespoon scoop is perfect for these cookies.
- Cooling rack – Essential for letting the cookies cool properly so they don’t get soggy on the bottom.
- Rolling pin and zip-top bag – If you’re crushing your own peppermint. A food processor works too, but I find the rolling pin method more satisfying (and less loud at midnight).
If you don’t have a cookie scoop, just use two spoons to portion the dough. It won’t be as uniform, but they’ll still taste amazing. And if you don’t have a cooling rack, you can let them cool on the baking sheet for a few extra minutes before transferring them to a plate. I’ve done this plenty of times when I was too lazy to pull out the rack.
Preparation Method
Alright, let’s get baking! Follow these steps, and you’ll have a batch of cozy peppermint bark cookies in no time.
- Preheat your oven to 350°F (175°C). Line two baking sheets with parchment paper or silicone mats. This step is important—don’t skip it, or your cookies might stick.
- In a large mixing bowl, combine the cake mix, melted butter, egg, and vanilla extract. Stir with a wooden spoon or rubber spatula until a soft dough forms. It will be thick and slightly sticky—that’s exactly what you want. If it seems too dry, add a teaspoon of milk. If it’s too wet, add a tablespoon of flour.
- Fold in the semi-sweet chocolate chips, white chocolate chips, and 1/3 cup of crushed peppermint. Stir gently until everything is evenly distributed. Don’t overmix, or the cookies can become tough. You want those chocolate chips and peppermint pieces scattered throughout the dough.
- Scoop the dough into 1.5-tablespoon-sized balls. Place them about 2 inches apart on the prepared baking sheets. I usually get about 24 cookies from this recipe. The dough will be a bit sticky, so if it’s giving you trouble, lightly wet your hands or the cookie scoop.
- Bake for 10-12 minutes, or until the edges are set and lightly golden. The centers will look slightly soft and puffy—that’s perfect. They’ll continue to set as they cool. If you overbake them, they’ll be dry, so keep an eye on them after the 10-minute mark.
- Let the cookies cool on the baking sheet for 5 minutes. This is crucial! If you try to move them too soon, they’ll fall apart. After 5 minutes, transfer them to a wire rack to cool completely.
- While the cookies are still warm, sprinkle the remaining 1/4 cup of crushed peppermint over the tops. Press gently so it sticks. If you’re using the optional white chocolate drizzle, wait until the cookies are completely cool, then drizzle the melted white chocolate over them with a fork or a small piping bag.
- Let the cookies cool completely before serving or storing. The white chocolate drizzle needs to set, and the cookies need to firm up. Patience, my friend—it’s worth it.
Personal Tip : I always bake one test cookie first to check the spread and texture. If it spreads too much, I chill the dough for 15 minutes. If it doesn’t spread enough, I press the dough balls down slightly before baking. This little trick has saved me from many a cookie disaster!
Cooking Tips & Techniques
I’ve made these cookies more times than I care to admit, and I’ve learned a few things along the way. Here are my best tips for perfect peppermint bark cookies every time:
- Don’t overmix the dough. I know it’s tempting to keep stirring until everything is perfectly combined, but overmixing develops the gluten and makes the cookies tough. Stop as soon as you don’t see any dry flour.
- Chill the dough if it’s too sticky. If your kitchen is warm or your butter was too soft, the dough can be a nightmare to work with. Just pop it in the fridge for 15-20 minutes, and it’ll be much easier to handle.
- Use a light hand with the peppermint. Too much peppermint can make the cookies taste like toothpaste. Trust me, I learned this the hard way. Stick to the measurements in the recipe, and you’ll get that perfect cool, minty flavor without overwhelming everything else.
- Crush your peppermint in stages. Start with coarse chunks, then crush some into a fine dust. The fine dust distributes flavor throughout the dough, while the chunks give you those satisfying crunchy bits. It’s a texture thing that makes a big difference.
- Bake one sheet at a time. If you put both sheets in the oven at once, they won’t bake evenly. The top sheet will brown faster than the bottom one. Bake them in the middle rack, one after the other, for the best results.
- Let them cool completely before storing. If you stack warm cookies, they’ll stick together and lose their texture. Be patient—I’ve ruined many a batch by rushing this step.
My Biggest Mistake : The first time I made these, I used mint extract instead of crushed peppermint. Big mistake. The cookies had this artificial, almost medicine-like flavor that was just awful. Stick with real crushed peppermint candies or candy canes. The natural flavor is so much better, and you get that lovely crunch.
Variations & Adaptations
One of the best things about this recipe is how versatile it is. Here are some of my favorite variations:
- Gluten-Free Version : Use a gluten-free white cake mix. I’ve tried this with King Arthur’s gluten-free cake mix, and it works beautifully. Just make sure to check that your chocolate chips and peppermint are also gluten-free.
- Dark Chocolate Lovers : Swap the semi-sweet chocolate chips for dark chocolate chips (60-70% cacao). The bitterness of the dark chocolate pairs amazingly with the sweet, minty peppermint. It’s like a fancy chocolate bar in cookie form.
- Double Chocolate : Use a chocolate cake mix instead of white cake mix. You’ll get a rich, fudgy cookie that’s even more decadent. Reduce the semi-sweet chocolate chips to 1/4 cup to balance the flavors.
- Peppermint White Chocolate : Skip the semi-sweet chocolate chips and use all white chocolate chips. The cookies will be sweeter and creamier, with a beautiful pale color that looks lovely with the red and white peppermint pieces.
- Vegan Option : Use a vegan cake mix (check the label), replace the butter with melted coconut oil or vegan butter, and use a flax egg (1 tablespoon ground flaxseed mixed with 3 tablespoons water). Use vegan chocolate chips and ensure your peppermint is vegan-friendly.
- Add Some Crunch : Fold in 1/4 cup of chopped pecans or walnuts along with the chocolate chips. The nutty flavor adds another layer of complexity and a lovely crunch.
I once tried a variation with crushed gingerbread cookies mixed into the dough. It was… interesting. Not my best work, honestly. The gingerbread flavor clashed with the peppermint in a weird way. Stick with the variations above—they’ve been tested and approved!
Serving & Storage Suggestions
These cookies are best served slightly warm, when the chocolate chips are still melty and the edges are perfectly crisp. But they’re also amazing at room temperature—honestly, I’ve eaten them straight from the freezer and loved them. Here are my best serving and storage tips:
- Serving Temperature : Serve at room temperature or slightly warm. If you want to warm them up, pop them in a 300°F oven for 3-4 minutes. Don’t use the microwave—it makes the cookies rubbery.
- Presentation Ideas : Arrange them on a festive platter with a dusting of powdered sugar for a snowy effect. Or stack them in a clear jar tied with a red ribbon for a beautiful homemade gift.
- Pairing Suggestions : These cookies are perfect with a cup of hot cocoa, a peppermint mocha, or a glass of cold milk. For an adult pairing, try them with a glass of Baileys or a peppermint martini.
- Storage : Store the cookies in an airtight container at room temperature for up to 5 days. Layer them with parchment paper to prevent sticking. They actually get better after a day or two—the flavors meld together beautifully.
- Freezing : These cookies freeze like a dream. Place them in a single layer on a baking sheet and freeze until solid, then transfer to a freezer-safe bag or container. They’ll keep for up to 3 months. Thaw at room temperature for about 30 minutes before serving.
- Flavor Development : The peppermint flavor actually intensifies after a day or two. So if you’re making these for a party, bake them a day ahead. Your future self will thank you.
My Favorite Way to Serve : I love serving these cookies with a scoop of vanilla ice cream and a drizzle of hot fudge sauce. It’s like a peppermint bark sundae, and it’s absolutely divine. Perfect for a cozy night in when you need a little extra comfort.
Nutritional Information & Benefits
Let’s be real—these are cookies, not health food. But they do have a few redeeming qualities! Here’s a rough estimate of the nutritional values per cookie (based on 24 cookies):
- Calories: Approximately 180-200 per cookie
- Fat: 9-10g
- Carbohydrates: 25-28g
- Protein: 2-3g
- Sugar: 16-18g
Health Benefits : The dark chocolate in these cookies contains antioxidants called flavonoids, which can support heart health. Peppermint has been shown to aid digestion and can help soothe an upset stomach—so technically, these cookies are good for you, right? (I’m kidding, mostly.) The white chocolate and cake mix aren’t exactly superfoods, but life is about balance. Enjoy these cookies as a treat, and pair them with a healthy meal or a good walk.
Dietary Considerations : This recipe contains gluten, dairy, and eggs. For a gluten-free version, use a gluten-free cake mix. For a dairy-free version, use vegan butter and dairy-free chocolate chips. For an egg-free version, use a flax egg. Always check your ingredients for potential allergens, especially if you’re serving these to others.
Personal Note : I believe that food is about more than just nutrients. It’s about comfort, connection, and joy. These cookies bring all three. So go ahead, have two. You deserve it.
Conclusion
These Cozy Peppermint Bark Christmas Cookies are everything I want in a holiday treat—easy, delicious, and full of festive cheer. They come together in under 30 minutes with simple ingredients, and they taste like you spent hours in the kitchen. The soft, buttery cookie base, the melty chocolate chips, and the cool crunch of peppermint—it’s a combination that just works. I’ve made these for cookie swaps, holiday parties, and quiet nights at home, and they’ve never let me down.
I love this recipe because it’s forgiving. You don’t need to be a professional baker to nail it. You don’t need fancy equipment or hard-to-find ingredients. You just need a box of cake mix, some chocolate, and a little bit of peppermint. It’s the kind of recipe that makes you feel like a kitchen hero, even on a random Tuesday at midnight.
Now it’s your turn! I’d love to hear how these cookies turned out for you. Did you try any variations? Did you serve them with something amazing? Drop a comment below and let me know. And if you share a photo on Pinterest or Instagram, tag me—I love seeing your creations. Happy baking, my friend. May your cookies be soft, your chocolate melty, and your holidays full of joy.
Frequently Asked Questions
Can I use a different flavor of cake mix?
Absolutely! A yellow cake mix or vanilla cake mix will work just as well. For a richer flavor, try a chocolate cake mix (see the variations section above). Just keep in mind that the flavor profile will change, so adjust your mix-ins accordingly.
Can I make these cookies ahead of time?
Yes! You can prepare the dough up to 2 days in advance and store it in the refrigerator. When you’re ready to bake, let the dough sit at room temperature for 10-15 minutes to soften slightly, then scoop and bake as directed. You can also freeze the baked cookies for up to 3 months.
Why did my cookies spread too much?
This usually happens if the butter was too warm or the dough wasn’t chilled. Make sure your melted butter has cooled slightly before adding it to the mix. If your kitchen is warm, chill the dough for 15-20 minutes before baking. Also, check that your baking soda or powder (in the cake mix) is fresh—expired leavening agents can cause spreading.
Can I use peppermint extract instead of crushed peppermint?
I don’t recommend it. Peppermint extract is much more concentrated and can easily overpower the cookies. Plus, you’ll miss out on that lovely crunchy texture that crushed peppermint provides. Stick with real crushed candy canes or peppermint candies for the best results.
How do I crush peppermint without making a huge mess?
Place the candy canes or peppermint candies in a sturdy zip-top bag. Remove as much air as possible, then seal the bag. Place it on a cutting board and gently tap it with a rolling pin or the bottom of a heavy skillet. Start with gentle taps and increase pressure as needed. You’ll get a mix of fine dust and small chunks—perfect for baking. Just be careful not to puncture the bag!
Pin This Recipe!
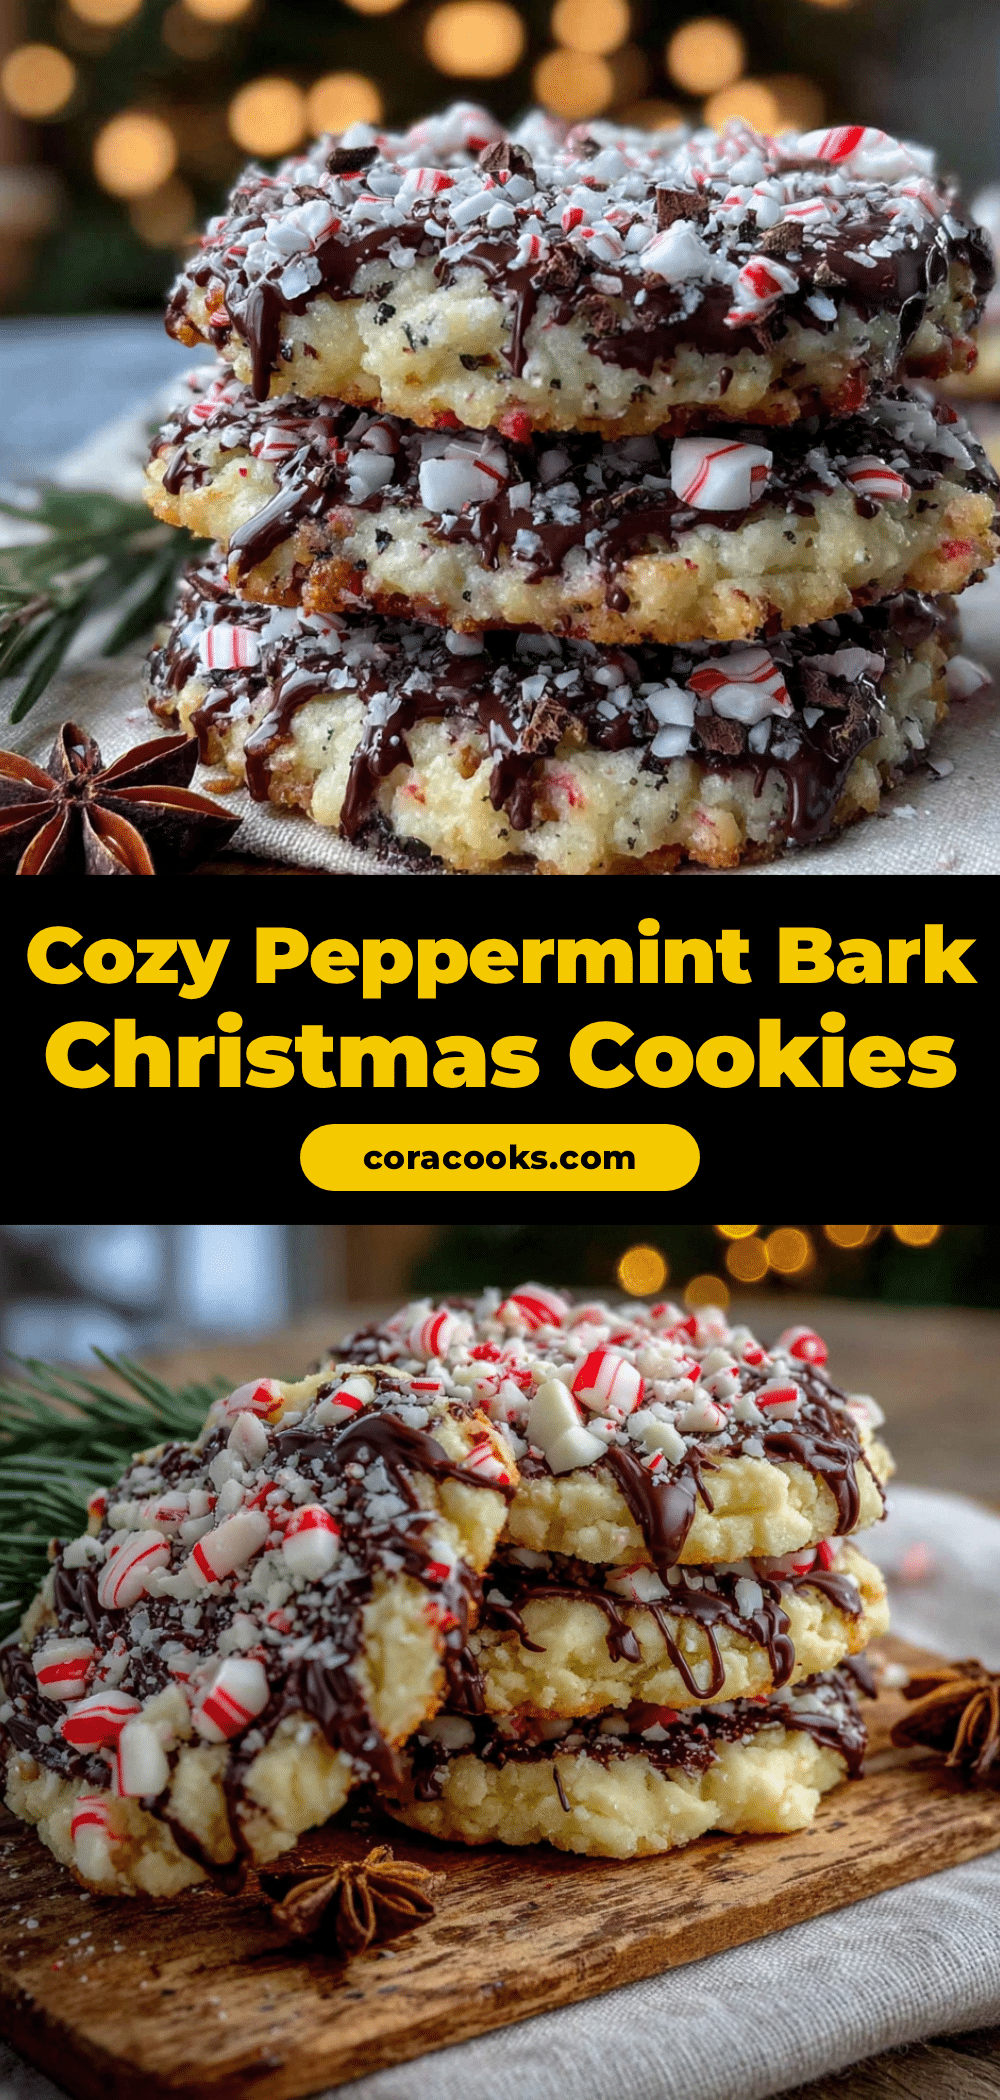
Best Easy Cozy Peppermint Bark Christmas Cookies

These soft and chewy peppermint bark cookies come together in under 30 minutes using a white cake mix, chocolate chips, and crushed peppermint. They’re the perfect last-minute holiday treat that tastes like Christmas in every bite.
- Prep Time: 10 minutes
- Cook Time: 12 minutes
- Total Time: 22 minutes
- Yield: 24 cookies 1x
- Category: Dessert
- Cuisine: American
Ingredients
- 1 box (15.25 oz) white cake mix
- 1/2 cup unsalted butter, melted
- 1 large egg, room temperature
- 1 teaspoon vanilla extract
- 1/2 cup semi-sweet chocolate chips
- 1/2 cup white chocolate chips
- 1/3 cup crushed peppermint candies or candy canes
- 1/4 cup crushed peppermint candies (for topping)
- Optional: 2 tablespoons melted white chocolate (for drizzling)
Instructions
- Preheat your oven to 350°F (175°C). Line two baking sheets with parchment paper or silicone mats.
- In a large mixing bowl, combine the cake mix, melted butter, egg, and vanilla extract. Stir until a soft dough forms.
- Fold in the semi-sweet chocolate chips, white chocolate chips, and 1/3 cup of crushed peppermint until evenly distributed.
- Scoop the dough into 1.5-tablespoon-sized balls and place them about 2 inches apart on the prepared baking sheets.
- Bake for 10-12 minutes, or until the edges are set and lightly golden. The centers will look slightly soft.
- Let the cookies cool on the baking sheet for 5 minutes, then transfer to a wire rack to cool completely.
- While the cookies are still warm, sprinkle the remaining 1/4 cup of crushed peppermint over the tops and press gently.
- If using the optional white chocolate drizzle, wait until the cookies are completely cool, then drizzle the melted white chocolate over them.
- Let the cookies cool completely before serving or storing.
Notes
For best results, use room temperature egg and slightly cooled melted butter. If dough is too sticky, chill for 15-20 minutes. Bake one sheet at a time for even browning. Store in an airtight container at room temperature for up to 5 days or freeze for up to 3 months.
Nutrition
- Serving Size: 1 cookie
- Calories: 190
- Sugar: 17
- Sodium: 200
- Fat: 9
- Saturated Fat: 5
- Carbohydrates: 27
- Fiber: 1
- Protein: 2
Keywords: peppermint bark cookies, Christmas cookies, easy cookie recipe, cake mix cookies, holiday baking