Love this? Save it for later!
Share the inspiration with your friends
It was 11:47 PM on a random Tuesday, and I had a desperate need for something cold, creamy, and salty-sweet. The kind of craving that makes you stand in front of the open fridge, just staring, hoping something magical will appear. I didn’t have an ice cream maker—honestly, I’ve never owned one—and I definitely didn’t have the eggs or the patience for a traditional custard base. But I had a carton of heavy cream, a can of sweetened condensed milk, and a bag of good sea salt. And then the idea hit me: what if I just… didn’t follow the rules?
I mean, I’d seen those no-churn recipes floating around Pinterest for years. But I always figured they were a compromise—good enough, maybe, but not real ice cream. That night, I was tired and impulsive, and I didn’t care about being “real.” I just wanted something that would hit that spot. So I whipped the cream, folded in the condensed milk, swirled in some homemade salted caramel I’d made a few days earlier, and shoved the whole thing in the freezer. I honestly didn’t expect much.
The next afternoon, I scooped myself a bowl, and let me tell you—I nearly dropped the spoon. It was ridiculously creamy. It was perfectly sweet, with that salty edge that makes you take another bite before you’ve even swallowed the first one. It was better than any store-bought caramel ice cream I’d ever had, and it took maybe ten minutes of actual work. That’s the thing about this best no-churn salted caramel ice cream—it doesn’t need a fancy machine or a culinary degree. It just needs three ingredients and a little bit of faith. And honestly? That midnight experiment turned into my go-to dessert for every dinner party, potluck, and lazy Sunday since.
Why You’ll Love This Recipe
Let’s be real for a second—there are a lot of ice cream recipes out there. Some require cooking a custard, tempering eggs, and churning for what feels like forever. Others use weird ingredients you’ll never use again. This 3-ingredient no-churn salted caramel ice cream is not that. It’s the kind of recipe that makes you look like a rockstar in the kitchen without breaking a sweat.
- Only 3 Ingredients: Heavy cream, sweetened condensed milk, and salted caramel sauce. That’s it. No eggs, no corn syrup, no weird stabilizers.
- No Machine Required: You don’t need an ice cream maker, a KitchenAid attachment, or any fancy gadget. Just a mixing bowl and a hand mixer or whisk.
- Perfect for Hosting: This is the dessert you make when you want to impress guests without being stuck in the kitchen. You can prep it days ahead and just scoop when it’s time.
- Rich & Creamy Texture: Thanks to the sweetened condensed milk, this ice cream stays scoopable straight from the freezer—no rock-hard bricks here.
- Customizable Salt Level: You control the salt. Want it more savory? Add flaky sea salt on top. Prefer it sweeter? Use a milder caramel.
- Crowd-Pleaser: I’ve served this at barbecues, birthday parties, and quiet dinner parties. It disappears every single time.
What makes this recipe different from the rest is the technique. Most no-churn recipes use the same base, but the key is how you incorporate the caramel. If you just dump it in, it sinks to the bottom. I’ll show you exactly how to swirl it so every bite has that perfect ribbon of salted caramel running through it.
This is the kind of dessert that makes you close your eyes after the first bite. It’s comfort food reimagined—simpler, faster, but with all the soul-soothing satisfaction of the real deal. Perfect for impressing guests without stress, or turning a quiet Tuesday night into something a little special.
What Ingredients You Will Need
This recipe uses simple, everyday ingredients to deliver big flavor. The magic is in how they work together, not in complicated additions. Here’s everything you need:
- 2 cups (480 ml) heavy cream — Also called heavy whipping cream. Make sure it’s cold from the fridge. The fat content is what gives this ice cream its luxurious texture. I prefer Organic Valley or Horizon for consistent results.
- 1 can (14 oz / 397 g) sweetened condensed milk — This is non-negotiable. It replaces the sugar and eggs in traditional ice cream, providing sweetness and body. Do not use evaporated milk—they are not the same. I always use Eagle Brand or Borden.
- 1/2 cup (120 ml) salted caramel sauce — You can use store-bought or homemade. If using store-bought, look for one with real butter and cream, not just corn syrup and artificial flavor. My personal favorite is Trader Joe’s Sea Salt Caramel Sauce. If making your own, you’ll need about 1 cup of sugar, 6 tablespoons of butter, and 1/2 cup of heavy cream with flaky sea salt.
- Optional: 1 teaspoon vanilla extract — Not strictly necessary, but it rounds out the flavor and makes it taste even more like “real” ice cream.
- Optional: Flaky sea salt for topping — Maldon salt is my go-to. A tiny sprinkle on top right before serving makes the salted caramel flavor pop even more.
Ingredient Selection Tips: For the best results, use full-fat everything. Low-fat or “light” versions will not work the same way and can result in icy, grainy ice cream. The heavy cream needs to be at least 36% milk fat. If you’re using homemade caramel sauce, make sure it’s cooled to room temperature before adding it to the cream mixture—hot caramel will deflate your whipped cream.
Substitution Guidance: If you’re dairy-free, you can try using full-fat coconut cream (chilled overnight) in place of the heavy cream, and a dairy-free sweetened condensed milk like Nature’s Charm. The texture will be slightly different—more coconutty and a bit less creamy—but still delicious. For a less sweet version, use a high-quality dark caramel sauce with less sugar.
Equipment Needed
You don’t need much for this best no-churn salted caramel ice cream, and that’s part of the beauty. Here’s what I use:
- Large mixing bowl — Glass or stainless steel works best. Make sure it’s clean and dry. A chilled bowl helps the cream whip faster, but it’s not required.
- Hand mixer or stand mixer — You can whip the cream by hand with a whisk, but it’ll take about 8-10 minutes of vigorous arm work. A hand mixer does it in 3-4 minutes. I use my trusty KitchenAid hand mixer.
- Rubber spatula — For folding the condensed milk and caramel into the whipped cream. A silicone spatula is best because it won’t scratch your bowl.
- Loaf pan or freezer-safe container — A standard 9×5 inch loaf pan works perfectly. You can also use a metal or glass dish. Metal freezes faster, which can result in a smoother texture.
- Plastic wrap or parchment paper — To cover the surface directly so ice crystals don’t form.
- Measuring cups and spoons — For accuracy, especially with the caramel.
Budget-Friendly Options: Don’t have a hand mixer? You can absolutely do this with a whisk and some elbow grease. It’s a great arm workout! No loaf pan? Use a plastic takeout container or a round cake pan. The shape doesn’t matter—it’s all getting scooped anyway.
Preparation Method
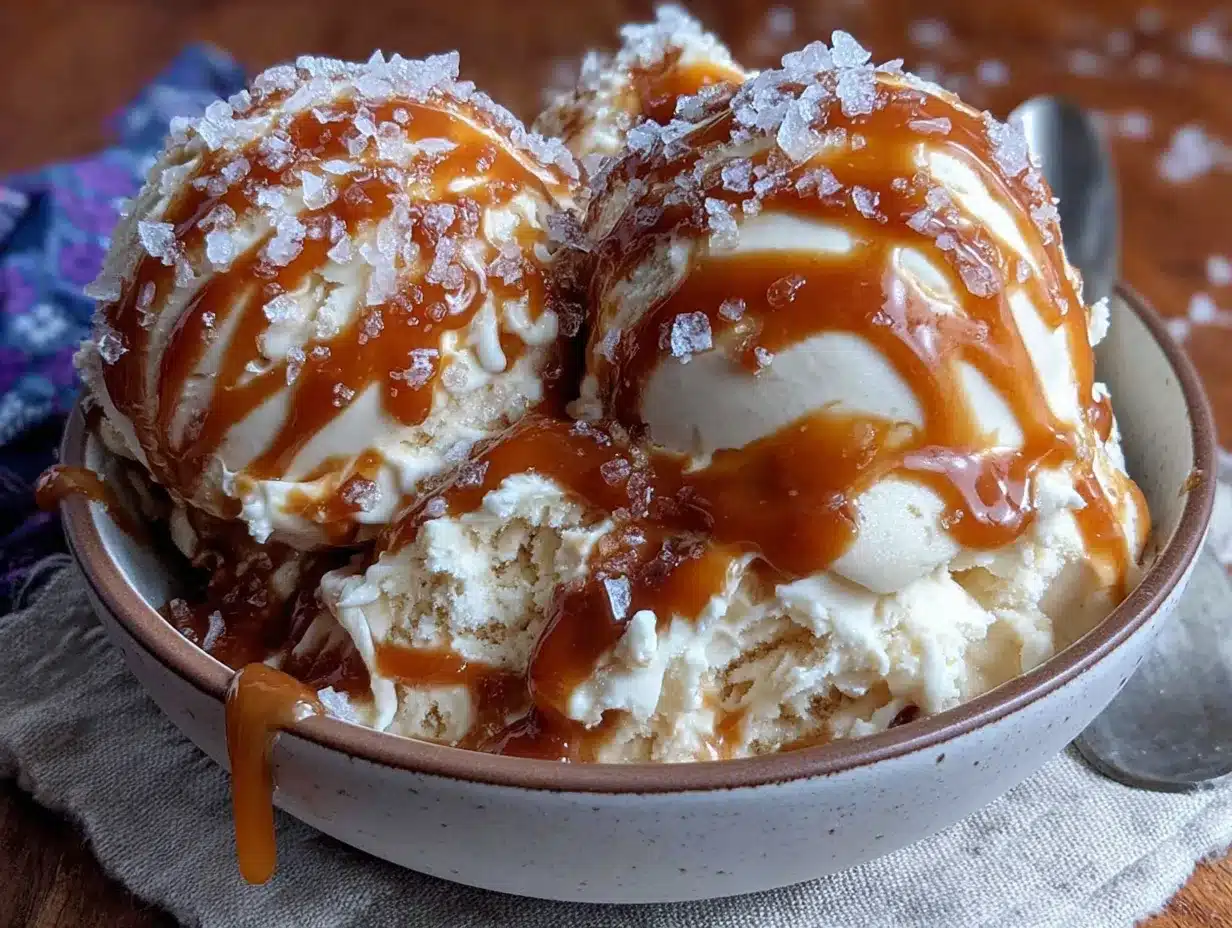
This is the fun part. Follow these steps, and you’ll have the creamiest, most decadent no-churn ice cream of your life.
- Chill your bowl and beaters (optional but helpful): If you have time, pop your mixing bowl and the beaters of your hand mixer in the freezer for 10-15 minutes. This helps the cream whip up faster and hold its shape better. I do this when I remember, but honestly, I’ve skipped it plenty of times and it still works.
- Whip the heavy cream: Pour the cold heavy cream into your chilled bowl. Beat on medium speed for about 2 minutes, then increase to high speed. Whip until stiff peaks form—this means when you lift the beaters, the cream stands up in firm peaks without drooping. Be careful not to over-whip, or you’ll end up with butter! This usually takes 3-4 minutes with a hand mixer.
- Fold in the sweetened condensed milk: Pour the entire can of sweetened condensed milk over the whipped cream. Use your rubber spatula to gently fold it in. Start from the bottom, lift the mixture up and over, and rotate the bowl as you go. Don’t stir—you want to keep as much air in the cream as possible. The mixture should be smooth, thick, and uniform. It will look like a soft, pillowy cloud.
- Add the vanilla (if using): Drizzle in the vanilla extract and fold it in gently with a few more strokes.
- Layer and swirl the caramel: Spread about one-third of the cream mixture into your loaf pan. Drizzle about 2 tablespoons of salted caramel sauce over the top. Use a knife or skewer to gently swirl it through—don’t mix it in completely; you want distinct ribbons of caramel. Repeat with another layer of cream, more caramel, and a final layer of cream. Finish with the remaining caramel on top, and use the knife to create a few gentle swirls.
- Top with flaky salt (optional): Sprinkle a pinch of flaky sea salt over the top if you want that extra salty crunch. I always do this—it makes the caramel flavor sing.
- Cover and freeze: Press a piece of plastic wrap directly onto the surface of the ice cream. This prevents ice crystals from forming. Place the lid or another layer of foil on top. Freeze for at least 6 hours, but overnight is best. The longer it freezes, the firmer and more scoopable it gets.
- Let it soften before serving: When you’re ready to serve, take the ice cream out of the freezer and let it sit at room temperature for 5-10 minutes. This makes scooping much easier. Trust me on this—straight-from-the-freezer scooping is a battle you don’t need to fight.
Sensory Cues: When you whip the cream, listen for the change in sound—it goes from sloshing to a soft, muffled thumping as it thickens. When you fold in the condensed milk, the mixture should feel heavy and silky, like thick cake batter. When you swirl the caramel, you should see distinct ribbons of brown against the white cream—that’s how you know you’ve done it right.
Cooking Tips & Techniques
I’ve made this best no-churn salted caramel ice cream at least twenty times, and I’ve learned a few things the hard way. Here’s what I wish someone had told me:
Don’t over-whip the cream. This is the most common mistake. If you whip past stiff peaks, the cream starts to separate and turn grainy. You’ll end up with a texture that’s more like butter than ice cream. Stop the moment the peaks stand up firm. When in doubt, stop a little early—you can always whip a bit more, but you can’t undo over-whipped cream.
Use room temperature caramel. If your caramel sauce is hot or even warm, it will melt the whipped cream and deflate all that air you worked so hard to create. Let it cool completely before swirling. I usually make my caramel the day before and keep it in the fridge, then let it come to room temperature for about 30 minutes before using.
Swirl, don’t stir. I made this mistake the first time. I thought I needed to mix the caramel all the way through. Nope. You want distinct ribbons of caramel, not a uniformly tan mixture. Use a light hand and only make 3-4 passes with your knife or skewer.
Freeze it flat. Place your loaf pan on a level surface in the freezer. If it’s tilted, the caramel will pool on one side. I learned this when I found all my caramel in one corner of the pan—still delicious, but not as pretty.
Plan ahead for scooping. This ice cream gets quite firm after 24 hours in the freezer. If you’re serving it for a dinner party, transfer it to the fridge about 20 minutes before dessert. Or, scoop it into individual bowls and let them sit for 5 minutes before serving.
Variations & Adaptations
Once you’ve mastered the basic recipe, the possibilities are endless. Here are some of my favorite twists:
- Chocolate Salted Caramel: Add 1/4 cup of unsweetened cocoa powder to the cream mixture before folding in the condensed milk. The chocolate and salted caramel combination is absolutely divine.
- Cookies and Cream: Crush about 10 chocolate sandwich cookies (Oreos work great) and fold them in along with the caramel. The crunch adds a wonderful texture contrast.
- Vegan Version: Use full-fat coconut cream (chilled) and a dairy-free sweetened condensed milk. The coconut flavor pairs surprisingly well with the salted caramel. Just be aware that it will be slightly icier than the dairy version.
- Peanut Butter Swirl: Warm 1/4 cup of peanut butter with a tablespoon of maple syrup until smooth, then swirl it in along with the caramel. It’s like a gourmet candy bar in a bowl.
- Boozy Caramel: Add 2 tablespoons of bourbon or dark rum to the caramel sauce before swirling. The alcohol keeps the ice cream a bit softer and adds a grown-up kick. Perfect for holiday parties.
I once made a coffee version by dissolving 2 teaspoons of instant espresso powder in a tablespoon of warm water and folding it into the cream mixture. The bitterness of the coffee balanced the sweetness of the caramel beautifully. I served it at a brunch and people literally asked for the recipe before they finished their bowls.
Serving & Storage Suggestions
This best no-churn salted caramel ice cream is incredibly versatile. Here’s how to serve and store it like a pro:
Serving Temperature: Let the ice cream sit at room temperature for 5-10 minutes before scooping. This softens it to that perfect, creamy consistency. Serve it in chilled bowls if you want it to stay firm longer, or in warm bowls if you want it to melt a little into a saucy puddle.
Presentation Ideas: Drizzle extra caramel sauce over the scoops and sprinkle with more flaky sea salt. Add a dollop of whipped cream and a maraschino cherry for a classic sundae. Serve it alongside warm brownies or a slice of apple pie for the ultimate dessert pairing. For a dinner party, I like to serve it in small glass jars with a sprig of mint on top—it looks fancy with zero extra effort.
What to Serve With It: This ice cream pairs beautifully with anything warm and chocolatey. Think chocolate lava cake, fudgy brownies, or a simple chocolate chip cookie. It’s also amazing with fresh berries—the tartness of raspberries or strawberries cuts through the richness. For a drink pairing, a dark coffee or espresso is perfect, or a glass of bourbon if you’re feeling indulgent.
Storage Instructions: Keep the ice cream in an airtight container in the freezer. Press a piece of plastic wrap directly onto the surface before sealing the lid—this prevents ice crystals from forming. It will keep well for up to 2 weeks, though I’ve never had it last that long. After about 5 days, the texture may start to get a bit icy, but it’s still delicious.
Reheating (if needed): If the ice cream gets too hard, let it sit on the counter for 15-20 minutes. You can also microwave it for 10-15 seconds at 50% power, but be careful—you don’t want it to melt completely.
Flavor Development: The flavor actually improves after 24 hours in the freezer. The caramel melds with the cream, and the saltiness becomes more pronounced. I always make this at least a day before I plan to serve it.
Nutritional Information & Benefits
Let’s be honest—this is a treat, not a health food. But that doesn’t mean you can’t enjoy it mindfully. Here’s the nutritional breakdown per 1/2 cup serving (approximate):
- Calories: 320-380 (depending on caramel brand)
- Fat: 22g
- Carbohydrates: 32g
- Protein: 4g
- Sugar: 28g
- Sodium: 180-250mg
Health Benefits of Key Ingredients: Heavy cream contains fat-soluble vitamins A, D, E, and K, as well as conjugated linoleic acid (CLA), which has been linked to some health benefits. Sweetened condensed milk provides calcium and protein, though it’s also high in sugar. The caramel sauce, if made from scratch, contains real butter and cream, which are more natural than many store-bought alternatives.
Dietary Considerations: This recipe is gluten-free, nut-free, and egg-free. It is not dairy-free, vegan, or low-sugar. For those with lactose sensitivity, you may find that the heavy cream is easier to digest than milk because it has less lactose. However, the sweetened condensed milk is quite high in lactose.
Potential Allergens: Dairy (milk, cream). If using store-bought caramel sauce, check the label for potential allergens like soy or corn.
My personal approach? I enjoy this ice cream in moderation. A small scoop after dinner satisfies my sweet tooth without going overboard. And honestly, when you’re making it from scratch with real ingredients, you’re already doing better than most store-bought options.
Conclusion
This best no-churn salted caramel ice cream is proof that you don’t need fancy equipment or complicated techniques to make something truly special. Three ingredients, ten minutes of work, and a little patience while it freezes—that’s all it takes to create a dessert that tastes like it came from a gourmet ice cream shop.
I love this recipe because it’s forgiving. Mess up the swirl? It still tastes amazing. Forget to chill the bowl? No problem. Use a different brand of caramel? Go for it. It’s the kind of recipe that builds confidence in the kitchen, because it works every single time.
I’d love to hear how yours turns out! Did you try a variation? Add a fun mix-in? Serve it with something unexpected? Drop a comment below and let me know. And if you’re hosting a dinner party soon, this is the dessert that will steal the show—I promise.
Now go make some ice cream. You deserve it.
Frequently Asked Questions
Can I use half-and-half instead of heavy cream?
I wouldn’t recommend it. Half-and-half has a much lower fat content, which means it won’t whip into stiff peaks. Your ice cream will be icy and thin instead of creamy and rich. Stick with heavy cream for the best results.
How long does this ice cream need to freeze?
At least 6 hours, but overnight is ideal. The longer it freezes, the firmer and more scoopable it becomes. If you’re in a hurry, you can eat it after 4 hours, but it will be very soft, almost like soft-serve.
Can I use homemade caramel sauce?
Absolutely! In fact, homemade caramel often has a richer, more complex flavor. Just make sure it’s completely cooled to room temperature before swirling it into the cream. Warm caramel will deflate your whipped cream and ruin the texture.
Why did my ice cream turn out icy?
This usually happens for one of two reasons: either you didn’t whip the cream to stiff enough peaks (the air is what keeps it creamy), or you didn’t press plastic wrap directly onto the surface before freezing (ice crystals formed on top). Next time, make sure your cream is very cold and whip until firm, and always cover the surface directly.
Can I double this recipe?
Yes, but you’ll need a larger container. A 9×13 inch baking dish works well for a double batch. Just make sure you have enough room in your freezer for it to sit flat. The freezing time may increase by an hour or two for a larger batch.
Pin This Recipe!
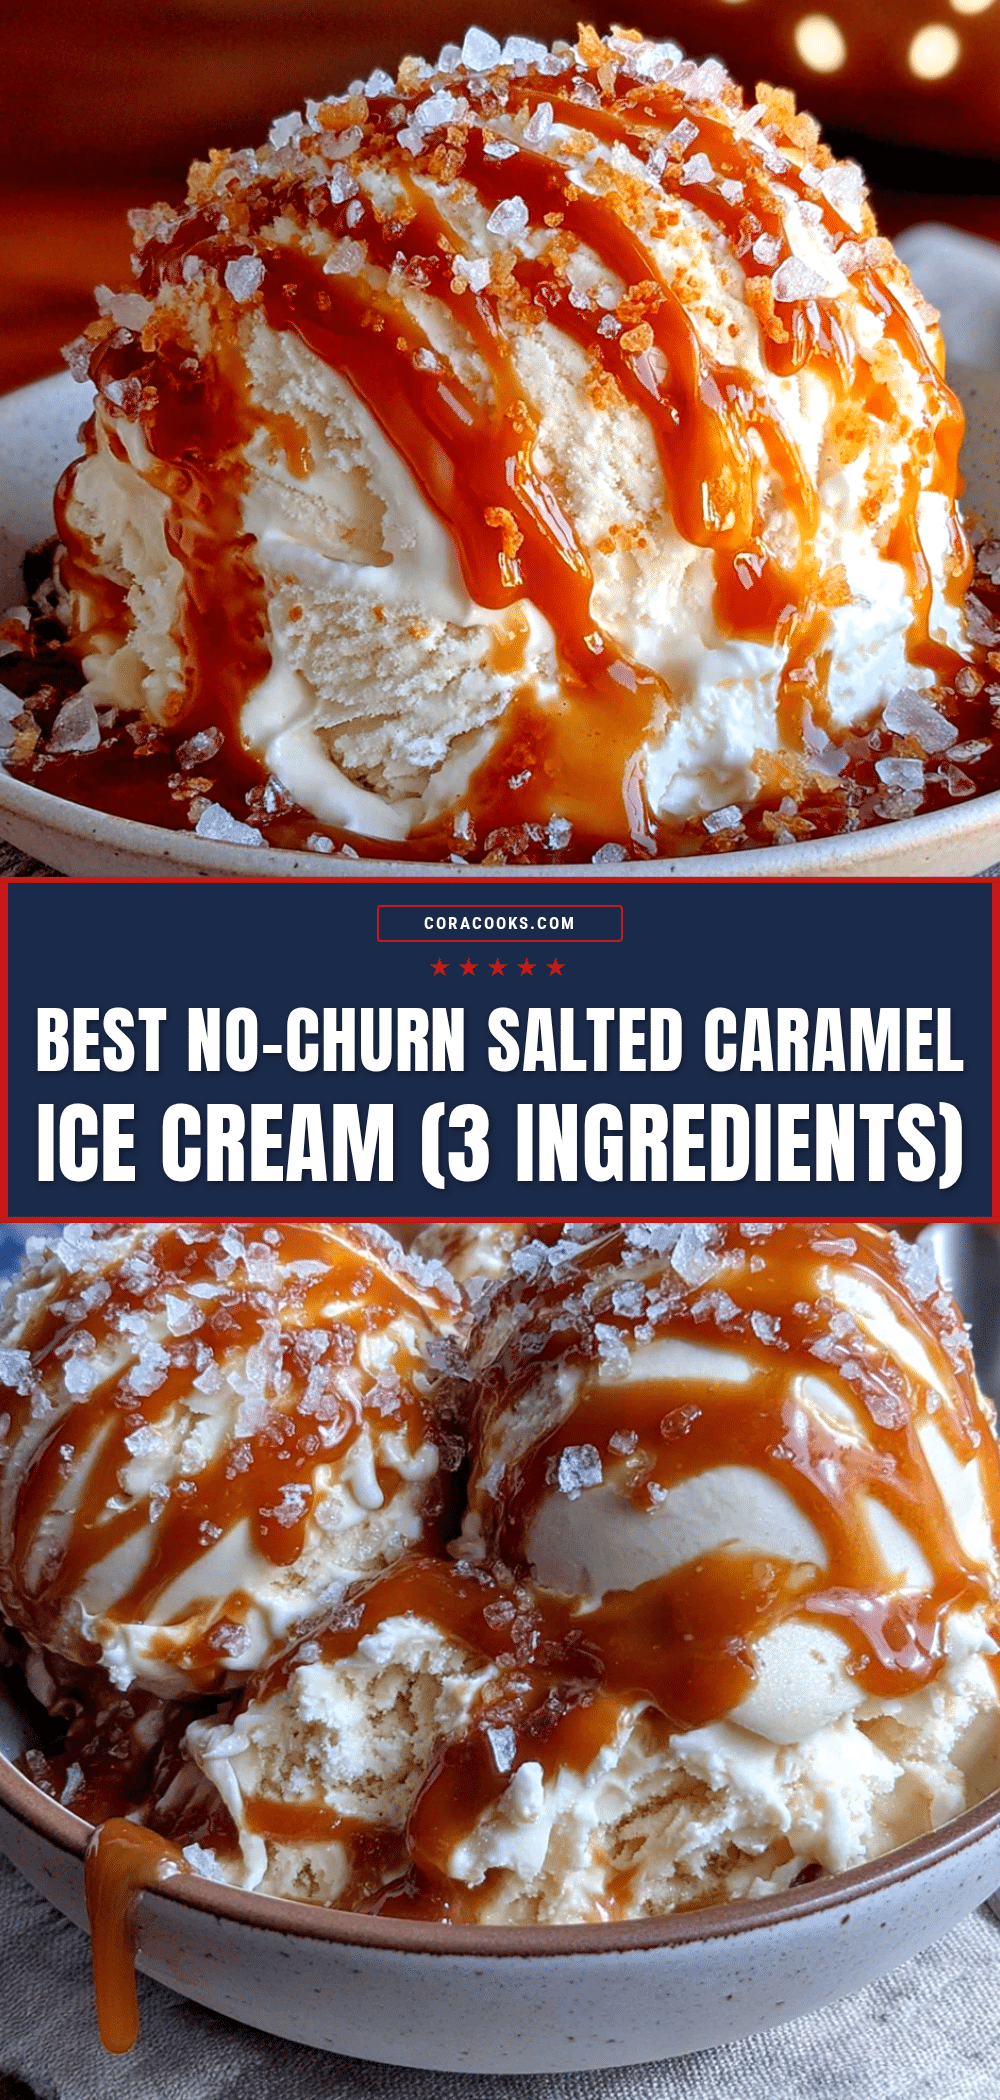
Best 3-Ingredient No-Churn Salted Caramel Ice Cream (Easy Recipe)

This incredibly creamy no-churn salted caramel ice cream requires only three ingredients and no ice cream maker. It’s the perfect easy dessert for impressing guests or satisfying a late-night craving.
- Prep Time: 10 minutes
- Cook Time: 0 minutes
- Total Time: 6 hours 10 minutes (includes freezing)
- Yield: 8 servings 1x
- Category: Dessert
- Cuisine: American
Ingredients
- 2 cups (480 ml) heavy cream
- 1 can (14 oz / 397 g) sweetened condensed milk
- 1/2 cup (120 ml) salted caramel sauce
- 1 teaspoon vanilla extract (optional)
- Flaky sea salt for topping (optional)
Instructions
- Chill your mixing bowl and beaters in the freezer for 10-15 minutes (optional but helpful).
- Pour the cold heavy cream into the chilled bowl. Beat on medium speed for about 2 minutes, then increase to high speed. Whip until stiff peaks form, about 3-4 minutes with a hand mixer.
- Pour the entire can of sweetened condensed milk over the whipped cream. Gently fold it in using a rubber spatula until smooth, thick, and uniform.
- If using, drizzle in the vanilla extract and fold gently.
- Spread about one-third of the cream mixture into a loaf pan. Drizzle about 2 tablespoons of salted caramel sauce over the top. Use a knife or skewer to gently swirl it through, creating distinct ribbons. Repeat with another layer of cream, more caramel, and a final layer of cream. Finish with the remaining caramel on top and create a few gentle swirls.
- If desired, sprinkle a pinch of flaky sea salt over the top.
- Press a piece of plastic wrap directly onto the surface of the ice cream to prevent ice crystals. Cover with lid or foil. Freeze for at least 6 hours, preferably overnight.
- Before serving, let the ice cream sit at room temperature for 5-10 minutes to soften for easier scooping.
Notes
For best results, use full-fat heavy cream (at least 36% milk fat) and room temperature caramel sauce. Do not over-whip the cream. Swirl the caramel gently to create distinct ribbons. The flavor improves after 24 hours in the freezer.
Nutrition
- Serving Size: 1/2 cup
- Calories: 350
- Sugar: 28
- Sodium: 215
- Fat: 22
- Saturated Fat: 14
- Carbohydrates: 32
- Protein: 4
Keywords: no-churn ice cream, salted caramel ice cream, 3-ingredient ice cream, easy ice cream, homemade ice cream, no machine ice cream