Love this? Save it for later!
Share the inspiration with your friends
This was supposed to be a simple batch of brownies for a neighborhood potluck. Nothing fancy, just my go-to fudge brownie recipe that I could whip up without thinking. But midway through melting the butter, I realized I was out of dark chocolate chips. The only chocolate left in the pantry was a half-eaten Halloween candy bar my kid had abandoned weeks ago. I grabbed it without thinking, tossed it in with the butter, and then promptly dropped the whole mixing bowl on the floor. Honestly, at that point I was ready to call for takeout. But I scraped what I could salvage into a new bowl, added a little extra cocoa powder to compensate for the mess, and figured I’d just make do. What came out of the oven was nothing like the plan — and better. The candy bar had caramel running through the center, creating these gooey pockets I’d never gotten before. And the cracked top? It looked like a spider web. That’s when I grabbed the white chocolate and a piping bag, and these Spooky Spider Web Fudge Brownies were born. I mean, sometimes the best recipes come from the worst kitchen disasters, right? You know that feeling when you’re about to throw in the towel, and then something magical happens? That’s this recipe. I keep making them because they’re the kind of treat that makes people stop mid-conversation and say, “Wait, you made these?” And honestly, that never gets old.
Why You’ll Love This Recipe
I’ve tested this recipe more times than I care to admit — probably eight batches before I got the fudge-to-brownie ratio exactly right. After years of tweaking and a background in pastry, I can tell you this version hits every note. It’s not just another Halloween dessert; it’s the one people will ask for year after year.
- Quick & Easy : Comes together in under 45 minutes, perfect for last-minute Halloween parties or when you need a treat for the school bake sale tomorrow morning.
- Simple Ingredients : No fancy grocery trips needed. Butter, sugar, eggs, cocoa powder, flour — you probably have everything in your kitchen right now.
- Perfect for Halloween : The spider web design makes it the star of any spooky spread, from costume parties to trick-or-treat gatherings.
- Crowd-Pleaser : Kids love the creepy design, adults love the rich, fudgy texture. I’ve never seen a pan last more than twenty minutes.
- Unbelievably Delicious : The combination of dense, moist brownie with a delicate white chocolate web on top is next-level comfort food.
What makes this recipe different from every other spider web brownie out there? It’s the texture. Most recipes give you a cakey brownie that dries out by the next day. Mine uses a higher fat-to-flour ratio, which means you get that fudgy, almost truffle-like center that stays moist for days. The white chocolate web isn’t just for show either — it adds a creamy sweetness that balances the deep cocoa flavor perfectly.
This recipe is the kind that makes you close your eyes after the first bite. It’s comfort food reimagined for the spookiest season — richer, more decadent, but with the same soul-soothing satisfaction as the brownies your grandma used to make. Perfect for impressing guests without stress, or turning a simple October evening into something memorable.
What Ingredients You Will Need
This recipe uses simple, pantry-friendly ingredients to deliver that fudgy, decadent texture and the striking spider web design. Most of these are staples you probably already have on hand, which makes these brownies perfect for spontaneous baking sessions.
- For the Brownies:
- 1 cup (226g) unsalted butter, melted and slightly cooled
- 2 cups (400g) granulated sugar
- 4 large eggs, room temperature
- 1 tablespoon vanilla extract
- 1 cup (120g) all-purpose flour
- ¾ cup (75g) unsweetened cocoa powder (I recommend Ghirardelli for the deepest flavor)
- ½ teaspoon salt
- ½ teaspoon baking powder
- 1 cup (175g) semi-sweet chocolate chips (adds extra gooey pockets)
- For the Spider Web Topping:
- ½ cup (85g) white chocolate chips or melting wafers
- 1 tablespoon coconut oil or vegetable shortening (helps the chocolate flow smoothly)
- Optional: 2-3 drops black food coloring for a darker web effect
A few notes on ingredient selection. I prefer using Dutch-process cocoa powder when I can find it — it gives a smoother, less acidic chocolate flavor that pairs beautifully with the sweet white chocolate web. If you only have natural cocoa powder, that works fine too; just expect a slightly more intense, tangy chocolate taste. For the white chocolate, look for real white chocolate that contains cocoa butter, not just white confectionery coating. Brands like Lindt or Ghirardelli melt more smoothly and taste creamier. If you’re dairy-free, you can swap the butter with vegan butter sticks and use dairy-free white chocolate — just know the texture will be slightly less fudgy.
For a fun twist, you can add ½ cup of chopped Halloween candy (like Reese’s cups or candy corn) to the batter before baking. I tried this once on a whim, and the pockets of melted peanut butter were incredible. Just fold them in gently so they don’t sink to the bottom.
Equipment Needed
You don’t need any fancy equipment to make these spider web brownies, which is part of what makes them so accessible. Here’s what you’ll need:
- 9×13-inch baking pan — This size gives you the perfect thickness for fudgy brownies. If you only have an 8×8 pan, the brownies will be much thicker and will need about 10 extra minutes of baking time.
- Parchment paper — Absolutely essential for easy removal. I’ve tried greasing the pan alone, and half the brownies always stick. Cut two strips that overlap in the middle for easy lifting.
- Large mixing bowl and whisk — For combining the wet ingredients. A hand mixer works too, but I find whisking by hand gives me better control and prevents overmixing.
- Medium saucepan — For melting the butter and chocolate together. You can also do this in the microwave, but the saucepan gives you more control over the heat.
- Small piping bag or zip-top bag — For creating the spider web design. If you don’t have a piping bag, a simple sandwich bag with the corner snipped off works perfectly.
- Toothpick or skewer — For dragging the white chocolate into the web pattern. A wooden skewer gives you the cleanest lines.
I’ve made these brownies with both a metal and a glass baking pan, and I prefer metal. It conducts heat more evenly and gives you that shiny, crackly top that brownie lovers dream about. If you’re using glass, just know it takes longer to heat up, so your brownies might need an extra 5 minutes in the oven.
Preparation Method
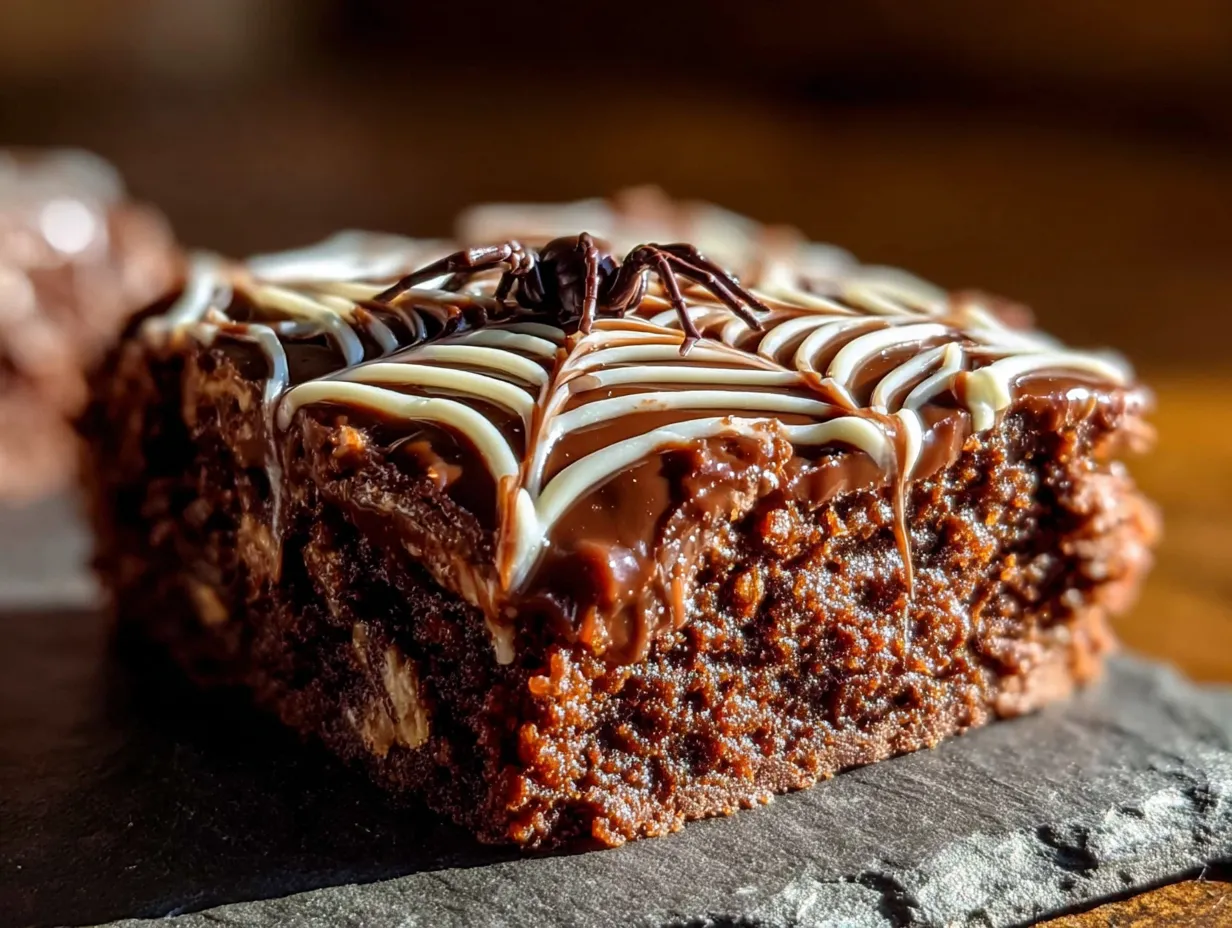
Let’s get into the nitty-gritty. Follow these steps carefully, and you’ll have the most gorgeous spider web brownies on the block.
- Preheat your oven to 350°F (175°C). Line your 9×13-inch baking pan with parchment paper, leaving a 2-inch overhang on two opposite sides. This will be your handles for lifting the brownies out later.
- Melt the butter in a large saucepan over medium heat. Once melted, remove from heat and stir in the granulated sugar. Mix until the sugar is fully incorporated and the mixture looks glossy. Let it cool for about 5 minutes — you don’t want to scramble the eggs in the next step.
- Add the eggs one at a time, whisking vigorously after each addition. The mixture should look thick and shiny, almost like a caramel sauce. Stir in the vanilla extract. This is where I usually taste the batter — yes, it’s safe since there are no raw eggs yet. Adjust the vanilla if you want a stronger flavor.
- In a separate bowl, whisk together the flour, cocoa powder, salt, and baking powder. Make sure there are no lumps in the cocoa powder. I’ve learned the hard way that skipping this step leads to pockets of dry cocoa in your brownies.
- Gradually add the dry ingredients to the wet mixture, folding gently with a rubber spatula. Stop mixing as soon as you see the last streak of flour disappear. Overmixing at this stage will make your brownies tough instead of fudgy.
- Fold in the semi-sweet chocolate chips. Reserve about ¼ cup to sprinkle on top before baking if you want extra chocolate pools on the surface. This is optional but highly recommended.
- Pour the batter into the prepared pan and spread it evenly with the spatula. Tap the pan on the counter a few times to release any air bubbles. Sprinkle the reserved chocolate chips on top if you’re using them.
- Bake for 25-30 minutes, or until a toothpick inserted into the center comes out with a few moist crumbs attached. If it comes out clean, you’ve overbaked them. The edges should look set and slightly pulling away from the pan, but the center should still look slightly underdone. That’s where the fudgy texture comes from.
- Let the brownies cool completely in the pan on a wire rack. This is crucial — if you try to pipe the spider web on warm brownies, the white chocolate will melt and turn into a mess. I usually let them cool for at least 2 hours, or pop them in the fridge for 30 minutes if I’m in a hurry.
- While the brownies cool, prepare the white chocolate web mixture. Place the white chocolate chips and coconut oil in a microwave-safe bowl. Microwave in 20-second intervals, stirring between each, until completely smooth. Be careful — white chocolate burns easily. If it seizes up, add another teaspoon of coconut oil and stir vigorously.
- Transfer the melted white chocolate to your piping bag or zip-top bag. Snip off a tiny corner — you want a very small opening for precise piping.
- Pipe concentric circles on top of the cooled brownies, starting from the center and working outward. Space the circles about 1 inch apart. Don’t worry if they’re not perfect — the spider web effect actually looks better with slight imperfections.
- Using a toothpick or skewer, drag lines from the center outward through all the circles, creating the web pattern. Wipe the toothpick clean between each drag to keep the lines crisp. Work quickly before the white chocolate sets.
- Let the white chocolate set completely before cutting the brownies — about 30 minutes at room temperature, or 15 minutes in the fridge. Use the parchment paper overhangs to lift the entire block out of the pan, then cut into squares with a sharp knife.
Cooking Tips & Techniques
After multiple batches and a few spectacular failures, here’s what I’ve learned about making these spider web brownies absolutely perfect.
Don’t overbake. This is the number one mistake I see. Brownies continue to cook from residual heat even after you pull them out of the oven. If you wait until a toothpick comes out completely clean, you’ll end up with dry, cakey brownies. Pull them when the toothpick has a few moist crumbs — the center should still jiggle slightly when you shake the pan.
Room temperature eggs matter. I learned this the hard way when I added cold eggs straight from the fridge and the batter seized up into a grainy mess. Cold eggs don’t emulsify properly with the melted butter, which affects the texture. If you forget to take them out ahead of time, place the eggs in a bowl of warm water for 5 minutes before using.
Let the brownies cool completely before piping. I ruined my first spider web design because I got impatient. The warm brownies melted the white chocolate into a puddle, and I ended up with a sad, blurry mess. If you’re short on time, refrigerate the brownies for 30 minutes before piping. The cold surface helps the white chocolate set almost instantly.
Work quickly with the white chocolate. Once it melts, it starts to thicken as it cools. If it becomes too stiff to pipe, microwave it for 5 seconds to loosen it up. But don’t overheat it — white chocolate seizes up faster than dark chocolate and becomes unusable.
Clean your toothpick between each drag. This is the trick for getting those clean, sharp web lines. If you don’t wipe it off, the white chocolate builds up and creates thick, messy lines instead of delicate webs. I keep a paper towel next to me and wipe after every single drag.
Variations & Adaptations
One of the best things about this recipe is how easily it adapts to different tastes and dietary needs. Here are some variations I’ve tried and loved.
Gluten-Free Version: Swap the all-purpose flour with a 1:1 gluten-free baking flour blend. I’ve used Bob’s Red Mill with great results. Just make sure the blend contains xanthan gum, which helps mimic the structure of gluten. The texture will be slightly more delicate, but still deliciously fudgy.
Vegan Adaptation: Replace the butter with vegan butter sticks, use flax eggs (1 tablespoon ground flaxseed mixed with 3 tablespoons water per egg), and choose dairy-free white chocolate. The brownies will be a bit less dense, but the flavor is still rich and satisfying. Just be careful with the vegan white chocolate — some brands don’t melt as smoothly.
Extra Spooky Version: Add ½ cup of crushed Oreo cookies to the batter for a “dirt” effect. You can also pipe the spider web in orange or green colored white chocolate for a more festive look. I did this for a Halloween party last year, and the orange web against the dark brownie was stunning.
Peppermint Twist: Add ½ teaspoon of peppermint extract to the brownie batter and top with crushed candy canes before serving. This turns it into a holiday treat that works for Christmas too. Just be careful with the peppermint — a little goes a long way.
Nutty Addition: Fold in ½ cup of chopped walnuts or pecans with the chocolate chips. The crunch adds a nice contrast to the fudgy texture. I tried this with toasted almonds once, and it was incredible.
Serving & Storage Suggestions
These spider web brownies are best served at room temperature, which allows the fudgy texture to shine and the white chocolate web to stay firm. If you’ve refrigerated them, let them sit on the counter for about 20 minutes before serving.
For presentation, I like to cut the brownies into 2-inch squares and arrange them on a black platter or a wooden board. The contrast between the dark brownie, white web, and dark surface is striking. You can also dust the edges with a little powdered sugar for a “frosty” Halloween look.
These brownies pair beautifully with a glass of cold milk, a scoop of vanilla ice cream, or a warm mug of apple cider. For an adult twist, serve them with a dark stout beer or a bourbon old fashioned — the rich chocolate stands up well to bold flavors.
Storage: Store leftover brownies in an airtight container at room temperature for up to 4 days. The white chocolate web may soften slightly over time, but the brownies themselves stay moist and fudgy. If you need to stack them, place a sheet of parchment paper between layers to prevent the webs from sticking together.
Freezing: These brownies freeze beautifully for up to 3 months. Wrap the entire block (or individual squares) tightly in plastic wrap, then place in a freezer-safe bag. Thaw at room temperature for about 2 hours before serving. I’ve frozen these for Halloween parties weeks in advance, and they taste just as fresh as the day I baked them.
Reheating: If you want that just-baked warmth, pop a brownie in the microwave for 10-15 seconds. Be careful not to overheat — the white chocolate web will melt if you go too long. Alternatively, warm them in a 300°F oven for 5 minutes.
One thing I love about these brownies is that the flavors actually deepen after a day or two. The cocoa becomes more pronounced, and the brownies get even fudgier. So don’t be afraid to make them a day ahead — they might even be better.
Nutritional Information & Benefits
While these are definitely a treat, here’s what you should know about the nutritional profile. Per serving (1 brownie, based on 24 servings):
- Calories: 245
- Total Fat: 14g
- Saturated Fat: 8g
- Cholesterol: 55mg
- Sodium: 95mg
- Total Carbohydrates: 30g
- Dietary Fiber: 2g
- Sugars: 22g
- Protein: 4g
Dark chocolate and cocoa powder are actually rich in antioxidants called flavonoids, which have been linked to heart health and improved blood flow. The eggs provide high-quality protein and essential vitamins like B12 and D. And while these aren’t health food by any stretch, they’re made with real ingredients — no preservatives, no artificial flavors, just honest baking.
For those watching their sugar intake, you can reduce the granulated sugar to 1½ cups without significantly affecting the texture. The brownies will be slightly less sweet, but the white chocolate web adds enough sweetness to balance the cocoa bitterness.
These brownies are vegetarian-friendly but contain dairy, eggs, and gluten. They are not suitable for vegans, those with celiac disease, or anyone with dairy allergies unless you use the substitutions mentioned in the variations section.
Conclusion
These Spooky Spider Web Fudge Brownies are more than just a Halloween dessert — they’re a conversation starter, a crowd-pleaser, and proof that the best recipes often come from the most unexpected moments. That night I dropped the mixing bowl and thought all was lost, I ended up creating something I’m genuinely proud of. And now I get to share it with you.
Don’t be afraid to make these your own. Maybe you add extra chocolate chips, pipe the web in orange instead of white, or sneak in some crushed candy bars. The beauty of this recipe is that it’s forgiving. Even if your web isn’t perfect, even if the brownies crack a little — they’ll still taste incredible. And honestly, isn’t that what matters?
I’d love to hear how yours turn out. Drop a comment below and tell me about your spider web design, or tag me in your photos if you share them online. Did you add any fun twists? Did your kids help with the piping? Let me know — I read every single comment, and your stories make my day. Until next time, happy baking, and may your Halloween be deliciously spooky.
Frequently Asked Questions
Can I use a boxed brownie mix instead of making from scratch?
Absolutely! If you’re short on time, a boxed mix works perfectly. Just prepare the brownies according to the package directions, let them cool completely, and then pipe the spider web on top. The fudge-style mixes tend to work best since they’re denser and hold the web design better. Just make sure you use a 9×13-inch pan so the brownies aren’t too thick.
Why did my white chocolate seize up and become clumpy?
White chocolate is notoriously finicky. It seizes when it comes into contact with even a tiny amount of water, or when it’s overheated. Make sure your bowl and utensils are completely dry, and always melt white chocolate in short bursts — 20 seconds in the microwave, then stir, then repeat. If it does seize, try adding a teaspoon of coconut oil or vegetable shortening and stirring vigorously. Sometimes you can rescue it.
Can I make these brownies ahead of time for a party?
Yes, and I actually recommend it! These brownies taste even better the next day because the flavors have time to meld. Bake them up to 2 days in advance, store them in an airtight container at room temperature, and pipe the spider web on the day you plan to serve them. This way the web stays crisp and beautiful. If you’ve already piped the web, just store them carefully with parchment between layers.
How do I get clean, sharp spider web lines?
The secret is working quickly and wiping your toothpick clean between each drag. Start piping from the center and work outward in concentric circles. Then, before the white chocolate sets, drag a toothpick from the center through all the circles to the edge. Wipe the toothpick clean after every single line. This prevents the white chocolate from building up and creating messy, thick lines. Practice on a piece of parchment first if you’re nervous.
Can I freeze these brownies with the spider web on top?
You can, but the white chocolate web may become slightly dull or develop a white bloom (called fat bloom) after freezing and thawing. It’s still safe to eat and tastes fine, but it won’t look as pristine. For best results, freeze the brownies without the web, then thaw and pipe the design fresh. If you must freeze with the web, wrap them very tightly in plastic wrap and thaw in the refrigerator to minimize condensation.
Pin This Recipe!
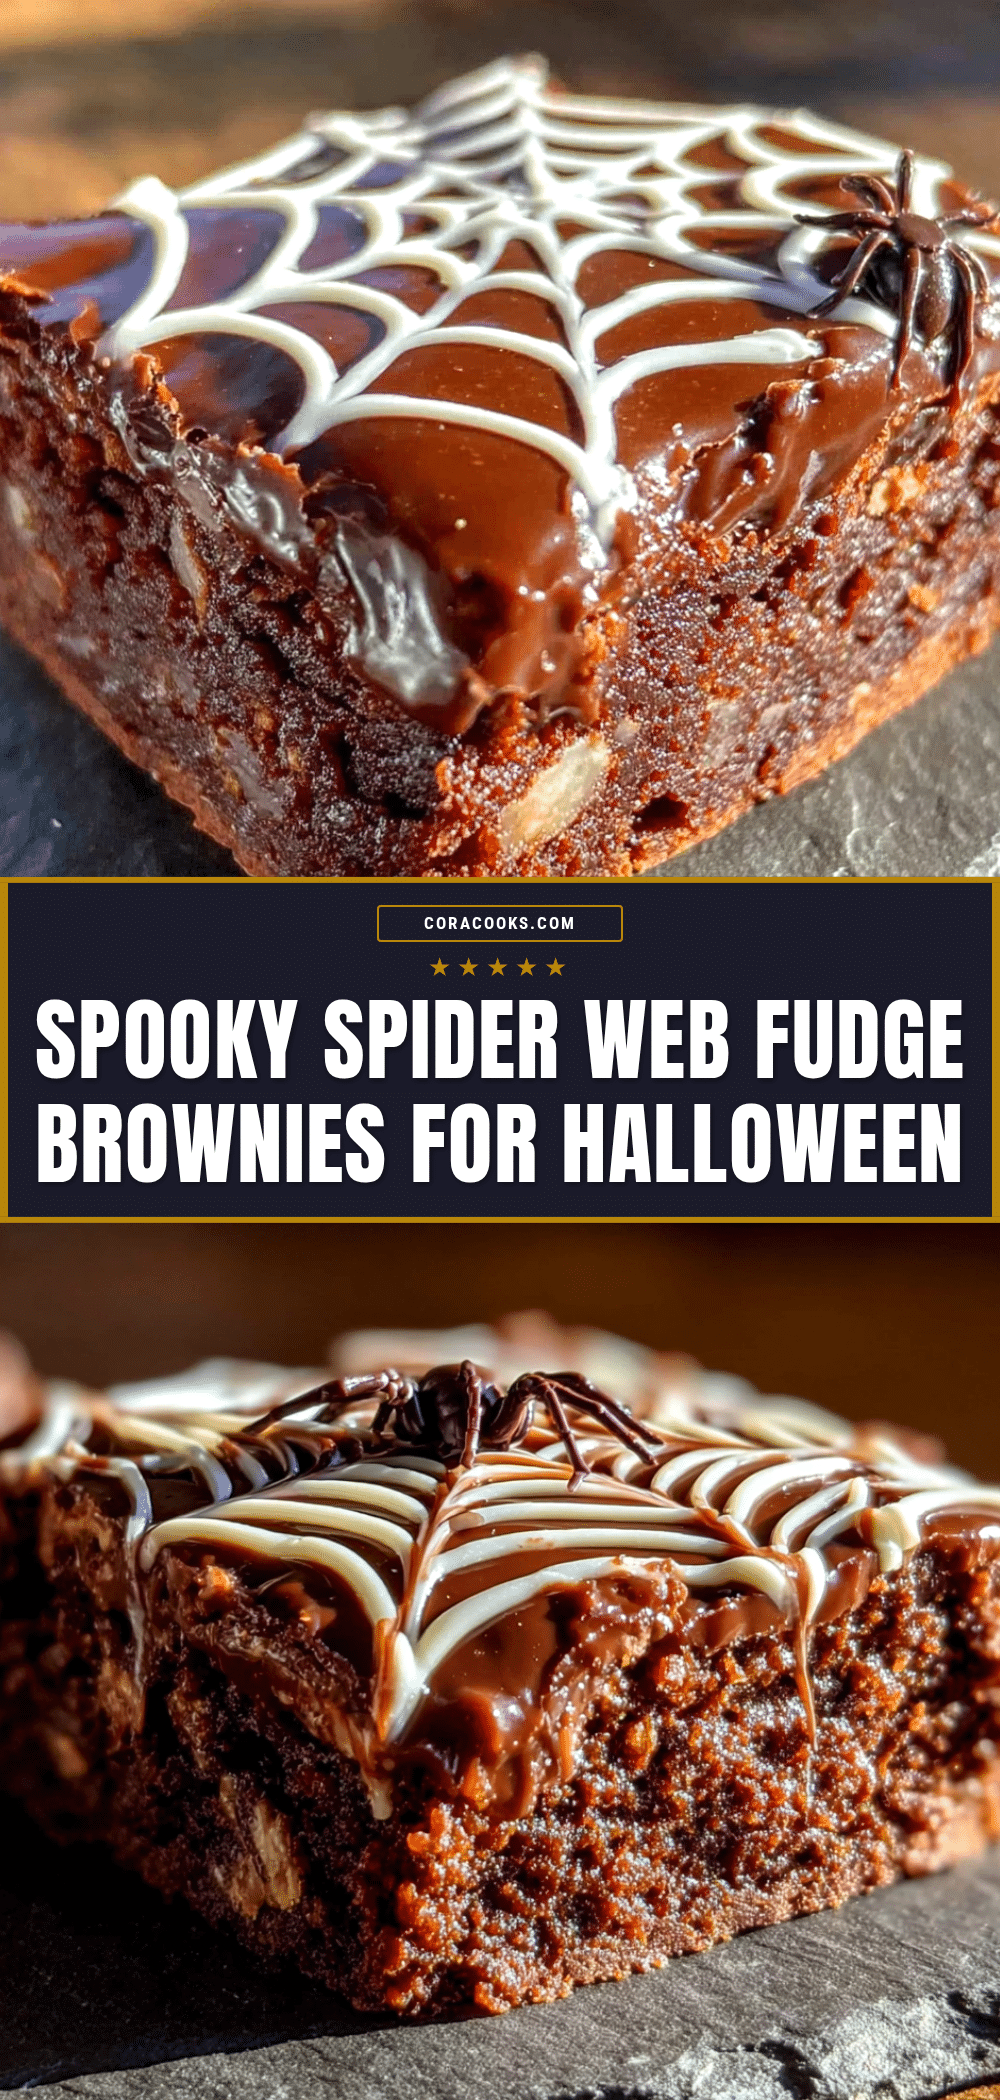
Best Spider Web Fudge Brownies – Easy Halloween Treat
These fudgy brownies feature a gooey, truffle-like center and a striking white chocolate spider web design, making them the perfect Halloween treat. Quick to prepare and packed with rich chocolate flavor, they’re a crowd-pleaser for parties and bake sales.
- Prep Time: 15 minutes
- Cook Time: 30 minutes
- Total Time: 45 minutes
- Yield: 24 servings 1x
- Category: Dessert
- Cuisine: American
Ingredients
- 1 cup (226g) unsalted butter, melted and slightly cooled
- 2 cups (400g) granulated sugar
- 4 large eggs, room temperature
- 1 tablespoon vanilla extract
- 1 cup (120g) all-purpose flour
- ¾ cup (75g) unsweetened cocoa powder (preferably Dutch-process)
- ½ teaspoon salt
- ½ teaspoon baking powder
- 1 cup (175g) semi-sweet chocolate chips
- ½ cup (85g) white chocolate chips or melting wafers
- 1 tablespoon coconut oil or vegetable shortening
- Optional: 2-3 drops black food coloring
Instructions
- Preheat oven to 350°F (175°C). Line a 9×13-inch baking pan with parchment paper, leaving a 2-inch overhang on two opposite sides.
- Melt butter in a large saucepan over medium heat. Remove from heat and stir in granulated sugar until glossy. Let cool for 5 minutes.
- Add eggs one at a time, whisking vigorously after each addition. Stir in vanilla extract.
- In a separate bowl, whisk together flour, cocoa powder, salt, and baking powder.
- Gradually add dry ingredients to wet mixture, folding gently with a rubber spatula until just combined. Do not overmix.
- Fold in semi-sweet chocolate chips. Reserve ¼ cup to sprinkle on top if desired.
- Pour batter into prepared pan and spread evenly. Tap pan on counter to release air bubbles. Sprinkle reserved chocolate chips on top.
- Bake for 25-30 minutes, until a toothpick inserted into the center comes out with a few moist crumbs. Cool completely in pan on a wire rack (at least 2 hours).
- For the spider web topping: Place white chocolate chips and coconut oil in a microwave-safe bowl. Microwave in 20-second intervals, stirring between each, until smooth.
- Transfer melted white chocolate to a piping bag or zip-top bag. Snip off a tiny corner.
- Pipe concentric circles on top of cooled brownies, starting from the center and spacing about 1 inch apart.
- Using a toothpick or skewer, drag lines from the center outward through all circles to create a web pattern. Wipe toothpick clean between each drag.
- Let white chocolate set completely (about 30 minutes at room temperature or 15 minutes in the fridge). Lift brownies out using parchment overhangs and cut into squares.
Notes
For best results, use room temperature eggs and let brownies cool completely before piping the web. If white chocolate seizes, add a teaspoon of coconut oil and stir vigorously. Brownies can be stored in an airtight container at room temperature for up to 4 days or frozen for up to 3 months.
Nutrition
- Serving Size: 1 brownie
- Calories: 245
- Sugar: 22
- Sodium: 95
- Fat: 14
- Saturated Fat: 8
- Carbohydrates: 30
- Fiber: 2
- Protein: 4
Keywords: Halloween brownies, spider web brownies, fudge brownies, easy Halloween dessert, chocolate brownies, white chocolate web