Love this? Save it for later!
Share the inspiration with your friends
The neighborhood holiday party was in three hours and I’d completely forgotten. Everyone else would be bringing those elaborate, Pinterest-perfect desserts that took three days to assemble. I had a half-empty carton of milk, a bag of chocolate chips I’d bought for a baking project I never started, and a vague sense of panic that felt a lot like my usual December. I stood in my kitchen, staring into the pantry like it might magically produce a solution. And honestly, it kind of did. I spotted a jar of marshmallows from a summer camping trip, a bottle of peppermint extract I’d bought on a whim, and a can of whipped cream that was dangerously close to its expiration date. That’s when it hit me — I wasn’t going to compete with the fancy cakes. I was going to make a hot cocoa bar.
Let me tell you, I grabbed every bowl I owned, dumped in sprinkles, crushed candy canes, and those sad little marshmallows. I even found some caramel sauce hiding in the back of the fridge. I set it all up on the kitchen counter, poured the hot chocolate into a big slow cooker I’d borrowed from my mom, and crossed my fingers. The party started, and people walked right past the seven-layer dip and the artisan cheeseboard. They gathered around my little counter, piling their mugs high with whipped cream and drizzles and crunchy bits. It was, honestly, a mess. But it was the most popular mess in the room. I mean, there’s something about building your own cup of cocoa that makes everyone feel like a kid again. That night, I learned that a cozy holiday hot cocoa bar isn’t about perfection. It’s about letting people play with their food and making the season feel a little warmer. Maybe you’ve been there — scrambling for a party idea and finding gold in your own pantry.
This is the recipe that stayed with me because it’s not really a recipe at all. It’s a permission slip to be creative, to use what you have, and to watch people’s faces light up when they get to decide between a drizzle of salted caramel or a mountain of toasted marshmallows. So, let me walk you through everything you need to set up the coziest, most fun holiday hot cocoa bar that will absolutely steal the show at your next gathering.
Why You’ll Love This Holiday Hot Cocoa Bar
I’ve tested this setup at four different holiday gatherings now, and let me tell you, it’s never failed. The best part? You don’t need to be a pastry chef or spend a whole day in the kitchen. This is all about assembly, not baking. Here’s why this cozy holiday hot cocoa bar is going to become your new holiday tradition.
- Quick & Easy: You can have the entire bar set up in under 20 minutes. The hot cocoa base comes together on the stove or in a slow cooker, and the toppings are just things you open and pour into bowls. Perfect for those last-minute holiday moments.
- Simple Ingredients: No fancy grocery trips needed. Milk, cocoa powder, chocolate chips, and sugar are the backbone. The toppings are mostly pantry staples or easy-to-find holiday items like candy canes and sprinkles.
- Perfect for Holiday Gatherings: This is the ultimate party activity. It works for a family movie night, a cookie swap, a neighborhood open house, or even a quiet Christmas morning. It’s interactive and gets everyone involved.
- Crowd-Pleaser: Kids love building their own cups, and adults love the nostalgia. I’ve seen teenagers pile on so many toppings the cocoa turned into a dessert soup, and grandmas carefully layer marshmallows and caramel. It truly works for all ages.
- Unbelievably Delicious: The base recipe I’m sharing is rich and creamy, not watery or thin. It’s the perfect canvas for all those toppings. The texture is velvety, and the flavor is deep chocolate with just the right amount of sweetness.
What makes this holiday hot cocoa bar different from the rest? It’s the little details. I add a pinch of sea salt to the cocoa base to balance the sweetness, and I use a mix of milk and dark chocolate chips for a more complex flavor. It’s not just another hot chocolate — it’s your best version. This is the kind of setup that makes you close your eyes after that first sip. It’s comfort in a mug, reimagined for a crowd, with the same soul-soothing satisfaction you remember from childhood.
What Ingredients You Will Need
This recipe uses simple, wholesome ingredients to deliver a rich, decadent hot cocoa base that serves as the perfect foundation for all your toppings. Most of these are pantry staples, especially during the holiday season. Let me walk you through each one and share a few little secrets I’ve picked up along the way.
For the Hot Cocoa Base
- Whole Milk (6 cups / 1.4 liters): Whole milk gives the cocoa that creamy, luxurious texture. You can use 2% in a pinch, but it won’t be as rich. For a dairy-free version, oat milk is my go-to — it’s naturally creamy and doesn’t separate. I’ve tried almond milk before, and it was a bit thin for my taste.
- Heavy Cream (1 cup / 240 ml): This is my secret ingredient. It adds an unbelievable richness that makes the cocoa feel like a special treat. You can skip it if you want, but honestly, it’s worth the splurge for a holiday party.
- Semi-Sweet Chocolate Chips (1 ½ cups / 270 grams): I use Ghirardelli or Guittard brand for the best melt and flavor. Don’t use chocolate chips with added stabilizers — they won’t melt as smoothly. If you only have dark chocolate, that works too, but you might need to add a tablespoon of sugar.
- Unsweetened Cocoa Powder (¼ cup / 25 grams): This deepens the chocolate flavor without making it overly sweet. I prefer Dutch-processed cocoa for a smoother, less acidic taste. Hershey’s Special Dark is a great budget-friendly option.
- Granulated Sugar (¼ cup / 50 grams): You can adjust this based on your sweetness preference. I find this amount is just right — it sweetens the cocoa without making it cloying. Brown sugar also works for a slightly molasses-like flavor.
- Vanilla Extract (1 teaspoon): Always use pure vanilla extract, not imitation. It adds a warmth that rounds out the chocolate. I like Nielsen-Massey, but any pure extract will do.
- Pinch of Sea Salt: This is non-negotiable for me. It balances the sweetness and makes the chocolate flavor pop. Flaky sea salt like Maldon is great, but any fine sea salt works.
For the Toppings Bar (The Fun Part!)
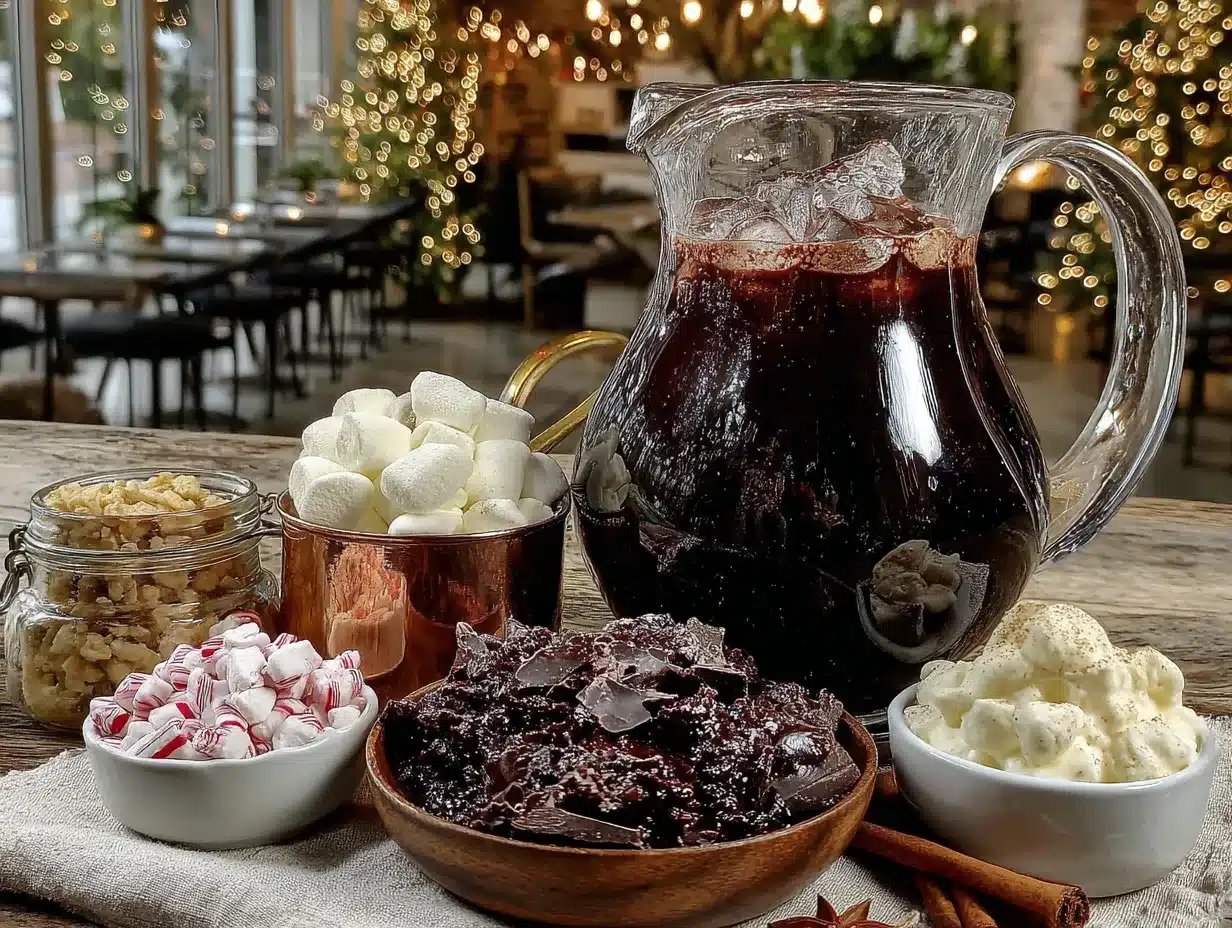
You can mix and match based on what you have or what’s on sale. Here are my ten favorite toppings, but feel free to get creative.
- Mini Marshmallows (2 cups): The classic. Get the good ones — they should be soft and pillowy. I love the brand Dandies for vegan options.
- Whipped Cream (1 can or homemade): Store-bought is fine for convenience, but homemade whipped cream is a game-changer. Just whip 1 cup of heavy cream with 2 tablespoons of powdered sugar and a splash of vanilla until soft peaks form.
- Crushed Candy Canes (½ cup): This adds that essential holiday crunch and peppermint flavor. Just put candy canes in a ziplock bag and smash them with a rolling pin. It’s a great stress reliever.
- Chocolate Shavings (¼ cup): Use a vegetable peeler to shave a chocolate bar into curls. It looks so fancy for zero effort.
- Caramel Sauce (½ cup): A drizzle of caramel takes the cocoa to another level. I use store-bought, but you can make your own if you’re feeling ambitious.
- Sprinkles (¼ cup): Holiday-themed sprinkles add color and fun. Red, green, and white are my go-to.
- Toasted Coconut (¼ cup): This is an unexpected one, but it’s amazing. The slight toastiness pairs beautifully with chocolate.
- Mini Chocolate Chips (¼ cup): For extra chocolate texture. Use white chocolate or butterscotch chips for variety.
- Sea Salt Flakes (1 tablespoon): A sprinkle of flaky sea salt on top of the whipped cream is a sophisticated touch that contrasts the sweetness.
- Peppermint Stirrers (optional): These double as a garnish and a stirrer. You can buy them or make your own by dipping pretzel rods in melted white chocolate and crushed candy canes.
Equipment Needed
You don’t need a lot of fancy equipment for this holiday hot cocoa bar. Most of these things you probably already have in your kitchen. Let me walk you through what you’ll need and share a few tips I’ve learned from setting this up multiple times.
- Large Pot or Slow Cooker: A 4-quart pot works perfectly on the stove. If you’re using a slow cooker, set it to low and keep the cocoa warm for hours. I love my Crock-Pot for parties because it keeps everything at the perfect temperature without scorching.
- Whisk: A good whisk is essential for getting the cocoa powder to incorporate smoothly. I use a silicone whisk to avoid scratching my pots.
- Measuring Cups and Spoons: Standard set for accurate measurements. I’ve learned the hard way that eyeballing cocoa powder leads to lumps.
- Small Bowls or Ramekins: You’ll need at least 10 small bowls for the toppings. I use my set of little ceramic ramekins — they look cute and are easy to refill.
- Mugs: Have a stack of mugs ready. I like using clear glass mugs so guests can see the layers of toppings. It makes for great photos too.
- Ladle or Large Spoon: For serving the hot cocoa from the pot or slow cooker. A soup ladle works perfectly.
- Labels or Chalkboard Signs: Not strictly necessary, but they make the bar look professional and help guests identify toppings. I use little chalkboard tags from a craft store.
- Tray or Serving Board: Arrange everything on a large tray or cutting board to keep the bar organized. A wooden board adds a rustic, cozy feel.
One budget-friendly tip: don’t stress about buying new bowls. I’ve used mason jars, small cups, and even cleaned-out yogurt containers for toppings. No one cares what the bowls look like when they’re busy building the perfect mug of cocoa.
Preparation Method
Making the hot cocoa base is surprisingly simple, but there are a few tricks to getting it perfectly smooth and creamy. I’ve made this so many times now that I can do it in my sleep, but I’ll walk you through every step so you get it right the first time. Total time is about 15 minutes on the stove.
- Combine the dry ingredients (2 minutes): In your large pot, whisk together the ¼ cup unsweetened cocoa powder, ¼ cup granulated sugar, and a pinch of sea salt. Make sure there are no lumps. I like to sift the cocoa powder if it looks clumpy — it saves trouble later.
- Add the milk and cream (1 minute): Pour in the 6 cups of whole milk and 1 cup of heavy cream. Whisk everything together until the dry ingredients are fully dissolved into the liquid. You shouldn’t see any streaks of cocoa powder at this stage.
- Heat the mixture (5-7 minutes): Place the pot over medium heat. Stir occasionally with your whisk, scraping the bottom to prevent the milk from scorching. You want to bring it to a gentle simmer, not a rolling boil. Small bubbles will appear around the edges of the pot. If you see big bubbles, turn the heat down.
- Add the chocolate chips (2 minutes): Once the milk mixture is hot and steaming, remove the pot from the heat. Add the 1 ½ cups of semi-sweet chocolate chips. Let them sit for about 30 seconds to soften, then whisk until the chocolate is completely melted and the mixture is smooth. This is where the magic happens — the cocoa will turn a beautiful deep brown.
- Stir in the vanilla (30 seconds): Add 1 teaspoon of pure vanilla extract and whisk it in. You’ll immediately smell that warm, cozy aroma. Taste the cocoa at this point and adjust the sweetness if needed. If you want it sweeter, add another tablespoon of sugar and whisk until dissolved.
- Transfer to a slow cooker (optional, 1 minute): If you’re serving the cocoa over a longer period, pour the hot cocoa into a preheated slow cooker set to low. This keeps it warm without burning. If you’re serving immediately, you can keep it in the pot on the stove over the lowest heat, stirring occasionally.
- Set up the toppings bar (10 minutes): While the cocoa is staying warm, arrange your toppings. Fill each small bowl with a different topping. Place them on a large tray in a logical order — start with the liquid toppings like caramel sauce, then move to fluffy toppings like whipped cream and marshmallows, and end with crunchy toppings like sprinkles and crushed candy canes. This helps guests build their cups efficiently.
- Serve and enjoy: Place the mugs next to the slow cooker or pot with a ladle. Let guests serve themselves, or if you’re feeling generous, pour the cocoa for them. Watch as they get creative with the toppings!
Pro tip from my own mistakes: The first time I made this, I forgot to take the pot off the heat before adding the chocolate chips. The chocolate seized up and turned grainy. Always remove the pot from the burner first, let it cool for just a few seconds, and then add the chips. Patience pays off here.
Cooking Tips & Techniques
Over the years, I’ve learned a few things the hard way so you don’t have to. Here are my best tips for making this holiday hot cocoa bar a complete success.
- Don’t boil the milk: This is the number one mistake. If the milk boils, it can scald and develop a skin on top. You want a gentle simmer — just tiny bubbles around the edge. If you see big bubbles, pull the pot off the heat immediately and let it cool down for a minute before continuing.
- Make it ahead: This cocoa base can be made a day in advance. Let it cool completely, then store it in an airtight container in the fridge. When you’re ready to serve, reheat it gently on the stove or in the slow cooker. You might need to whisk it a bit to bring it back to a smooth consistency.
- Use a slow cooker for parties: A slow cooker is your best friend for a hot cocoa bar. It keeps the cocoa warm for hours without you having to watch it. Just make sure to stir it every 30 minutes or so to prevent a skin from forming on top.
- Label everything: I cannot stress this enough. You will get tired of answering “What’s in this bowl?” after the fifth time. Little labels or tent cards make the bar self-serve and look more polished.
- Keep the toppings separate: Don’t mix the toppings together in one bowl. Keep them in individual containers so guests can customize their cups. I learned this when I put sprinkles and crushed candy canes together and ended up with a colorful mess that no one wanted.
One failure that taught me a lot: I once tried to keep the cocoa warm on the stove while I was setting up the toppings. I got distracted, and the bottom of the pot got scorched. The cocoa had a slightly burnt taste that ruined the whole batch. Now, I always make the cocoa first, pour it into the slow cooker, and then set up the toppings. Multitasking is great, but not when it comes to hot milk.
Variations & Adaptations
One of the best things about a hot cocoa bar is how easy it is to adapt. I’ve tried several variations over the years, and each one has its own charm. Here are a few ways to switch things up.
- Spiked Hot Cocoa (Adult Version): For an adult gathering, set out a small bottle of peppermint schnapps, Bailey’s Irish Cream, or bourbon. Let guests add a splash to their cocoa. I personally love a tablespoon of Kahlua in mine — it adds a coffee-chocolate flavor that’s incredible.
- Dairy-Free / Vegan Option: Swap the whole milk for oat milk or full-fat coconut milk. Use dairy-free chocolate chips (Enjoy Life brand is great). For the whipped cream, use a can of coconut whipped cream. The texture will be slightly different, but it’s still rich and satisfying.
- White Hot Chocolate: For a twist, make a white chocolate version. Skip the cocoa powder and use 2 cups of white chocolate chips instead of the semi-sweet. Follow the same method. Top with raspberries or crushed pistachios for a festive look.
- Mexican Hot Chocolate: Add ½ teaspoon of cinnamon, a pinch of cayenne pepper, and ¼ teaspoon of nutmeg to the dry ingredients. This gives the cocoa a warm, spicy kick that’s perfect for cold nights. I tried this last year and it was a huge hit with my spice-loving friends.
- Nutella Hot Cocoa: Replace the semi-sweet chocolate chips with ½ cup of Nutella. Whisk it in at the end until smooth. The hazelnut flavor is divine, and you can top it with crushed hazelnuts for extra crunch.
For a seasonal twist in the summer, you can serve the cocoa chilled over ice. Just make the base, let it cool, and pour it over ice cubes. Top with cold foam and chocolate shavings. It’s a fun way to enjoy hot cocoa all year round.
Serving & Storage Suggestions
This hot cocoa is best served warm, right after you make it. But I know life gets busy, so here’s how to handle leftovers and make the most of your bar.
Serving Temperature: Serve the cocoa at a warm, sippable temperature — not boiling hot. If you’re using a slow cooker, keep it on the “warm” setting, not “high.” You want it to be comfortable to drink immediately without burning tongues.
Presentation Ideas: Arrange your toppings on a large wooden board or a marble slab for a beautiful presentation. Use clear glass mugs so guests can see the layers of toppings. Add a sprig of fresh mint or a cinnamon stick to each mug as a garnish. It looks stunning and smells amazing.
Complementary Dishes: This hot cocoa bar pairs beautifully with a plate of sugar cookies, gingerbread men, or a slice of pound cake. For a savory balance, offer a cheese board with sharp cheddar and crackers. The saltiness cuts through the sweetness of the cocoa.
Storage Instructions: Leftover hot cocoa can be stored in an airtight container in the refrigerator for up to 3 days. The texture might change slightly — it can get a little thicker. To reheat, pour it into a pot and warm it over low heat, whisking constantly. You can also reheat individual portions in the microwave for 30-second intervals, stirring between each.
Freezing: You can freeze the cocoa base in a freezer-safe container for up to 2 months. Thaw it overnight in the refrigerator, then reheat gently on the stove. The texture might be a bit grainy after freezing, so give it a good whisk or even a quick blitz with an immersion blender to smooth it out.
Flavor Development: Honestly, the cocoa tastes best the day you make it. The flavors are brightest and the texture is creamiest. However, leftover cocoa is still delicious — it just won’t have that same fresh, velvety quality. I usually make just enough for the party and enjoy any leftovers the next morning as a treat.
Nutritional Information & Benefits
Let’s be real — this is a treat, not a health food. But I believe in knowing what you’re eating so you can enjoy it mindfully. Here’s a rough estimate for one serving of the cocoa base (about 1 cup) without toppings.
- Calories: Approximately 350-400 calories per cup
- Fat: 22 grams (mostly from the heavy cream and chocolate)
- Carbohydrates: 38 grams
- Protein: 8 grams
- Sugar: 30 grams
Now, if you add whipped cream, caramel sauce, and crushed candy canes, you’re probably looking at 500-600 calories per mug. That’s okay! It’s the holidays. One cup of indulgence won’t derail your whole season.
Health Benefits: Dark chocolate is actually a decent source of antioxidants, specifically flavonoids, which can support heart health. Cocoa also contains magnesium and iron. The milk provides calcium and vitamin D. So while this isn’t a superfood, it’s not completely empty calories either.
Dietary Considerations: This recipe contains dairy and gluten (from some toppings like candy canes and sprinkles). For a gluten-free version, use certified gluten-free toppings. For a vegan version, follow the adaptations I mentioned above. Always check labels on toppings for potential allergens.
My Personal Perspective: I believe in balance. I’ll enjoy a full mug of this decadent cocoa at a holiday party, and then I’ll have a lighter meal the next day. Food is about joy and connection, not guilt. So go ahead, pile on the marshmallows.
Conclusion
This cozy holiday hot cocoa bar has become my secret weapon for holiday gatherings. It’s easy, it’s fun, and it brings people together in a way that a store-bought cake never could. I love that everyone gets to customize their own cup — it turns a simple drink into an experience. The best part is watching a shy guest light up when they find the perfect combination of toppings.
I hope you give this a try at your next holiday party, family movie night, or even just a quiet evening by the fire. Don’t be afraid to get creative with the toppings — use what you have, raid your pantry, and make it your own. That’s the whole point. If you set up a hot cocoa bar, I’d love to hear about it. Drop a comment below and tell me what toppings your family loved the most. Did anyone try the Nutella version? Did someone add too many sprinkles? Share your stories — they’re my favorite part of this job.
So grab your favorite mug, a warm blanket, and a generous pour of creativity. Here’s to a holiday season filled with warmth, laughter, and really good cocoa. You’ve got this.
Frequently Asked Questions
Can I use water instead of milk for the hot cocoa base?
Technically yes, but I wouldn’t recommend it. The cocoa will be thin and watery. Milk gives the drink its creamy body and richness. If you’re out of milk, use half water and half heavy cream or half-and-half for a better texture.
How do I keep the hot cocoa warm for a party without a slow cooker?
You can keep it warm on the stove over the lowest heat setting. Stir it every 10-15 minutes to prevent a skin from forming. Alternatively, pour it into a large thermal carafe — it will stay hot for about 2 hours.
Can I make the toppings ahead of time?
Absolutely. Most toppings can be prepped a day in advance. Crush the candy canes, shave the chocolate, and portion out the sprinkles into ziplock bags. Just keep them in airtight containers until you’re ready to set up the bar.
What if my hot cocoa turns out lumpy?
Don’t panic! Lumpy cocoa usually means the cocoa powder wasn’t fully whisked in at the beginning. You can fix it by pouring the cocoa through a fine-mesh strainer into another pot. Or, use an immersion blender to smooth it out. I’ve done both, and they work like a charm.
How many servings does this recipe make?
This recipe makes about 7-8 cups of hot cocoa, which serves 6-8 people with standard 8-ounce mugs. If you’re serving a crowd, double the recipe. It scales beautifully, just make sure you have a large enough pot or slow cooker.
Pin This Recipe!
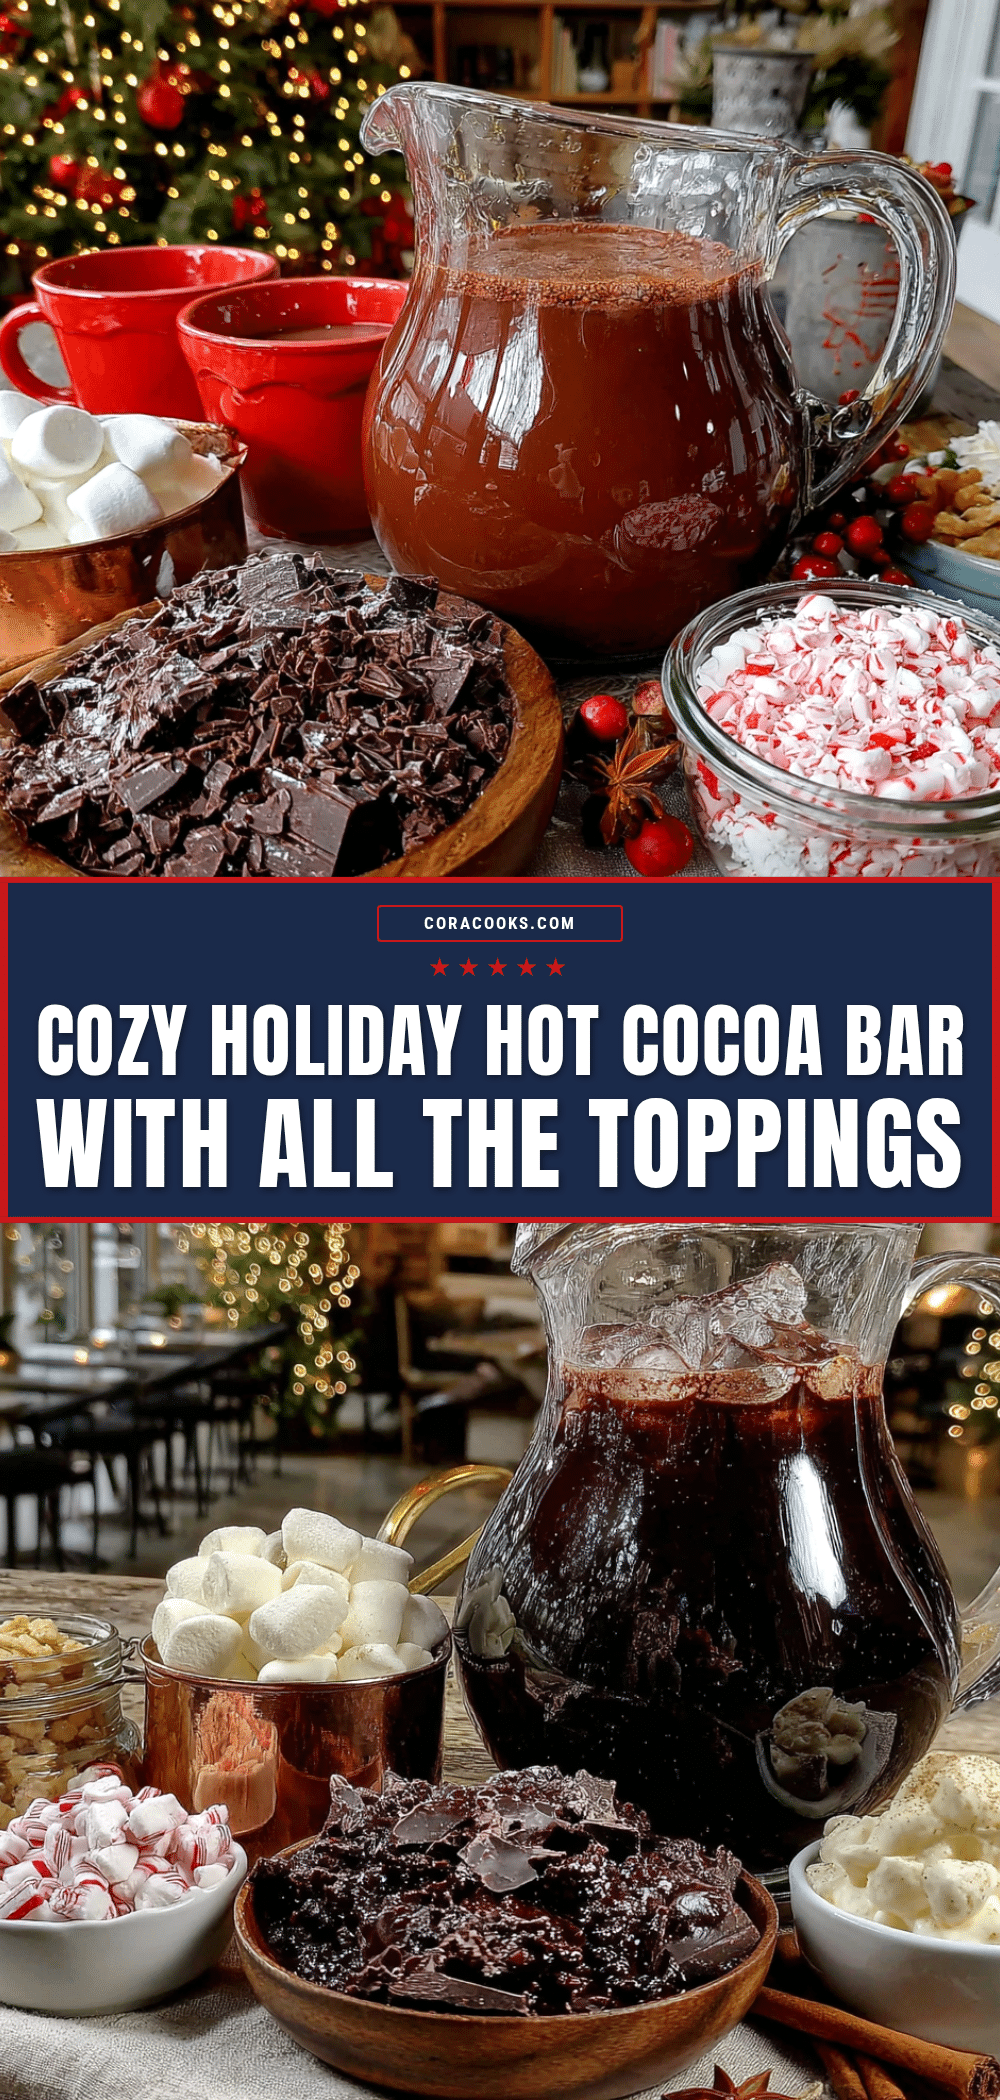
Cozy Holiday Hot Cocoa Bar: 10 Easy Toppings

Set up the coziest, most fun holiday hot cocoa bar that will absolutely steal the show at your next gathering. This interactive setup lets everyone build their own perfect cup of rich, creamy cocoa with 10 delicious toppings.
- Prep Time: 10 minutes
- Cook Time: 15 minutes
- Total Time: 25 minutes
- Yield: 6-8 servings 1x
- Category: Beverage
- Cuisine: American
Ingredients
- 6 cups whole milk (1.4 liters)
- 1 cup heavy cream (240 ml)
- 1 ½ cups semi-sweet chocolate chips (270 grams)
- ¼ cup unsweetened cocoa powder (25 grams)
- ¼ cup granulated sugar (50 grams)
- 1 teaspoon pure vanilla extract
- Pinch of sea salt
- 2 cups mini marshmallows
- 1 can whipped cream (or homemade)
- ½ cup crushed candy canes
- ¼ cup chocolate shavings
- ½ cup caramel sauce
- ¼ cup holiday sprinkles
- ¼ cup toasted coconut
- ¼ cup mini chocolate chips
- 1 tablespoon sea salt flakes
- Peppermint stirrers (optional)
Instructions
- In a large pot, whisk together the unsweetened cocoa powder, granulated sugar, and a pinch of sea salt until no lumps remain.
- Pour in the whole milk and heavy cream. Whisk until the dry ingredients are fully dissolved into the liquid.
- Place the pot over medium heat. Stir occasionally with a whisk, scraping the bottom to prevent scorching. Heat until the mixture is steaming and small bubbles appear around the edges (do not boil).
- Remove the pot from the heat. Add the semi-sweet chocolate chips and let sit for 30 seconds, then whisk until completely melted and smooth.
- Stir in the vanilla extract. Taste and adjust sweetness if desired by adding another tablespoon of sugar.
- If serving over a longer period, transfer the hot cocoa to a preheated slow cooker set to low to keep warm.
- While the cocoa stays warm, arrange the toppings. Fill small bowls with each topping and place on a large tray in a logical order: liquid toppings first, then fluffy toppings, then crunchy toppings.
- Place mugs next to the slow cooker or pot with a ladle. Let guests serve themselves and get creative with the toppings.
Notes
Don’t boil the milk – it can scald and develop a skin. Always remove the pot from heat before adding chocolate chips to prevent seizing. The cocoa base can be made a day ahead and reheated. For parties, a slow cooker keeps cocoa warm for hours. Label all toppings for easy self-service. Keep toppings in separate bowls so guests can customize.
Nutrition
- Serving Size: 1 cup (8 oz)
- Calories: 350400
- Sugar: 30
- Sodium: 200
- Fat: 22
- Saturated Fat: 13
- Carbohydrates: 38
- Fiber: 3
- Protein: 8
Keywords: hot cocoa, hot chocolate, holiday, Christmas, cocoa bar, toppings, party, winter, cozy, dessert