Love this? Save it for later!
Share the inspiration with your friends
There used to be a tiny bakery on Cedar Street called The Pink Apron that made the most incredible red velvet cupcakes. When they closed their doors three years ago—the owner retired to Florida, of all places—I honestly felt a little pang of loss. My daughter, then four, would beg for one every time we walked past, and I’d give in every single time. After seven tries—some dry, one that tasted like a chemistry experiment, and a few that just looked sad—I finally cracked the code. These red velvet heart cupcakes are the ones that made my kid look up and say, “Mom, these are better than the bakery ones.” And let me tell you, that moment was worth every failed batch.
The secret wasn’t anything fancy. It was patience, really. I learned that the buttermilk and vinegar reaction needs time to work its magic, and that overmixing is the fastest way to a tough cupcake. The heart shape? That came from a happy accident when I dropped a foil ball into the pan and realized it made the perfect little indent. Sometimes the best kitchen discoveries happen when you’re not trying so hard. These red velvet heart cupcakes have become our Valentine’s Day tradition, and I think they’ll become yours too. You know that feeling when a recipe just works? This is that recipe.
Why You’ll Love This Recipe
Let me be real with you for a second. I’ve tested this recipe on my own picky eaters, my neighbor’s kids, and even a classroom full of second graders. The verdict? These red velvet heart cupcakes disappear in minutes. Here’s why they’re worth your time:
- Quick & Easy: From start to finish, you’re looking at about 45 minutes. The batter comes together in one bowl with a whisk—no stand mixer required.
- Simple Ingredients: Nothing weird here. Cocoa powder, flour, buttermilk, and a little red food coloring. You probably have most of this in your pantry right now.
- Perfect for Valentine’s Day: Whether it’s for a classroom party, a family dessert, or just a fun afternoon project with the kids, these cupcakes fit the bill perfectly.
- Crowd-Pleaser: I’m not kidding when I say both kids and adults go crazy for these. The cream cheese frosting is the real MVP.
- Unbelievably Delicious: The texture is soft and tender, with just a hint of cocoa. It’s not a heavy chocolate flavor—it’s subtle and balanced, letting the tangy frosting shine.
What makes these different from every other red velvet recipe out there? It’s the technique. I use a reverse-creaming method that keeps the cupcakes incredibly soft, and I add just a touch of white vinegar to react with the buttermilk for that classic tender crumb. No dry, crumbly disasters here. These are the kind of cupcakes that make you close your eyes after the first bite. Honestly, they’re comfort food at its best—simple, beautiful, and absolutely soul-satisfying.
What Ingredients You Will Need
This recipe uses simple, everyday ingredients to deliver that classic red velvet flavor and texture. Nothing fancy, nothing hard to find—just good, honest baking staples that work together beautifully.
For the Cupcakes
- All-purpose flour, 1 ½ cups (190g) – Spoon and level it for best results. I use Gold Medal, but any brand works fine.
- Granulated sugar, 1 cup (200g) – Adds sweetness and helps with that soft texture.
- Unsweetened cocoa powder, 1 tablespoon (8g) – Just enough for that subtle chocolate flavor. Don’t overdo it or the color gets muddy.
- Baking soda, 1 teaspoon – Helps the cupcakes rise and react with the buttermilk.
- Salt, ½ teaspoon – Balances the sweetness and brings out the flavors.
- Vegetable oil, ½ cup (120ml) – Keeps the cupcakes moist. Canola or any neutral oil works too.
- Buttermilk, ½ cup (120ml) – This is non-negotiable for the tangy flavor and tender crumb. Make your own by adding 1 tablespoon lemon juice to milk and letting it sit 5 minutes.
- Large eggs, 2, room temperature – Let them sit out for 30 minutes so they incorporate better.
- Red food coloring, 1 tablespoon (15ml) – I prefer gel food coloring for a deeper red without thinning the batter. The liquid kind works too, just don’t go overboard.
- White vinegar, 1 teaspoon – This reacts with the baking soda to give the cupcakes lift. Trust me on this one.
- Vanilla extract, 1 teaspoon – Use pure vanilla if you can. It makes a difference.
For the Cream Cheese Frosting
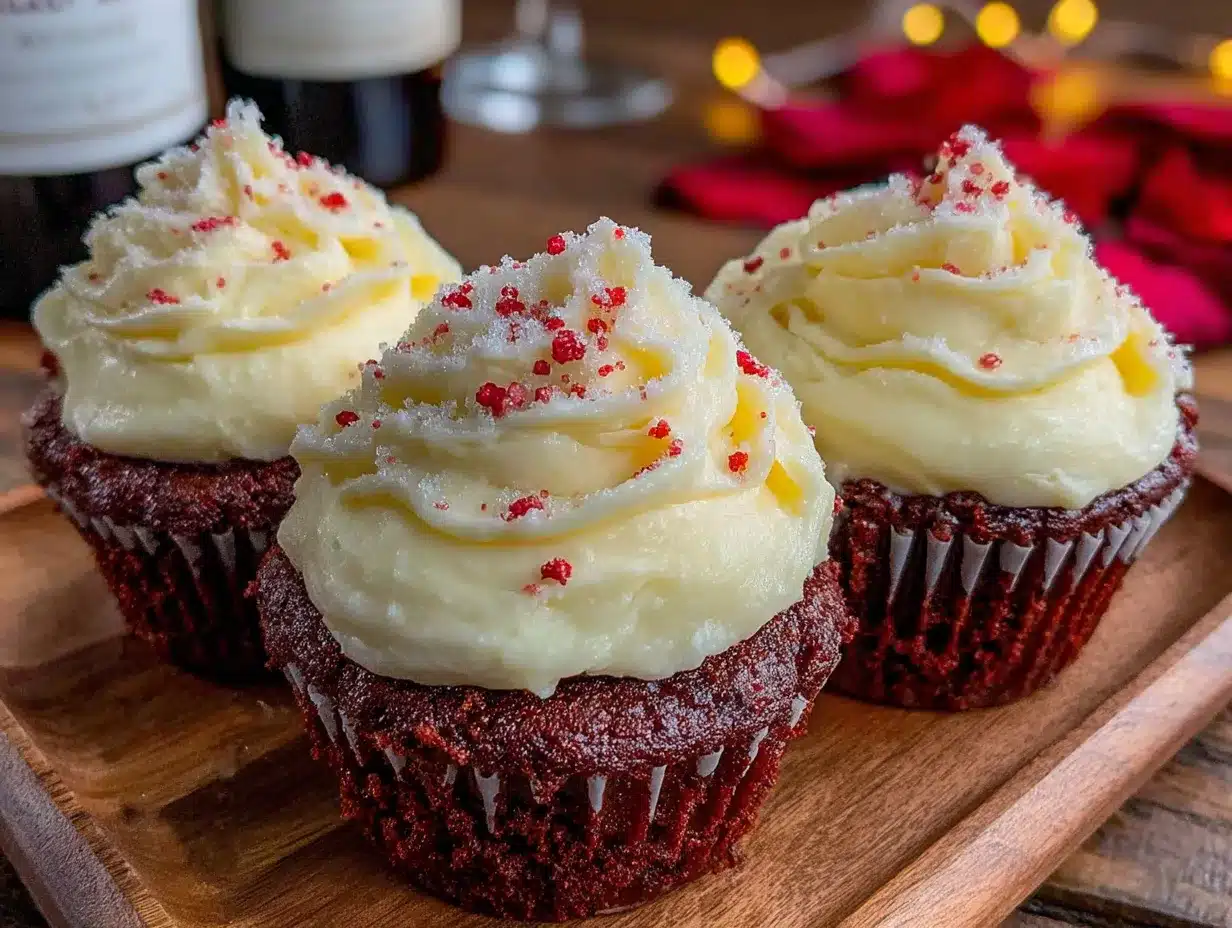
- Cream cheese, 8 ounces (226g), softened – Full-fat is best for stability. Let it come to room temperature completely.
- Unsalted butter, ½ cup (113g), softened – I use Land O’Lakes. Make sure it’s soft but not melted.
- Powdered sugar, 3 cups (360g) – Sift it if you want extra smooth frosting. I’m usually too lazy, but it helps.
- Vanilla extract, 1 teaspoon – Again, pure is better.
- Pinch of salt – Just a tiny one to cut the sweetness.
For Decoration
- Red sprinkles or heart-shaped candies – Optional but fun. My kids love the little heart sprinkles from the baking aisle.
Equipment Needed
You don’t need a professional bakery setup for these red velvet heart cupcakes. Here’s what you’ll need:
- Standard 12-cup muffin tin – I use a non-stick one, but any will do.
- Cupcake liners – Valentine’s themed ones are perfect. Look for red, pink, or heart patterns.
- Large mixing bowl – For the dry ingredients.
- Medium bowl or large liquid measuring cup – For the wet ingredients.
- Whisk – A good sturdy one. I’ve had mine for years.
- Rubber spatula – For folding and scraping the bowl clean.
- Foil balls – Yes, you read that right. You’ll use these to create the heart shape. Just roll up some aluminum foil into small balls about the size of a walnut. You’ll need 12 of them.
- Piping bag or zip-top bag – For frosting. A zip-top bag with the corner snipped off works perfectly if you don’t have a piping bag.
- Large star tip – Optional but gives that bakery look. I use a Wilton 1M.
- Cooling rack – Essential for even cooling. Don’t skip this or your cupcakes will get soggy bottoms.
If you don’t have a muffin tin, you can use a jumbo muffin pan and adjust the baking time. And if you’re missing the star tip, just snip a bigger hole in your zip-top bag and go for it. Homemade is still beautiful.
Preparation Method
Alright, let’s get baking. These red velvet heart cupcakes come together quickly once you get going. Here’s how to do it:
- Preheat your oven to 350°F (175°C). Line your muffin tin with cupcake liners. I like to use the foil liners for a more festive look, but paper works just fine.
- Make the foil balls. Tear off 12 squares of aluminum foil, each about 3 inches wide. Roll each into a tight ball. Set these aside—you’ll use them after the cupcakes bake.
- Whisk the dry ingredients together. In a large bowl, combine 1 ½ cups flour, 1 cup sugar, 1 tablespoon cocoa powder, 1 teaspoon baking soda, and ½ teaspoon salt. Whisk until everything is evenly distributed. Make a well in the center.
- Mix the wet ingredients. In a separate bowl or large measuring cup, whisk together ½ cup buttermilk, ½ cup vegetable oil, 2 eggs, 1 tablespoon red food coloring, 1 teaspoon vinegar, and 1 teaspoon vanilla extract. Whisk until smooth and uniformly red. Don’t worry if it looks a little thin—it’s supposed to.
- Combine wet and dry. Pour the wet ingredients into the well of the dry ingredients. Use a rubber spatula to fold everything together gently. Stir just until no streaks of flour remain. A few small lumps are okay—overmixing will make the cupcakes tough. The batter should be thick but scoopable.
- Fill the liners. Divide the batter evenly among the 12 cupcake liners. I use a cookie scoop to keep things neat. Fill each about ⅔ full—don’t overfill or they’ll spill over.
- Bake. Place the pan in the preheated oven and bake for 15-18 minutes. At 15 minutes, insert a toothpick into the center of a cupcake. If it comes out clean or with just a few moist crumbs, they’re done. If it’s wet, give them another 2-3 minutes.
- Create the heart shape immediately. As soon as the cupcakes come out of the oven, press a foil ball gently into the center of each cupcake. Don’t push all the way through—just about halfway down. This creates a deep indent that will form the top of the heart. Let them cool completely in the pan with the foil balls in place, about 30 minutes.
- Remove the foil balls. Once the cupcakes are completely cool, gently pull out the foil balls. You’ll see a perfect heart-shaped indent in the center of each cupcake. If the edges look a little messy, don’t worry—the frosting will cover it.
- Make the frosting. While the cupcakes cool, beat 8 ounces softened cream cheese and ½ cup softened butter together in a large bowl with an electric mixer until smooth and creamy, about 2 minutes. Add 1 teaspoon vanilla and a pinch of salt, then beat again. Gradually add 3 cups powdered sugar, 1 cup at a time, beating on low speed until incorporated. Once all the sugar is in, beat on medium-high for 2 minutes until light and fluffy. Don’t overbeat or the frosting will get too soft.
- Pipe the frosting. Transfer the frosting to a piping bag fitted with a large star tip. Starting from the outside edge of each cupcake, pipe a ring of frosting around the heart indent. Then pipe a second ring inside the first, and continue until you reach the heart. The frosting should form a border around the heart, leaving the indent visible. If you don’t have a piping bag, use a zip-top bag with the corner snipped off and pipe a simple border.
- Decorate. Sprinkle red heart sprinkles or candies over the frosting. You can also add a few around the heart indent for extra cuteness. Let the frosting set for about 10 minutes before serving.
Cooking Tips & Techniques
I’ve made these red velvet heart cupcakes more times than I can count, and I’ve learned a few things along the way. Here are my best tips:
- Room temperature ingredients matter. I know it’s tempting to use cold eggs and buttermilk straight from the fridge, but trust me—room temperature ingredients emulsify better, giving you a smoother, more tender cupcake. Set everything out 30 minutes before you start.
- Don’t skip the vinegar. I know it sounds weird, but the white vinegar reacts with the baking soda to create carbon dioxide bubbles that help the cupcakes rise. It also balances the sweetness. You won’t taste it, I promise.
- Use gel food coloring for a deeper red. Liquid food coloring can thin the batter and give you a pinkish result instead of that classic red velvet color. Gel coloring is more concentrated, so you need less of it. I use about 1 tablespoon of gel color.
- Press the foil balls gently. The first time I tried this, I pushed the foil balls all the way to the bottom of the cupcakes. Big mistake. You want to press them just about halfway down so the indent is deep enough to hold the frosting but not so deep that the cupcake falls apart.
- Cool completely before frosting. If the cupcakes are even slightly warm, the cream cheese frosting will melt and slide right off. I learned this the hard way. Let them cool for at least 30 minutes in the pan, then transfer to a cooling rack for another 15 minutes.
- Don’t overmix the batter. I used to be guilty of this. Overmixing develops gluten, which makes cupcakes tough and dense. Mix just until the flour disappears. A few lumps are your friend.
- Test for doneness at 15 minutes. Every oven runs a little differently. Start checking at 15 minutes to avoid overbaking. Dry cupcakes are sad cupcakes.
Variations & Adaptations
These red velvet heart cupcakes are pretty perfect as is, but here are some ways to make them your own:
- Gluten-Free Version: Substitute the all-purpose flour with a 1:1 gluten-free baking flour blend. I’ve used Bob’s Red Mill with great results. Add an extra tablespoon of buttermilk to compensate for the drier flour.
- Dairy-Free Version: Use a dairy-free cream cheese alternative and vegan butter for the frosting. For the cupcakes, substitute the buttermilk with ½ cup unsweetened almond milk mixed with 1 tablespoon lemon juice. Let it sit 5 minutes before using.
- Natural Red Coloring: If you want to skip artificial food coloring, use 2 tablespoons of beet powder mixed with 2 tablespoons of water. The color will be more of a deep pinkish-red, but it’s still beautiful and kid-friendly.
- Chocolate Lovers’ Twist: Add ¼ cup mini chocolate chips to the batter before baking. They sink to the bottom and create a little chocolate surprise in each bite.
- Mini Cupcakes: Use a mini muffin pan and bake for 10-12 minutes. You’ll get about 24 mini cupcakes. Use smaller foil balls for the heart indent.
- Frosting Variations: Swap the cream cheese frosting for a simple vanilla buttercream or a chocolate ganache. My kids love the cream cheese version best, but the chocolate option is a close second.
Serving & Storage Suggestions
These red velvet heart cupcakes are best served at room temperature, so let them sit out for about 15 minutes after frosting if you’ve stored them in the fridge. The cream cheese frosting gets nice and soft, and the cupcakes taste extra tender.
For presentation, arrange them on a pretty platter or cake stand. I like to add a few fresh strawberries and a dusting of powdered sugar around the edges for a Valentine’s Day look. They’re perfect for a classroom party, a family dessert, or even a small gathering with friends.
Storage: Store unfrosted cupcakes in an airtight container at room temperature for up to 2 days. Frosted cupcakes need to be refrigerated because of the cream cheese. Place them in a single layer in an airtight container and refrigerate for up to 4 days. Let them come to room temperature before serving for the best texture.
Freezing: You can freeze the unfrosted cupcakes for up to 3 months. Wrap each one tightly in plastic wrap, then place them in a freezer-safe bag. Thaw at room temperature for about an hour before frosting and serving. The frosting can also be frozen for up to 2 months—just thaw it in the fridge overnight and re-whip it before using.
Reheating: If you want a warm cupcake, microwave an unfrosted one for about 10 seconds. Don’t do this with frosted cupcakes—the frosting will melt. Honestly, I think they’re best at room temperature, but my kids love them straight from the fridge too.
One thing I love about these red velvet heart cupcakes is that the flavors actually get better after a day in the fridge. The cocoa and buttermilk mellow out, and the cream cheese frosting sets perfectly. So if you’re making them for a party, bake them the day before and frost them the morning of. Your future self will thank you.
Nutritional Information & Benefits
Here’s the honest truth: these are cupcakes, not health food. But they’re made with real ingredients, and that counts for something. Here’s the estimated nutritional breakdown per cupcake (with frosting):
| Nutrient | Amount per Cupcake |
|---|---|
| Calories | 385 |
| Total Fat | 18g |
| Saturated Fat | 8g |
| Cholesterol | 55mg |
| Sodium | 240mg |
| Total Carbohydrates | 52g |
| Sugars | 38g |
| Protein | 4g |
Health Highlights: The cream cheese provides a small amount of calcium and protein, and the cocoa powder contains antioxidants called flavonoids. The buttermilk adds probiotics that are good for gut health. Of course, these are treats, so enjoy them in moderation. I like to pair one with a glass of milk for my kids—it balances the sweetness and adds a little extra calcium.
Dietary Considerations: These cupcakes contain dairy, eggs, and gluten. For a dairy-free version, see the variations section above. They are not suitable for a vegan diet as is, but you can experiment with plant-based substitutions.
Conclusion
These red velvet heart cupcakes are more than just a pretty dessert—they’re a little piece of joy you can share with the people you love. Whether you’re making them for a Valentine’s Day party, a classroom celebration, or just because it’s Tuesday, they bring a smile to every face. My daughter still asks for them every February, and I think that’s the highest compliment a recipe can get.
Don’t be afraid to make them your own. Swap the sprinkles for crushed candy canes, add a drop of peppermint extract to the frosting, or go wild with different colored sprinkles. The heart shape is what makes them special, but the love you put into them is what makes them unforgettable. I’d love to hear how yours turn out—drop a comment below and let me know if your kids gave them the thumbs up. Happy baking, friend. You’ve got this.
Frequently Asked Questions
Can I make these red velvet heart cupcakes without a piping bag?
Absolutely! Just use a zip-top bag with the corner snipped off. You can also simply spread the frosting with a knife, leaving the heart indent visible. It won’t look as fancy, but it’ll taste just as good.
Why did my cupcakes turn out dry?
Dry cupcakes usually come from overbaking or overmixing. Check your oven temperature with an oven thermometer, and start testing for doneness at 15 minutes. Also, make sure you’re not overmixing the batter—mix just until the flour disappears.
Can I use a different shape instead of a heart?
Sure! You can use any small, heat-safe object to create the indent. A small round cookie cutter, a clean bottle cap, or even a metal spoon handle can work. Just make sure it’s heat-safe and you press it in gently.
How do I get a deeper red color?
Use gel food coloring instead of liquid. It’s more concentrated and won’t thin the batter. Start with 1 tablespoon and add more if needed. You can also try adding a teaspoon of cocoa powder to deepen the color naturally.
Can I make these cupcakes ahead of time for a party?
Yes! Bake the cupcakes up to 2 days in advance and store them unfrosted in an airtight container at room temperature. Make the frosting the day of the party and frost them a few hours before serving. They’ll look and taste fresh.
Pin This Recipe!
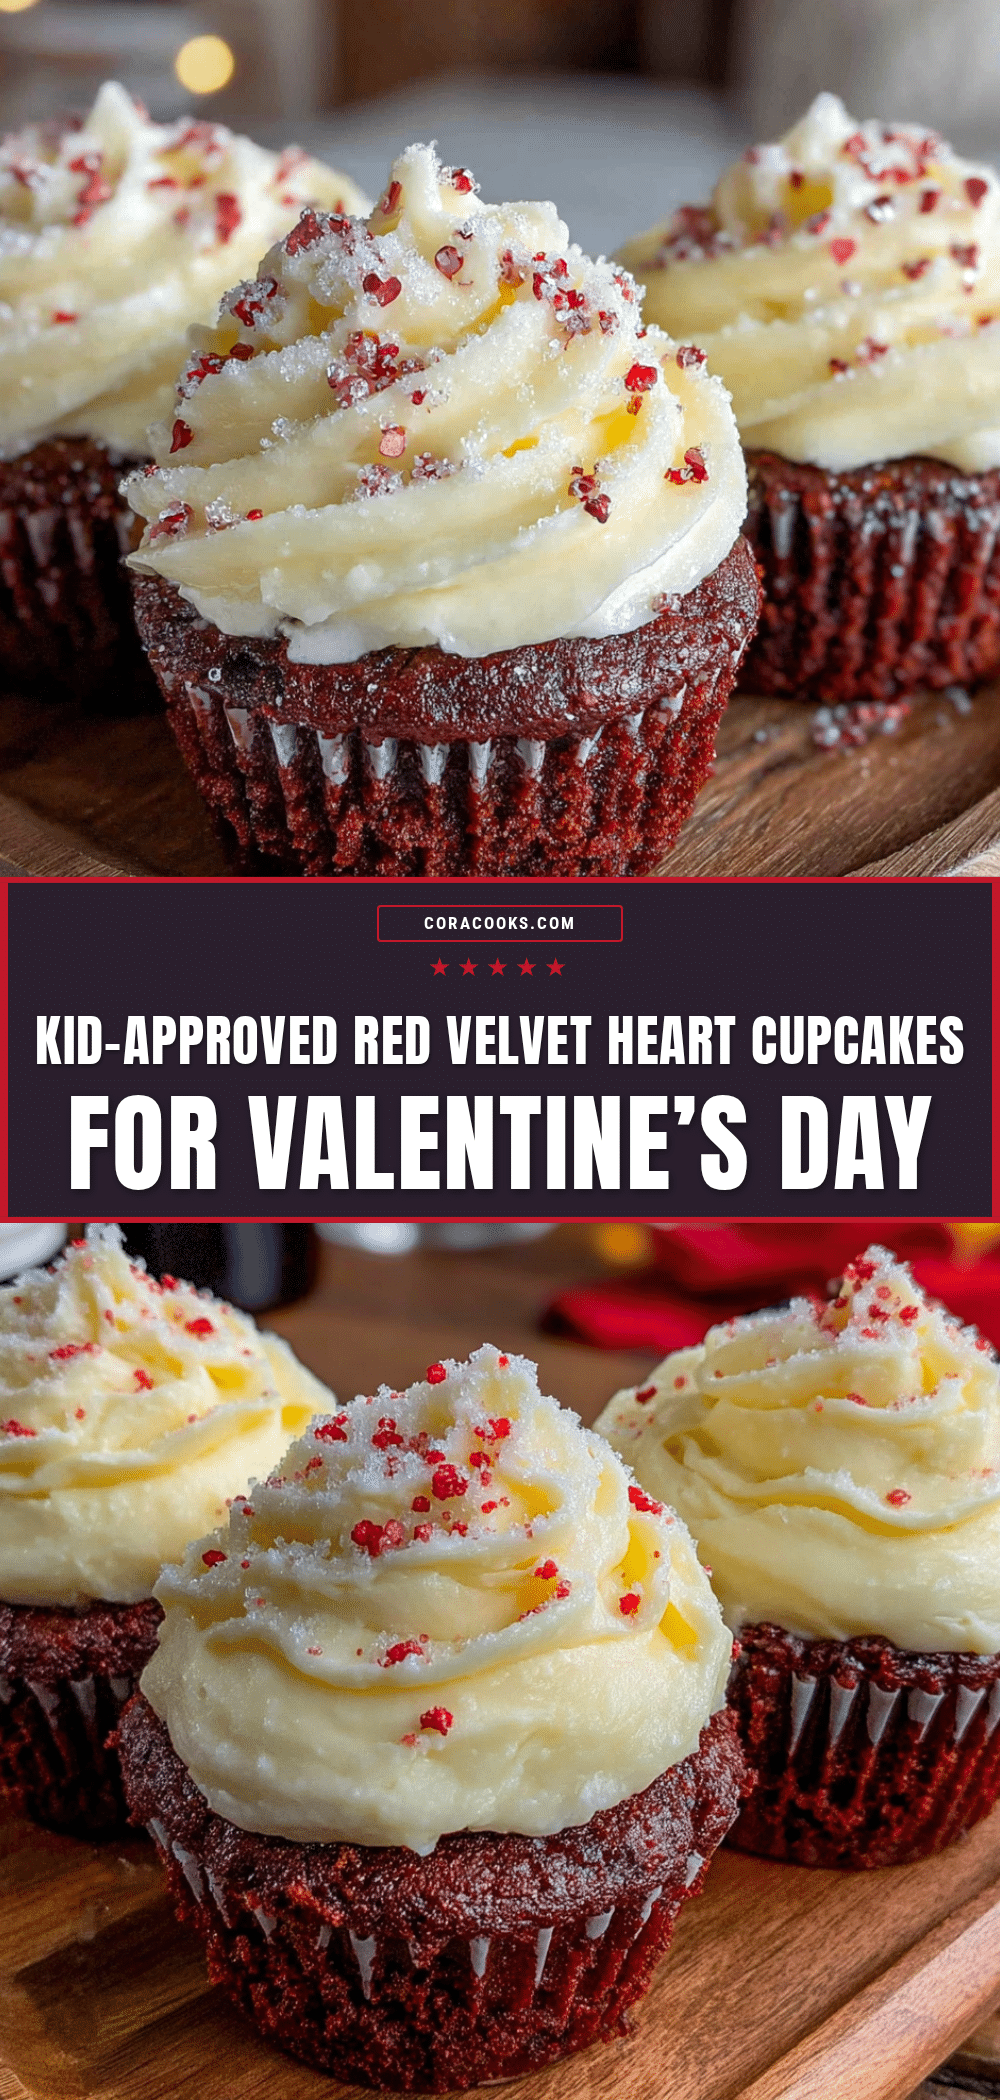
Red Velvet Heart Cupcakes: Perfect Easy Valentine’s Treat
These red velvet heart cupcakes are soft, tender, and topped with a tangy cream cheese frosting. They’re the perfect Valentine’s Day treat that both kids and adults will love.
- Prep Time: 15 minutes
- Cook Time: 18 minutes
- Total Time: 45 minutes
- Yield: 12 cupcakes 1x
- Category: Dessert
- Cuisine: American
Ingredients
- 1 ½ cups (190g) all-purpose flour
- 1 cup (200g) granulated sugar
- 1 tablespoon (8g) unsweetened cocoa powder
- 1 teaspoon baking soda
- ½ teaspoon salt
- ½ cup (120ml) vegetable oil
- ½ cup (120ml) buttermilk
- 2 large eggs, room temperature
- 1 tablespoon (15ml) red food coloring (gel preferred)
- 1 teaspoon white vinegar
- 1 teaspoon vanilla extract
- 8 ounces (226g) cream cheese, softened
- ½ cup (113g) unsalted butter, softened
- 3 cups (360g) powdered sugar
- 1 teaspoon vanilla extract
- Pinch of salt
- Red sprinkles or heart-shaped candies (optional)
Instructions
- Preheat your oven to 350°F (175°C). Line a 12-cup muffin tin with cupcake liners.
- Make 12 foil balls by rolling 3-inch squares of aluminum foil into tight balls. Set aside.
- In a large bowl, whisk together flour, sugar, cocoa powder, baking soda, and salt. Make a well in the center.
- In a separate bowl or large measuring cup, whisk together buttermilk, vegetable oil, eggs, red food coloring, vinegar, and vanilla extract until smooth.
- Pour the wet ingredients into the well of the dry ingredients. Fold gently with a rubber spatula until just combined. Do not overmix.
- Divide the batter evenly among the 12 liners, filling each about ⅔ full.
- Bake for 15-18 minutes, or until a toothpick inserted in the center comes out clean or with a few moist crumbs.
- Immediately after removing from the oven, gently press a foil ball into the center of each cupcake about halfway down to create a heart-shaped indent. Let cool completely in the pan, about 30 minutes.
- Remove the foil balls once the cupcakes are completely cool.
- For the frosting: Beat cream cheese and butter together until smooth and creamy, about 2 minutes. Add vanilla and salt, then beat again. Gradually add powdered sugar, 1 cup at a time, beating on low until incorporated. Beat on medium-high for 2 minutes until light and fluffy.
- Transfer frosting to a piping bag fitted with a large star tip. Pipe a border around the heart indent on each cupcake, starting from the outside and working inward.
- Decorate with red sprinkles or heart-shaped candies. Let frosting set for about 10 minutes before serving.
Notes
Room temperature ingredients are key for a tender crumb. Don’t skip the vinegar—it reacts with the baking soda for lift. Press foil balls gently to avoid tearing the cupcakes. Cool completely before frosting to prevent melting.
Nutrition
- Serving Size: 1 cupcake
- Calories: 385
- Sugar: 38
- Sodium: 240
- Fat: 18
- Saturated Fat: 8
- Carbohydrates: 52
- Fiber: 1
- Protein: 4
Keywords: red velvet, heart cupcakes, Valentine's Day, cream cheese frosting, easy dessert


