Love this? Save it for later!
Share the inspiration with your friends
The day my air conditioner broke in the middle of July was the day these quick garlic butter chicken thighs saved dinner. I was standing in my kitchen, sweat beading on my forehead, staring at a pack of chicken thighs I had defrosted that morning with absolutely zero plan for them. The last thing I wanted to do was turn on the oven and turn my apartment into a sauna. I needed something fast, I needed something stovetop, and honestly? I needed something that didn’t require a whole lot of brainpower because the heat had already fried my ability to think.
That is when I remembered a trick a line cook once told me at a tiny diner in Ohio. He said the secret to juicy chicken thighs wasn’t marinating them for hours or babysitting them on the grill. It was about high heat, a hot pan, and letting the fat do the work. I grabbed my largest skillet, threw in some butter and garlic, and decided to just go for it. Fifteen minutes later, I had the most ridiculous chicken thighs sitting in my pan. The skin was crispy, the meat was tender, and that garlic butter sauce was asking to be poured over everything on the plate.
I texted my friend Sarah a photo with the caption “emergency dinner win” and she called me immediately demanding the recipe. The thing is, there wasn’t really a recipe yet. It was just instinct and a little bit of luck. But I made them again the next week on purpose, paid attention to what I was doing, and these quick garlic butter chicken thighs were born. Maybe you have had one of those nights where takeout sounds good but your wallet says no, or you are staring at chicken again wondering how to make it exciting without a ton of effort. This is that answer. Let me show you how it works.
Why You’ll Love This Recipe
I have tested this recipe more times than I care to admit, and every single time it delivers. Here is why these quick garlic butter chicken thighs deserve a permanent spot in your dinner rotation.
- Ready in 20 Minutes Flat: From fridge to plate in the time it takes to watch half an episode of your favorite show. This is perfect for those evenings when hangry sets in and you need food now.
- Simple Pantry Ingredients: Chicken thighs, butter, garlic, and a few seasonings. That is it. No fancy grocery store trips, no obscure ingredients you will use once and forget about.
- One Pan, Minimal Mess: Everything happens in a single skillet. Less dishes means more time to relax after dinner. I am all about that.
- Crowd-Pleasing Flavor: The combination of crispy golden skin and that rich garlic butter sauce makes everyone come back for seconds. Kids love it, adults love it, picky eaters love it.
- Budget-Friendly: Chicken thighs are way more affordable than breasts, and they have more flavor and moisture. Your wallet and your taste buds win here.
What makes this recipe different from the hundreds of other chicken thigh recipes out there? It is the technique. Most recipes tell you to cook chicken low and slow, but for a 20-minute dinner, you need to crank up the heat and get that beautiful sear. The butter and garlic get added at just the right moment so the garlic infuses the oil without burning. You end up with chicken that tastes like it simmered for an hour but came together in a fraction of the time. This is not just another chicken dinner. This is the one you will make on repeat.
What Ingredients You Will Need
This recipe keeps things simple, using ingredients that do most of the heavy lifting for you. Here is what you need to grab.
- Chicken Thighs: 4 bone-in, skin-on chicken thighs (about 1.5 pounds total). Bone-in gives you more flavor and keeps the meat juicy. Skin-on is non-negotiable for that crispy texture. If you only have boneless skinless, the cook time will drop to about 10-12 minutes, but you will miss out on that glorious skin.
- Unsalted Butter: 3 tablespoons. I use unsalted so I can control the salt level myself. If you only have salted butter, just reduce the added salt by about a quarter teaspoon.
- Garlic: 6 cloves, minced. Fresh garlic makes a huge difference here. The pre-minced stuff in a jar tends to burn faster and lacks that punchy flavor. Take the extra 30 seconds to chop fresh cloves.
- Olive Oil: 1 tablespoon. This helps the butter from burning because butter alone has a lower smoke point. The combo gives you the best of both worlds.
- Paprika: 1 teaspoon. I use sweet paprika for color and a mild smoky flavor. Smoked paprika works beautifully too if you want a deeper, campfire-like taste.
- Garlic Powder: 1 teaspoon. Yes, we are using fresh garlic AND garlic powder. The powder sticks to the chicken skin and creates a flavorful crust while the fresh garlic goes into the sauce.
- Onion Powder: 1/2 teaspoon. Adds a subtle savory depth without being overpowering.
- Salt: 1 teaspoon, or to taste. I prefer kosher salt because it distributes evenly and has a cleaner taste.
- Black Pepper: 1/2 teaspoon, freshly cracked. Freshly ground pepper has more aroma and bite than pre-ground.
- Dried Thyme: 1/2 teaspoon. Thyme and chicken are a classic pair. If you have fresh thyme, use about 1 teaspoon of leaves stripped from the stems.
- Chicken Broth: 1/4 cup. This deglazes the pan and turns all those browned bits into a quick sauce. Low-sodium is best so you stay in control of the salt.
- Fresh Parsley: 2 tablespoons, chopped. Optional but highly recommended for a pop of color and freshness at the end.
I personally recommend using organic chicken thighs if your budget allows. The flavor difference is noticeable, and the texture tends to be firmer. For butter, I am a fan of Kerrygold for its richness, but any good quality unsalted butter works. Now, if you want to switch things up, you can substitute the thyme with rosemary or oregano. Both work beautifully with the garlic butter profile.
Equipment Needed
You do not need a fancy kitchen to pull off this recipe. Here is what you will use.
- Large Skillet: A 10 to 12-inch cast iron skillet or heavy-bottomed stainless steel pan works best. Cast iron holds heat incredibly well and gives you that perfect sear. I have used a non-stick skillet before and it works, but you will not get as much browning on the skin.
- Tongs: For flipping the chicken without piercing the skin and losing those precious juices. I have a pair of spring-loaded tongs that I have had for years and they are my most used kitchen tool.
- Cutting Board: For prepping your garlic and parsley. A wooden or plastic board is fine.
- Chef’s Knife: A sharp knife makes mincing garlic a breeze. Dull knives are dangerous and frustrating.
- Measuring Spoons: For the seasonings. Eyeballing works if you are confident, but measuring gives you consistent results every time.
- Small Bowl: To mix your dry seasonings together before applying them to the chicken.
- Paper Towels: For patting the chicken dry. This step is crucial for crispy skin, so do not skip it.
If you do not own a cast iron skillet, do not worry. A stainless steel pan works great. Just make sure it is heavy enough to hold heat. Avoid thin non-stick pans if possible because they cool down too much when you add the chicken, and you will not get that beautiful golden crust. Budget-friendly tip: check thrift stores for old cast iron skillets. They last forever and are usually a fraction of the price of new ones.
Preparation Method
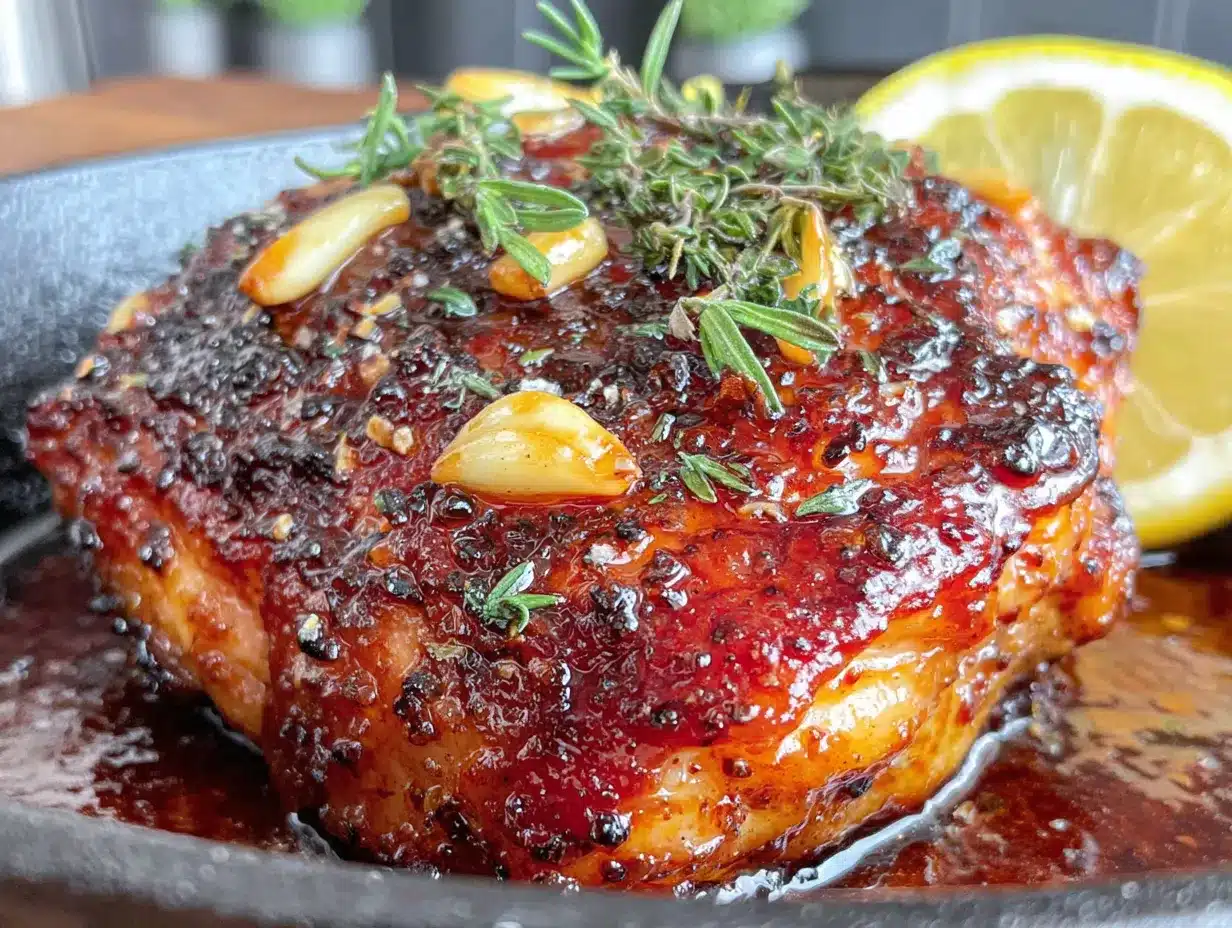
Let me walk you through this step by step. I promise it is straightforward, but I will share the little details that make a big difference.
- Pat the Chicken Dry: Take your chicken thighs out of the package and pat them thoroughly dry with paper towels. This is the most important step for crispy skin. Moisture is the enemy of browning. If the chicken is wet, it will steam instead of sear. Let them sit on a plate for a few minutes after patting to air dry a bit more.
- Season the Chicken: In a small bowl, mix together 1 teaspoon paprika, 1 teaspoon garlic powder, 1/2 teaspoon onion powder, 1 teaspoon salt, 1/2 teaspoon black pepper, and 1/2 teaspoon dried thyme. Sprinkle this mixture evenly over both sides of the chicken thighs. Rub it in gently with your hands so it sticks to the skin. Do this right before cooking so the salt does not draw out too much moisture.
- Heat the Pan: Place your large skillet over medium-high heat and add 1 tablespoon of olive oil. Let the oil heat up for about 2 minutes until it shimmers. You want the pan hot enough that the chicken sizzles immediately when it hits the surface. If you are using cast iron, give it a little extra time to heat evenly.
- Sear the Chicken Skin-Side Down: Carefully place the chicken thighs in the hot skillet, skin-side down. Do not overcrowd the pan. If your skillet is small, cook in batches. Listen for that satisfying sizzle. Let them cook undisturbed for 5 to 6 minutes. Resist the urge to move them around. The skin needs uninterrupted contact with the hot surface to turn golden and crispy. You will know it is ready when the edges look brown and the skin releases easily from the pan.
- Flip and Cook the Other Side: Using tongs, flip the chicken thighs over. The skin side should be beautifully browned. Cook for another 5 minutes on the second side. The chicken should be cooked through at this point, but we are about to add the sauce, so do not worry if it needs another minute or two.
- Add the Butter and Garlic: Reduce the heat to medium-low. Push the chicken thighs to one side of the pan. Add 3 tablespoons of unsalted butter to the empty space. Let it melt, then add the 6 minced garlic cloves. Stir the garlic in the butter for about 30 seconds until fragrant. Be careful here — garlic burns quickly. If it starts turning brown too fast, remove the pan from the heat temporarily.
- Baste the Chicken: Tilt the pan slightly so the garlic butter pools at the bottom. Use a spoon to scoop the butter up and drizzle it over the chicken thighs. Do this for about 1 minute. This basting step infuses the chicken with that rich garlic flavor and keeps the meat incredibly moist.
- Deglaze the Pan: Pour in 1/4 cup of chicken broth. It will sizzle and steam immediately. Use a wooden spoon or spatula to scrape up all the browned bits from the bottom of the pan. Those bits are pure flavor. Let the broth simmer for about 2 minutes, reducing slightly into a light sauce.
- Check for Doneness: The chicken is done when the internal temperature reaches 165°F at the thickest part, or when the juices run clear when pierced. If you do not have a thermometer, cut into the thickest thigh and check that the meat is opaque and no longer pink near the bone.
- Rest and Serve: Remove the pan from the heat. Let the chicken rest in the pan for 5 minutes. This allows the juices to redistribute so every bite is tender and flavorful. Sprinkle with fresh parsley before serving.
Cooking Tips & Techniques
I have made these quick garlic butter chicken thighs more times than I can count, and I have definitely made some mistakes along the way. Here is what I learned so you do not have to repeat my errors.
Do Not Skip Patting the Chicken Dry: I know it feels like an extra step, but it is the difference between crispy skin and soggy skin. One time I was in a rush and skipped it. The chicken steamed instead of seared, and the skin was rubbery. Never again.
Get the Pan Hot Enough: If your pan is not hot enough when you add the chicken, the skin will stick and tear. You want to hear a loud sizzle immediately. If you are unsure, flick a drop of water into the pan. If it dances and evaporates instantly, you are ready.
Let the Chicken Cook Unbothered: I know it is tempting to poke and prod, but leave the chicken alone for those first 5 to 6 minutes. When the skin is properly seared, it will release naturally from the pan. If you try to flip it and it sticks, it is not ready yet. Give it another minute.
Watch the Garlic Carefully: Garlic goes from fragrant to burnt in about 15 seconds. When you add it to the butter, keep stirring and keep an eye on it. If it starts browning too fast, take the pan off the heat for a moment. Burnt garlic tastes bitter and will ruin your sauce.
Use Bone-In, Skin-On Thighs: I have made this with boneless skinless thighs when that was all I had, and while it works, it is just not the same. The bone adds flavor and helps the meat stay juicy. The skin gets crispy and delicious. Trust me on this one.
Let It Rest: That 5-minute rest at the end is not optional. If you cut into the chicken right away, all those juices will run out onto the plate, leaving you with dry meat. Patience pays off here.
Variations & Adaptations
One of the best things about this recipe is how easy it is to adapt. Here are some ways I have switched it up depending on what I have in the fridge or what I am craving.
Spicy Version: Add 1/2 teaspoon of red pepper flakes along with the garlic, or stir in a teaspoon of sriracha into the butter sauce. The heat pairs beautifully with the richness of the butter. I made this version for a game day dinner and my husband could not stop eating.
Lemon Herb Twist: Add the zest of one lemon and a tablespoon of lemon juice to the butter sauce along with the garlic. Swap the dried thyme for fresh rosemary or oregano. The brightness cuts through the richness and makes it feel lighter. Perfect for spring or summer nights.
Creamy Garlic Butter Sauce: After deglazing with chicken broth, stir in 1/4 cup of heavy cream or half-and-half. Let it simmer for 2 to 3 minutes until thickened slightly. This turns the dish into something decadent that feels like restaurant quality. Serve with crusty bread to soak up every drop.
Air Fryer Adaptation: Season the chicken as directed, then air fry at 375°F for 12 to 15 minutes, flipping halfway through. While the chicken cooks, melt the butter in a small pan and add the minced garlic for 30 seconds. Toss the cooked chicken in the garlic butter before serving. This method is great if you want crispy skin without standing over the stove.
Dairy-Free Option: Substitute the butter with a high-quality vegan butter or use ghee if you tolerate dairy but want to reduce lactose. Coconut oil also works, though it will add a slight coconut flavor that pairs surprisingly well with the garlic.
Serving & Storage Suggestions
These quick garlic butter chicken thighs are versatile enough to pair with almost anything. Here is how I like to serve them and how to handle leftovers.
Serving Temperature: Serve the chicken hot, straight from the pan. The butter sauce should be warm and glossy. Spoon some of that pan sauce over the top just before bringing it to the table.
What to Serve With It: Mashed potatoes are my go-to because they soak up the garlic butter sauce beautifully. Rice or quinoa also work great. For vegetables, roasted asparagus, green beans, or a simple side salad with a lemon vinaigrette balance the richness. If you want something starchy, crusty bread for dipping is never a bad idea.
Storage Instructions: Let any leftover chicken cool completely before storing. Place it in an airtight container and refrigerate for up to 4 days. The flavors actually meld together overnight, so leftovers taste amazing the next day.
Freezer Tips: You can freeze the cooked chicken thighs for up to 3 months. Wrap each thigh individually in plastic wrap, then place them in a freezer-safe bag. To reheat, thaw in the refrigerator overnight, then warm in a skillet over medium heat with a splash of chicken broth to revive the sauce.
Reheating Methods: The best way to reheat is in a skillet over medium-low heat. Add a tablespoon of butter or broth to keep the chicken moist. Cover the pan with a lid and heat for 5 to 7 minutes, flipping once. Avoid the microwave if possible because it will make the skin soggy. If you are in a hurry, the air fryer at 350°F for 4 to 5 minutes works wonders for restoring crispiness.
How Flavors Develop: I actually love making these a day ahead when I am planning a busy weeknight. The garlic butter flavor seeps deeper into the meat overnight, making the leftovers even more flavorful than the original meal. Just reheat gently and you have a dinner that tastes like you spent way more time on it than you did.
Nutritional Information & Benefits
Here is the estimated nutritional breakdown for one serving (one chicken thigh with sauce). Values are approximate and will vary based on specific ingredients and portion sizes.
- Calories: Approximately 380-420
- Protein: 28-32 grams
- Fat: 28-32 grams
- Carbohydrates: 2-4 grams
- Fiber: 0-1 gram
- Sugar: 0-1 gram
- Sodium: 600-800 milligrams (varies with added salt)
Health Benefits: Chicken thighs are a great source of high-quality protein, which supports muscle health and keeps you feeling full. They also provide essential B vitamins, particularly B6 and B12, which help with energy metabolism. Garlic is known for its anti-inflammatory properties and may support immune health. Butter, when used in moderation, provides fat-soluble vitamins like A, D, and E.
Dietary Considerations: This recipe is naturally gluten-free and low-carb, making it suitable for keto and paleo diets. If you need it dairy-free, simply swap the butter for a plant-based alternative. The recipe contains no nuts or soy, but always check your specific ingredient labels if you have severe allergies.
My Personal Take: I love that this recipe feels indulgent but is actually quite balanced. The protein keeps you satisfied, the fat provides energy, and the carbs are minimal. It is the kind of dinner that makes you feel good without feeling heavy.
Conclusion
These quick garlic butter chicken thighs have honestly become a staple in my kitchen for a reason. They are fast enough for a frantic Tuesday night but impressive enough to serve when company shows up unannounced. The crispy skin, the tender meat, that glossy garlic butter sauce that begs to be spooned over everything on your plate. It is comfort food that does not take all evening to make.
I want you to take this recipe and make it your own. Add more garlic if you are a garlic lover like me. Throw in some red pepper flakes for heat. Serve it with whatever vegetables you have hiding in your fridge. That is the beauty of a simple, solid recipe. It gives you a foundation and lets you play.
Have you made these yet? I would love to hear how they turned out for you. Drop a comment below and let me know what you served them with, or if you tried one of the variations. And if you snap a photo, tag me so I can see your beautiful dinner. Now go get that pan hot and make yourself something delicious. You deserve it.
Frequently Asked Questions
Can I use chicken breasts instead of thighs?
Yes, you can substitute boneless skinless chicken breasts. The cook time will be shorter, about 4 to 5 minutes per side depending on thickness. Be careful not to overcook them or they will dry out. The butter basting step helps keep them moist.
How do I know when the chicken is fully cooked?
The safest way is to use an instant-read thermometer. Insert it into the thickest part of the thigh without touching the bone. It should read 165°F. If you do not have a thermometer, cut into the thickest part and check that the meat is opaque and the juices run clear, not pink.
Can I make this recipe without butter?
Absolutely. Substitute the butter with ghee for a similar richness, or use a good quality olive oil. Coconut oil also works but will add a subtle coconut flavor. The sauce will be thinner without butter, but it will still taste delicious.
What if my garlic burns?
It happens to everyone. If your garlic turns dark brown or black, remove it from the pan immediately and start fresh. Burnt garlic tastes bitter and acrid. Wipe out the pan, add fresh butter, and try again with fresh garlic, keeping the heat lower this time.
Can I double this recipe?
Yes, but you will need to cook the chicken in batches. Overcrowding the pan lowers the temperature and causes the chicken to steam instead of sear. Cook the first batch, remove it to a plate and keep it warm, then repeat with the remaining chicken. Make the garlic butter sauce after all the chicken is cooked.
Pin This Recipe!
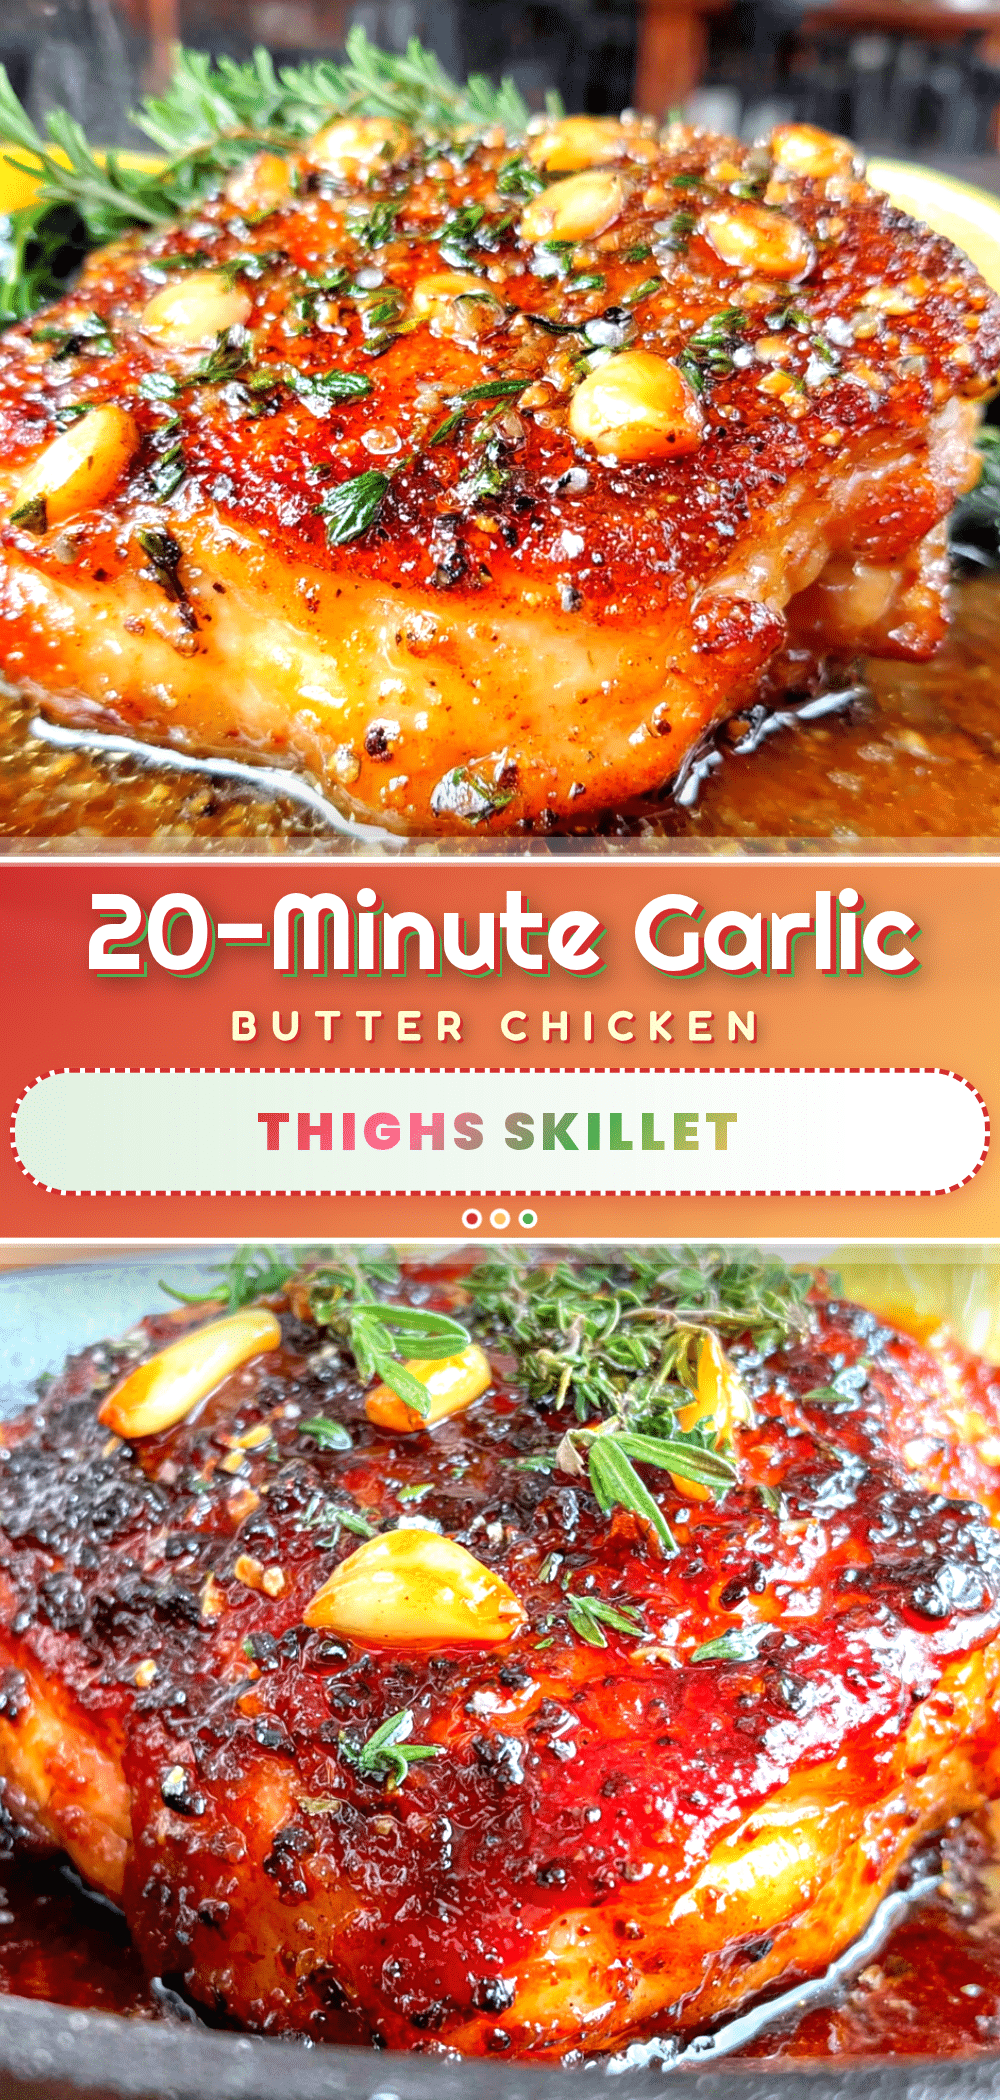
Quick Garlic Butter Chicken Thighs: Best Easy 20-Minute Dinner
Crispy, juicy chicken thighs with a rich garlic butter sauce, ready in just 20 minutes. Perfect for busy weeknights when you need a delicious dinner fast.
- Prep Time: 5 minutes
- Cook Time: 15 minutes
- Total Time: 20 minutes
- Yield: 4 servings 1x
- Category: Main Course
- Cuisine: American
Ingredients
- 4 bone-in, skin-on chicken thighs (about 1.5 pounds total)
- 3 tablespoons unsalted butter
- 6 cloves garlic, minced
- 1 tablespoon olive oil
- 1 teaspoon paprika (sweet or smoked)
- 1 teaspoon garlic powder
- 1/2 teaspoon onion powder
- 1 teaspoon salt (kosher preferred)
- 1/2 teaspoon black pepper, freshly cracked
- 1/2 teaspoon dried thyme
- 1/4 cup chicken broth (low-sodium preferred)
- 2 tablespoons fresh parsley, chopped (optional)
Instructions
- Pat the chicken thighs thoroughly dry with paper towels. Let them sit on a plate for a few minutes to air dry.
- In a small bowl, mix together paprika, garlic powder, onion powder, salt, black pepper, and dried thyme. Sprinkle the mixture evenly over both sides of the chicken thighs and rub in gently.
- Place a large skillet (10-12 inch cast iron or heavy-bottomed stainless steel) over medium-high heat. Add olive oil and heat until shimmering, about 2 minutes.
- Carefully place the chicken thighs skin-side down in the hot skillet. Cook undisturbed for 5-6 minutes until the skin is golden brown and crispy.
- Flip the chicken using tongs and cook for another 5 minutes on the second side.
- Reduce heat to medium-low. Push chicken to one side of the pan. Add butter to the empty space and let it melt. Add minced garlic and stir for about 30 seconds until fragrant.
- Tilt the pan slightly and spoon the garlic butter over the chicken thighs for about 1 minute to baste.
- Pour in chicken broth. Use a wooden spoon to scrape up browned bits from the bottom of the pan. Let simmer for about 2 minutes until slightly reduced.
- Check for doneness: internal temperature should reach 165°F at the thickest part, or juices run clear when pierced.
- Remove pan from heat. Let chicken rest in the pan for 5 minutes. Sprinkle with fresh parsley before serving.
Notes
Pat chicken dry thoroughly for crispy skin. Do not overcrowd the pan; cook in batches if needed. Watch garlic carefully to avoid burning. Let chicken rest 5 minutes before serving.
Nutrition
- Serving Size: 1 chicken thigh with
- Calories: 400
- Sodium: 700
- Fat: 30
- Saturated Fat: 12
- Carbohydrates: 3
- Protein: 30
Keywords: garlic butter chicken thighs, easy chicken dinner, 20-minute meal, one-pan chicken, crispy chicken thighs