Love this? Save it for later!
Share the inspiration with your friends
“I wasn’t planning on making dessert that day,” I confessed to my friend Mark as we set up the grill in his backyard last Memorial Day. The afternoon was already buzzing with the usual chaos—kids chasing the sprinklers, the hum of the neighbor’s lawnmower, and the unmistakable clink of cold drinks. But then, out of nowhere, Mark’s sister pulled out this unassuming, foil-wrapped tray and said, “Try these no-bake s’mores bars. They’re a game changer.”
Honestly, I was skeptical at first. I mean, s’mores are best when you’re around a campfire, right? Gooey marshmallows roasted to perfection, chocolate melting just right, all sandwiched between crunchy graham crackers. But these bars promised the same nostalgic magic without the fire—and I was running late, so no time for actual s’mores.
One bite, and I was hooked. The bars had that perfect mix of crispy, chewy, and creamy textures, with a hit of chocolate and marshmallow that made me close my eyes—just like a campfire treat. The best part? No oven, no mess, and they came together in under 20 minutes. I mean, who wouldn’t want a dessert that’s as fuss-free as it is delicious, especially on a sunny holiday like Memorial Day?
Maybe you’ve been there—craving something sweet that screams summer but without the extra work. These Easy No-Bake S’mores Bars for Memorial Day BBQs quickly became my go-to recipe for casual gatherings and last-minute dessert emergencies. Let me tell you, once you try these, they’ll stick with you too.
Why You’ll Love This Recipe
After testing this recipe multiple times (and yes, taste-testing is the best part), I can confidently say these Easy No-Bake S’mores Bars are a keeper. Here’s why you’ll want to keep this recipe bookmarked for every BBQ or warm-weather hangout:
- Quick & Easy: They come together in under 20 minutes—perfect for those spontaneous Memorial Day cookouts or when you’ve spent all day prepping the main dishes.
- Simple Ingredients: You probably already have most of these pantry staples on hand—no fancy shopping trips needed.
- Perfect for Outdoor Parties: No oven? No problem. These bars are ideal for outdoor gatherings where you want to keep things light and stress-free.
- Crowd-Pleaser: Kids, adults, picky eaters—everyone’s a fan. I’ve seen these bars disappear faster than the burgers off the grill.
- Unbelievably Delicious: The combo of crunchy graham cracker crust, melty chocolate, and fluffy marshmallow creates a texture party that’s nostalgic and fresh.
What sets this recipe apart? The secret lies in the perfectly balanced ratio of ingredients and a quick chilling step that makes the bars hold together without turning into a sticky mess. Plus, I’ve swapped out some traditional ingredients to make it a little lighter but just as comforting. It’s not just another s’mores bar—it’s the one you’ll actually want to make again and again. For a taste that brings back those summer evenings around the fire, without any of the fuss, this recipe truly hits the spot.
What Ingredients You Will Need
This recipe uses simple, wholesome ingredients to deliver bold flavor and satisfying texture without the fuss. Most of these are pantry staples, and if you’re planning ahead, you can easily swap a few items to fit dietary needs or preferences.
- Graham Crackers: About 2 cups, finely crushed (I like using Honey Maid for that classic flavor and crunch)
- Unsalted Butter: 6 tablespoons, melted (adds richness and helps bind the crust)
- Mini Marshmallows: 2 cups (you can use vegan marshmallows if needed)
- Milk Chocolate Chips: 1 ½ cups (feel free to use semi-sweet or dark chocolate if you prefer a less sweet bar)
- Sweetened Condensed Milk: 1 can (14 ounces) – this is the magic ingredient that brings gooeyness without baking
- Vanilla Extract: 1 teaspoon (for a subtle depth of flavor)
- Optional Toppings: A pinch of sea salt or crushed graham crackers for sprinkling on top
If you want to make these gluten-free, swap the graham crackers for gluten-free ones or crushed gluten-free cookies. For a dairy-free version, almond or coconut butter works in place of butter, and dairy-free chocolate chips are easy to find these days. In summer, I sometimes add a handful of fresh raspberries or blueberries to the mix for a fruity surprise—trust me, it’s a fun twist.
Equipment Needed
- Mixing Bowls: One large for mixing the crust and another for combining the marshmallow and chocolate layers.
- 8×8-inch Baking Pan: I prefer glass or metal; just line it with parchment paper for easy removal.
- Spatula: A sturdy rubber spatula helps spread the mixture evenly without making a mess.
- Measuring Cups and Spoons: Accurate measurements make all the difference with no-bake recipes.
- Microwave-Safe Bowl: For gently melting butter and chocolate chips in short bursts.
If you don’t have an 8×8 pan, a similar-sized dish works, but thickness and setting time might vary. I once used a disposable foil pan during a picnic and it worked just fine—just keep it chilled longer. Also, a hand mixer isn’t necessary here, but it can help if you want to mix condensed milk and marshmallows extra smoothly.
Preparation Method
- Prepare the Crust: Crush 2 cups of graham crackers into fine crumbs by placing them in a sealed plastic bag and gently pounding with a rolling pin or using a food processor. In a medium bowl, combine the crumbs with melted butter until the mixture resembles wet sand. This should take about 3-4 minutes.
- Press the Crust: Line your 8×8-inch pan with parchment paper, leaving some overhang for easy removal. Press the graham cracker mixture firmly and evenly into the bottom of the pan using the back of a spoon or your fingers. Chill in the refrigerator for 10 minutes to set while you prepare the filling.
- Melt Chocolate and Mix: In a microwave-safe bowl, melt the chocolate chips in 20-second intervals, stirring in between to avoid burning. Once smooth, stir in the sweetened condensed milk and vanilla extract. This should take about 2-3 minutes total. The mixture should be glossy and pourable.
- Add Marshmallows: Gently fold in the mini marshmallows into the chocolate mixture. Be careful not to overmix; you want the marshmallows to stay intact for that chewy texture.
- Assemble the Bars: Pour the chocolate-marshmallow mixture over the chilled crust. Use a spatula to spread it evenly, pressing lightly to ensure it sticks to the crust.
- Chill to Set: Place the pan in the refrigerator for at least 2 hours, preferably 3, to allow the bars to firm up. Don’t rush this step, or the bars will be too soft and sticky.
- Slice and Serve: Once set, lift the bars out of the pan using the parchment paper overhang. Use a sharp knife to cut into squares. For cleaner edges, warm the knife slightly under hot water and wipe dry before slicing.
Quick tip: If your marshmallows seem a bit dry or stale, toss them in the microwave for 10 seconds before folding them in—that little puff of softness makes a big difference. Also, if the chocolate mixture looks too thick after melting, add a tablespoon of milk to loosen it just a bit.
Cooking Tips & Techniques
When making these no-bake s’mores bars, a few tricks can save you from sticky fingers and sad, crumbly bars. First, don’t skip chilling the crust before adding the filling—that helps everything set beautifully. I once tried skipping that step, and the crust just mixed into the gooey topping, which was a mess.
Melting chocolate slowly is key. I always microwave in short bursts, stirring frequently. Chocolate can seize quickly if overheated, and then you’re left with a grainy mess. If that happens, adding a teaspoon of butter or vegetable oil can smooth it out.
Pressing the crust firmly and evenly ensures a sturdy base. I like to press down with the flat bottom of a glass—it helps pack it well and keeps the bars from crumbling when sliced.
Don’t overmix the marshmallows into the chocolate. You want those little pockets of gooeyness to remain. Overmixing breaks them down and you lose that classic s’mores chew.
Finally, give yourself enough chilling time. Patience here pays off—the bars will slice cleanly and hold together. If you’re short on time, pop the pan in the freezer for 30-40 minutes, but watch closely so they don’t freeze solid.
Variations & Adaptations
One of the best things about this recipe is how easy it is to tweak for your taste or dietary needs. Here are a few variations I’ve tried or recommend:
- Peanut Butter Twist: Swirl in ½ cup of creamy peanut butter into the chocolate mixture before folding in marshmallows for a nutty surprise.
- Vegan Version: Use dairy-free chocolate chips, vegan marshmallows, and coconut oil instead of butter. Sweetened condensed coconut milk can be used to replace the regular version.
- Fruit Boost: Add fresh or dried berries (like raspberries or cherries) into the mix for a pop of color and tartness.
- Crunch Factor: Sprinkle chopped nuts or crushed pretzels on top before chilling for extra texture.
- Salted Caramel: Drizzle a little salted caramel sauce over the top just before serving for a decadent touch.
Last summer, I made a batch with toasted coconut flakes mixed in, and it was a hit at a beach picnic. The toasty flavor paired perfectly with the sweet gooey layers—totally worth a try if you’re feeling adventurous!
Serving & Storage Suggestions
These bars are best served chilled or at room temperature. I like to let them sit out for about 10 minutes after removing from the fridge so they’re soft enough to bite into without sticking to your teeth.
For presentation, dust the top lightly with crushed graham crackers or a tiny sprinkle of flaky sea salt. They look festive and add a subtle crunch. Pair these treats with iced lemonade or a cold brew coffee for a refreshing combo on a warm day.
If you have leftovers (ha, as if), store them in an airtight container in the refrigerator for up to 5 days. For longer storage, they freeze beautifully—wrap bars individually in plastic wrap and place them in a freezer bag. Thaw overnight in the fridge before serving.
Fun fact: the flavors meld even better after a day or two, so if you can wait, you’re in for an even tastier bar. Just remember to bring them back to room temp before enjoying.
Nutritional Information & Benefits
Each bar packs a sweet punch, but with some of the ingredients, you get small nutritional perks too. The graham crackers offer a bit of fiber, and the mini marshmallows are surprisingly low in fat. Using real butter adds richness but also healthy fats that keep you satisfied.
Chocolate chips contain antioxidants, especially if you opt for dark chocolate. Sweetened condensed milk brings sweetness and creaminess, but do enjoy these bars as an occasional treat given their sugar content.
For those watching gluten, swapping in gluten-free graham crackers makes this dessert accessible. And for dairy-free eaters, the vegan adaptation keeps it inclusive without losing that classic s’mores vibe.
Honestly, these bars are perfect for indulging mindfully during celebrations—you get the nostalgic flavors with less fuss and fewer processed ingredients than many store-bought sweets.
Conclusion
Easy No-Bake S’mores Bars are a must-have for your next Memorial Day BBQ. They bring the campfire nostalgia without the campfire hassle, making dessert effortless and fun. I love how adaptable they are, letting you customize flavors or make them fit special diets without losing that classic s’mores spirit.
Give this recipe a try—you might find it becomes your go-to sweet treat for warm-weather gatherings too. And don’t be shy about making it your own; add your favorite twist or topping and share how it turns out!
If you make these bars, I’d love to hear your thoughts or any creative spins you put on them. Drop a comment below, share your pics, and spread the s’mores love. Here’s to easy, delicious, and memorable BBQ desserts!
FAQs About Easy No-Bake S’mores Bars
Can I make these bars ahead of time?
Absolutely! These bars can be made up to 3 days ahead and stored in the fridge. Just slice and serve when ready.
What if I don’t have sweetened condensed milk?
You can try substituting with a mixture of evaporated milk and sugar, but the texture might be a bit different. It’s best to use sweetened condensed milk for the gooey consistency.
How do I prevent the bars from sticking to the pan?
Line your pan with parchment paper, leaving an overhang on the sides. This makes it easy to lift the entire slab out for cutting.
Can I use regular-sized marshmallows instead of mini?
Mini marshmallows work best for even distribution, but if you only have regular ones, chop them into smaller pieces before folding into the chocolate mixture.
Is there a way to make these bars less sweet?
Using semi-sweet or dark chocolate chips instead of milk chocolate helps balance the sweetness. You can also reduce the amount of sweetened condensed milk slightly, but keep in mind it affects the texture.
For a classic crowd-pleasing treat, these Easy No-Bake S’mores Bars fit right in—right alongside favorites like crispy garlic chicken that always steal the show at BBQs, or the refreshing twist of avocado lime pasta salad perfect for summer picnics.
Pin This Recipe!
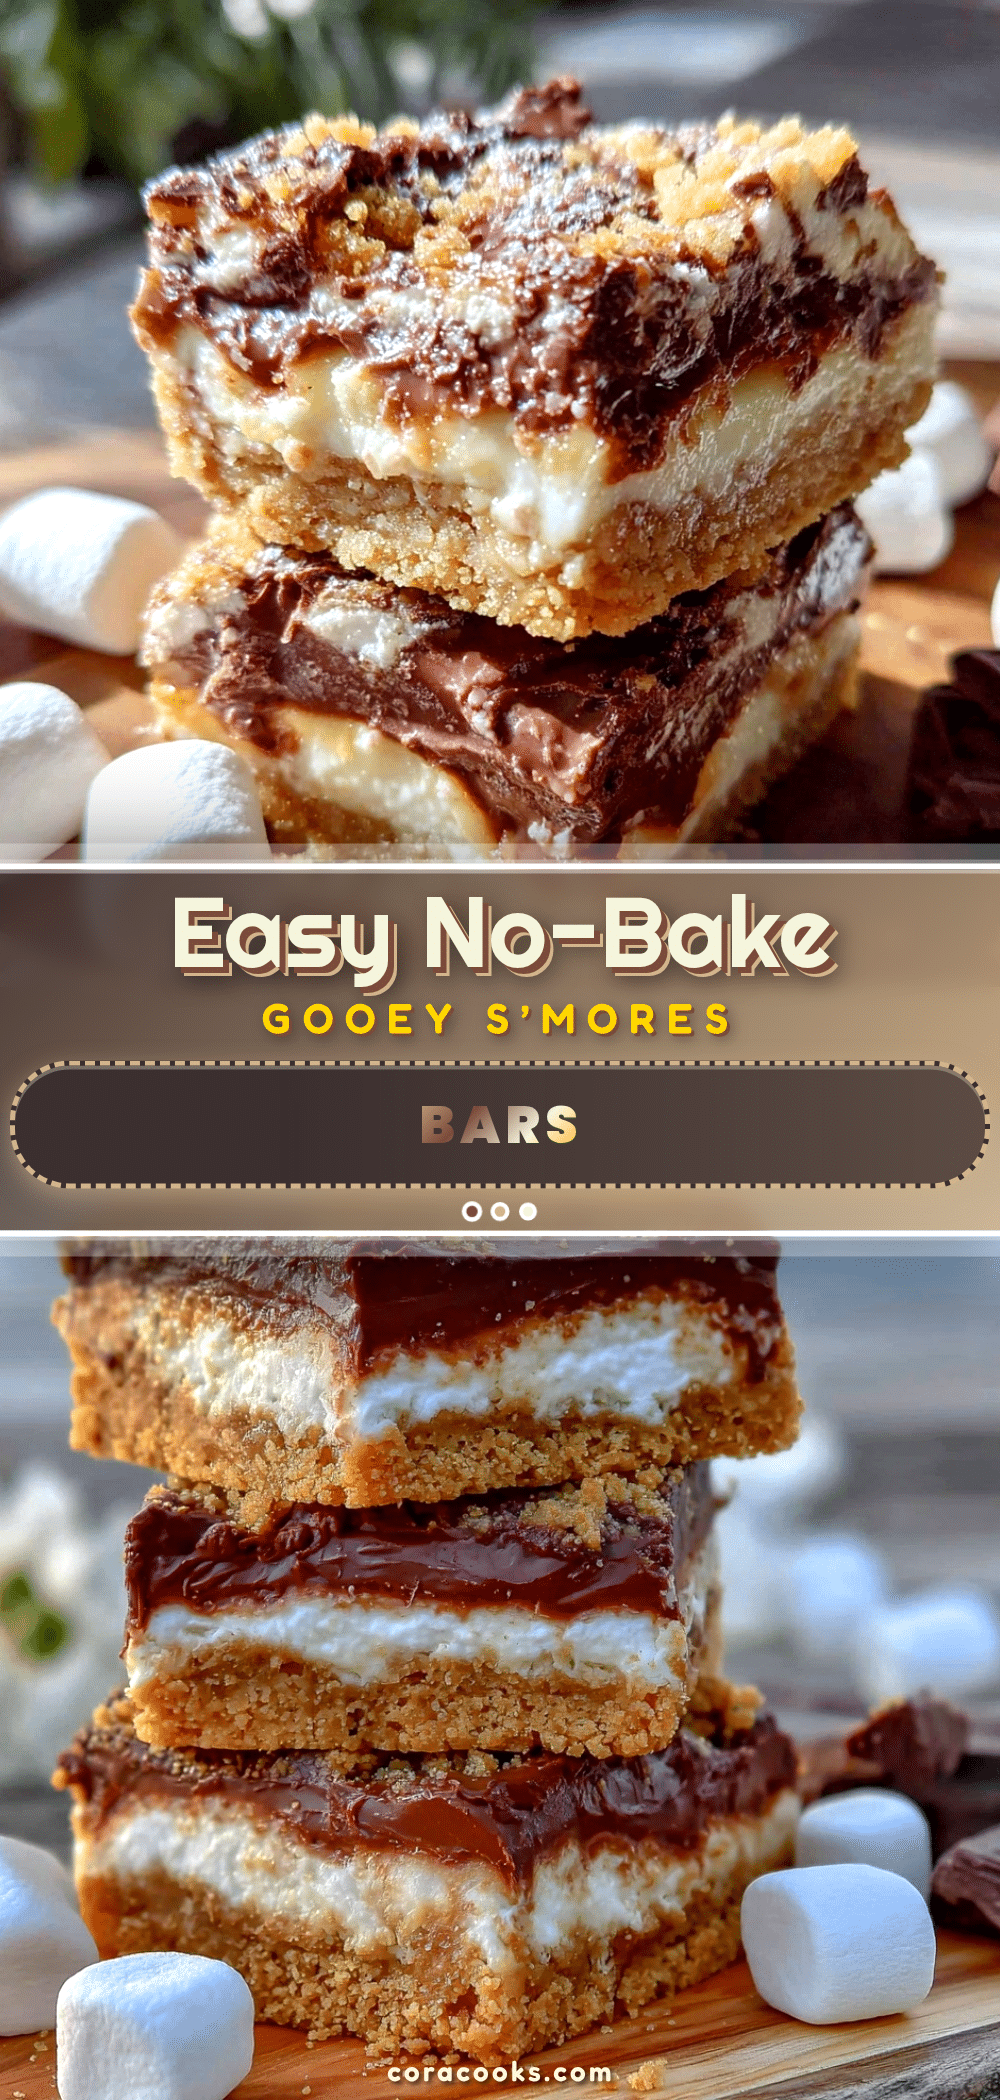
Easy No-Bake S’mores Bars

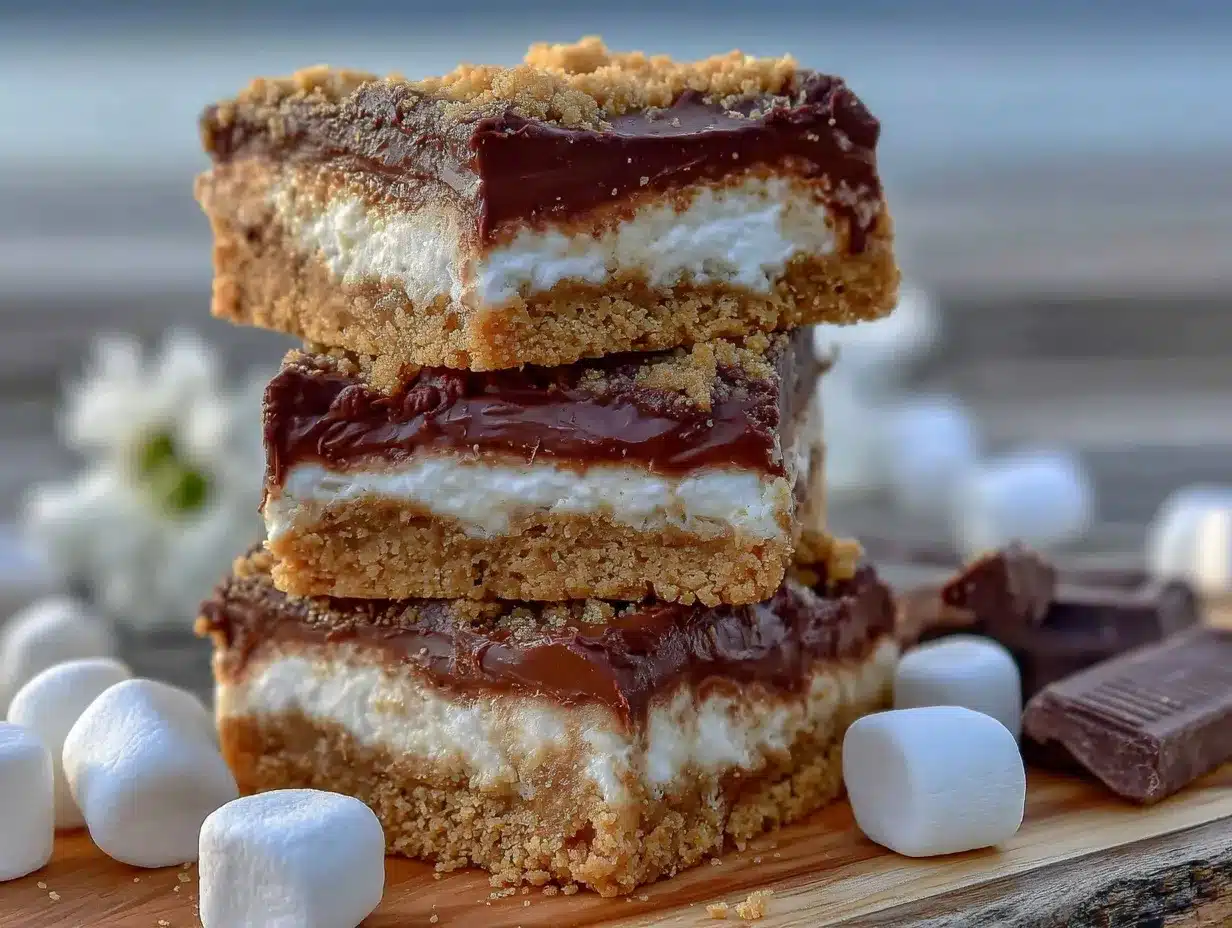
These no-bake s’mores bars deliver the nostalgic campfire flavors of gooey marshmallows, melty chocolate, and crunchy graham crackers without the need for a fire or oven. Perfect for quick, fuss-free Memorial Day BBQ treats.
- Prep Time: 15 minutes
- Cook Time: 3 hours
- Total Time: 3 hours 15 minutes
- Yield: 16 servings 1x
- Category: Dessert
- Cuisine: American
Ingredients
- 2 cups graham crackers, finely crushed
- 6 tablespoons unsalted butter, melted
- 2 cups mini marshmallows
- 1 ½ cups milk chocolate chips
- 1 can (14 ounces) sweetened condensed milk
- 1 teaspoon vanilla extract
- Optional toppings: pinch of sea salt or crushed graham crackers
Instructions
- Crush 2 cups of graham crackers into fine crumbs using a rolling pin or food processor.
- In a medium bowl, combine the graham cracker crumbs with melted butter until the mixture resembles wet sand.
- Line an 8×8-inch pan with parchment paper, leaving some overhang for easy removal.
- Press the graham cracker mixture firmly and evenly into the bottom of the pan.
- Chill the crust in the refrigerator for 10 minutes to set.
- Melt the chocolate chips in a microwave-safe bowl in 20-second intervals, stirring between each until smooth.
- Stir in the sweetened condensed milk and vanilla extract until glossy and pourable.
- Gently fold the mini marshmallows into the chocolate mixture, being careful not to overmix.
- Pour the chocolate-marshmallow mixture over the chilled crust and spread evenly with a spatula.
- Refrigerate the bars for at least 2 hours, preferably 3, to allow them to firm up.
- Lift the bars out of the pan using the parchment paper overhang and cut into squares with a sharp knife.
- For cleaner edges, warm the knife slightly under hot water and dry before slicing.
Notes
Chill the crust before adding the filling to prevent mixing and ensure a sturdy base. Melt chocolate slowly in short bursts to avoid seizing. Press crust firmly with a flat-bottomed glass for best results. Do not overmix marshmallows to keep chewy texture. If short on time, freeze bars for 30-40 minutes but watch closely to avoid freezing solid. Warm knife under hot water for cleaner slicing.
Nutrition
- Serving Size: 1 bar (approximately
- Calories: 220
- Sugar: 22
- Sodium: 110
- Fat: 11
- Saturated Fat: 7
- Carbohydrates: 29
- Fiber: 1
- Protein: 2
Keywords: no-bake, s'mores bars, easy dessert, Memorial Day, BBQ treats, chocolate, marshmallow, graham cracker