Love this? Save it for later!
Share the inspiration with your friends
My friend Jenna asked me last winter why I couldn’t just use frozen blueberries instead of dried elderberries in my syrup. I started to explain why that wouldn’t work—then stopped. Honestly, I had no good reason. I’d just always done it the way my grandmother’s recipe said, without ever questioning whether there was a better way.
So I tried it. I threw a handful of frozen wild blueberries into the pot alongside the dried elderberries, and let me tell you—I was sure I was about to ruin a perfectly good batch of immune-boosting syrup. The color turned this deep, almost black-purple, and I thought, “Well, there goes four hours of simmering.” But when I strained it and added the raw honey, something magical happened. The blueberry gave it this gentle sweetness that balanced the tart, earthy elderberry flavor perfectly.
That moment taught me something about this homemade elderberry syrup with raw honey: it’s forgiving. You don’t have to be precious with it. You can experiment, mess up, and still end up with something that makes you feel like you’ve got a secret weapon against cold season. I mean, there’s a reason my family goes through gallons of this stuff every winter.
Maybe you’ve been there—following a recipe so strictly that you forget cooking is supposed to be flexible. This elderberry syrup recipe became my reminder that sometimes the best discoveries happen when you ignore the rules. And now it’s the version I make every single year, tweaking it just a little depending on what’s in my pantry. Let me show you how easy it is to make your own.
Why You’ll Love This Recipe
This homemade elderberry syrup with raw honey isn’t just another wellness trend—it’s a staple I’ve perfected over five years of cold seasons, sick kids, and desperate searches for something that actually works. I’ve tested ratios, simmer times, and honey varieties until this version became our family’s non-negotiable winter ally.
- Quick & Easy: Comes together in under an hour with just 15 minutes of active work. Perfect for weekend meal prep or when you feel that first tickle in your throat.
- Simple Ingredients: You need exactly five things—dried elderberries, water, raw honey, and two optional aromatics. No specialty store trips required.
- Perfect for Cold Season: Great for boosting immunity naturally, soothing sore throats, and comforting everyone from toddlers to grandparents.
- Crowd-Pleaser: Even my picky eight-year-old asks for it. The honey makes it sweet enough that nobody complains about “taking medicine.”
- Unbelievably Delicious: The deep berry flavor with warm spice undertones tastes more like dessert syrup than something medicinal. You’ll actually look forward to your daily dose.
What makes this recipe different? It’s the ratio. Most recipes use way too much water, leaving you with thin syrup that barely coats your spoon. I simmer mine down until it’s thick, concentrated, and deeply flavorful. Plus, I add the honey off-heat to preserve all those raw enzymes and probiotics. This isn’t just another version—it’s the one that makes you close your eyes after that first spoonful and think, “Okay, this is going to work.”
What Ingredients You Will Need
This homemade elderberry syrup with raw honey uses simple, wholesome ingredients to deliver powerful immune support and incredible flavor. Most of these are pantry staples once cold season hits, and the substitutions are forgiving if you need to adapt.
For the Syrup Base
- 1 cup dried elderberries (look for organic, deep purple-black berries from trusted brands like Starwest Botanicals or Frontier Co-op—avoid fresh elderberries as they can be toxic raw)
- 4 cups filtered water (tap water with high chlorine content can affect the flavor, so filtered is best)
- 1 cup raw honey (local, unfiltered honey is ideal for maximum immune benefits—I use honey from a farmers’ market beekeeper near me)
Optional Aromatics
- 1 cinnamon stick (adds warmth and antimicrobial properties—I never skip this)
- 1 tablespoon fresh ginger, sliced (brings a gentle heat and extra anti-inflammatory power)
- 1 teaspoon cloves (use sparingly—they’re potent and can overpower the elderberries)
Ingredient Selection Tips: Look for dried elderberries that are plump and aromatic, not dusty or faded. If your raw honey has crystallized, gently warm the jar in a bowl of hot water—never microwave it, as that destroys the beneficial enzymes. For a vegan version, substitute with maple syrup or agave, though the flavor profile will shift slightly.
Substitution Guidance: No cinnamon stick? Use 1/2 teaspoon ground cinnamon, but add it after straining to avoid cloudiness. Ginger can be replaced with 1/2 teaspoon ground ginger. If you’re avoiding all sweeteners, you can make a tea-like concentrate and skip the honey entirely, though it won’t have the same syrupy texture.
Equipment Needed
You don’t need fancy equipment for this homemade elderberry syrup with raw honey—just a few basics you probably already own. Here’s what you’ll need:
- Medium saucepan (3-4 quart capacity works perfectly—stainless steel or enameled is best; avoid aluminum as it can react with the berries)
- Fine-mesh strainer (or cheesecloth if you want an extra-clear syrup—I use a strainer lined with a coffee filter for the smoothest result)
- Glass measuring cup (for easy pouring into storage bottles)
- Wooden spoon (for stirring—metal can scratch your pot)
- Glass storage bottles or jars (dark amber bottles are ideal since light degrades the honey’s beneficial properties, but mason jars work fine if stored in a dark cabinet)
- Funnel (optional but makes bottling much less messy—I learned this the hard way after cleaning elderberry stains off my counter for the third time)
Budget-Friendly Options: Don’t have a fine-mesh strainer? Use a colander lined with a clean kitchen towel. No glass bottles? Repurpose a clean pasta sauce jar—just make sure it’s thoroughly sterilized. I’ve used everything from mason jars to repurposed kombucha bottles over the years, and they all work perfectly.
Preparation Method
Making homemade elderberry syrup with raw honey is straightforward, but a few small details make the difference between good syrup and great syrup. Follow these steps, and you’ll have a batch that lasts all season.
- Combine elderberries and water. Place 1 cup dried elderberries and 4 cups filtered water in your saucepan. Add the cinnamon stick and ginger slices if using. Bring to a boil over medium-high heat—this takes about 8-10 minutes.
- Reduce and simmer. Once boiling, reduce heat to low and let it simmer gently, uncovered, for 45 minutes. You’ll see the liquid reduce by about half, and the berries will become plump and soft. The kitchen will smell incredible at this point—earthy, sweet, and slightly spicy.
- Mash the berries. After 45 minutes, use your wooden spoon to gently mash the berries against the side of the pot. This releases more of their beneficial compounds and deepens the color. Don’t go crazy—just a few good presses is enough.
- Strain the liquid. Place your fine-mesh strainer over a large glass measuring cup or bowl. Pour the mixture through slowly, pressing on the berries with the back of a spoon to extract every drop. Discard the solids (or compost them—your garden will thank you).
- Cool slightly. Let the strained liquid cool for 10-15 minutes until it’s warm but not hot—around 110°F is perfect. This step is crucial because adding honey to boiling liquid destroys its beneficial enzymes and probiotics.
- Add the raw honey. Pour 1 cup raw honey into the warm elderberry liquid and stir gently until fully dissolved. The mixture will thin out initially, then thicken as it cools. Taste it now—you should get a balanced sweet-tart flavor with warm spice notes.
- Bottle and store. Using your funnel, pour the syrup into sterilized glass bottles or jars. Leave about 1/2 inch of headspace. Seal tightly and let cool completely before refrigerating. The syrup will thicken further as it chills.
Pro Tip: Don’t skip the cooling step before adding honey. I ruined my first batch by pouring honey into hot liquid, and it turned grainy and lost that lovely floral aroma. Patience pays off here.
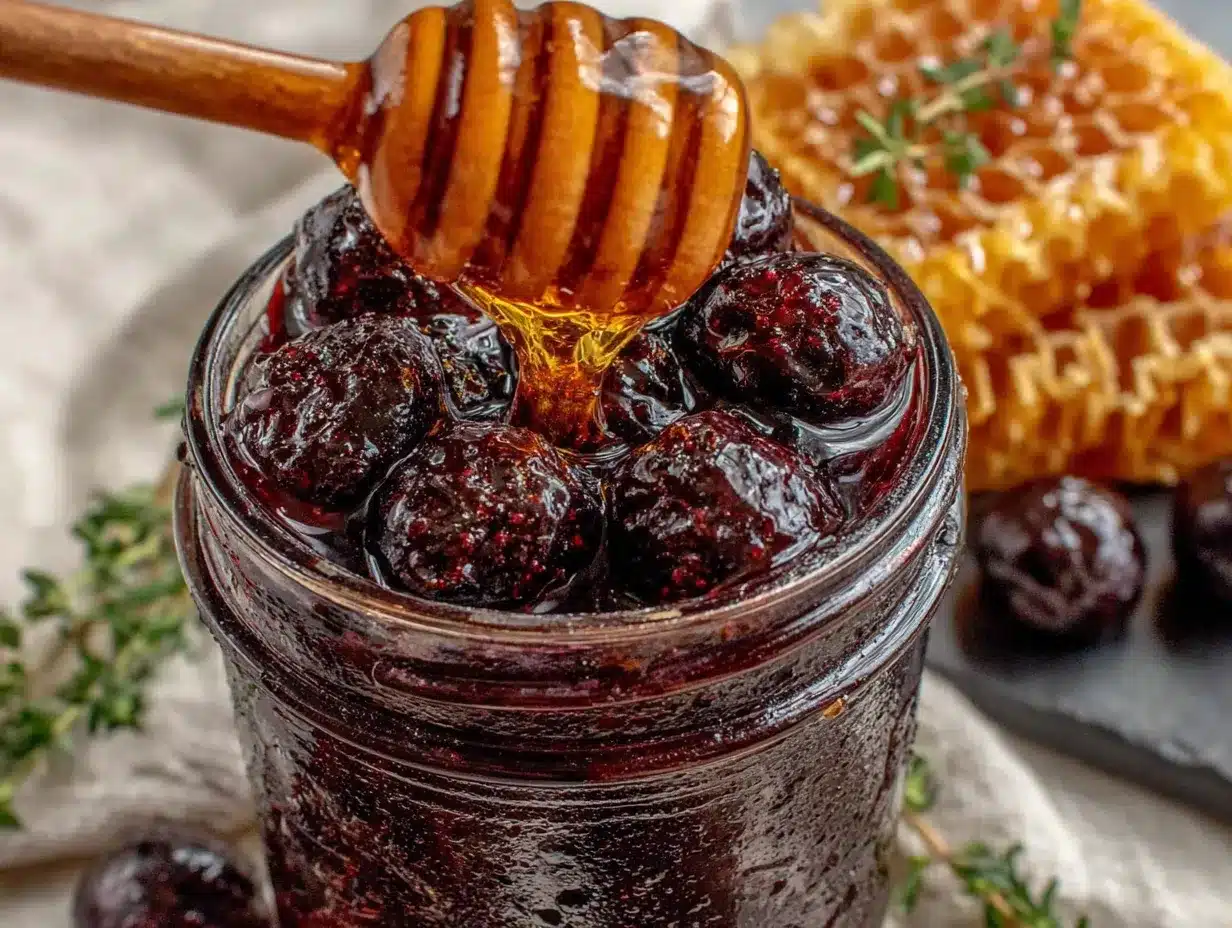
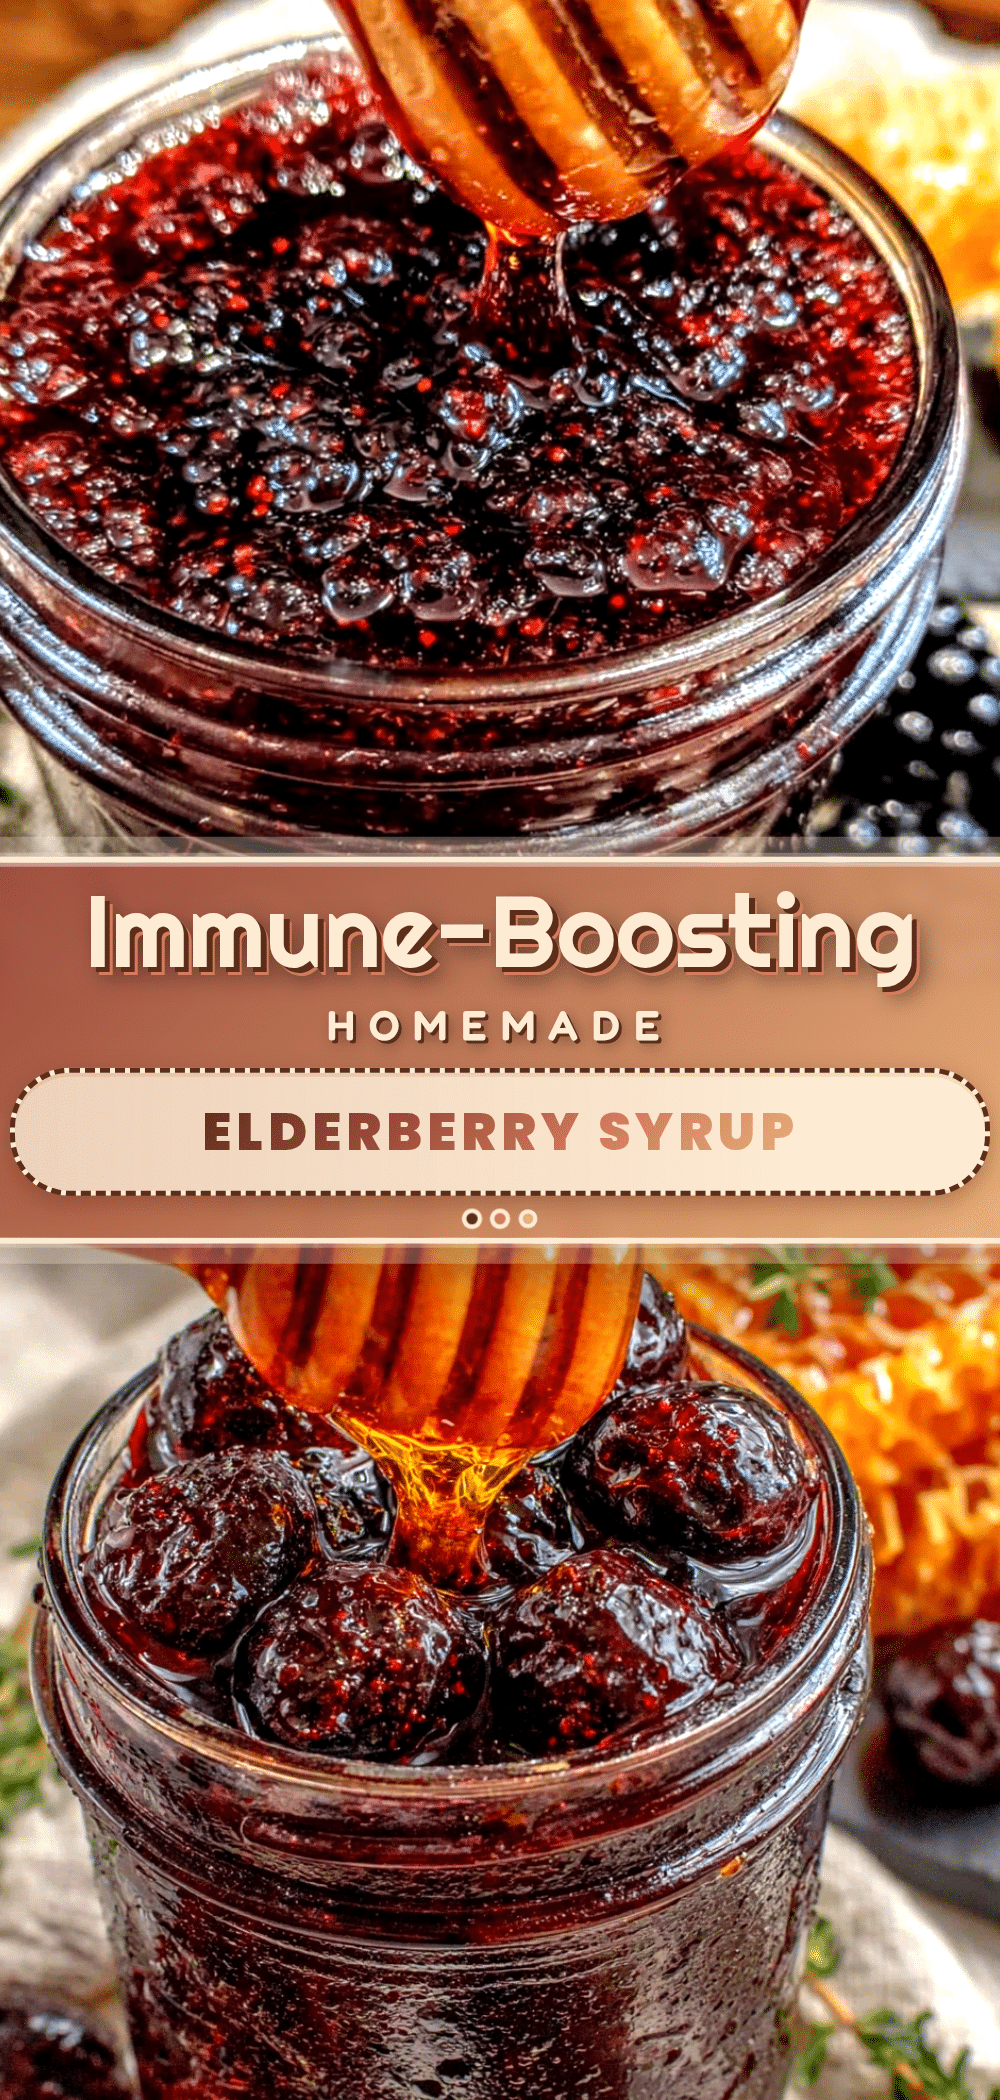
Sensory Cue: Your finished syrup should be deep purple-black, almost opaque, with a consistency similar to maple syrup. It should smell fruity and slightly medicinal (in a good way), with warm spice notes if you used cinnamon and ginger.
Cooking Tips & Techniques
After making countless batches of this homemade elderberry syrup with raw honey, I’ve collected a few lessons the hard way so you don’t have to. Here’s what I wish someone had told me:
Don’t Over-Simmer. I once left my pot on the stove for over an hour because I got distracted folding laundry. The result was a thick, almost jam-like syrup that was impossible to strain. Stick to 45 minutes—any longer and you’ll lose volume and concentrate the bitterness.
Temperature Matters More Than You Think. Raw honey’s beneficial properties start degrading above 118°F. I use an instant-read thermometer to check my strained liquid before adding honey. If you don’t have one, wait until the liquid feels warm but not hot when you dip your pinky in—like a comfortable bath, not a hot cup of tea.
Double Strain for Clarity. If you want restaurant-quality syrup without sediment, strain twice. First through your fine-mesh strainer, then through a coffee filter or cheesecloth. This removes those tiny berry particles that can make your syrup look cloudy. I only do this when I’m gifting bottles—for family use, I don’t bother.
Scale Up Strategically. This recipe doubles beautifully, but don’t triple it unless you have a very large pot. The berries need room to expand as they rehydrate, and overcrowding leads to uneven extraction. I make double batches every two weeks during peak cold season, and it keeps us stocked perfectly.
Don’t Skip the Mash. That quick mashing step isn’t optional—it releases anthocyanins and flavonoids locked inside the berry skins. Think of it like squeezing a tea bag: you want every bit of goodness out of those berries.
Variations & Adaptations
This homemade elderberry syrup with raw honey is wonderfully adaptable. Here are my favorite variations, all tested and family-approved:
Immune-Boosting Turmeric Version
Add 1 tablespoon fresh turmeric (grated) and 1/2 teaspoon black pepper alongside the ginger. The pepper dramatically increases curcumin absorption, and the golden color is stunning. My husband swears this version stops his seasonal allergies in their tracks.
Low-Sugar Concentrate
Skip the honey entirely and simmer the berries in just 3 cups of water until reduced to 1 cup. This creates a potent, unsweetened concentrate that you can add to tea or juice by the tablespoon. It’s more medicinal-tasting but incredibly versatile. I keep a small bottle in my pantry for when I feel something coming on and don’t want the extra sugar.
Winter Spice Blend
Replace the cinnamon and ginger with 1 star anise, 3 cardamom pods (cracked), and a strip of orange zest. This version tastes like holiday baking and pairs beautifully with bourbon for an adult hot toddy. Fair warning: your kitchen will smell so good you’ll want to bottle the air.
Dietary Adaptations: For a vegan version, use maple syrup instead of honey—it’s still delicious and has its own mineral benefits. For a nightshade-free version, skip the cinnamon (it’s not a nightshade, but some people are sensitive) and use extra ginger instead.
Serving & Storage Suggestions
This homemade elderberry syrup with raw honey is incredibly versatile in how you use and store it. Here’s everything I’ve learned about getting the most out of each batch:
Serving Suggestions: Adults take 1 tablespoon daily for maintenance, or 1 tablespoon every 2-3 hours at the first sign of illness. For children over 1 year, give 1 teaspoon daily (adjust for weight—always consult your pediatrician). I serve it straight from a spoon, stirred into warm tea, drizzled over yogurt, or even mixed into sparkling water for a refreshing immune-boosting soda.
Storage Instructions: Keep your syrup refrigerated in a tightly sealed glass container. It will stay fresh for 2-3 months, though ours never lasts that long. The honey acts as a natural preservative, but refrigeration is essential to prevent fermentation.
Freezer Storage: Pour syrup into ice cube trays and freeze until solid. Transfer the cubes to a freezer bag—they’ll keep for up to 6 months. Pop a cube into hot tea or let it thaw in the fridge overnight. This is my favorite method for having a constant supply without taking up fridge space.
Reheating Tips: Never microwave your syrup—it destroys the honey’s benefits. Instead, place the bottle in a bowl of warm water for 5 minutes if you want it at room temperature. I actually prefer it cold straight from the fridge—the thick, honey-like texture is incredibly satisfying.
Flavor Development: The flavor actually improves after about a week in the fridge. The spices meld with the elderberries, and the honey’s floral notes become more pronounced. I always make my first batch of the season a week before I plan to use it regularly.
Nutritional Information & Benefits
This homemade elderberry syrup with raw honey isn’t just delicious—it’s packed with compounds that support your immune system naturally. Here’s what you’re getting in each tablespoon:
| Nutrient | Amount per 1 tbsp |
|---|---|
| Calories | 45 |
| Total Carbohydrates | 12g |
| Sugars (natural) | 11g |
| Vitamin C | 6mg (10% DV) |
| Antioxidants (anthocyanins) | High concentration |
Health Benefits: Elderberries are rich in flavonoids called anthocyanins, which have powerful antioxidant and anti-inflammatory properties. Studies suggest they may reduce the duration and severity of cold and flu symptoms. Raw honey adds its own immune-supporting compounds, including enzymes, probiotics, and antimicrobial properties. The combination creates a synergistic effect that’s greater than either ingredient alone.
Dietary Considerations: This syrup is naturally gluten-free, dairy-free, and soy-free. It contains no refined sugar—only the natural sugars from honey. However, it is not suitable for infants under 1 year due to the risk of botulism from raw honey. If you’re diabetic or watching your blood sugar, use the low-sugar concentrate variation instead.
My Wellness Perspective: I don’t view this syrup as a cure-all—it’s one tool in my family’s wellness toolkit alongside good sleep, hydration, and hand-washing. But I’ve noticed that when we take it consistently through cold season, we get sick less often, and when we do, it’s milder and shorter. That’s enough evidence for me to keep making batch after batch.
Conclusion
This homemade elderberry syrup with raw honey has become as essential to our winter routine as warm socks and extra blankets. It’s simple enough for a beginner to make on their first try, yet customizable enough that you’ll never get bored making it year after year. Whether you’re a seasoned herbalist or someone just looking for a natural way to support your family’s health, this recipe delivers.
I love that this syrup lets me feel proactive about wellness without relying on anything artificial or complicated. It’s just berries, water, honey, and a little patience—the same ingredients humans have used for centuries to stay healthy through cold months. There’s something deeply satisfying about that connection to tradition, even as I tweak the recipe to fit my modern kitchen.
I’d love to hear how this recipe works for you! Did you try any variations? Do your kids actually ask for it like mine do? Drop a comment below and let me know—your adaptations might inspire someone else’s next batch. And if you’re looking for more immune-supporting recipes, don’t miss our soothing ginger turmeric tea or this nourishing chicken bone broth that pairs beautifully with your morning dose of syrup. Here’s to a healthy, happy season ahead!
Frequently Asked Questions
Can I use fresh elderberries instead of dried?
No, never use fresh elderberries raw—they contain compounds that can cause nausea and digestive upset. Dried elderberries are safe because the drying process neutralizes these compounds. If you have access to fresh elderberries, you must cook them thoroughly before using. Stick with dried for this recipe—it’s safer and more consistent.
How long does homemade elderberry syrup last?
Stored properly in a sealed glass container in the refrigerator, this syrup stays fresh for 2-3 months. The raw honey acts as a natural preservative. If you see mold, fermentation bubbles, or smell anything off, discard it immediately. For longer storage, freeze the syrup in ice cube trays—it will keep for up to 6 months.
Can I give this syrup to my toddler?
Children over 1 year old can safely take elderberry syrup, but always consult your pediatrician first. The recommended dose is 1/2 to 1 teaspoon daily for maintenance, and up to 1 teaspoon every 3-4 hours at the onset of illness. Never give raw honey to infants under 1 year due to the risk of infant botulism.
Why did my syrup turn out too thin or too thick?
Thin syrup usually means you didn’t simmer long enough—aim for a full 45 minutes until the liquid reduces by half. Thick, jam-like syrup means you simmered too long or used too many berries. Next time, check the consistency at 40 minutes and adjust. Remember, the syrup will thicken slightly as it cools in the fridge.
Can I make this without honey for a sugar-free version?
Absolutely! Make the low-sugar concentrate variation by simmering the berries in just 3 cups of water until reduced to 1 cup. Skip the honey entirely. You’ll have a potent, unsweetened concentrate that you can take by the tablespoon or add to tea. The flavor is more tart and medicinal, but all the immune benefits remain intact.
Pin This Recipe!
Easy Homemade Elderberry Syrup with Raw Honey Recipe
This homemade elderberry syrup with raw honey is a simple, immune-boosting staple that comes together in under an hour. Made with just five ingredients, it’s a forgiving recipe that you can customize with optional aromatics like cinnamon and ginger.
- Prep Time: 15 minutes
- Cook Time: 45 minutes
- Total Time: 1 hour
- Yield: 4 servings 1x
- Category: Condiment
- Cuisine: American
Ingredients
- 1 cup dried elderberries
- 4 cups filtered water
- 1 cup raw honey
- 1 cinnamon stick (optional)
- 1 tablespoon fresh ginger, sliced (optional)
- 1 teaspoon cloves (optional)
Instructions
- Combine elderberries and water. Place 1 cup dried elderberries and 4 cups filtered water in your saucepan. Add the cinnamon stick and ginger slices if using. Bring to a boil over medium-high heat—this takes about 8-10 minutes.
- Reduce and simmer. Once boiling, reduce heat to low and let it simmer gently, uncovered, for 45 minutes. You’ll see the liquid reduce by about half, and the berries will become plump and soft.
- Mash the berries. After 45 minutes, use your wooden spoon to gently mash the berries against the side of the pot. This releases more of their beneficial compounds and deepens the color.
- Strain the liquid. Place your fine-mesh strainer over a large glass measuring cup or bowl. Pour the mixture through slowly, pressing on the berries with the back of a spoon to extract every drop. Discard the solids.
- Cool slightly. Let the strained liquid cool for 10-15 minutes until it’s warm but not hot—around 110°F is perfect. This step is crucial because adding honey to boiling liquid destroys its beneficial enzymes and probiotics.
- Add the raw honey. Pour 1 cup raw honey into the warm elderberry liquid and stir gently until fully dissolved. The mixture will thin out initially, then thicken as it cools.
- Bottle and store. Using your funnel, pour the syrup into sterilized glass bottles or jars. Leave about 1/2 inch of headspace. Seal tightly and let cool completely before refrigerating. The syrup will thicken further as it chills.
Notes
Don’t skip the cooling step before adding honey to preserve raw enzymes. The syrup will thicken as it cools in the fridge. For a vegan version, substitute maple syrup for honey. For a low-sugar concentrate, skip the honey and simmer berries in 3 cups water until reduced to 1 cup.
Nutrition
- Serving Size: 1 tablespoon
- Calories: 45
- Sugar: 11
- Carbohydrates: 12
Keywords: elderberry syrup, homemade elderberry syrup, immune booster, raw honey, cold season remedy, natural wellness, elderberry recipe


