Love this? Save it for later!
Share the inspiration with your friends
I had refused to make chicken pot pie for years. A solid decade, maybe more. Then my neighbor caught me red-handed, standing over the stove at 9 PM on a Tuesday, pulling a bubbling, golden-crusted pie out of the oven with a sheepish grin on my face.
“I thought you said pot pie was too much work,” she said, leaning against my kitchen doorway. Honestly, I had said that. Many times. The whole thing seemed fussy — a roux that could break, a filling that could turn soupy, and a pastry situation that felt like a project I didn’t have the patience for. But here’s the thing nobody tells you about chicken pot pie: once you crack the code on the filling and let a store-bought puff pastry lid do the heavy lifting, it’s not a project at all. It’s the coziest, most forgiving meal you can make on a cold night when you need something that feels like a hug.
The power went out halfway through cooking that first successful pie, which I think is a pretty perfect metaphor for how this recipe came together — imperfect, a little chaotic, but absolutely worth the trouble. I lit a few candles, finished the filling on a camping stove, and ate it by flashlight with my neighbor, who had decided to stay. That was the moment I stopped being stubborn and started being a convert.
Maybe you’ve been there — convinced a certain dish wasn’t for you, only to find yourself proven gloriously wrong. This chicken pot pie with its crispy puff pastry lid is that dish for me. And if you give it a chance, it might just be that dish for you too.
Why You’ll Love This Recipe
This isn’t just another chicken pot pie recipe floating around the internet. I’ve tested this version at least seven times — yes, seven — tweaking the ratio of vegetables to sauce, adjusting the thickness of the filling, and perfecting that puff pastry situation until it came out exactly right. Here’s why this one is different:
- Quick & Easy: From start to table in about 45 minutes. The puff pastry lid means no rolling, no crimping, and no stress. Just a sheet of buttery, flaky goodness that bakes up golden while the filling bubbles underneath.
- Simple Ingredients: You probably have most of this in your kitchen right now. Chicken, frozen peas and carrots, butter, flour, chicken broth, and a sheet of puff pastry. No fancy grocery runs required.
- Perfect for Cozy Nights: This is the meal you make when the weather turns cold, when you’ve had a rough day, or when you just need something warm and comforting. It’s like a weighted blanket for your stomach.
- Crowd-Pleaser: I’ve served this to kids, picky eaters, and adults who claim they don’t like “casseroles” — and every single one of them went back for seconds. It’s that good.
- Unbelievably Delicious: The filling is rich and creamy without being heavy, loaded with tender chicken and colorful vegetables. And that puff pastry lid? It shatters when you tap it with your fork, releasing a cloud of steam that smells like home.
What makes this recipe stand out is the technique. Instead of a complicated double crust, we’re using a single puff pastry lid that does all the work. The filling is made with a foolproof roux that comes together in minutes, and the whole thing bakes in one dish. It’s comfort food reimagined — faster, easier, but with the same soul-soothing satisfaction that makes you close your eyes after the first bite.
What Ingredients You Will Need
This recipe uses simple, wholesome ingredients to deliver rich flavor and satisfying texture without any fuss. Most of these are pantry staples, which means you can whip this up on a whim without a trip to the store.
For the Filling
- 2 tablespoons unsalted butter (adds richness and helps create the roux)
- 1 medium yellow onion, diced (about 1 cup; builds the savory base)
- 2 cloves garlic, minced (fresh is best, but jarred works in a pinch)
- 1/3 cup all-purpose flour (thickens the sauce to the perfect consistency)
- 2 cups low-sodium chicken broth (I prefer Swanson or Kitchen Basics for consistent flavor)
- 1 cup whole milk (adds creaminess; 2% works too, but avoid skim)
- 2 cups cooked chicken, shredded or cubed (rotisserie chicken is a lifesaver here)
- 1 cup frozen peas and carrots (no need to thaw — they cook perfectly in the filling)
- 1/2 cup frozen corn kernels (adds a touch of sweetness)
- 1 teaspoon dried thyme (or 1 tablespoon fresh, if you have it)
- 1/2 teaspoon dried rosemary (crush it between your fingers to release the oils)
- Salt and black pepper to taste (start with 1/2 teaspoon salt and 1/4 teaspoon pepper)
- 1/4 cup heavy cream (optional, but it makes the filling extra luxurious)
For the Topping
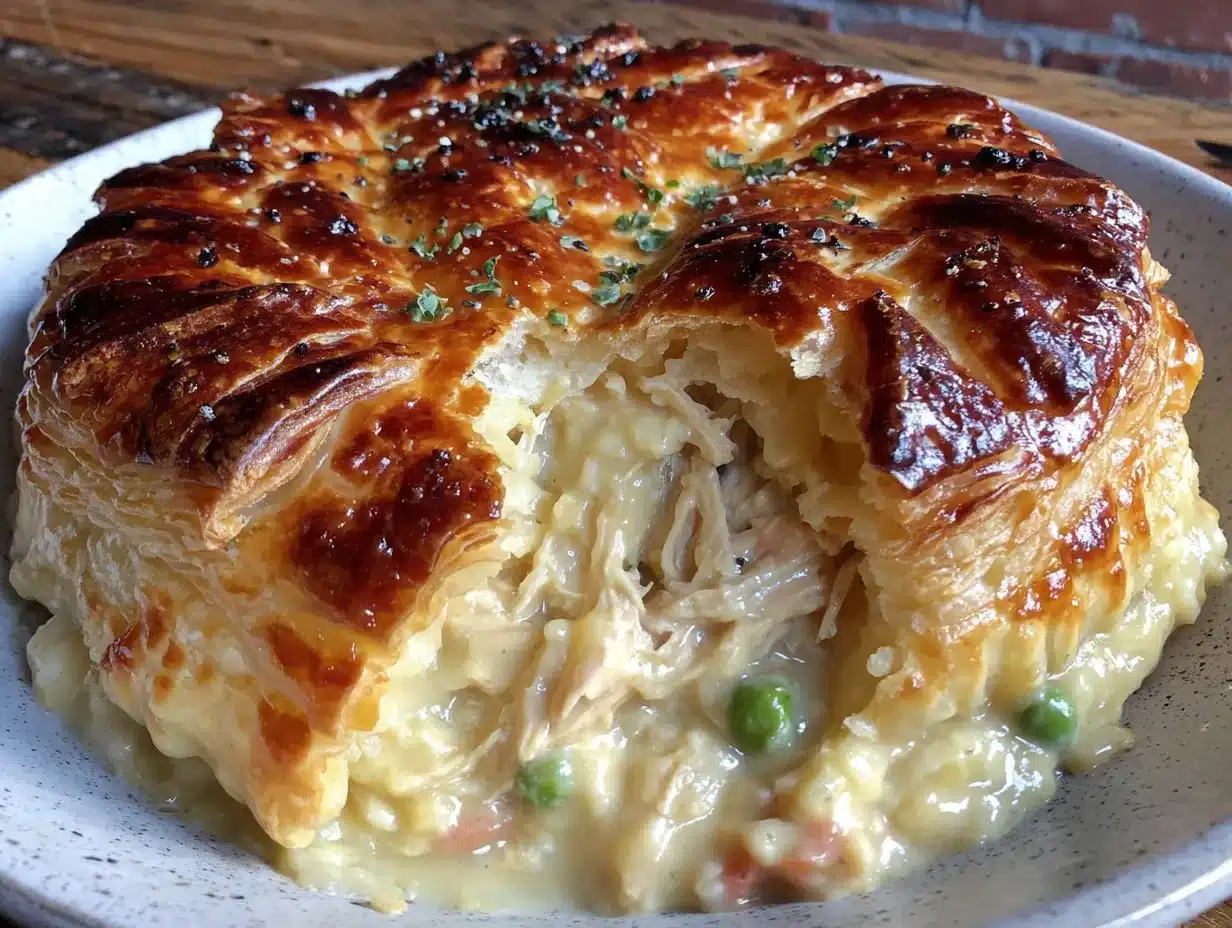
- 1 sheet frozen puff pastry, thawed (I use Pepperidge Farm; it’s reliable and widely available)
- 1 large egg, beaten (for an egg wash that gives the pastry a beautiful golden sheen)
- Flaky sea salt, for sprinkling (optional, but highly recommended for that bakery-style finish)
Ingredient Tips: Look for puff pastry that’s made with real butter — it makes a noticeable difference in flavor and flakiness. If you’re using rotisserie chicken (which I do most of the time), pick up a bird that’s still warm from the store for the juiciest meat. For the vegetables, feel free to use a frozen mixed vegetable blend if that’s what you have on hand. And if you’re dairy-free, you can substitute the butter with a plant-based version and use unsweetened oat milk in place of the whole milk — just know the filling won’t be quite as rich.
Equipment Needed
You don’t need a lot of fancy equipment for this recipe, which is part of what makes it so approachable. Here’s what you’ll want to have on hand:
- 10-inch oven-safe skillet or baking dish (a cast-iron skillet works beautifully; a 9×9-inch baking dish is fine too)
- Whisk (for smoothing out the roux without lumps)
- Wooden spoon or silicone spatula (for stirring the filling)
- Chef’s knife and cutting board (for dicing the onion and mincing garlic)
- Measuring cups and spoons (accuracy matters for the roux)
- Pastry brush (for applying the egg wash; a paper towel works in a pinch)
- Paring knife or pizza cutter (for trimming the puff pastry to fit your dish)
- Cooling rack (optional, but helps the bottom of the pastry stay crisp)
If you don’t have an oven-safe skillet, you can cook the filling on the stovetop and transfer it to a baking dish before topping with the pastry. I’ve done it both ways, and honestly, the flavor is the same — just one more dish to wash. My cast-iron skillet is my go-to because it goes from stovetop to oven without any fuss, and it holds heat beautifully.
Preparation Method
- Preheat your oven to 400°F (200°C). Position a rack in the center of the oven. If you’re using a baking dish instead of a skillet, place it on a baking sheet to catch any drips — trust me on this one.
- Start the filling base. In your oven-safe skillet or a large saucepan, melt the butter over medium heat. Add the diced onion and cook for 4-5 minutes, stirring occasionally, until the onion is soft and translucent. The kitchen should smell sweet and savory at this point — that’s how you know you’re on the right track.
- Add the garlic. Toss in the minced garlic and cook for another 30 seconds, just until fragrant. Don’t let it brown, or it’ll turn bitter. I learned this the hard way when I got distracted by a phone call and ended up with garlic that tasted like regret.
- Make the roux. Sprinkle the flour over the onion mixture and stir constantly for 1-2 minutes. The mixture will look thick and pasty — that’s exactly what you want. This step cooks out the raw flour taste and ensures a smooth, lump-free sauce later.
- Add the liquids slowly. Gradually pour in the chicken broth while whisking constantly. Keep whisking until the mixture is smooth, then add the milk in the same way. Bring the sauce to a gentle simmer — you’ll see it start to thicken after about 3-4 minutes. It should coat the back of a spoon without being too gloppy.
- Season the sauce. Stir in the dried thyme, dried rosemary, salt, and pepper. If you’re using the heavy cream, add it now and stir to combine. Taste the sauce and adjust the seasoning — it should be well-seasoned since the chicken and vegetables will dilute it slightly.
- Add the chicken and vegetables. Fold in the cooked chicken, frozen peas and carrots, and frozen corn. Stir everything together until it’s well combined and heated through, about 2-3 minutes. The filling should be thick and bubbly, with the vegetables evenly distributed throughout.
- Prepare the puff pastry. On a lightly floured surface, gently unfold the thawed puff pastry sheet. If it cracks at the seams (which happens sometimes), just press it back together with your fingers — no big deal. Using your dish as a guide, cut the pastry so it’s about 1 inch larger than the dish on all sides. This overhang will create that gorgeous crispy edge.
- Top the filling. If you cooked the filling in a skillet, remove it from the heat. Carefully lay the puff pastry over the top of the filling, letting the edges hang over the sides. If you’re using a baking dish, transfer the filling to the dish first, then top with the pastry.
- Apply the egg wash. Brush the beaten egg evenly over the entire surface of the pastry. This is what gives it that beautiful golden-brown color and extra crispiness. Sprinkle with flaky sea salt if you’re using it — it adds a lovely salty crunch that contrasts with the creamy filling.
- Cut steam vents. Use a sharp paring knife to cut 3-4 small slits in the top of the pastry. This lets steam escape during baking and prevents the pastry from getting soggy. I usually cut a small “X” in the center and a couple of smaller slits around the edges.
- Bake until golden. Place the dish on a baking sheet (just in case it bubbles over) and bake for 20-25 minutes, until the puff pastry is puffed up, deeply golden, and flaky. The filling should be bubbling up through the steam vents — that’s how you know it’s hot all the way through.
- Rest before serving. Let the pot pie rest for 5-10 minutes after it comes out of the oven. This allows the filling to set slightly so it doesn’t turn into a soupy mess when you cut into it. I know it’s hard to wait — the smell is absolutely intoxicating — but this step matters.
- Serve and enjoy. Scoop out generous portions, making sure each serving gets a good piece of that crispy puff pastry lid. The pastry should shatter when you break through it, revealing the creamy, steaming filling underneath.
Cooking Tips & Techniques
I’ve made this recipe enough times to know where things can go wrong, and I want you to avoid my mistakes. Here are the tips that make the difference between a good pot pie and a great one:
Don’t rush the roux. I know it’s tempting to just dump the flour in and move on, but cooking the roux for a full 2 minutes is crucial. It eliminates that raw flour taste that can ruin a sauce. You want the mixture to smell slightly nutty before you add the liquid.
Keep the puff pastry cold. Puff pastry works because cold butter creates steam in the oven, which creates those flaky layers. If your pastry gets too warm, it won’t puff as much. Pop it in the fridge for 10 minutes while you’re making the filling if your kitchen is warm.
Watch your heat. When you’re making the filling, keep the heat at medium or medium-low. High heat can cause the milk to scorch or the roux to burn, and there’s no coming back from that. If you see any brown specks in your sauce, you’ve gone too far — start over.
Season generously. Pot pie filling can taste flat if you’re shy with the salt. Remember that the puff pastry is unsalted, so it needs the filling to carry the flavor. I always taste the filling before adding the pastry and adjust the seasoning — it should taste slightly salty on its own.
Let it rest. I cannot stress this enough. The first time I made this, I cut into it immediately and ended up with a puddle of filling on the plate. Waiting 10 minutes allows the sauce to thicken up and the pastry to set. Your patience will be rewarded.
Use the right dish. A dish that’s too wide will give you a thin layer of filling and a sad-looking pie. A dish that’s too deep won’t let the filling bubble up properly. A 10-inch skillet or a 9×9-inch baking dish is the sweet spot.
Variations & Adaptations
One of the best things about this recipe is how adaptable it is. I’ve played around with it quite a bit, and here are some variations that work beautifully:
Vegetarian Version: Skip the chicken and double up on the vegetables. Add a can of drained chickpeas or some cubed, roasted sweet potatoes for heartiness. Use vegetable broth instead of chicken broth. The creamy sauce works just as well with vegetables — it’s honestly one of my favorite ways to make it when I’m trying to eat less meat.
Herb Swap: If you don’t have thyme and rosemary, try using 1 teaspoon of dried poultry seasoning or Italian seasoning instead. Fresh herbs work too — just double the amount since dried herbs are more concentrated. In the summer, I love using fresh chives and parsley stirred in at the end for a brighter flavor.
Biscuit Topping: If you don’t have puff pastry (or just want a change), drop spoonfuls of refrigerated biscuit dough over the filling and bake until the biscuits are golden and cooked through. It’s a different texture — softer and more bread-like — but just as comforting. My kids actually prefer this version.
Dairy-Free Adaptation: Use olive oil or a plant-based butter substitute in place of the regular butter. Swap the milk for unsweetened oat milk or almond milk (oat milk gives the best texture). Skip the heavy cream or use a dairy-free creamer. The filling won’t be quite as rich, but it’s still delicious — I’ve served it to dairy-free guests who had no idea it was adapted.
Spicy Twist: Add a pinch of cayenne pepper or red pepper flakes to the filling for a subtle kick. I tried this on a whim one night and was surprised by how well it worked — the heat cuts through the richness of the cream sauce and adds a layer of complexity that’s really satisfying.
Serving & Storage Suggestions
This chicken pot pie is at its absolute best fresh from the oven, but it’s still pretty amazing the next day. Here’s how to serve and store it:
Serving: Scoop the pot pie into shallow bowls so the filling doesn’t spill everywhere. The puff pastry lid should be broken into pieces and arranged on top of each serving. I like to serve it with a simple green salad dressed with lemon vinaigrette — the acidity cuts through the richness of the pie and balances the meal. A side of steamed green beans or roasted broccoli works well too.
Storage: Leftover pot pie can be stored in an airtight container in the refrigerator for up to 3 days. The puff pastry will soften over time (there’s just no way around that), but the filling will still be delicious. If you want to keep the pastry crispy, store it separately and reheat it in the oven while you warm the filling on the stovetop.
Reheating: The best way to reheat pot pie is in the oven at 350°F (175°C) for 10-15 minutes, until the filling is hot and bubbly. The microwave works in a pinch, but it will make the pastry soft and the filling can separate. If you’re reheating individual portions, the microwave is fine — just know the texture won’t be quite the same.
Freezing: You can freeze the unbaked pot pie for up to 3 months. Assemble the pie completely (without the egg wash), wrap it tightly in plastic wrap and foil, and freeze. When you’re ready to bake, unwrap it, brush with egg wash, and bake directly from frozen — add about 15 minutes to the baking time. I do this when I make a double batch, and it’s a lifesaver on busy nights.
Nutritional Information & Benefits
This cozy chicken pot pie is comfort food at its finest, but it’s not exactly health food — and that’s okay. Here’s a rough breakdown of what’s in each serving (based on 6 servings):
- Calories: Approximately 450-500 per serving
- Protein: 25-30 grams (thanks to the chicken and milk)
- Carbohydrates: 35-40 grams (mostly from the pastry and vegetables)
- Fat: 22-28 grams (from the butter, cream, and puff pastry)
- Fiber: 3-4 grams (from the peas, carrots, and corn)
- Sodium: 600-800 mg (varies based on your broth and added salt)
The chicken provides lean protein that helps keep you full and satisfied, while the vegetables contribute vitamins A and C, plus fiber for digestive health. The peas and carrots are surprisingly nutrient-dense — peas are a good source of plant-based protein and iron, while carrots are packed with beta-carotene. The puff pastry is definitely a treat, but it’s the kind of indulgence that makes a meal feel special.
If you’re watching your sodium, use low-sodium chicken broth and go easy on the added salt. If you’re looking to cut calories, skip the heavy cream and use 2% milk instead — it’ll still be creamy, just a little lighter. And if you’re gluten-free, you can use a gluten-free all-purpose flour blend for the roux and a gluten-free puff pastry (like the one from Schär) for the topping.
Conclusion
This cozy chicken pot pie with its crispy puff pastry lid is proof that comfort food doesn’t have to be complicated. It’s the kind of meal that makes you slow down, take a deep breath, and actually enjoy what’s on your plate. The creamy filling, the tender chicken, the colorful vegetables, and that glorious, buttery pastry — it all comes together in a way that feels like a warm hug on a cold day.
I hope you give this recipe a try, whether you’re a longtime pot pie lover or a skeptic like I was. Feel free to make it your own — swap in different vegetables, play with the herbs, or try one of the variations I mentioned. Cooking is supposed to be fun, and this recipe is forgiving enough to handle a little experimentation.
When you make it (and I hope you do), I’d love to hear how it turned out. Drop a comment below and let me know if you converted anyone who swore they didn’t like chicken pot pie. And if you have a favorite variation, share that too — I’m always looking for new ideas to try.
Happy cooking, friends. Here’s to cozy nights and good food.
Frequently Asked Questions
Can I use a different type of pastry?
Absolutely! While puff pastry gives you that light, flaky, shatteringly crisp lid, you can absolutely use a pie crust or even crescent roll dough. A traditional double crust pie works too — just blind bake the bottom crust first so it doesn’t get soggy.
Can I make this in a slow cooker?
You can make the filling in a slow cooker on low for 4-6 hours, but you’ll need to thicken it with a cornstarch slurry (2 tablespoons cornstarch mixed with 2 tablespoons cold water) stirred in during the last 30 minutes. For the pastry, bake it separately on a baking sheet and place it on top of the filling when serving.
How do I prevent the puff pastry from getting soggy?
The key is making sure your filling is thick enough before you add the pastry — it should coat the back of a spoon without being watery. Also, cutting steam vents in the pastry allows moisture to escape during baking, and letting the pie rest after baking helps the filling set up properly.
Can I use leftover turkey instead of chicken?
Yes, this is a fantastic way to use up leftover holiday turkey! Just shred or cube the turkey and use it in place of the chicken. The recipe works exactly the same way — it’s a great post-Thanksgiving or post-Christmas meal.
How do I know when the pot pie is fully baked?
The puff pastry should be puffed up and deeply golden brown all over — not just on the top, but on the edges too. You should see the filling bubbling up through the steam vents, which tells you it’s hot all the way through. If the pastry is browning too quickly, tent it loosely with foil for the last 5-10 minutes of baking.
Pin This Recipe!
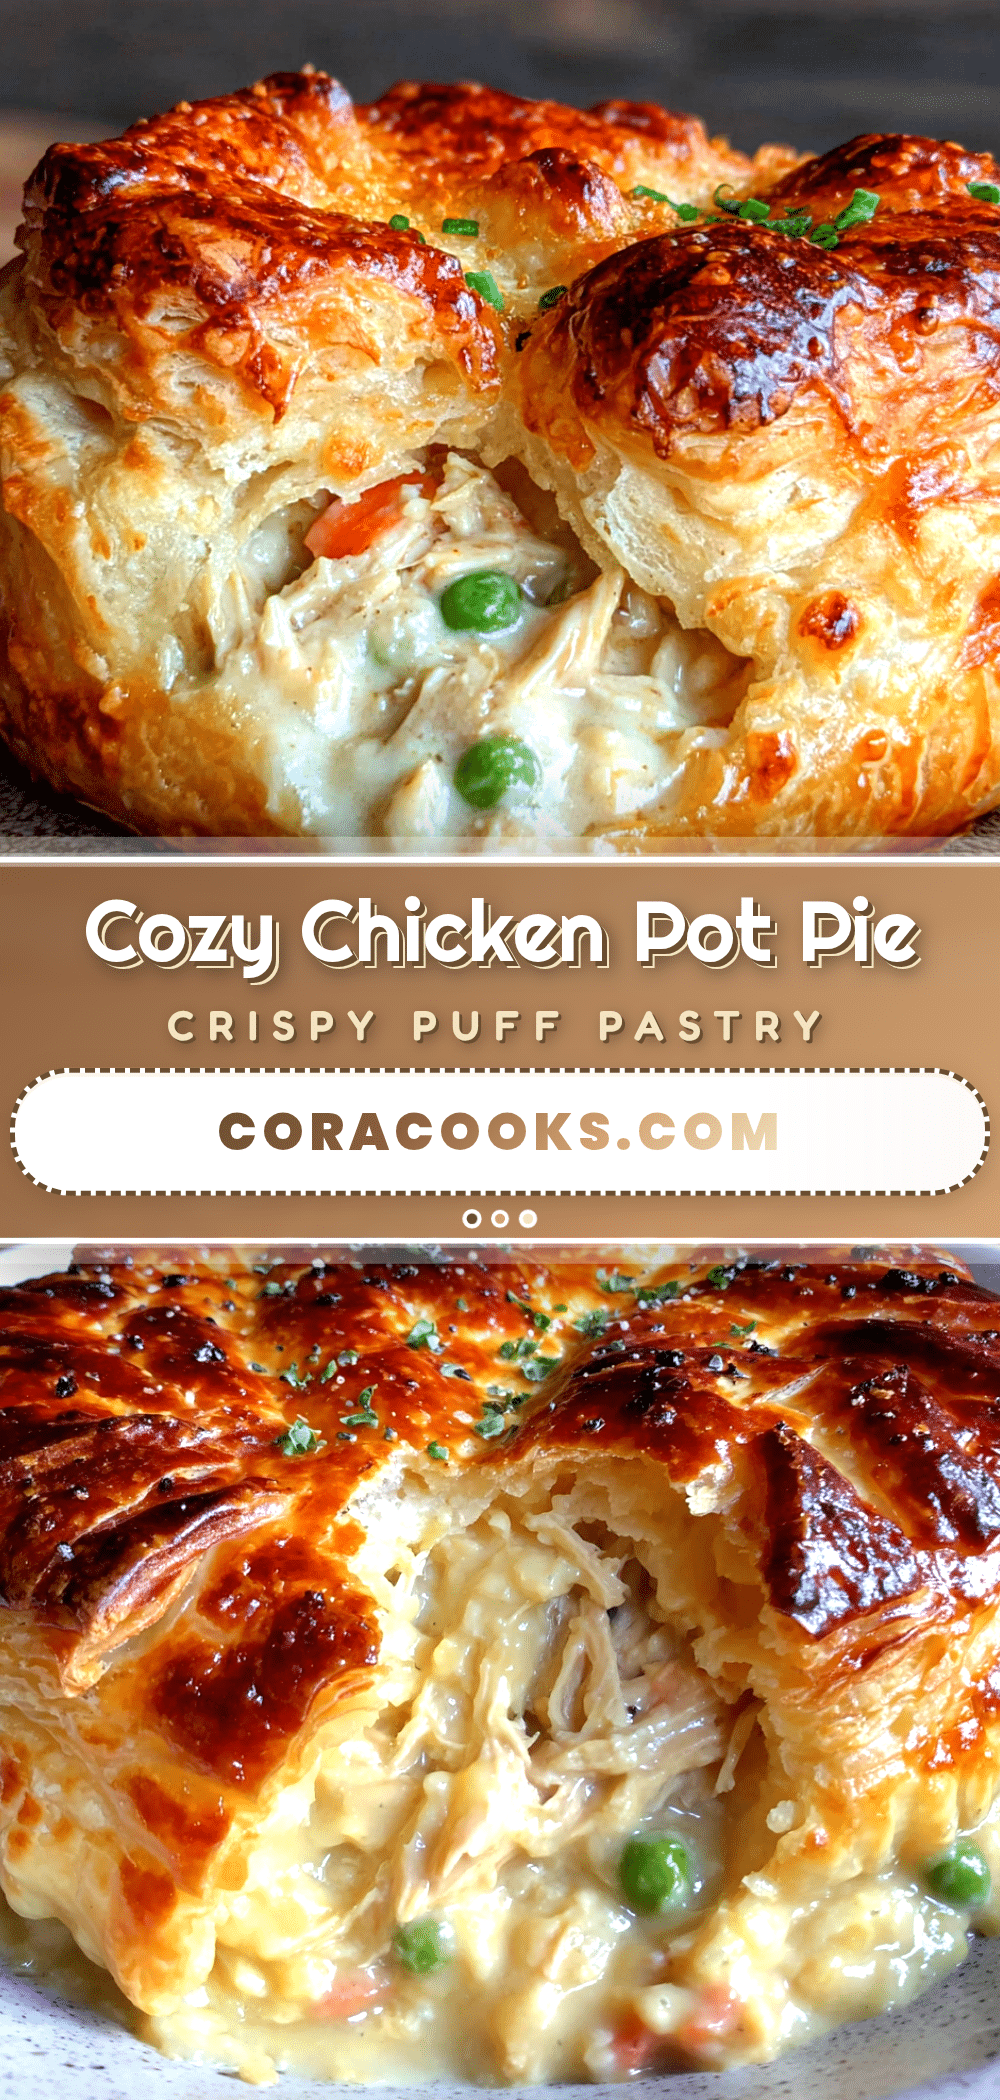
Easy Cozy Chicken Pot Pie with Crispy Puff Pastry Lid

A quick and easy chicken pot pie with a creamy, flavorful filling and a crispy puff pastry lid. Ready in about 45 minutes, this comforting dish is perfect for cozy nights and is a guaranteed crowd-pleaser.
- Prep Time: 15 minutes
- Cook Time: 30 minutes
- Total Time: 45 minutes
- Yield: 6 servings 1x
- Category: Main Course
- Cuisine: American
Ingredients
- 2 tablespoons unsalted butter
- 1 medium yellow onion, diced (about 1 cup)
- 2 cloves garlic, minced
- 1/3 cup all-purpose flour
- 2 cups low-sodium chicken broth
- 1 cup whole milk
- 2 cups cooked chicken, shredded or cubed
- 1 cup frozen peas and carrots
- 1/2 cup frozen corn kernels
- 1 teaspoon dried thyme
- 1/2 teaspoon dried rosemary
- Salt and black pepper to taste (start with 1/2 teaspoon salt and 1/4 teaspoon pepper)
- 1/4 cup heavy cream (optional)
- 1 sheet frozen puff pastry, thawed
- 1 large egg, beaten
- Flaky sea salt, for sprinkling (optional)
Instructions
- Preheat your oven to 400°F (200°C). Position a rack in the center of the oven. If using a baking dish instead of a skillet, place it on a baking sheet to catch any drips.
- In your oven-safe skillet or a large saucepan, melt the butter over medium heat. Add the diced onion and cook for 4-5 minutes, stirring occasionally, until the onion is soft and translucent.
- Toss in the minced garlic and cook for another 30 seconds, just until fragrant. Do not let it brown.
- Sprinkle the flour over the onion mixture and stir constantly for 1-2 minutes. The mixture will look thick and pasty.
- Gradually pour in the chicken broth while whisking constantly. Keep whisking until smooth, then add the milk in the same way. Bring the sauce to a gentle simmer; it will thicken after about 3-4 minutes and should coat the back of a spoon.
- Stir in the dried thyme, dried rosemary, salt, and pepper. If using heavy cream, add it now and stir to combine. Taste and adjust seasoning.
- Fold in the cooked chicken, frozen peas and carrots, and frozen corn. Stir until well combined and heated through, about 2-3 minutes. The filling should be thick and bubbly.
- On a lightly floured surface, gently unfold the thawed puff pastry sheet. If it cracks, press it back together. Using your dish as a guide, cut the pastry so it is about 1 inch larger than the dish on all sides.
- If you cooked the filling in a skillet, remove it from the heat. Carefully lay the puff pastry over the top of the filling, letting the edges hang over the sides. If using a baking dish, transfer the filling to the dish first, then top with the pastry.
- Brush the beaten egg evenly over the entire surface of the pastry. Sprinkle with flaky sea salt if using.
- Use a sharp paring knife to cut 3-4 small slits in the top of the pastry to let steam escape.
- Place the dish on a baking sheet and bake for 20-25 minutes, until the puff pastry is puffed up, deeply golden, and flaky, and the filling is bubbling through the steam vents.
- Let the pot pie rest for 5-10 minutes before serving to allow the filling to set.
- Scoop out generous portions, making sure each serving gets a piece of the crispy puff pastry lid.
Notes
Don’t rush the roux; cook for a full 2 minutes to eliminate raw flour taste. Keep puff pastry cold for best flakiness. Let the pie rest after baking to allow the filling to set. For a vegetarian version, skip the chicken and double the vegetables, using vegetable broth. For a dairy-free version, use plant-based butter and unsweetened oat milk.
Nutrition
- Serving Size: 1 serving (1/6 of pi
- Calories: 475
- Sugar: 6
- Sodium: 700
- Fat: 25
- Saturated Fat: 12
- Carbohydrates: 38
- Fiber: 3.5
- Protein: 28
Keywords: chicken pot pie, puff pastry, easy dinner, comfort food, cozy meal, one-dish meal