Love this? Save it for later!
Share the inspiration with your friends
I wasn’t supposed to be there that long. I’d stopped by my neighbor Carla’s house on a random Tuesday afternoon to return her measuring cup—the one I’d borrowed three weeks earlier and kept forgetting to give back. But the smell hit me before I even got through her screen door. It was this deep, savory, almost caramelized aroma mixed with something cheesy and utterly irresistible. I stood there on her porch for a second, just inhaling, feeling like some cartoon character floating toward a pie on a windowsill.
Carla wasn’t trying to impress me. In fact, she seemed almost embarrassed when I walked in and found her standing over a single skillet, wooden spoon in hand, looking like she’d just gotten caught doing something shameful. “Oh, it’s nothing,” she said, waving her hand. “Just a quick dinner thing I throw together when I don’t feel like making a mess.” She was wearing old sweatpants and a faded t-shirt. The stove had a splatter of something that looked like it had been there since breakfast. And yet, that skillet was bubbling away with this gorgeous, golden, cheesy situation that looked like it belonged on a restaurant menu.
I watched her finish it up—she didn’t consult a recipe, didn’t measure anything precisely, just tossed in handfuls of cheese like it was no big deal. She scooped some into a bowl for me to try, and honestly? I had to sit down. The rice was perfectly tender, the beef was seasoned just right, and that cheese pulled apart in glorious, stretchy ribbons. I asked her how she made it, and she just shrugged and said, “Ground beef, rice, cheese. You know.” I nodded like I knew, but I absolutely did not know. Not like this.
That night, I texted her for measurements. She sent back: “One pound beef, one cup rice, two cups broth, cheese until it looks right.” That’s it. No precise instructions, no fancy techniques. Just pure, unfussy magic. I’ve been making it ever since, and I’ve tweaked it just enough to call it my own. But the soul of this dish? That belongs to Carla’s Tuesday afternoon indifference. Maybe you’ve had that moment—where someone makes something incredible and acts like it’s no big deal. This is that recipe.
Why You’ll Love This Recipe
Let me tell you why this Crowd-Pleasing Cheesy One-Pan Ground Beef Rice has become my absolute go-to for hosting dinner parties and casual get-togethers. I’ve tested this recipe at least a dozen times, tweaking the cheese blend and the seasoning until it was just right. What I ended up with is a dish that delivers maximum flavor with minimum effort.
- One Pan, Zero Fuss: Everything cooks in a single skillet. That means less cleanup, less stress, and more time actually enjoying your guests. I mean, who wants to be scrubbing pots when everyone’s having a good time?
- Ready in 30 Minutes: From the moment you start browning the beef to the second you sprinkle on that final layer of cheese, this dish comes together in under half an hour. Perfect for those evenings when guests are arriving soon and you still need to shower.
- Crowd-Pleasing Flavors: This is one of those rare dishes that appeals to picky eaters and foodies alike. The savory beef, the tender rice, the melted cheese—it’s comfort food at its finest. I’ve served it at potlucks and watched people go back for thirds.
- Simple Ingredients: You probably already have most of these in your kitchen. No trips to specialty stores, no hunting down obscure spices. Just honest, everyday ingredients that come together beautifully.
- Perfect for Hosting: This dish scales up effortlessly for larger gatherings. Double the recipe, use a bigger pan, and you’ve got a main course that feeds a crowd without breaking a sweat. Plus, it looks impressive when you bring the skillet straight to the table.
What makes this version different from all the other ground beef and rice recipes out there? It’s the technique. I brown the beef until it’s deeply caramelized, not just cooked through. That extra few minutes builds a foundation of flavor that carries through the entire dish. And the cheese blend—I use a combination of sharp cheddar for tang and Monterey Jack for that perfect stretchy melt. It’s a small detail that makes a huge difference.
This isn’t just another weeknight dinner. This is the kind of meal that makes people close their eyes after the first bite. It’s the recipe you’ll turn to when you want to impress without the stress. And honestly? It’s the one dish that always, always gets asked for.
What Ingredients You Will Need
This recipe uses simple, pantry-friendly ingredients that come together to create something truly special. Each component plays a specific role in building flavor and texture, so let me walk you through what you’ll need and why it matters.
For the Base
- 1 pound ground beef (80/20 blend): The 80/20 ratio gives you enough fat for flavor without making the dish greasy. I prefer ground chuck for its rich taste. If you’re using leaner beef, add a tablespoon of olive oil to compensate for the missing fat.
- 1 medium yellow onion, diced: Yellow onions have the perfect balance of sweetness and sharpness. They melt into the background of the dish, adding depth without overpowering. Dice them small so they cook evenly.
- 3 cloves garlic, minced: Fresh garlic is non-negotiable here. The jarred stuff just doesn’t have the same punch. I mince mine fine so it distributes evenly throughout the dish.
For the Rice and Liquid
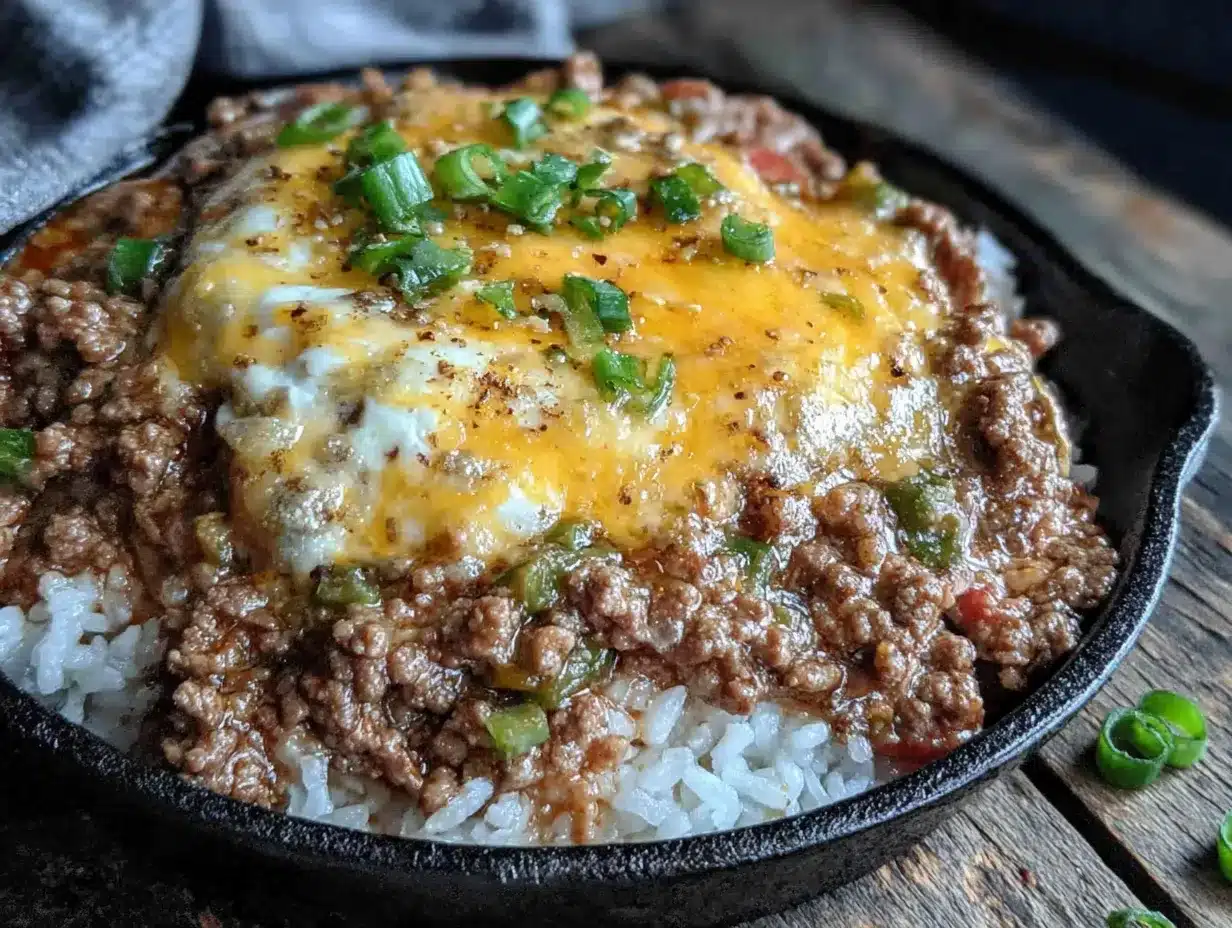
- 1 cup long-grain white rice, uncooked: I’ve tested this with jasmine rice and basmati, and both work beautifully. Long-grain rice stays fluffy and separate, which is exactly what you want here. Avoid short-grain rice—it can get too sticky.
- 2 cups low-sodium beef broth: The broth is where most of the flavor comes from. I use low-sodium so I can control the salt level myself. Swanson’s is my go-to brand, but any good-quality broth works.
- 1 can (14.5 oz) diced tomatoes, undrained: These add moisture and a little acidity that balances the richness of the cheese. I prefer fire-roasted diced tomatoes for a subtle smoky note. Rotel works great if you want a little heat.
For Seasoning
- 1 teaspoon smoked paprika: This is my secret weapon. Smoked paprika adds a depth that regular paprika just can’t match. It gives the dish a subtle campfire quality that makes it feel extra special.
- 1 teaspoon garlic powder: Yes, I use both fresh garlic and garlic powder. The fresh garlic gives you that sharp, aromatic quality, while the powder adds a deeper, more rounded garlic flavor that permeates the whole dish.
- 1/2 teaspoon onion powder: Same concept as the garlic—fresh and powdered work together to build layers of flavor. Don’t skip this.
- 1/2 teaspoon dried oregano: Oregano adds an earthy, slightly floral note that complements the beef beautifully. It’s subtle but noticeable.
- Salt and black pepper to taste: I start with about 1 teaspoon of salt and 1/2 teaspoon of pepper, then adjust at the end. Remember that the cheese will add salt too.
For the Cheesy Finish
- 1 1/2 cups shredded sharp cheddar cheese: Sharp cheddar brings that tangy, bold flavor that cuts through the richness of the beef. I shred my own from a block—pre-shredded cheese has anti-caking agents that prevent it from melting smoothly.
- 1 cup shredded Monterey Jack cheese: This is the stretchy cheese. Monterey Jack melts like a dream and gives you those gorgeous cheese pulls that make everyone at the table go “oooh.”
- Optional: 1/4 cup chopped fresh parsley for garnish: Parsley adds a pop of color and freshness that brightens up the finished dish. It’s not essential, but it makes everything look more intentional.
For the cheese, I recommend Tillamook or Cabot for cheddar, and any good-quality Monterey Jack from the deli section. The better your cheese, the better your final dish will be. Trust me on this one.
Equipment Needed
One of the best things about this recipe is how little equipment you need. Here’s what you’ll need to have on hand:
- A large, deep skillet or Dutch oven (12-inch with high sides): This is the most important piece of equipment. You need something with enough surface area to brown the beef properly and enough depth to hold all the liquid for the rice. I use my trusty 12-inch cast iron skillet, but a stainless steel or non-stick pan works great too. Just make sure it has a tight-fitting lid.
- A wooden spoon or spatula: For breaking up the beef and stirring everything together. I prefer wooden spoons because they don’t scratch my pans, but a silicone spatula works fine.
- A sharp knife and cutting board: For dicing the onion and mincing the garlic. A good chef’s knife makes this job quick and painless.
- Measuring cups and spoons: For the rice, broth, and seasonings. I use standard measuring cups, but a kitchen scale works if you prefer metric measurements.
- A box grater: For shredding your own cheese. This is a small step that makes a big difference in how the cheese melts. Pre-shredded cheese just doesn’t perform the same way.
If you don’t have a lid that fits your skillet, you can use a baking sheet or a piece of aluminum foil to cover it. I’ve done this in a pinch, and it works perfectly fine. The key is trapping that steam so the rice cooks evenly.
Preparation Method
Let me walk you through this step by step. I’ve made this dish so many times that I could do it in my sleep, but I’ll share every detail so you get perfect results on your first try.
- Prep your ingredients first. Dice the onion, mince the garlic, shred your cheese, and measure out your seasonings. This whole recipe moves fast once you start cooking, so having everything ready to go makes the process smooth and stress-free. Trust me, you don’t want to be scrambling to mince garlic while your beef is burning.
- Heat your skillet over medium-high heat. Add the ground beef to the cold pan and let it sear without moving it for about 3-4 minutes. I know it’s tempting to start stirring right away, but leaving it alone lets that beautiful brown crust form. That crust is pure flavor. Once the bottom is deeply browned, break the beef apart with your wooden spoon and continue cooking until it’s no longer pink, about 5-6 minutes total.
- Add the diced onion to the skillet with the browned beef. Cook for 3-4 minutes, stirring occasionally, until the onion turns translucent and starts to soften. The onion will absorb some of the beef fat and become sweet and tender. If your beef was very lean and the pan looks dry, add a tablespoon of olive oil here.
- Stir in the minced garlic, smoked paprika, garlic powder, onion powder, and dried oregano. Cook for about 30 seconds, stirring constantly, until the spices become fragrant. Be careful not to burn the garlic—it can go from perfect to bitter in seconds. You’ll know it’s ready when the kitchen smells like heaven.
- Pour in the beef broth and the can of diced tomatoes with their juices. Use your wooden spoon to scrape up any browned bits from the bottom of the pan. That’s where so much flavor lives. Bring the liquid to a boil, then stir in the uncooked rice. Make sure the rice is evenly distributed throughout the liquid.
- Reduce the heat to low, cover the skillet with a tight-fitting lid, and let it simmer. Set a timer for 18 minutes. Do not lift the lid during this time—the steam is what cooks the rice, and every time you peek, you’re letting that steam escape. I learned this the hard way after making gummy rice more times than I care to admit.
- After 18 minutes, remove the lid and check the rice. It should be tender and have absorbed most of the liquid. If there’s still a lot of liquid, cover and cook for another 2-3 minutes. If the rice is tender but there’s a little liquid left, that’s actually perfect—it will absorb as the dish rests.
- Remove the skillet from the heat and sprinkle the shredded cheddar and Monterey Jack cheese evenly over the top. Don’t stir it in just yet. Let the residual heat melt the cheese for about 2 minutes. The cheese will form a gorgeous, bubbly blanket over the rice and beef. If you want it extra golden, pop the skillet under the broiler for 1-2 minutes—just keep an eye on it so it doesn’t burn.
- Once the cheese is melted and bubbly, give everything a gentle stir to incorporate the cheese into the rice and beef. Or leave it on top for a more dramatic presentation—your choice. Garnish with fresh parsley if you’re using it, and serve immediately.
One thing I’ve learned: let the dish rest for about 5 minutes after it comes off the heat. This allows the rice to absorb any remaining liquid and the flavors to meld together. It also cools down just enough so your guests don’t burn their mouths on that first bite.
Cooking Tips & Techniques
Over the years, I’ve made every mistake you can imagine with this dish. Let me share what I’ve learned so you can skip the trial and error.
Don’t rush the browning. This is the most important tip I can give you. That deep, caramelized crust on the beef is where so much flavor comes from. If you stir the beef constantly, it will steam instead of brown. Give it space. Let it sit. The patience pays off in every single bite.
Toast your rice if you have an extra minute. Before adding the liquid, push the beef and onions to the side of the pan and add a drizzle of oil. Toast the uncooked rice in that oil for about 2 minutes, stirring constantly, until it turns slightly golden. This adds a nutty flavor that takes the dish to another level. I don’t always do this when I’m in a hurry, but when I do, I’m always glad I did.
Watch your heat levels. After you add the liquid and rice, keep the heat on low. A gentle simmer is what you’re after, not a rolling boil. If the heat is too high, the liquid will evaporate before the rice is fully cooked, leaving you with crunchy rice and a burnt bottom. Been there, done that, cried about it.
Let the dish rest before serving. I know it’s hard to wait when the kitchen smells this good, but that 5-minute rest makes a real difference. The rice finishes absorbing the liquid, the cheese sets up just a bit, and the flavors have a chance to come together. It’s like the dish needs a moment to collect itself before meeting your guests.
Scale up easily for a crowd. This recipe doubles beautifully. Use a 14-inch skillet or a large Dutch oven, and increase the cooking time by about 5-7 minutes. Just make sure your pan is big enough to hold everything. I’ve made this for potlucks and family gatherings, and it’s never let me down.
One mistake I still make sometimes: I get impatient and lift the lid to check on the rice. Don’t do it. Every time I peek, I add 5 minutes to the cooking time. Set your timer and walk away. Trust the process.
Variations & Adaptations
This recipe is wonderfully flexible. Here are some ways to make it your own:
Spicy Southwest Version: Swap the diced tomatoes for a can of Rotel (tomatoes with green chiles) and add 1/2 teaspoon of cumin and a pinch of cayenne pepper. Use pepper jack cheese instead of Monterey Jack. Top with sliced jalapeños and a dollop of sour cream. This version is always a hit at game day gatherings.
Mexican-Inspired Variation: Add 1/2 cup of frozen corn and 1/2 cup of black beans (rinsed and drained) along with the rice. Use a blend of cheddar and queso fresco. Serve with warm tortillas, avocado slices, and a squeeze of lime. It’s like a deconstructed burrito bowl in one pan.
Vegetarian Option: Replace the ground beef with 1 1/2 cups of cooked lentils or a plant-based ground meat substitute. Use vegetable broth instead of beef broth. The lentils add a nice earthy flavor and hold up well to the cooking process. I’ve made this for vegetarian friends, and they always ask for the recipe.
Low-Carb Adaptation: Swap the white rice for cauliflower rice. Add the cauliflower rice during the last 5-7 minutes of cooking, since it doesn’t need as long to cook. You’ll want to reduce the broth to about 1 cup since cauliflower rice doesn’t absorb liquid the same way. It’s lighter but still incredibly satisfying.
Cheese Lover’s Dream: Use a three-cheese blend of sharp cheddar, smoked gouda, and provolone. The smoked gouda adds an incredible depth that makes this dish feel extra special. I did this for a Christmas Eve dinner once, and my cousin asked me to cater her next party.
Add Some Veggies: Finely dice a bell pepper or zucchini and add it along with the onion. Mushrooms are also a great addition—they add an earthy, umami quality that complements the beef beautifully. Just make sure to dice everything small so it blends into the dish.
Serving & Storage Suggestions
This dish is incredibly versatile when it comes to serving. Here’s how I like to present it and store the leftovers.
Serving Temperature: Serve this dish hot, straight from the skillet. The cheese should be bubbly and the rice should be steaming. If you’re serving it at a potluck or buffet, keep it warm in a slow cooker on the low setting. I’ve done this many times, and it stays perfect for hours.
Presentation Tips: Bring the whole skillet to the table for a rustic, family-style presentation. The sight of that golden, cheesy top will get everyone excited. Garnish with fresh parsley, a sprinkle of extra cheese, and maybe some red pepper flakes for color. Serve with warm crusty bread or tortilla chips for scooping up every last bit.
What to Serve Alongside: This dish is hearty enough to be a complete meal on its own, but it pairs beautifully with a simple green salad dressed with vinaigrette. The acidity of the dressing cuts through the richness of the cheese. A side of roasted vegetables—like broccoli or green beans—also works wonderfully. For drinks, a cold beer or a glass of red wine complements the savory flavors perfectly.
Storage Instructions: Store leftovers in an airtight container in the refrigerator for up to 4 days. The flavors actually deepen overnight, so this is one of those rare dishes that tastes even better the next day. The rice will absorb more liquid as it sits, so don’t be surprised if it seems a bit drier the next day—that’s normal.
Reheating Tips: The best way to reheat this dish is in a skillet over medium-low heat with a splash of beef broth or water. Add about 2 tablespoons of liquid per serving, cover the pan, and heat for 5-7 minutes, stirring occasionally. You can also reheat individual portions in the microwave—just cover the bowl with a damp paper towel to add moisture. The microwave is faster, but the skillet gives you better texture.
Freezer Instructions: This dish freezes beautifully. Let it cool completely, then transfer to a freezer-safe container. It will keep for up to 3 months. To thaw, move it to the refrigerator overnight, then reheat using the skillet method above. I often make a double batch and freeze half for busy weeknights.
Flavor Development: Here’s something interesting—the flavors in this dish continue to develop as it sits. The spices meld together, the cheese integrates more fully, and the rice absorbs all those savory juices. I actually prefer the leftovers to the fresh dish. It’s like the recipe needs a day to fully come into its own.
Nutritional Information & Benefits
Here’s a rough estimate of the nutritional values per serving (based on 6 servings):
| Nutrient | Amount Per Serving |
|---|---|
| Calories | 485 |
| Protein | 32g |
| Carbohydrates | 38g |
| Fat | 22g |
| Saturated Fat | 11g |
| Fiber | 2g |
| Sodium | 780mg |
This dish is a solid source of protein from the beef and cheese, which helps keep you full and satisfied. The rice provides energy in the form of complex carbohydrates, while the tomatoes and onions contribute vitamins C and B6, along with antioxidants like lycopene. The calcium from the cheese is great for bone health, and the garlic offers immune-boosting properties.
If you’re watching your sodium intake, use low-sodium broth and go easy on the added salt. You can also use reduced-fat cheese to cut down on saturated fat. For a lighter version, swap half the ground beef for ground turkey or chicken—just add a little olive oil to keep it from drying out.
This recipe is naturally nut-free and egg-free, making it suitable for many common dietary restrictions. It can be made gluten-free by ensuring your broth is certified gluten-free (most are, but always check the label). As always, if you have specific dietary needs or allergies, check all ingredient labels carefully.
Conclusion
This Crowd-Pleasing Cheesy One-Pan Ground Beef Rice has become my most-requested recipe for a reason. It’s the dish I bring to potlucks, the meal I make when friends drop by unexpectedly, the comfort food I turn to after a long week. It delivers everything you want in a dinner—flavor, convenience, and that warm, satisfied feeling that only really good food can provide.
I love how this recipe brings people together. There’s something about a single skillet of cheesy, beefy rice that makes everyone feel at home. Maybe it’s the nostalgia of childhood dinners, or maybe it’s just that cheese makes everything better. Either way, this dish has a way of making any gathering feel special without any fuss or pretension.
I’d love to hear how this recipe turns out for you. Did you add your own twist? Did your family go back for seconds? Did you serve it at a party and watch it disappear? Drop a comment below and let me know. And if you’re looking for more crowd-pleasing dinner ideas, be sure to check out my one-pan meals collection for more recipes that make hosting easy and delicious. Happy cooking, friends!
Frequently Asked Questions
Can I use brown rice instead of white rice?
Yes, but you’ll need to adjust the cooking time and liquid. Brown rice takes about 40-45 minutes to cook and needs about 2 1/2 cups of liquid per cup of rice. I recommend par-cooking the brown rice first or using a quick-cooking variety to keep the one-pan method manageable.
Can I make this dish ahead of time for a party?
Absolutely. You can prepare the entire dish up to 2 days in advance. Let it cool, store it in the refrigerator, and reheat it in a skillet with a splash of broth before serving. The flavors actually get better as they meld together overnight.
What’s the best way to reheat leftovers without drying them out?
The stovetop method works best. Add a tablespoon or two of beef broth or water per serving, cover the skillet, and heat over medium-low heat for 5-7 minutes, stirring occasionally. The added moisture helps the rice rehydrate and keeps everything tender.
Can I freeze this dish?
Yes! Let the dish cool completely, then transfer it to a freezer-safe container. It will keep for up to 3 months. Thaw overnight in the refrigerator before reheating. I often make a double batch and freeze half for busy weeknights.
How can I make this dish spicier?
There are several ways to add heat. Use a can of Rotel instead of plain diced tomatoes, add 1/2 teaspoon of cayenne pepper or crushed red pepper flakes, or use pepper jack cheese instead of Monterey Jack. You can also serve it with hot sauce on the side so everyone can customize their own spice level.
Pin This Recipe!
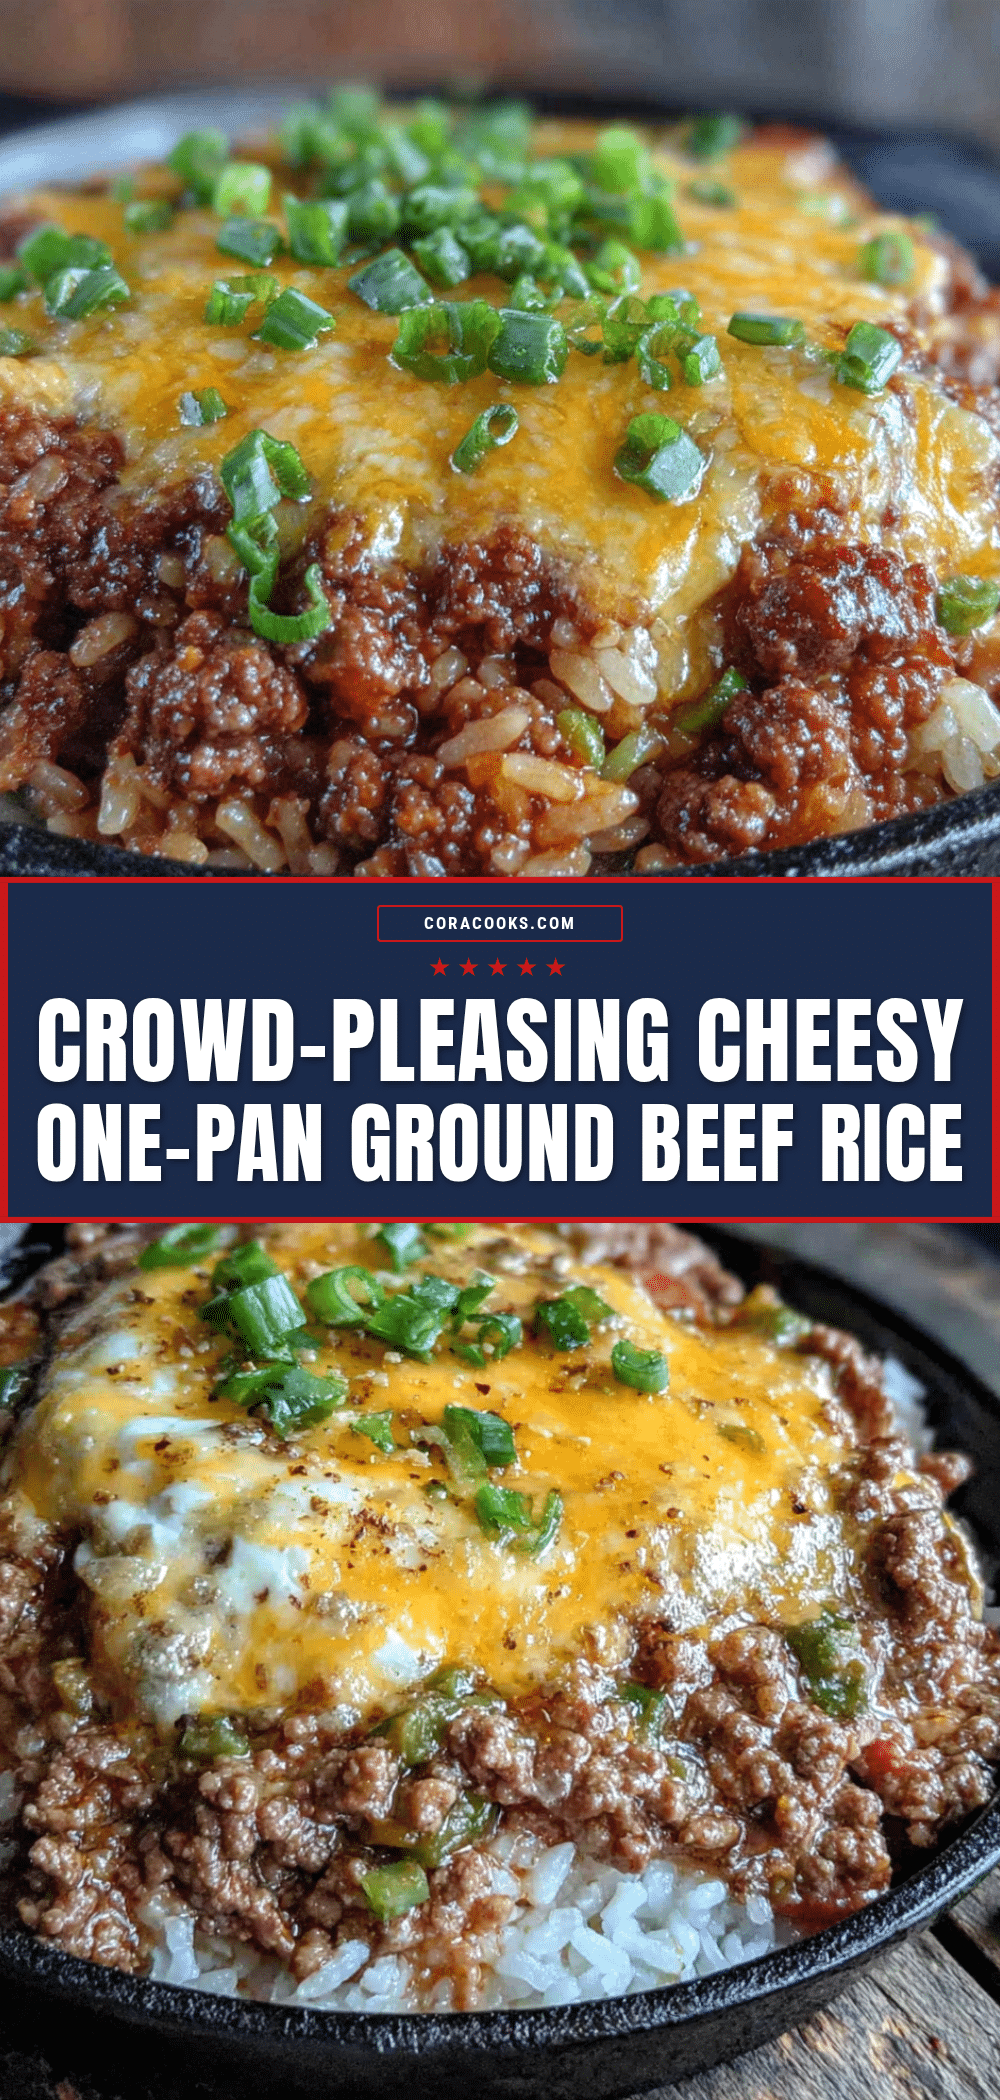
Crowd-Pleasing Cheesy One-Pan Ground Beef Rice: Easy 30-Minute Dinner

A quick and easy one-pan dinner featuring savory ground beef, tender rice, and a bubbly cheese topping. Perfect for busy weeknights or casual gatherings, this dish comes together in just 30 minutes with minimal cleanup.
- Prep Time: 10 minutes
- Cook Time: 20 minutes
- Total Time: 30 minutes
- Yield: 6 servings 1x
- Category: Main Course
- Cuisine: American
Ingredients
- 1 pound ground beef (80/20 blend)
- 1 medium yellow onion, diced
- 3 cloves garlic, minced
- 1 cup long-grain white rice, uncooked
- 2 cups low-sodium beef broth
- 1 can (14.5 oz) diced tomatoes, undrained
- 1 teaspoon smoked paprika
- 1 teaspoon garlic powder
- 1/2 teaspoon onion powder
- 1/2 teaspoon dried oregano
- Salt and black pepper to taste
- 1 1/2 cups shredded sharp cheddar cheese
- 1 cup shredded Monterey Jack cheese
- Optional: 1/4 cup chopped fresh parsley for garnish
Instructions
- Prep your ingredients first. Dice the onion, mince the garlic, shred your cheese, and measure out your seasonings.
- Heat your skillet over medium-high heat. Add the ground beef to the cold pan and let it sear without moving it for about 3-4 minutes. Once the bottom is deeply browned, break the beef apart and continue cooking until no longer pink, about 5-6 minutes total.
- Add the diced onion to the skillet with the browned beef. Cook for 3-4 minutes, stirring occasionally, until the onion turns translucent and starts to soften.
- Stir in the minced garlic, smoked paprika, garlic powder, onion powder, and dried oregano. Cook for about 30 seconds, stirring constantly, until fragrant.
- Pour in the beef broth and the can of diced tomatoes with their juices. Scrape up any browned bits from the bottom of the pan. Bring to a boil, then stir in the uncooked rice.
- Reduce heat to low, cover the skillet with a tight-fitting lid, and let it simmer for 18 minutes. Do not lift the lid during this time.
- After 18 minutes, remove the lid and check the rice. It should be tender and have absorbed most of the liquid. If needed, cover and cook for another 2-3 minutes.
- Remove the skillet from the heat and sprinkle the shredded cheddar and Monterey Jack cheese evenly over the top. Let the residual heat melt the cheese for about 2 minutes. Optionally, broil for 1-2 minutes for a golden top.
- Once the cheese is melted and bubbly, gently stir to incorporate or leave on top for presentation. Garnish with fresh parsley if desired. Let rest for 5 minutes before serving.
Notes
For best results, brown the beef deeply without stirring too often. Let the dish rest for 5 minutes after cooking to allow flavors to meld. To make it spicier, use Rotel tomatoes and pepper jack cheese. For a vegetarian version, replace beef with cooked lentils and use vegetable broth.
Nutrition
- Serving Size: 1 serving (about 1.5
- Calories: 485
- Sugar: 4
- Sodium: 780
- Fat: 22
- Saturated Fat: 11
- Carbohydrates: 38
- Fiber: 2
- Protein: 32
Keywords: ground beef, rice, one-pan, cheesy, 30-minute dinner, easy dinner, comfort food