Love this? Save it for later!
Share the inspiration with your friends
My neighbor across the hall watched me haul yet another bag of groceries into my apartment last Tuesday. She didn’t say anything at first. Then she just pointed at the bag and smiled. “You’re still trying to bake wings that taste like they’re fried, aren’t you?”
I laughed because she was right. I’d been on this mission for months, honestly. Every batch came out either rubbery or dry, and I was starting to think crispy baked wings were a myth. She disappeared into her apartment and came back holding a crumpled index card. “Try this. My grandmother used to make them for Super Bowl parties back in Buffalo.”
I almost dropped the card when I saw the ingredient list. There was nothing fancy on it. Just chicken wings, Parmesan cheese, garlic, and a few pantry staples. But the method was different from anything I’d tried before. She explained it quickly—something about a wire rack and a hot oven—and then waved me off.
The first batch I made that Friday night changed everything. I mean, the kitchen smelled like a restaurant. The wings came out golden and shatteringly crisp, coated in salty Parmesan and roasted garlic. My neighbor texted me later asking how they turned out. I sent her a photo of an empty platter. She sent back a smiley face and a thumbs up.
That crumpled index card is now taped inside my kitchen cabinet, stained with butter and garlic oil. Every time I make these wings, I think about how the best recipes come from real people who just share them because they love good food. Maybe you’ve had that experience too—someone handing you a recipe that just works.
These Crispy Baked Parmesan Garlic Chicken Wings are that recipe for me. They’re the ones I bring to game days, the ones friends request for birthday parties, and the ones I make when I need comfort food that doesn’t leave me with a greasy kitchen. Let me show you how simple they really are.
Why You’ll Love This Recipe
Let’s be real—most baked wings are a disappointment. They’re either soggy or they taste like cardboard with hot sauce. These Crispy Baked Parmesan Garlic Chicken Wings are none of those things. They’re the result of multiple test batches, a few burned fingers, and one very patient neighbor.
- Oven-Baked, Not Fried: You get that satisfying crunch without the mess of deep frying. No splattering oil, no lingering smell in your kitchen for days.
- Simple Ingredients: Chicken wings, Parmesan cheese, garlic, butter, and basic seasonings. You probably have most of these in your kitchen right now.
- Perfect for Game Day or Dinner: These wings work for Super Bowl parties, casual weeknight dinners, or when you just want something crispy and satisfying.
- Crowd-Pleaser: I’ve served these to picky eaters, spice lovers, and people who claim they don’t like chicken wings. The platter always comes back empty.
- Gluten-Free Friendly: No flour dredge here. The coating is pure Parmesan and spices, making this naturally gluten-free.
What makes these wings different from other baked versions is the technique. Instead of baking them directly on a pan, you use a wire rack set inside a baking sheet. This allows hot air to circulate all around the wings, crisping the skin evenly. Then there’s the Parmesan coating—it melts into the skin and creates this salty, nutty crust that’s absolutely addictive.
I’m not going to tell you these are healthy, because they’re still chicken wings with butter. But they feel lighter than fried wings, and honestly, they taste better. There’s something about the way the garlic roasts in the oven and mingles with the Parmesan that just works. It’s comfort food that makes you close your eyes after the first bite.
What Ingredients You Will Need
This recipe uses simple, everyday ingredients to create big flavor and that crave-worthy crispy texture. Nothing here is complicated, but each ingredient plays an important role.
- Chicken Wings (2 pounds / about 900g): Look for whole wings or separated drumettes and flats. I prefer buying whole wings and cutting them myself at the joint—it’s cheaper and you can save the tips for stock. If you buy pre-separated wings, check that they’re similar in size for even cooking.
- Freshly Grated Parmesan Cheese (1 cup / 100g): Please, please use freshly grated Parmesan from a block. The pre-shredded stuff in bags has anti-caking agents that prevent it from melting properly. I use Parmigiano-Reggiano when I’m feeling fancy, but a good domestic Parmesan works fine too.
- Garlic (6 cloves, minced): Fresh garlic is non-negotiable here. The pre-minced stuff in jars tastes metallic and won’t give you the same aromatic punch. Take the extra minute to mince it yourself.
- Unsalted Butter (4 tablespoons / 60g, melted): Butter adds richness and helps the Parmesan mixture stick to the wings. I use unsalted so I can control the salt level. If you only have salted butter, reduce the added salt in the recipe.
- Baking Powder (2 teaspoons): This is the secret ingredient for crispy skin. Baking powder (not baking soda!) raises the pH of the skin, helping it brown and crisp in the oven. Make sure it’s aluminum-free to avoid a metallic aftertaste.
- Salt (1 teaspoon): I use fine sea salt. Kosher salt works too, but you might need a bit more since the crystals are larger.
- Black Pepper (½ teaspoon): Freshly ground is always better. It adds a subtle warmth that complements the garlic and Parmesan.
- Paprika (1 teaspoon): This adds color and a mild smoky flavor. Smoked paprika is lovely here if you have it. Regular sweet paprika works perfectly too.
- Garlic Powder (1 teaspoon): This reinforces the fresh garlic flavor. Don’t skip it—it adds depth that fresh garlic alone can’t provide.
- Dried Parsley (1 teaspoon, for garnish): Optional, but it makes the wings look prettier. Fresh parsley is even better if you have some on hand.
I recommend buying a block of good Parmesan and grating it yourself. I know it’s tempting to grab the pre-grated tub, but trust me on this one. The texture and flavor difference is night and day. Also, check your baking powder expiration date—old baking powder won’t work as well for crisping.
Equipment Needed
You don’t need a lot of fancy equipment for this recipe, but a few specific tools make a big difference.
- Large Baking Sheet: A rimmed baking sheet is essential to catch any drips. I use a half-sheet pan (18×13 inches).
- Wire Rack: This fits inside the baking sheet and elevates the wings. The hot air circulates underneath, crisping the skin evenly. A cooling rack works if it’s oven-safe up to 450°F.
- Sharp Knife or Kitchen Shears: For cutting whole wings at the joints. Kitchen shears are actually easier and safer than a knife for this job.
- Large Mixing Bowl: For tossing the wings with butter and the Parmesan mixture.
- Paper Towels: For drying the wings thoroughly. This step is crucial for crispiness.
- Garlic Press or Microplane: For mincing garlic. A garlic press saves time, but I prefer a Microplane because it creates a paste that coats the wings better.
- Cheese Grater: For grating the Parmesan. A box grater works, but a Microplane creates a finer texture that clings to the wings.
If you don’t have a wire rack, you can try baking the wings directly on the sheet pan, but flip them halfway through. They won’t be quite as crispy on the bottom, but they’ll still be good. I’ve done it when my rack was in the dishwasher, and honestly, nobody complained.
Preparation Method
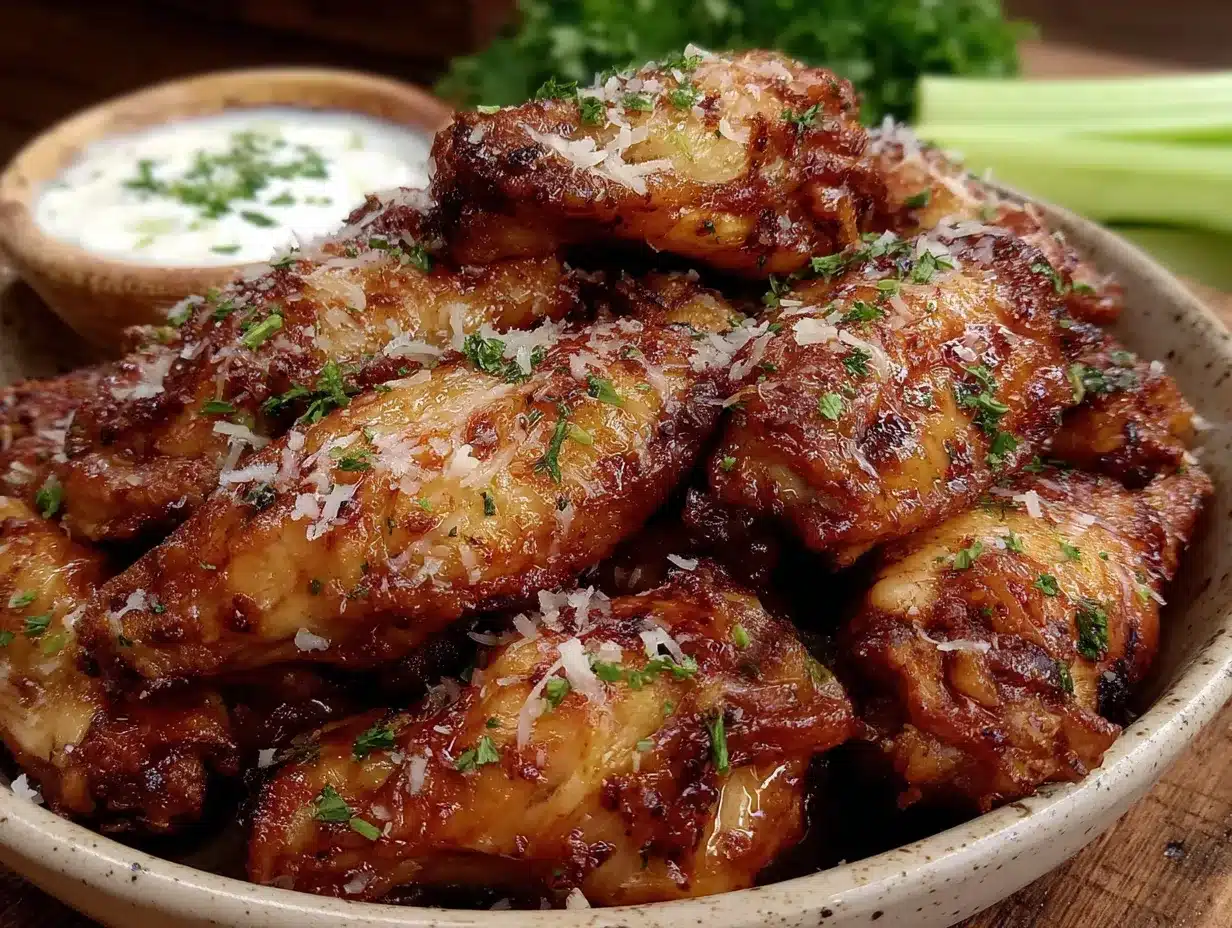
This method takes a little time, but most of it is hands-off. The key is patience—letting the wings dry out in the fridge makes all the difference.
- Prep the Wings: If using whole wings, cut them at the joints. Separate the drumette from the flat, and discard the wing tip (or save it for stock). Pat each piece completely dry with paper towels. This is the most important step—moisture is the enemy of crispy skin.
- Dry Brine (Optional but Recommended): Place the wings on the wire rack set over the baking sheet. Sprinkle them evenly with the salt and baking powder. Refrigerate uncovered for at least 1 hour, or up to 24 hours. This dries out the skin and helps it crisp. I usually do this in the morning and bake them at dinner time.
- Preheat the Oven: When you’re ready to bake, preheat your oven to 425°F (220°C). Position the rack in the upper third of the oven. Give it a full 20 minutes to come to temperature—a hot oven is crucial for crisping.
- Make the Coating: In a small bowl, combine the grated Parmesan, minced garlic, paprika, garlic powder, and black pepper. Mix well with a fork.
- Butter the Wings: Remove the wings from the fridge. Brush them lightly with the melted butter on both sides. Don’t drown them—you want a thin, even coating. Too much butter will make them greasy instead of crispy.
- Coat the Wings: Sprinkle the Parmesan mixture evenly over the buttered wings. Use your hands to press the coating onto the skin gently. Make sure each wing is covered, but don’t pack it on too thickly.
- Arrange on the Rack: Place the coated wings back on the wire rack in a single layer. Make sure they’re not touching each other—crowding leads to steaming, which ruins crispiness. You might need two baking sheets if you’re making a large batch.
- Bake: Bake for 40-45 minutes, rotating the pan halfway through. The wings are done when the skin is deep golden brown and crispy, and the internal temperature reaches 165°F (74°C) when checked with an instant-read thermometer.
- Rest: Let the wings rest on the rack for 5 minutes after baking. This allows the coating to set. If you move them too soon, the Parmesan crust might slide off.
- Garnish and Serve: Transfer the wings to a serving platter. Sprinkle with dried parsley or fresh chopped parsley. Serve immediately while they’re hot and crispy.
A few things to watch for: If your wings are browning too quickly but aren’t cooked through, tent them loosely with foil for the last 10 minutes. If they’re not crispy enough after 45 minutes, turn on the broiler for 1-2 minutes—but watch carefully, because they can burn fast.
Cooking Tips & Techniques
I’ve made these wings more times than I can count, and I’ve learned a few things the hard way. Let me save you some trouble.
Dry Those Wings Thoroughly: This cannot be overstated. Pat each wing piece with paper towels until they feel tacky, not wet. I once skipped this step because I was in a hurry, and the wings came out steamed and sad. Never again.
Don’t Skip the Baking Powder: I know it seems weird, but baking powder is what creates that shatteringly crisp skin. It breaks down the proteins in the skin and helps them brown. Just make sure you’re using baking powder, not baking soda—they’re not the same thing.
Use a Wire Rack: Baking directly on a sheet pan traps steam underneath the wings. The wire rack allows hot air to circulate, crisping the skin evenly on all sides. If you don’t have one, flip the wings halfway through and drain any accumulated fat from the pan.
Don’t Overcrowd: Give each wing some breathing room. If they’re touching, they’ll steam instead of crisp. I learned this when I tried to cram 3 pounds of wings onto one pan. The middle ones came out pale and rubbery. Use two pans if needed.
Let the Oven Preheat Fully: A hot oven is essential. If you put the wings in before the oven reaches temperature, they’ll start cooking slowly and the skin won’t crisp properly. Give it a full 20 minutes to preheat.
Rotate the Pan: Ovens have hot spots. Rotating the pan halfway through ensures even cooking. I usually rotate both the pan and flip each wing at the 20-minute mark.
Watch the Garlic: Fresh garlic can burn if it’s exposed to high heat for too long. That’s why we mix it with butter and Parmesan—the cheese and butter protect the garlic slightly. If you see the garlic turning dark brown before the wings are done, tent with foil.
One mistake I still make sometimes is forgetting to check the internal temperature. The wings might look done on the outside but not be fully cooked near the bone. An instant-read thermometer is your friend here. Stick it into the thickest part of a drumette, avoiding the bone.
Variations & Adaptations
This recipe is flexible, and I’ve tried several variations over the years. Here are some of my favorites.
Spicy Buffalo Version: Add 2 tablespoons of hot sauce (Frank’s RedHot is my go-to) to the melted butter before brushing it on the wings. Then sprinkle on the Parmesan mixture as usual. The heat cuts through the richness beautifully. I made these for a Super Bowl party and they disappeared in 10 minutes.
Lemon Herb Variation: Add the zest of one lemon to the Parmesan mixture, along with 1 teaspoon of dried oregano and 1 teaspoon of dried thyme. Squeeze fresh lemon juice over the wings after baking. This version is brighter and feels lighter—perfect for summer cookouts.
Low-Carb/Keto Adaptation: This recipe is already low in carbs, but you can boost the fat content by adding 2 tablespoons of olive oil to the butter mixture. Skip the paprika if you’re strict about carbs (it has a tiny amount), and use extra garlic powder instead. Serve with celery sticks and blue cheese dip.
Air Fryer Method: Preheat your air fryer to 400°F (200°C). Arrange the coated wings in a single layer in the basket (work in batches). Cook for 12-15 minutes, shaking the basket halfway through. The wings come out even crispier than the oven version, honestly. I use this method when I’m making a smaller batch for myself.
Dairy-Free Option: Substitute the Parmesan with a dairy-free Parmesan alternative (I like the one from Violife) and use vegan butter or olive oil. The texture won’t be exactly the same, but it’s still delicious. I made this version for a friend with dairy sensitivity and she asked for the recipe.
Extra Garlicky: If you’re a garlic lover like me, add 2 more cloves of minced garlic and an extra teaspoon of garlic powder. You can also roast a whole head of garlic, squeeze out the soft cloves, and mix them into the butter. It’s a bit more work, but the flavor is incredible.
Serving & Storage Suggestions
These wings are best served hot and fresh from the oven, but they’re still good at room temperature for a while.
Serving Temperature: Serve immediately after the 5-minute rest. The coating is at its crispiest when hot. If you’re serving them at a party, keep them warm on a low setting in the oven (200°F) for up to 30 minutes—just don’t cover them, or they’ll steam.
Presentation Ideas: Arrange the wings on a large platter lined with parchment paper or a bed of lettuce. Sprinkle with fresh parsley and extra grated Parmesan. Serve with dipping sauces like ranch, blue cheese, or a simple garlic aioli. Celery and carrot sticks on the side add color and crunch.
Complementary Dishes: These wings go well with almost anything. I love them with a simple green salad dressed with lemon vinaigrette. They’re also great with roasted potatoes, coleslaw, or corn on the cob. For a game day spread, serve them alongside nachos, sliders, or stuffed mushrooms.
Storage Instructions: Leftover wings can be stored in an airtight container in the refrigerator for up to 4 days. The texture will soften as they sit, but the flavor remains. I usually eat leftovers cold straight from the fridge—don’t judge me.
Reheating Methods: To restore crispiness, reheat the wings in a 400°F (200°C) oven on a wire rack for 5-7 minutes. The air fryer also works well—just 3-4 minutes at 375°F (190°C). Avoid the microwave unless you’re okay with rubbery skin.
Freezing: You can freeze baked wings for up to 3 months. Let them cool completely, then arrange them in a single layer on a baking sheet and freeze until solid. Transfer to a freezer bag. To reheat, bake from frozen at 400°F for 12-15 minutes, or until heated through and crispy.
The flavors actually meld together overnight. I’ve found that leftover wings taste even better the next day—the garlic and Parmesan seem to deepen. Just don’t expect them to be as crispy as fresh ones.
Nutritional Information & Benefits
Here’s the nutritional breakdown for a serving of about 4-5 wings (based on a 2-pound batch serving 4 people):
- Calories: Approximately 380-420 per serving
- Protein: 28-32g
- Fat: 28-32g (mostly from the skin and butter)
- Carbohydrates: 3-5g
- Fiber: 0-1g
- Sugar: 0-1g
- Sodium: 650-750mg (varies based on salt and Parmesan)
Chicken wings are a good source of protein, which helps with muscle repair and keeps you feeling full. Parmesan cheese adds calcium and a small amount of protein. Garlic has been studied for its potential immune-boosting properties and anti-inflammatory effects.
This recipe is naturally gluten-free, low in carbohydrates, and can be adapted for keto and dairy-free diets. It’s not exactly health food, but it’s a more wholesome version of a classic indulgence. I like knowing exactly what’s in my food—no mystery ingredients or preservatives.
If you’re watching your sodium intake, use low-sodium Parmesan and reduce the added salt. You can also trim some of the skin from the wings to reduce fat, though you’ll lose a bit of crispiness.
Conclusion
These Crispy Baked Parmesan Garlic Chicken Wings have become a staple in my kitchen for good reason. They deliver everything you want from a chicken wing—crispy skin, bold flavor, and that satisfying crunch—without the hassle of deep frying. The recipe came from a neighbor who shared it without expecting anything in return, and that’s the kind of recipe worth passing along.
I love how adaptable these wings are. You can spice them up, keep them mild, or experiment with different herbs and cheeses. They work for game day gatherings, casual dinners, or just because you’re craving something delicious. The technique is simple enough for a beginner but produces results that impress even experienced cooks.
Try this recipe and make it your own. Add more garlic if you’re a garlic fiend. Dial up the heat with extra cayenne. Serve them with your favorite dipping sauce and watch them disappear. When you make them, I’d love to hear how they turned out—drop a comment below and share your version. And if you’re looking for more crowd-pleasing appetizers, don’t miss our crispy garlic chicken recipe for another garlic-forward winner.
Happy cooking, and remember—the best recipes come from sharing.
Frequently Asked Questions
Can I use frozen chicken wings for this recipe?
Yes, but you need to thaw them completely in the refrigerator first. Pat them very dry with paper towels before starting. Frozen wings release a lot of moisture as they cook, which will prevent the skin from crisping. I recommend thawing overnight for best results.
Why are my wings not crispy?
Several things could be going wrong. The most common culprit is moisture—make sure you dried the wings thoroughly and didn’t skip the dry brine step. Another issue is overcrowding the pan. Give each wing space so hot air can circulate. Also, check that your oven is fully preheated and that you’re using a wire rack.
Can I make these wings ahead of time?
You can prep the wings up to 24 hours in advance by dry brining them in the refrigerator. Coat them with the Parmesan mixture just before baking. Baked wings are best fresh, but you can reheat leftovers in the oven or air fryer to restore some crispiness.
Is this recipe gluten-free?
Yes, this recipe is naturally gluten-free as written. The coating uses only Parmesan cheese and spices—no flour or breadcrumbs. Just double-check that your baking powder is labeled gluten-free, as some brands contain wheat starch.
Can I use chicken thighs or drumsticks instead of wings?
Absolutely. The same method works for chicken drumsticks, thighs, or even bone-in chicken breasts. Adjust the cooking time based on the size of the pieces. Drumsticks typically need 35-40 minutes, while larger thighs might need 45-50 minutes. Always check that the internal temperature reaches 165°F (74°C).
Pin This Recipe!
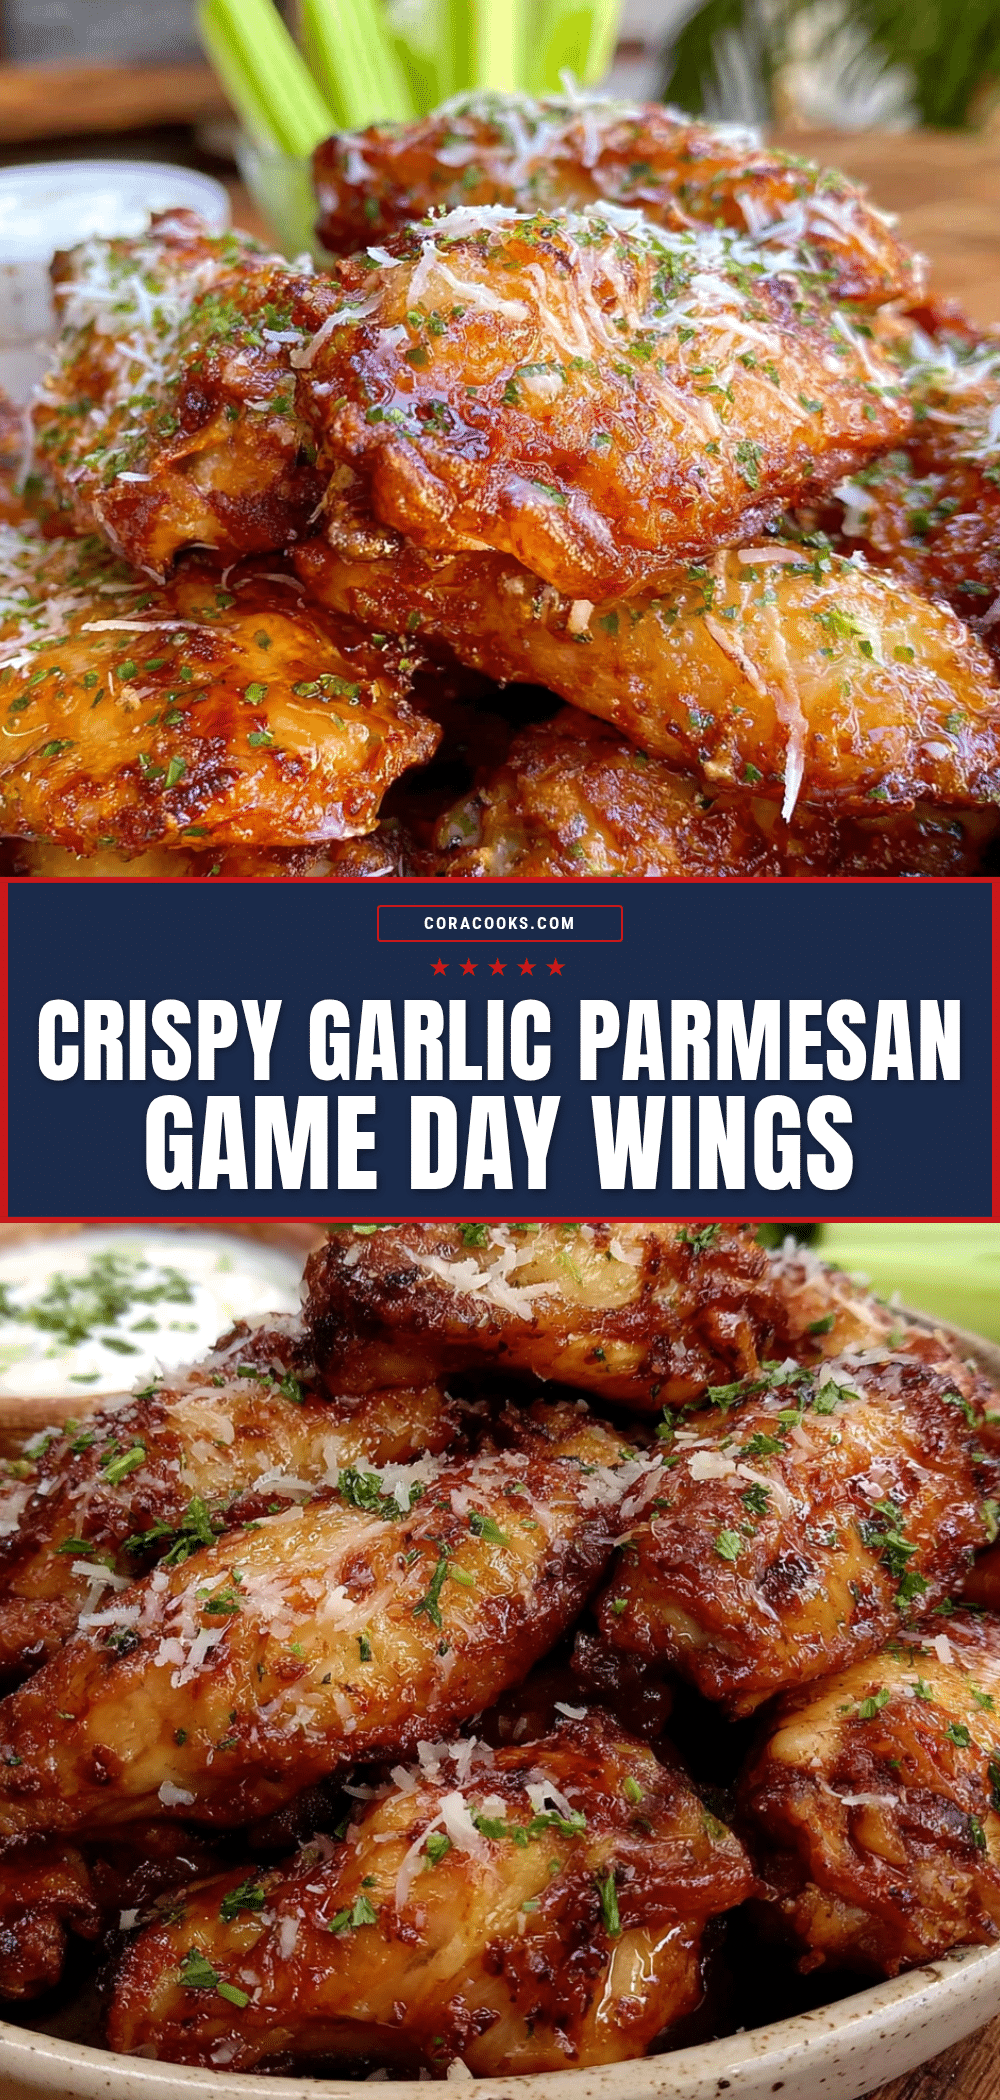
Crispy Baked Parmesan Garlic Chicken Wings

These oven-baked chicken wings are incredibly crispy and coated in a savory Parmesan garlic crust. They deliver all the crunch of fried wings without the mess, using simple ingredients and a clever technique.
- Prep Time: 15 minutes
- Cook Time: 45 minutes
- Total Time: 1 hour (plus optional 1-24 hours dry brine)
- Yield: 4 servings 1x
- Category: Appetizer
- Cuisine: American
Ingredients
- 2 pounds (about 900g) chicken wings, whole or separated
- 1 cup (100g) freshly grated Parmesan cheese
- 6 cloves garlic, minced
- 4 tablespoons (60g) unsalted butter, melted
- 2 teaspoons baking powder (aluminum-free)
- 1 teaspoon fine sea salt
- ½ teaspoon freshly ground black pepper
- 1 teaspoon paprika (smoked or sweet)
- 1 teaspoon garlic powder
- 1 teaspoon dried parsley (for garnish)
Instructions
- Prep the Wings: If using whole wings, cut them at the joints. Separate the drumette from the flat, and discard the wing tip (or save for stock). Pat each piece completely dry with paper towels.
- Dry Brine (Optional but Recommended): Place the wings on a wire rack set over a baking sheet. Sprinkle evenly with salt and baking powder. Refrigerate uncovered for at least 1 hour, or up to 24 hours.
- Preheat the Oven: Preheat oven to 425°F (220°C). Position the rack in the upper third of the oven. Allow a full 20 minutes to come to temperature.
- Make the Coating: In a small bowl, combine grated Parmesan, minced garlic, paprika, garlic powder, and black pepper. Mix well.
- Butter the Wings: Remove wings from the fridge. Brush lightly with melted butter on both sides.
- Coat the Wings: Sprinkle the Parmesan mixture evenly over the buttered wings. Use your hands to press the coating onto the skin gently.
- Arrange on the Rack: Place coated wings back on the wire rack in a single layer, ensuring they are not touching.
- Bake: Bake for 40-45 minutes, rotating the pan halfway through. Wings are done when skin is deep golden brown and crispy, and internal temperature reaches 165°F (74°C).
- Rest: Let wings rest on the rack for 5 minutes after baking.
- Garnish and Serve: Transfer to a serving platter, sprinkle with dried parsley, and serve immediately.
Notes
Pat wings very dry for maximum crispiness. Do not skip the baking powder—it’s essential for crispy skin. Use a wire rack to allow hot air to circulate. Do not overcrowd the pan. If wings brown too quickly, tent with foil. For extra crispiness, broil for 1-2 minutes at the end, watching carefully.
Nutrition
- Serving Size: 4-5 wings
- Calories: 380420
- Sugar: 1
- Sodium: 650750
- Fat: 2832
- Saturated Fat: 1215
- Carbohydrates: 35
- Fiber: 1
- Protein: 2832
Keywords: baked chicken wings, crispy wings, parmesan garlic wings, oven baked wings, game day appetizer, gluten free wings


