Love this? Save it for later!
Share the inspiration with your friends
My friend Jenna asked why I couldn’t just blend roasted squash into the cheese sauce instead of making a separate puree to stir in at the end. I started to explain why that wouldn’t work—then stopped. She had a point, honestly. I’d been doing it the hard way for years, and she saw right through my complicated process in about two seconds flat.
Let me tell you, I was skeptical. I mean, I’d spent years perfecting my “secret method” of making butternut squash mac and cheese. I’d stir the puree in gently, trying not to break the cheese sauce, and it always felt a little fussy. Jenna just shrugged and said, “Why not blend everything together while it’s hot?” And you know what? She was completely right.
The first time I tried her method—roasting the squash, then blending it right into the warm milk and cheese—I nearly dropped my spatula. The sauce came together in one smooth, velvety motion. No lumps. No separate bowls. No extra steps. I actually called her mid-cooking to tell her she was a genius. She laughed and said she’d been doing it that way for years.
That moment of being wrong—and being grateful for it—is exactly why I make this Creamy Baked Butternut Squash Mac and Cheese so often now. It’s the kind of recipe that makes you wonder why you ever did it the hard way. Maybe you’ve been there, following a complicated method because that’s just how you learned it. This one will change your mind.
Why You’ll Love This Recipe
This isn’t just another mac and cheese recipe—it’s the one that makes people close their eyes after the first bite. The butternut squash isn’t hidden or disguised; it’s celebrated, adding natural sweetness and a silky texture that regular mac and cheese just can’t match.
- Quick & Easy: Comes together in about 45 minutes, with only 15 minutes of active prep. Perfect for those nights when you need comfort food fast.
- Simple Ingredients: No fancy grocery trips needed. You likely have most of these pantry staples already—pasta, cheese, milk, and a butternut squash.
- Perfect for Fall & Beyond: Great for cozy weeknight dinners, Thanksgiving sides, or even meal prep lunches. It’s versatile enough for any season.
- Crowd-Pleaser: Kids devour it, adults ask for seconds, and nobody guesses there’s a whole vegetable blended into the sauce.
- Unbelievably Delicious: The texture is next-level creamy—thanks to the squash—with a golden, bubbly topping that makes every bite satisfying.
What makes this recipe different from the rest? It’s the method of blending the roasted squash directly into the cheese sauce. No separate puree, no extra bowls. Just one smooth, velvety sauce that comes together in minutes. And the flavor? It’s comfort food reimagined—healthier, faster, but with the same soul-soothing satisfaction that mac and cheese is famous for.
This recipe is perfect for impressing guests without stress. Honestly, it’s the kind of dish that makes you look like you spent hours in the kitchen when you really just followed a few simple steps.
What Ingredients You Will Need
This recipe uses simple, wholesome ingredients to deliver bold flavor and satisfying texture without the fuss. Most of these are pantry staples, and the butternut squash is the star that ties everything together.
For the Butternut Squash Base
- 1 medium butternut squash (about 2-3 pounds), peeled, seeded, and cubed into 1-inch pieces
- 2 tablespoons olive oil (for roasting—adds richness and helps caramelization)
- 1/2 teaspoon salt (I prefer kosher salt for better flavor distribution)
- 1/4 teaspoon black pepper
- 1/4 teaspoon smoked paprika (optional, but adds a lovely depth)
For the Pasta
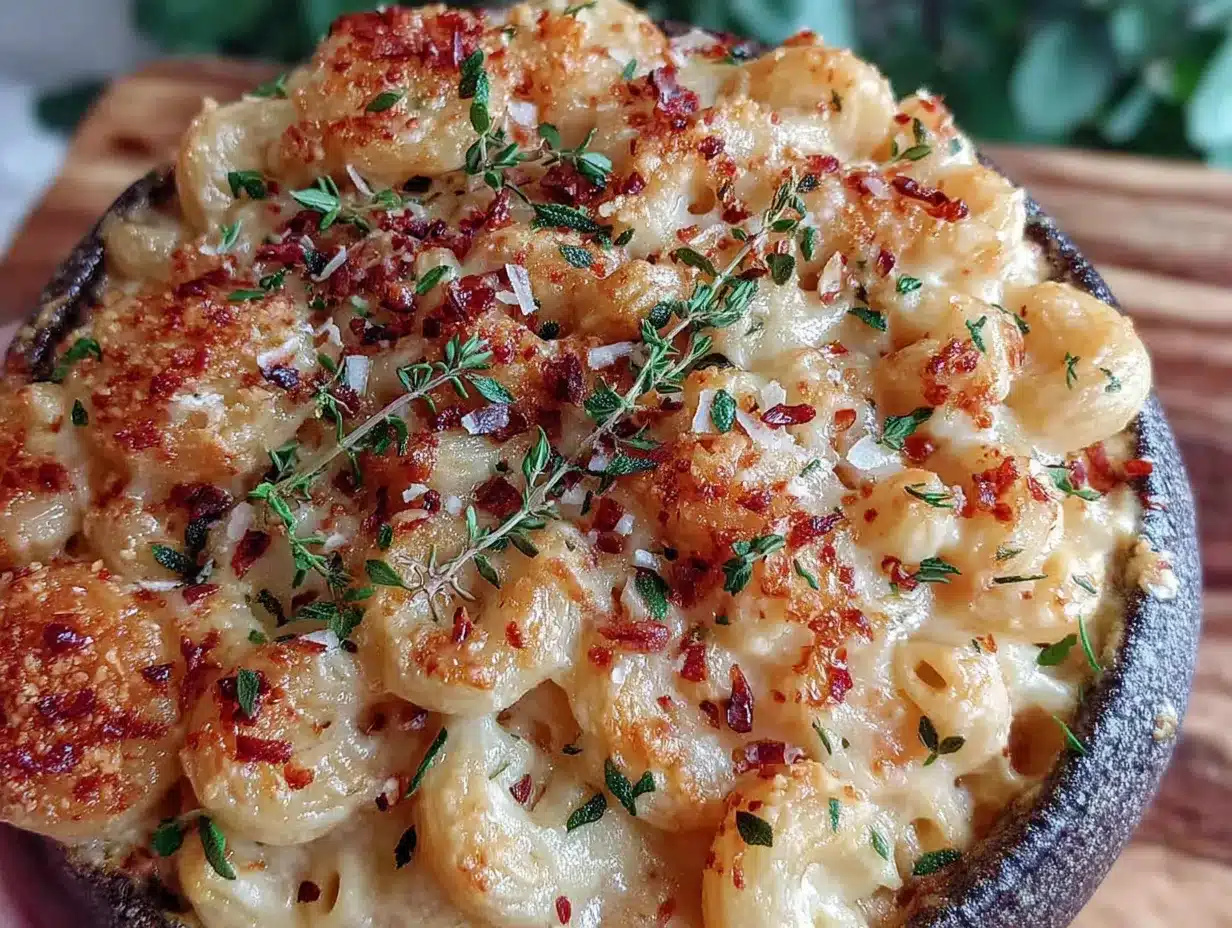
- 1 pound short pasta (elbow macaroni, cavatappi, or shells work great—I love cavatappi for its ridges that hold sauce)
- Salt for pasta water (it should taste like the sea—this is your only chance to season the pasta from within)
For the Creamy Cheese Sauce
- 3 tablespoons unsalted butter
- 3 tablespoons all-purpose flour (use a gluten-free blend if needed)
- 2 cups whole milk (warm—this prevents lumps; use 2% if you prefer, but whole milk gives the creamiest result)
- 1 cup heavy cream (or substitute with half-and-half for a lighter version)
- 2 cups sharp cheddar cheese, shredded (I recommend Tillamook or Cabot for best melting)
- 1 cup Gruyère cheese, shredded (or substitute with more cheddar or Monterey Jack)
- 1/2 cup Parmesan cheese, grated (adds a salty, nutty finish)
- 1 teaspoon Dijon mustard (don’t skip this—it brightens the whole sauce)
- 1/4 teaspoon nutmeg (freshly grated if possible—it’s a game-changer)
- Salt and pepper to taste
For the Topping
- 1/2 cup panko breadcrumbs (regular or gluten-free)
- 2 tablespoons unsalted butter, melted
- 1/4 cup Parmesan cheese, grated
- Fresh thyme or parsley for garnish (optional but pretty)
Ingredient Tips: Look for a butternut squash that feels heavy for its size with firm, unblemished skin. If you’re short on time, you can use pre-cubed squash from the grocery store—just make sure the pieces are uniform in size. For the cheese, always shred it yourself from a block. Pre-shredded cheese has anti-caking agents that prevent smooth melting. Trust me on this one—I learned the hard way.
Equipment Needed
You don’t need a fancy kitchen to make this recipe. Here’s what you’ll need:
- Baking sheet (for roasting the squash—rimmed is best to catch any juices)
- Large pot (for boiling pasta and making the sauce)
- Blender or food processor (an immersion blender works too, but a regular blender gives the smoothest result)
- 9×13-inch baking dish (or a similar 3-quart casserole dish)
- Whisk (for the sauce—a silicone whisk is gentle on nonstick pots)
- Wooden spoon or spatula
- Box grater or food processor with shredding disc (for shredding cheese)
- Small bowl (for mixing the topping)
If you don’t have a blender, you can mash the roasted squash with a potato masher until very smooth. It won’t be as silky, but it’ll still taste amazing. And if you’re missing a 9×13 dish, you can use two smaller dishes or even a cast-iron skillet—just adjust the baking time slightly.
I’ve made this recipe with a $20 blender from a discount store, and it worked perfectly. Don’t let fancy equipment stop you from trying this dish.
Preparation Method
- Preheat your oven to 400°F (200°C). Line a baking sheet with parchment paper or foil for easy cleanup.
- Roast the butternut squash. Toss the cubed squash with olive oil, salt, pepper, and smoked paprika. Spread it in a single layer on the prepared baking sheet. Roast for 25-30 minutes, flipping halfway through, until the squash is tender and lightly caramelized at the edges. It should be fork-tender—you should be able to pierce a piece easily.
- While the squash roasts, start the pasta. Bring a large pot of salted water to a boil. Add the pasta and cook until al dente, about 1-2 minutes less than the package directions. You want it slightly firm because it will continue cooking in the oven. Reserve 1 cup of pasta water before draining—this is liquid gold for adjusting sauce consistency later.
- Make the cheese sauce base. In the same pot (or a large saucepan), melt the butter over medium heat. Whisk in the flour and cook for 1-2 minutes, stirring constantly. This is your roux, and it should smell slightly nutty but not brown. Slowly pour in the warm milk while whisking continuously to prevent lumps. Add the heavy cream and continue whisking until the mixture thickens, about 3-4 minutes. It should coat the back of a spoon.
- Blend the squash into the sauce. Transfer the roasted squash to a blender. Pour the warm milk mixture over the squash. Add the Dijon mustard, nutmeg, and a pinch of salt. Blend on high until completely smooth and velvety—about 30-60 seconds. Be careful with hot liquids in a blender; remove the center cap from the lid and cover with a towel to let steam escape.
- Finish the sauce with cheese. Pour the blended squash mixture back into the pot over low heat. Gradually add the shredded cheddar, Gruyère, and Parmesan, stirring constantly until completely melted and smooth. Taste and adjust seasoning with salt and pepper. The sauce should be thick but pourable—if it’s too thick, stir in some reserved pasta water a tablespoon at a time.
- Combine pasta and sauce. Add the drained pasta to the pot with the cheese sauce. Stir gently until every piece of pasta is coated. The sauce will seem a little loose, but it will thicken as it bakes. Pour the mixture into a greased 9×13-inch baking dish and spread it evenly.
- Prepare the topping. In a small bowl, mix the panko breadcrumbs with melted butter and grated Parmesan. Sprinkle this mixture evenly over the mac and cheese. For extra crunch, you can add a pinch of paprika or garlic powder to the breadcrumbs.
- Bake until golden and bubbly. Place the dish in the preheated oven and bake for 20-25 minutes, until the top is golden brown and the edges are bubbling. If the top browns too quickly, tent loosely with foil for the last 10 minutes.
- Rest before serving. Let the mac and cheese sit for 5-10 minutes after coming out of the oven. This allows the sauce to set slightly, making it easier to serve. Garnish with fresh thyme or parsley if desired.
Pro Tip: When you blend the hot squash and milk mixture, work in batches if your blender is small. I once overfilled mine and ended up with squash puree on my ceiling. Learn from my mistake—half-full blender, towel over the lid, and blend with care.
Cooking Tips & Techniques
After making this recipe more times than I can count, I’ve picked up a few tricks that make a real difference.
Don’t overcook the pasta. This is probably the most common mistake. If you cook the pasta fully before baking, it will turn mushy in the oven. Aim for al dente—firm to the bite—and let the oven finish the job. I’ve ruined more than a few batches by getting distracted and letting the pasta go too long.
Shred your own cheese. I know it’s tempting to buy the pre-shredded bags, but they contain cellulose and anti-caking agents that prevent smooth melting. Your sauce will be grainy instead of silky. Take the extra five minutes to shred a block of cheddar—your taste buds will thank you.
Warm your milk before adding it to the roux. Cold milk will seize up the roux and create lumps. I microwave my milk for about 45 seconds before whisking it in. This small step saves you from a lumpy sauce every single time.
Toast the breadcrumbs for extra flavor. Before mixing them with butter, toast the panko in a dry skillet over medium heat for 2-3 minutes until golden. This adds a nutty flavor that takes the topping to another level. I stumbled onto this trick when I forgot to buy fresh breadcrumbs and had to toast stale ones—now I do it on purpose.
Let it rest. This is the hardest tip to follow because the kitchen smells incredible. But if you serve mac and cheese straight from the oven, the sauce will be runny. Give it 5-10 minutes to set, and you’ll get those perfect, creamy slices that hold their shape.
Variations & Adaptations
One of the best things about this recipe is how adaptable it is. Here are some variations I’ve tried and loved:
Gluten-Free Version: Use gluten-free pasta and swap the all-purpose flour for a 1:1 gluten-free blend or cornstarch. For the topping, use gluten-free panko or crushed pork rinds for a low-carb option. The sauce works perfectly—just be patient with the gluten-free flour as it thickens a bit slower.
Add Protein: Stir in 2 cups of shredded rotisserie chicken, cooked bacon crumbles, or crispy pancetta before baking. I made this for a Super Bowl party with shredded chicken and it disappeared in minutes. You can also add Italian sausage or ground turkey for a heartier meal.
Vegetable Boost: Fold in 2 cups of steamed broccoli florets, sautéed spinach, or roasted Brussels sprouts before baking. The squash already adds one vegetable, so why not sneak in another? My kids don’t even notice the spinach when it’s mixed into the creamy sauce.
Spicy Kick: Add 1/2 teaspoon of cayenne pepper or red pepper flakes to the sauce, or mix in some diced jalapeños. I love this version with pepper jack cheese instead of Gruyère—it adds heat and creaminess at the same time.
Dairy-Free Adaptation: Use unsweetened oat milk or cashew milk instead of whole milk, and substitute vegan butter and cheese shreds. The squash helps create creaminess, so this adaptation works better than most dairy-free mac and cheese recipes. Just note that vegan cheese melts differently, so the texture will be slightly less stretchy.
Herb-Infused Version: Add fresh sage or rosemary to the butter before making the roux. I tried this last Thanksgiving and the earthy herbs paired beautifully with the sweet squash. Just remove the herb sprigs before adding the milk.
Serving & Storage Suggestions
This mac and cheese is best served warm, straight from the baking dish. The top should be golden and crispy, while the inside stays creamy and luscious. I like to garnish with fresh thyme leaves or a sprinkle of extra Parmesan for a finished look.
What to serve with it: This dish is hearty enough to be a main course, but it also pairs beautifully with a simple green salad dressed with lemon vinaigrette. The acidity cuts through the richness perfectly. For a complete meal, serve alongside roasted chicken, grilled sausages, or a crisp coleslaw. It’s also a fantastic side dish for Thanksgiving or holiday dinners.
Storage: Leftovers keep well in an airtight container in the refrigerator for up to 4 days. The flavors actually meld together overnight, making day-two mac and cheese even better. I often make a double batch just for leftovers.
Freezing: You can freeze this mac and cheese before or after baking. To freeze unbaked, assemble the dish completely but don’t add the topping. Cover tightly with foil and freeze for up to 3 months. When ready to bake, thaw overnight in the refrigerator, add the topping, and bake as directed. To freeze baked leftovers, portion into individual containers and freeze for up to 2 months.
Reheating: The best way to reheat is in the oven at 350°F for 15-20 minutes, covered with foil to prevent drying. For single servings, the microwave works in a pinch—just add a splash of milk and stir halfway through. I’ve found that reheating in a skillet with a little butter gives the bottom a nice crispy crust.
Flavor Development: Here’s something interesting—the squash flavor becomes more pronounced after a day in the fridge. The sweetness mellows and blends with the cheese, creating an even more complex taste. So don’t worry if you have leftovers; they might actually be better the next day.
Nutritional Information & Benefits
This mac and cheese is comfort food with a nutritional upgrade. Here’s an estimated breakdown per serving (based on 8 servings):
- Calories: ~480
- Protein: 22g
- Fat: 28g
- Carbohydrates: 38g
- Fiber: 4g
- Sugar: 8g (naturally occurring from squash and milk)
- Vitamin A: 180% of daily value (from butternut squash)
- Calcium: 35% of daily value
Health Benefits: Butternut squash is packed with vitamin A, vitamin C, and fiber, which support immune health and digestion. The squash also adds natural sweetness, allowing you to use less salt and still get incredible flavor. The cheese provides calcium and protein, while the whole milk and cream offer healthy fats that keep you satisfied.
Dietary Considerations: This recipe contains gluten and dairy. For gluten-free, use gluten-free pasta and flour. For dairy-free, use plant-based milk, butter, and cheese alternatives. The squash base makes dairy-free versions creamier than traditional mac and cheese recipes. This dish is vegetarian-friendly as written.
Allergen Note: Contains milk, wheat, and gluten. Always check your ingredient labels if cooking for someone with severe allergies.
From a wellness perspective, I love that this recipe lets me enjoy comfort food without the guilt. It’s a balanced dish that satisfies cravings while delivering real nutritional value. That’s a win in my book.
Conclusion
This Creamy Baked Butternut Squash Mac and Cheese has become a staple in my kitchen, and I have a feeling it will become one in yours too. It’s the kind of recipe that proves comfort food can be both indulgent and nourishing—no compromises needed.
What I love most about this dish is how it brings people together. I’ve served it at casual weeknight dinners, holiday gatherings, and potlucks, and every single time, someone asks for the recipe. It’s that good.
I encourage you to make this your own. Add your favorite mix-ins, adjust the cheese blend, or experiment with different toppings. Cooking is about making recipes work for you and your family. And honestly, this one is forgiving enough to handle whatever creative twists you throw at it.
So go ahead—roast that squash, shred that cheese, and get ready for the best mac and cheese of your life. And when you make it, I’d love to hear how it turned out. Drop a comment below and let me know what variations you tried, or share a photo of your creation. Happy cooking!
Frequently Asked Questions
Can I use frozen butternut squash instead of fresh?
Absolutely! Frozen butternut squash works perfectly. Just thaw it first, pat it dry to remove excess moisture, and roast it as directed. You might need to roast it a few minutes longer since frozen squash releases more water. The texture will be slightly softer, but the flavor is still fantastic.
Why did my cheese sauce turn out grainy?
Grainy cheese sauce usually happens for two reasons: the heat was too high, or you used pre-shredded cheese. Always melt cheese over low heat, and shred your own cheese from a block. Pre-shredded cheese contains anti-caking agents that prevent smooth melting. If your sauce does get grainy, try whisking in a splash of warm milk or cream to smooth it out.
Can I make this recipe ahead of time?
Yes! You can assemble the entire dish (without the topping) up to 24 hours in advance. Cover and refrigerate. When you’re ready to bake, add the topping and bake as directed, adding an extra 5-10 minutes to the baking time since the dish will be cold. This makes it perfect for holiday entertaining or busy weeknights.
What’s the best pasta shape for this recipe?
I recommend short, sturdy pasta shapes with ridges or curves that hold onto the sauce. Cavatappi, elbow macaroni, shells, rotini, or fusilli all work beautifully. Avoid long, thin pasta like spaghetti or linguine—they don’t hold the sauce as well and can become mushy during baking.
Can I skip the baking step and serve it as stovetop mac and cheese?
Definitely! If you prefer a quicker version, skip the baking and breadcrumb topping. Just combine the cooked pasta with the cheese sauce and serve immediately. The texture will be creamier and less firm, but it’s just as delicious. For a stovetop version, you might want to use a bit less milk since there’s no oven time to thicken the sauce.
Pin This Recipe!
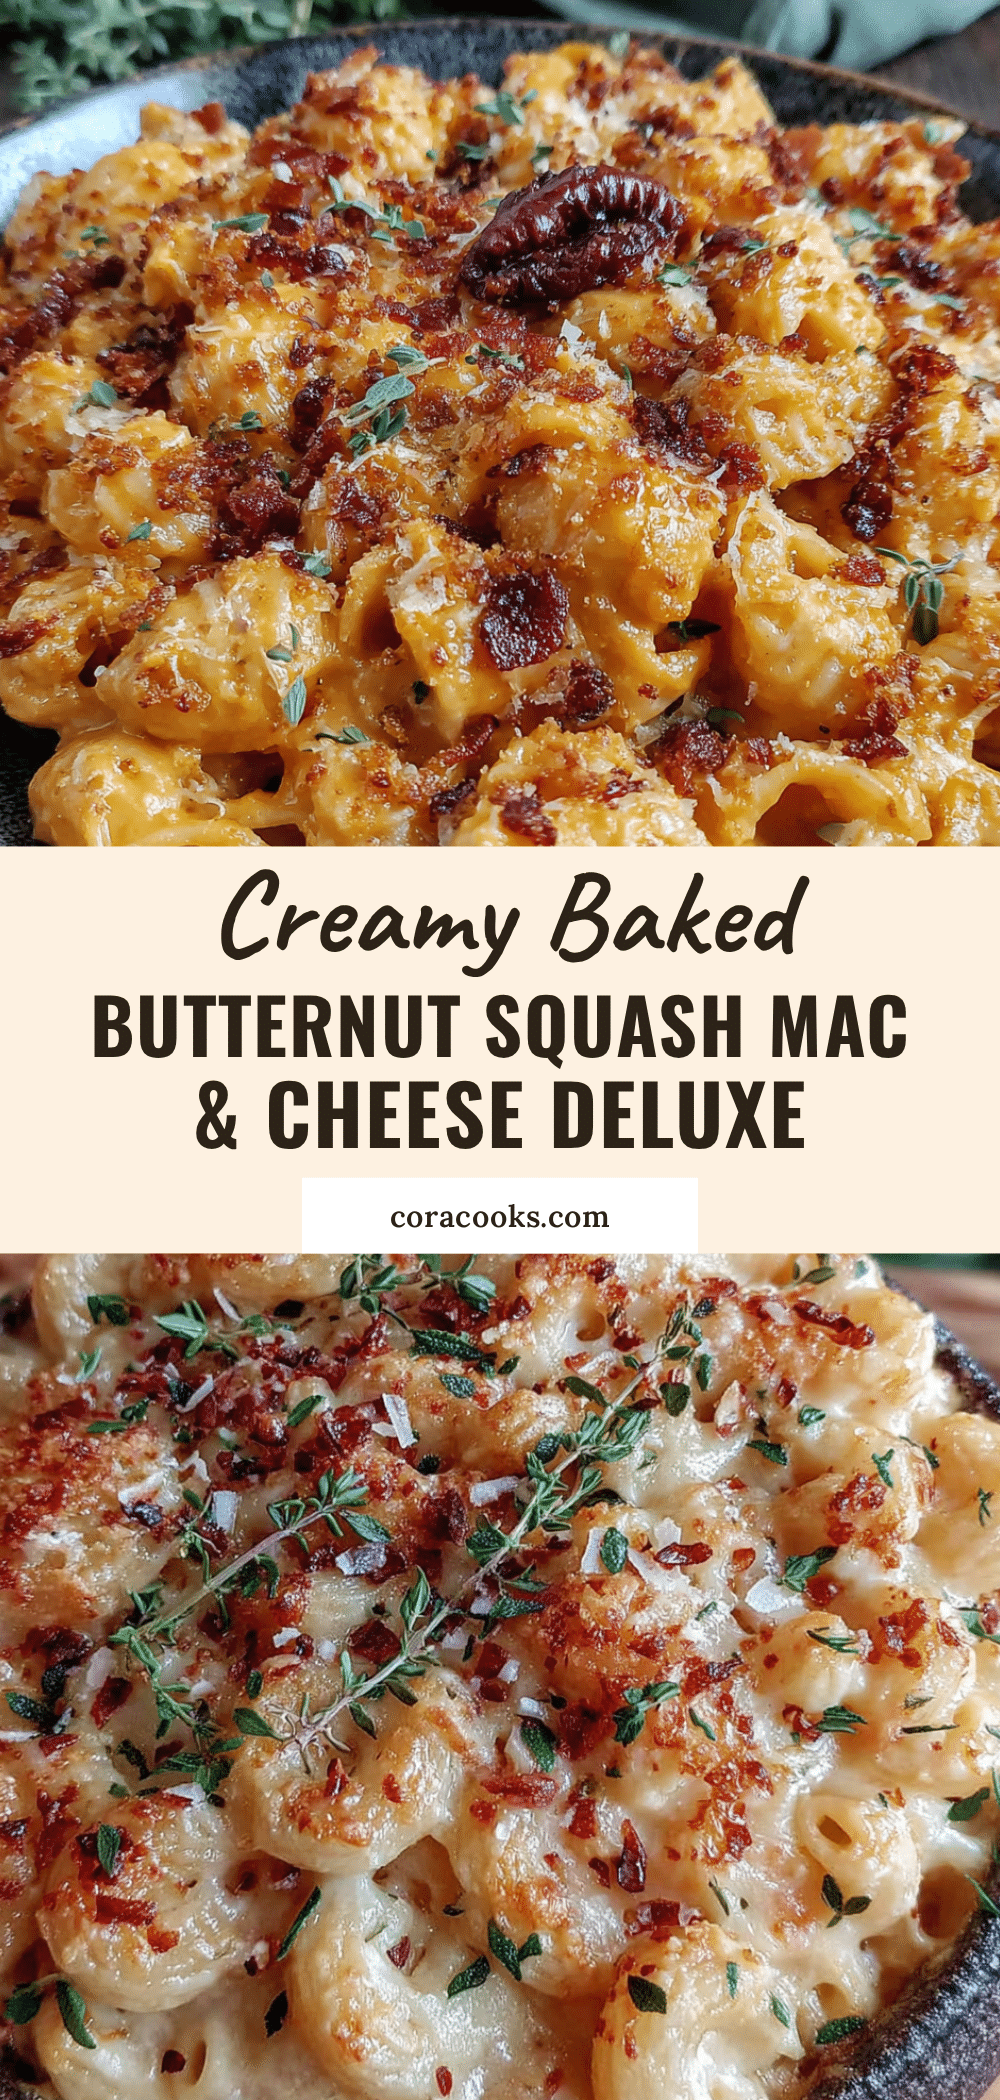
Creamy Baked Butternut Squash Mac and Cheese
This creamy baked mac and cheese features roasted butternut squash blended directly into the cheese sauce for a velvety texture and natural sweetness. It’s a quick, easy, and crowd-pleasing comfort food that comes together in about 45 minutes.
- Prep Time: 15 minutes
- Cook Time: 30 minutes
- Total Time: 45 minutes
- Yield: 8 servings 1x
- Category: Main Course
- Cuisine: American
Ingredients
- 1 medium butternut squash (about 2–3 pounds), peeled, seeded, and cubed into 1-inch pieces
- 2 tablespoons olive oil
- 1/2 teaspoon salt
- 1/4 teaspoon black pepper
- 1/4 teaspoon smoked paprika (optional)
- 1 pound short pasta (elbow macaroni, cavatappi, or shells)
- Salt for pasta water
- 3 tablespoons unsalted butter
- 3 tablespoons all-purpose flour
- 2 cups whole milk, warm
- 1 cup heavy cream
- 2 cups sharp cheddar cheese, shredded
- 1 cup Gruyère cheese, shredded
- 1/2 cup Parmesan cheese, grated
- 1 teaspoon Dijon mustard
- 1/4 teaspoon nutmeg
- Salt and pepper to taste
- 1/2 cup panko breadcrumbs
- 2 tablespoons unsalted butter, melted
- 1/4 cup Parmesan cheese, grated
- Fresh thyme or parsley for garnish (optional)
Instructions
- Preheat your oven to 400°F (200°C). Line a baking sheet with parchment paper or foil.
- Toss the cubed butternut squash with olive oil, salt, pepper, and smoked paprika. Spread in a single layer on the prepared baking sheet. Roast for 25-30 minutes, flipping halfway, until tender and lightly caramelized.
- While the squash roasts, bring a large pot of salted water to a boil. Cook the pasta until al dente, about 1-2 minutes less than package directions. Reserve 1 cup of pasta water before draining.
- In the same pot, melt the butter over medium heat. Whisk in the flour and cook for 1-2 minutes. Slowly pour in the warm milk while whisking continuously. Add the heavy cream and continue whisking until the mixture thickens, about 3-4 minutes.
- Transfer the roasted squash to a blender. Pour the warm milk mixture over the squash. Add the Dijon mustard, nutmeg, and a pinch of salt. Blend on high until smooth, about 30-60 seconds. (Remove blender center cap and cover with a towel to let steam escape.)
- Pour the blended squash mixture back into the pot over low heat. Gradually add the shredded cheddar, Gruyère, and Parmesan, stirring until melted and smooth. Season with salt and pepper. If too thick, stir in reserved pasta water a tablespoon at a time.
- Add the drained pasta to the pot and stir until coated. Pour into a greased 9×13-inch baking dish.
- In a small bowl, mix panko breadcrumbs with melted butter and grated Parmesan. Sprinkle evenly over the mac and cheese.
- Bake for 20-25 minutes, until the top is golden brown and the edges are bubbling. If browning too quickly, tent with foil for the last 10 minutes.
- Let rest for 5-10 minutes before serving. Garnish with fresh thyme or parsley if desired.
Notes
Shred your own cheese for smooth melting. Warm the milk before adding to the roux to prevent lumps. Let the mac and cheese rest for 5-10 minutes after baking to allow the sauce to set. For a gluten-free version, use gluten-free pasta and flour. For a dairy-free version, use plant-based milk, butter, and cheese alternatives.
Nutrition
- Serving Size: 1 serving
- Calories: 480
- Sugar: 8
- Sodium: 680
- Fat: 28
- Saturated Fat: 16
- Carbohydrates: 38
- Fiber: 4
- Protein: 22
Keywords: butternut squash mac and cheese, baked mac and cheese, creamy mac and cheese, fall comfort food, vegetarian mac and cheese


