Love this? Save it for later!
Share the inspiration with your friends
I was staring into the abyss of my pantry, trying to convince myself that the sad, single sleeve of crackers and a forgotten block of cheddar could somehow become dinner. It was one of those weeks—you know the ones. The fridge was a landscape of condiment jars and half-empty takeout containers, and the kids were circling like hungry little sharks. I grabbed the salami I had bought for a fancy charcuterie board I never actually made, and a flash of pure, desperate inspiration hit me. Honestly, it was less about being a creative genius and more about avoiding another trip to the grocery store. I started slicing, arranging, and suddenly, I wasn’t just making a snack—I was unlocking a childhood memory.
You know that feeling when you open a Lunchable as a kid? That perfect, compartmentalized little tray of processed joy? My version was never going to be that, and that was the point. I didn’t have those little square crackers or the weirdly perfect cheese slice. What I did have was a cutting board, a sharp knife, and a very hungry family. The first batch was a mess—the salami was too thick, the crackers got soggy from the cheese, and I forgot the fruit entirely. It was a disaster in a bento box. But my kids didn’t care. They devoured it. And in that moment, I realized I had stumbled onto something better than the original. This wasn’t about recreating a processed product; it was about building a better, faster, and way more satisfying snack from the stuff you already have. This is how the best copycat Lunchable snack boxes were born in my kitchen, and honestly, I haven’t bought a store-bought version since.
Why You’ll Love This Recipe
These copycat Lunchable snack boxes are a total game-changer for anyone who loves a good, quick meal without the fuss. I have tested this concept about a dozen times with different cheeses, meats, and crackers, and I can confidently say this version with salami is the winner. It is the perfect blend of salty, savory, and satisfying.
- Ready in 5 Minutes: This is the ultimate speed recipe. No cooking, no heating, just slicing and arranging. It’s faster than ordering takeout and way cheaper.
- Simple, Real Ingredients: You control what goes in. No preservatives, weird fillers, or mystery meat. Just good salami, your favorite cheese, and crunchy crackers.
- Perfect for Busy Days: These boxes are lifesavers for lunchboxes, after-school snacks, road trips, picnics, or a lazy dinner when you just can’t.
- Totally Customizable: Don’t like salami? Swap it for turkey or ham. Want it vegetarian? Load it up with cheese and veggies. It’s your box, your rules.
- Crowd-Pleaser for All Ages: Seriously, from toddlers to grandparents, everyone loves a good snack box. It’s the kind of meal that makes people smile without any effort.
What makes this recipe different from just throwing stuff on a plate is the method. I learned the hard way that stacking wet ingredients on crackers ruins everything. The secret is in the layering and the little separations. This isn’t just another snack idea—it’s my best version. It’s the one I make for my kids on a Tuesday when I’m out of ideas, and it’s the one I pack for my own lunch when I want something that feels like a treat without the guilt. It’s comfort food reimagined—faster, fresher, and with the same satisfying crunch.
What Ingredients You Will Need
This recipe uses simple, pantry-friendly ingredients to deliver that perfect salty-savory-crunchy combo without any fuss. I always keep these staples on hand for emergency snack attacks. The beauty is in the balance—you want a good mix of textures and flavors.
- Salami (8 oz or 225g): I prefer a good quality hard salami or Genoa salami. Look for one that is pre-sliced at the deli for convenience, or buy a whole stick and slice it yourself for thicker pieces. I find that a slightly thicker slice (about 1/8 inch) holds up better and has a more satisfying chew. (Pro tip: Ask for a 1/4 inch slice at the deli counter and then cut those slices into quarters for perfect bite-sized pieces.)
- Cheddar Cheese (6 oz or 170g): Sharp cheddar is my go-to because its bold flavor stands up to the salami. Use a block and cut it into small cubes or thin rectangles. Pre-shredded cheese won’t work here—it’s too dry and doesn’t have the same satisfying texture. I recommend a good aged cheddar for the best flavor.
- Crackers (about 30-40 crackers): This is where you can really make it your own. I love using a mix of buttery round crackers (like Ritz) for richness and salty square crackers (like Club crackers) for crunch. Whole wheat or seeded crackers also work great for a healthier twist.
- Fresh Fruit (optional but recommended, 1 cup): A handful of red grapes, apple slices, or berries add a burst of sweetness that cuts through the saltiness of the meat and cheese. It makes the box feel more like a complete meal.
- Pickles or Olives (optional, 1/4 cup): A few cornichons (tiny pickles) or a couple of olives add a bright, briny pop that I absolutely love. It’s a small detail that makes a big difference.
- Dijon Mustard or Honey (for dipping, optional): A tiny container of mustard or a drizzle of honey takes this from a simple snack to a gourmet experience. I often pack a small silicone cup of honey for dipping the cheese.
Equipment Needed
You don’t need any fancy gadgets for this recipe, which is part of its charm. A sharp knife and a cutting board are really all you need. However, a few specific tools can make the process even smoother and more fun, especially if you are packing these for lunches.
- Sharp Chef’s Knife: A good, sharp knife makes slicing cheese and salami a breeze. A dull knife will just crush the salami and make a mess.
- Cutting Board: Use a dedicated cutting board for meat and cheese to avoid cross-contamination. I prefer a wooden board for cheese because it doesn’t dull the knife as much.
- Bento Boxes or Meal Prep Containers (4-6 containers): These are the stars of the show. Look for containers with separate compartments to keep the crackers from getting soggy. You can use anything from a classic bento box to a simple divided plastic container. I have a set of stainless steel ones that I love for their durability.
- Small Silicone Cups or Muffin Liners: Perfect for holding dips, honey, or small items like olives without them rolling around and mixing with everything else.
- Parchment Paper or Cupcake Liners: These are great for lining the compartments to make cleanup even faster and to add a cute touch to the presentation.
Preparation Method
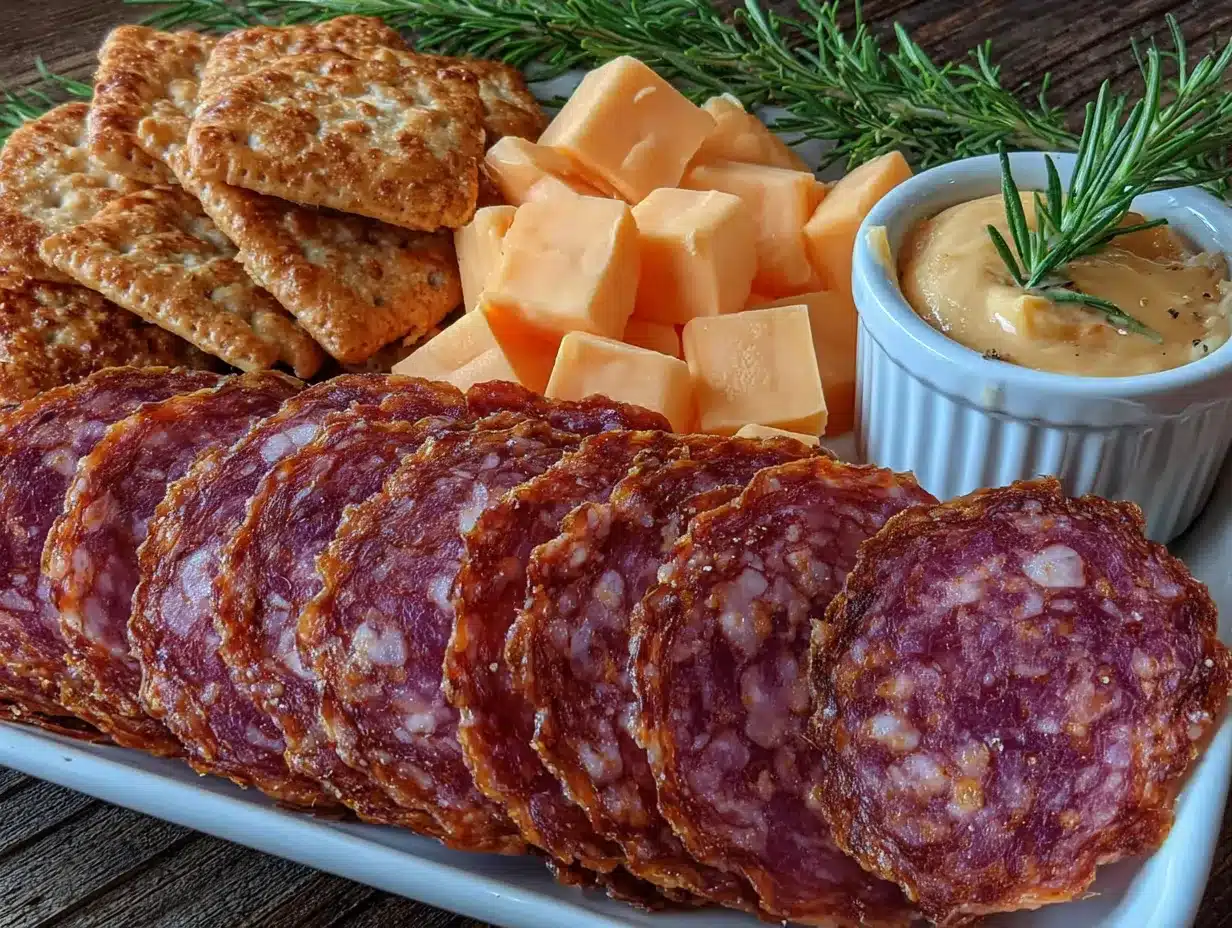
This is the easiest recipe you will ever make, but following these steps ensures your snack boxes stay fresh and crunchy all day long. The key is to work in an assembly line and keep wet and dry ingredients separate until the very last minute.
- Prepare the Salami (2 minutes): If you bought a whole salami stick, use your sharp knife to slice it into rounds about 1/8 to 1/4 inch thick. If you have pre-sliced salami from the deli, you can leave the slices whole or cut them into halves or quarters for smaller, bite-sized pieces. I like to cut my slices into quarters for a more “Lunchable” feel. Place the salami pieces into one compartment of your bento box.
- Cut the Cheese (2 minutes): Cut your block of cheddar into small cubes, about 1/2 inch in size. Alternatively, you can cut them into thin rectangles or use a small cookie cutter for fun shapes (the kids love this!). Place the cheese cubes into a separate compartment from the salami. This prevents them from sticking together.
- Prepare the Crackers (1 minute): Count out your crackers. I usually do about 6-8 crackers per box. Place them in a dry compartment. This is the most important step for texture—crackers must stay dry until you eat them. If your container doesn’t have a separate dry compartment, use a small paper cup or a piece of parchment paper to create a barrier.
- Add the Fresh Elements (2 minutes): Wash and dry your grapes or other fruit. Pat them completely dry with a paper towel—any moisture will make the crackers soggy. Place the fruit in another compartment. If using pickles or olives, add them to a small silicone cup to keep their brine away from the other ingredients.
- Assemble the Boxes (1 minute): Now, simply arrange all your prepared components into your bento box. Try to keep the crackers on top of everything else or in their own dry spot. If you are packing a dip, use a small container with a tight-fitting lid.
- Serve or Store: These boxes can be eaten immediately or stored in the refrigerator for up to 4 days. If you are packing for later, I highly recommend keeping the crackers separate and adding them just before serving to maintain their crunch.
Cooking Tips & Techniques
Even with a no-cook recipe, there are a few tricks I have learned the hard way that make a huge difference. I have had my fair share of soggy cracker disasters, and I am here to save you from the same fate.
The Soggy Cracker Problem: This is enemy number one. Crackers are like sponges for moisture. Never, ever put wet fruit or pickles in the same compartment as your crackers. Even a tiny bit of moisture from a grape can turn a perfectly good cracker into a sad, limp piece of cardboard. My rule is: dry ingredients in dry compartments, wet ingredients in their own little homes. Using small silicone cups for olives or pickles is a game-changer.
The Cheese Drying Out: If you are prepping these boxes for the week, the cheese can sometimes dry out and get a hard, unappealing rind. To prevent this, make sure your container has a good seal. You can also place a slightly damp paper towel in the container (not touching the cheese directly) to help maintain humidity. Another trick is to cut the cheese from a larger block each morning rather than cutting all of it at once.
Timing and Multitasking: The beauty of this recipe is that it takes 5 minutes. But if you are making 5 boxes for the week, you can save time by doing all the slicing at once. I like to cube all my cheese and slice all my salami in one go, then divide them into the containers. It’s a simple assembly line that takes less than 10 minutes for the whole week’s worth of lunches.
Variations & Adaptations
This recipe is a blank canvas, and I have had so much fun playing with different combinations. Don’t be afraid to swap things out based on what you have or what you’re craving. Here are a few of my favorite variations.
- The Italian Twist: Swap the cheddar for fresh mozzarella balls (bocconcini), use soppressata instead of salami, and add a few sun-dried tomatoes and a drizzle of balsamic glaze. It’s like an Italian antipasto plate in a box.
- The Turkey & Swiss: A lighter take that is perfect for lunch. Use thinly sliced deli turkey, cubes of Swiss cheese, and apple slices. A little Dijon mustard in a small cup completes the vibe.
- The Vegetarian Delight: Skip the meat entirely and double up on the cheese. Add roasted red peppers, marinated artichoke hearts, and some cucumber rounds. It’s incredibly fresh and satisfying.
- The Sweet & Savory: This is my personal favorite. Use sharp cheddar, salami, and then add a few dark chocolate chips or a square of dark chocolate. The combination of salty salami and rich, bitter chocolate is absolutely addictive.
- Gluten-Free Adaptation: Simply swap the regular crackers for your favorite gluten-free crackers or even crunchy vegetable sticks like bell peppers and celery. Everything else is naturally gluten-free.
Serving & Storage Suggestions
These snack boxes are best served cold or at room temperature. There is nothing to heat up, which is exactly what makes them so perfect for busy days. I love to serve them straight from the fridge on a hot afternoon, or I let them sit on the counter for 10 minutes to take the chill off the cheese before serving.
For presentation, I like to arrange the ingredients in a visually pleasing way. I place the salami slices in a fan pattern, the cheese cubes in a little pile, and the crackers in a neat row. It takes 10 extra seconds but makes the whole thing feel like a special treat rather than a random assortment of food.
Storage: These boxes will keep perfectly in the refrigerator for up to 4 days. The key is to keep the crackers in a separate bag or container and add them just before eating. If you store the crackers with the other ingredients, they will absorb moisture and lose their crunch. I also recommend patting any fruit dry before storing it to prevent excess moisture from building up in the container.
Freezing: I do not recommend freezing these boxes. The cheese will become crumbly and the texture of the salami will change. These are strictly a refrigerator-friendly meal.
Nutritional Information & Benefits
These snack boxes are naturally high in protein and healthy fats, making them a very satisfying and energy-sustaining meal. Because you control the portions and ingredients, you can easily adjust them to fit your dietary needs.
Estimated Nutritional Values (per box, with cheddar, salami, crackers, and grapes):
| Nutrient | Amount |
|---|---|
| Calories | 400-500 kcal |
| Protein | 22-28g |
| Fat | 28-35g |
| Carbohydrates | 25-30g |
| Fiber | 2-4g |
| Sugar | 10-15g (mostly from fruit) |
| Sodium | 800-1000mg (varies by meat) |
Health Benefits: Salami is a good source of protein and B vitamins, while cheddar provides calcium for strong bones. The fruit adds essential vitamins and antioxidants. This is a far more balanced and nutritious option than any store-bought lunch kit, which are often loaded with preservatives and unhealthy fats. From a wellness perspective, this is a meal that fuels your body without the processed junk.
Dietary Considerations: This recipe is naturally low-carb and keto-friendly if you skip the crackers. It can be made gluten-free with a simple swap. It is not suitable for a dairy-free diet unless you use a vegan cheese alternative.
Conclusion
Honestly, I never thought I would be so passionate about a snack box, but here we are. This recipe has genuinely made my life easier and my lunches way more enjoyable. It’s proof that you don’t need a complicated recipe or a ton of time to make something delicious and satisfying. It’s just good, real food, arranged in a way that makes you feel like you’re treating yourself.
I really hope you give these copycat Lunchable snack boxes a try. Don’t be afraid to make them your own—throw in whatever you have in the fridge. That’s the whole point. And when you do, I would love to hear about it! Drop a comment below and tell me what your favorite combination is. Did you try the sweet and savory version with chocolate? Or did you go all-in on the Italian twist? Let me know, and don’t forget to share this recipe with a friend who needs a little lunchbox inspiration. Happy snacking!
Frequently Asked Questions
Can I use a different type of meat instead of salami?
Absolutely! This recipe is super flexible. You can easily swap the salami for pepperoni, ham, turkey, roast beef, or even cooked chicken. Just make sure whatever you use is sliced thin and ready to eat.
How do I keep the crackers from getting soggy in the lunchbox?
This is the most important tip! Always store the crackers in a completely separate, dry compartment. If your lunchbox doesn’t have one, put the crackers in a small ziplock bag or wrap them in a paper towel before placing them in the box. Add them to the box right before you eat.
Can I make these snack boxes ahead of time for the whole week?
Yes, you can! These boxes will stay fresh in the refrigerator for up to 4 days. Just follow the rule of keeping the crackers separate until you are ready to eat. Assemble everything else, and you have grab-and-go lunches for days.
What are the best crackers to use for this recipe?
I love using buttery crackers like Ritz for their rich flavor, or salty Club crackers for extra crunch. Whole wheat crackers, water crackers, or even pretzel thins also work wonderfully. Just choose a cracker that is sturdy enough to hold up to the cheese and meat.
Is this recipe healthy for kids?
Yes, this is a much healthier alternative to store-bought lunch kits. You control the ingredients, so there are no preservatives or artificial flavors. It provides a good balance of protein, healthy fats, and carbohydrates, especially if you include fruit. It’s a win-win for parents and kids.
Pin This Recipe!
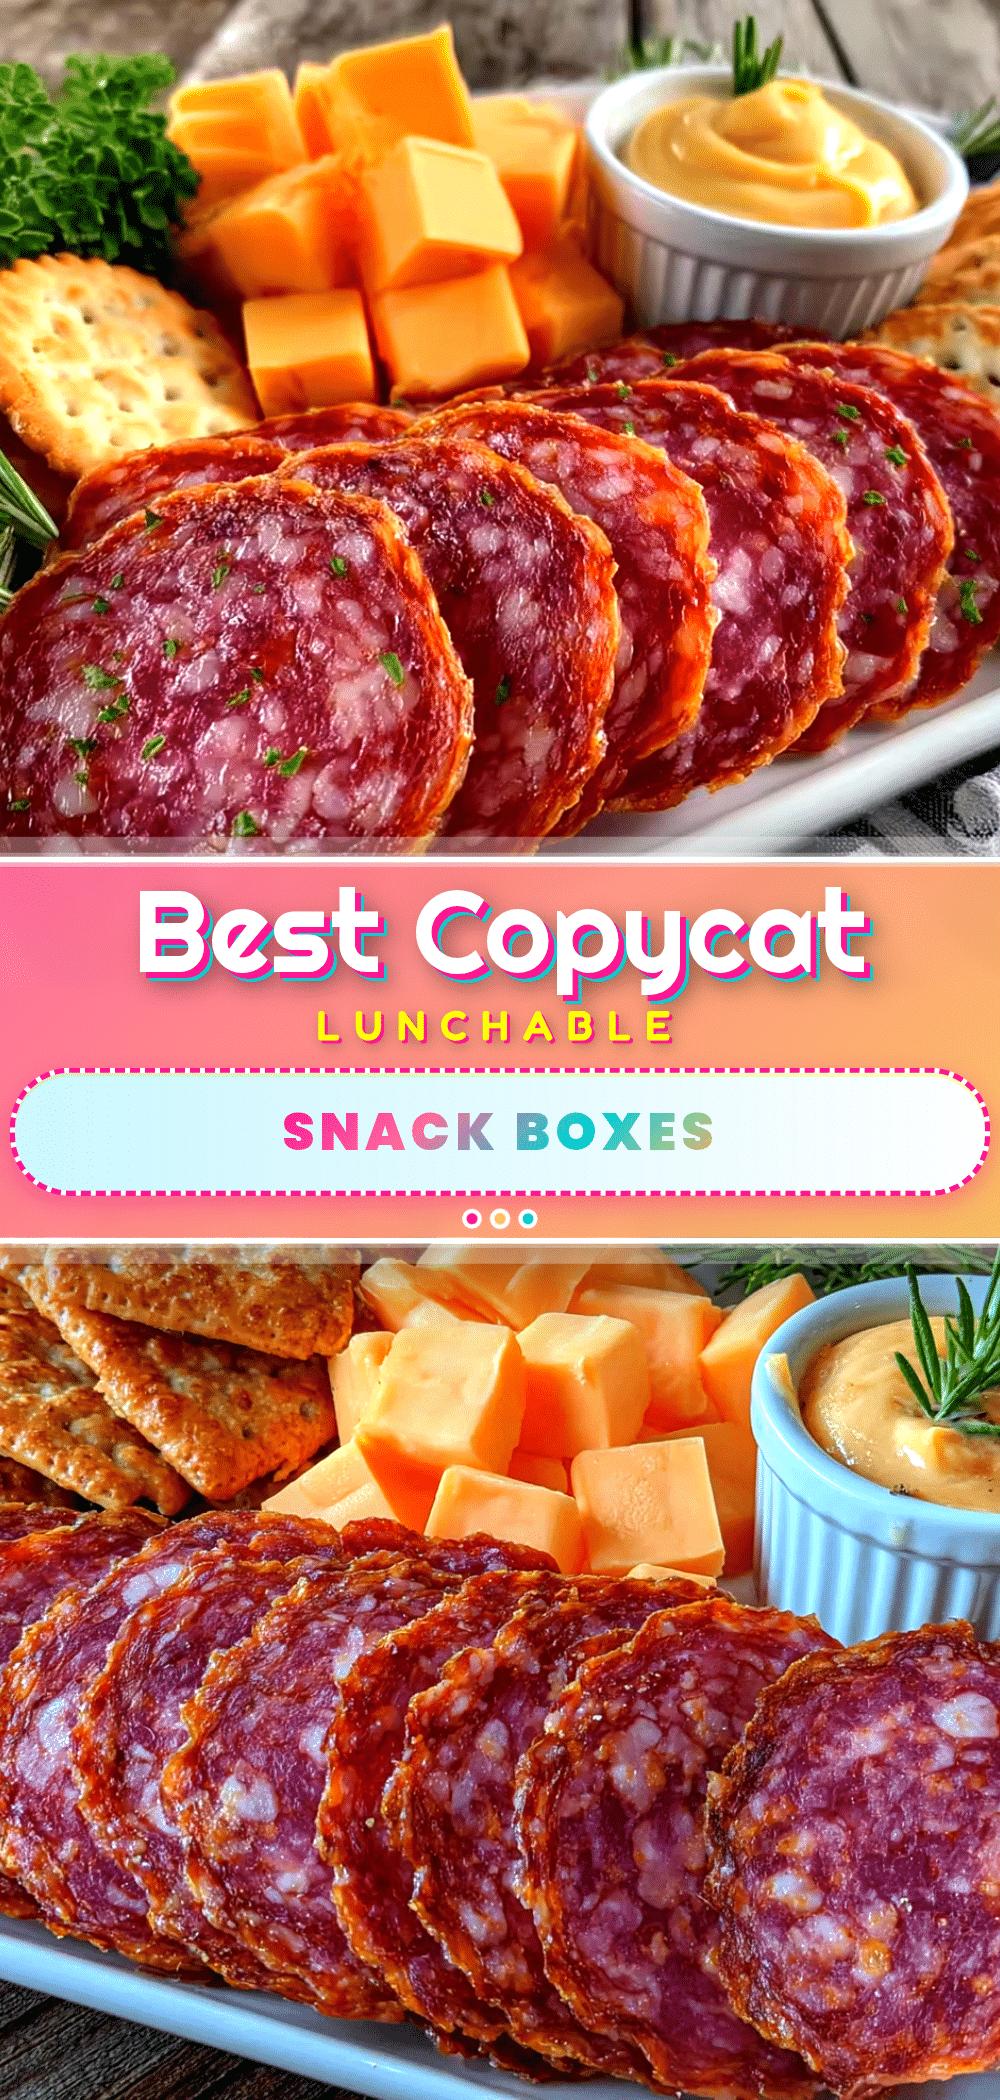
Best Copycat Lunchable Snack Boxes Easy 5-Minute Recipe

These copycat Lunchable snack boxes are a total game-changer for anyone who loves a good, quick meal without the fuss. Ready in 5 minutes, they are the perfect blend of salty, savory, and satisfying.
- Prep Time: 5 minutes
- Cook Time: 0 minutes
- Total Time: 5 minutes
- Yield: 4-6 servings 1x
- Category: Snack
- Cuisine: American
Ingredients
- 8 oz (225g) salami (hard salami or Genoa salami)
- 6 oz (170g) sharp cheddar cheese
- 30–40 crackers (e.g., Ritz or Club crackers)
- 1 cup fresh fruit (red grapes, apple slices, or berries)
- 1/4 cup pickles or olives (optional)
- Dijon mustard or honey for dipping (optional)
Instructions
- Prepare the Salami (2 minutes): If you bought a whole salami stick, slice it into rounds about 1/8 to 1/4 inch thick. If using pre-sliced salami, leave whole or cut into halves or quarters. Place salami pieces into one compartment of your bento box.
- Cut the Cheese (2 minutes): Cut the block of cheddar into small cubes, about 1/2 inch in size, or into thin rectangles. Place cheese cubes into a separate compartment from the salami.
- Prepare the Crackers (1 minute): Count out 6-8 crackers per box. Place them in a dry compartment. If your container doesn’t have a separate dry compartment, use a small paper cup or parchment paper to create a barrier.
- Add the Fresh Elements (2 minutes): Wash and dry your fruit completely. Pat dry with a paper towel. Place fruit in another compartment. If using pickles or olives, add them to a small silicone cup to keep brine away from other ingredients.
- Assemble the Boxes (1 minute): Arrange all prepared components into your bento box, keeping crackers on top or in their own dry spot. If packing a dip, use a small container with a tight-fitting lid.
- Serve or Store: Eat immediately or store in the refrigerator for up to 4 days. For later, keep crackers separate and add just before serving.
Notes
Keep crackers completely separate from wet ingredients to prevent sogginess. For best texture, add crackers just before serving. Cheese can be cut from a larger block each morning to prevent drying out. These boxes can be stored in the refrigerator for up to 4 days.
Nutrition
- Serving Size: 1 box
- Calories: 400500
- Sugar: 1015
- Sodium: 8001000
- Fat: 2835
- Saturated Fat: 1215
- Carbohydrates: 2530
- Fiber: 24
- Protein: 2228
Keywords: copycat lunchable, snack boxes, 5-minute recipe, no-cook, lunchbox, meal prep, kid-friendly