Love this? Save it for later!
Share the inspiration with your friends
This was supposed to be a batch of oatmeal cookies. I had the butter softening on the counter, the brown sugar measured out, and my favorite cookie sheet ready to go. But somewhere between answering a text from my sister and helping my kid find a missing shoe, the butter sat too long. It was practically a puddle. And honestly? I was already running late for a meeting. I looked at that sad, overly soft butter, then at the clock, then back at the butter. The oven wasn’t happening.
In a moment of pure laziness—I mean, resourcefulness—I started tossing things into a bowl. Oats, peanut butter, a scoop of protein powder I had been meaning to use, a drizzle of honey. I mixed it all with a wooden spoon, thinking I’d just eat the raw dough as a desperate snack. But the texture was… weirdly perfect. It held together like a dream. I rolled it into little balls, stuck them in the fridge, and forgot about them. Later that afternoon, starving and grumpy, I grabbed one. That first bite stopped me mid-chew. It was chewy, sweet, and packed with peanut butter flavor. It was a happy accident, plain and simple. Maybe you’ve been there—a kitchen fail that turns into a win. These Easy No-Bake Peanut Butter Protein Balls are that win, and I’ve been making them every week since. They’re the recipe I didn’t plan, but the one I can’t stop making.
Why You’ll Love This Recipe
Let me tell you why these protein balls have become a staple in my kitchen. They aren’t just another healthy snack recipe—they are the solution to that 3 PM slump when you need something fast and satisfying.
- Quick & Easy: These come together in about five minutes. No joke. No oven, no mixer, no fancy techniques. Just a bowl and a spoon.
- Simple Ingredients: You probably have most of these in your pantry right now. No weird superfoods or expensive specialty items. Just honest, good food.
- Perfect for Meal Prep: Make a batch on Sunday, and you have grab-and-go snacks for the whole week. They’re a lifesaver for busy mornings or post-workout refueling.
- Crowd-Pleaser: My kids devour these. My husband packs them in his lunch. Even my neighbor, who swears she doesn’t like “healthy stuff,” asked for the recipe.
- Unbelievably Delicious: The texture is perfectly chewy, and the peanut butter flavor is rich and satisfying. It tastes like a treat, not a compromise.
What makes this version different from the dozens of protein ball recipes out there? It’s the ratio. I’ve tested this about a dozen times to get the perfect balance where they hold together without being dry or crumbly. The secret is using a mix of creamy peanut butter and a touch of honey, which gives them just the right amount of stickiness. This isn’t just another recipe—it’s the one that actually works every single time.
What Ingredients You Will Need
This recipe uses simple, wholesome ingredients that work together to create a snack that’s both satisfying and good for you. Most of these are pantry staples, which makes this recipe incredibly easy to whip up anytime a craving hits.
- 1 cup old-fashioned rolled oats: These provide the bulk and chewy texture. I prefer old-fashioned oats over quick oats because they give a better, heartier bite. Gluten-free certified oats work perfectly if needed.
- 1/2 cup creamy peanut butter: This is the glue that holds everything together. I use a natural peanut butter with no added sugar or oil for the best results. Brands like Crazy Richard’s or Smucker’s Natural work great. If your peanut butter is very oily, stir it well before measuring.
- 1/3 cup honey or maple syrup: This adds natural sweetness and helps bind the mixture. Honey gives a classic flavor, while maple syrup adds a slightly different, warmer sweetness. Both work beautifully.
- 1/4 cup vanilla protein powder: This bumps up the protein content and adds a subtle vanilla flavor. I recommend a whey or plant-based protein powder that you enjoy the taste of. A chocolate protein powder would also be delicious here.
- 1/4 cup ground flaxseed or chia seeds: These add fiber, healthy fats, and help with binding. Ground flaxseed is almost flavorless, while chia seeds add a tiny bit of texture. Either is a great choice.
- 1/4 cup dark chocolate chips (optional but highly recommended): Because everything is better with chocolate. Mini chocolate chips distribute more evenly, but regular-sized ones work too. Use dairy-free chocolate chips if needed.
- 1/2 teaspoon vanilla extract: This enhances all the other flavors and makes the protein balls taste more like a dessert.
- Pinch of sea salt: Salt balances the sweetness and makes the peanut butter flavor pop. Don’t skip it.
Equipment Needed
You don’t need a fully stocked kitchen to make these protein balls. That’s part of the beauty. Here’s what you’ll need:
- Large mixing bowl: Any medium-to-large bowl will do. I use my favorite ceramic one, but glass or stainless steel works just as well.
- Measuring cups and spoons: Accurate measurements matter here, especially for the peanut butter and honey. Using the right amounts ensures the balls hold together.
- Rubber spatula or wooden spoon: A sturdy spoon is best for mixing the thick dough. A rubber spatula also works great for scraping the bowl clean.
- Baking sheet or plate: You’ll need a flat surface to place the rolled balls on before they go into the fridge. A small baking sheet lined with parchment paper is ideal.
- Parchment paper (optional): This makes cleanup a breeze and prevents sticking. Wax paper works too.
- Cookie scoop (optional but helpful): A small cookie scoop, about 1 tablespoon in size, helps create evenly sized protein balls. If you don’t have one, just use your hands.
Pro tip: If your hands get sticky while rolling the balls, dampen them slightly with water. It makes the process much smoother and less messy.
Preparation Method
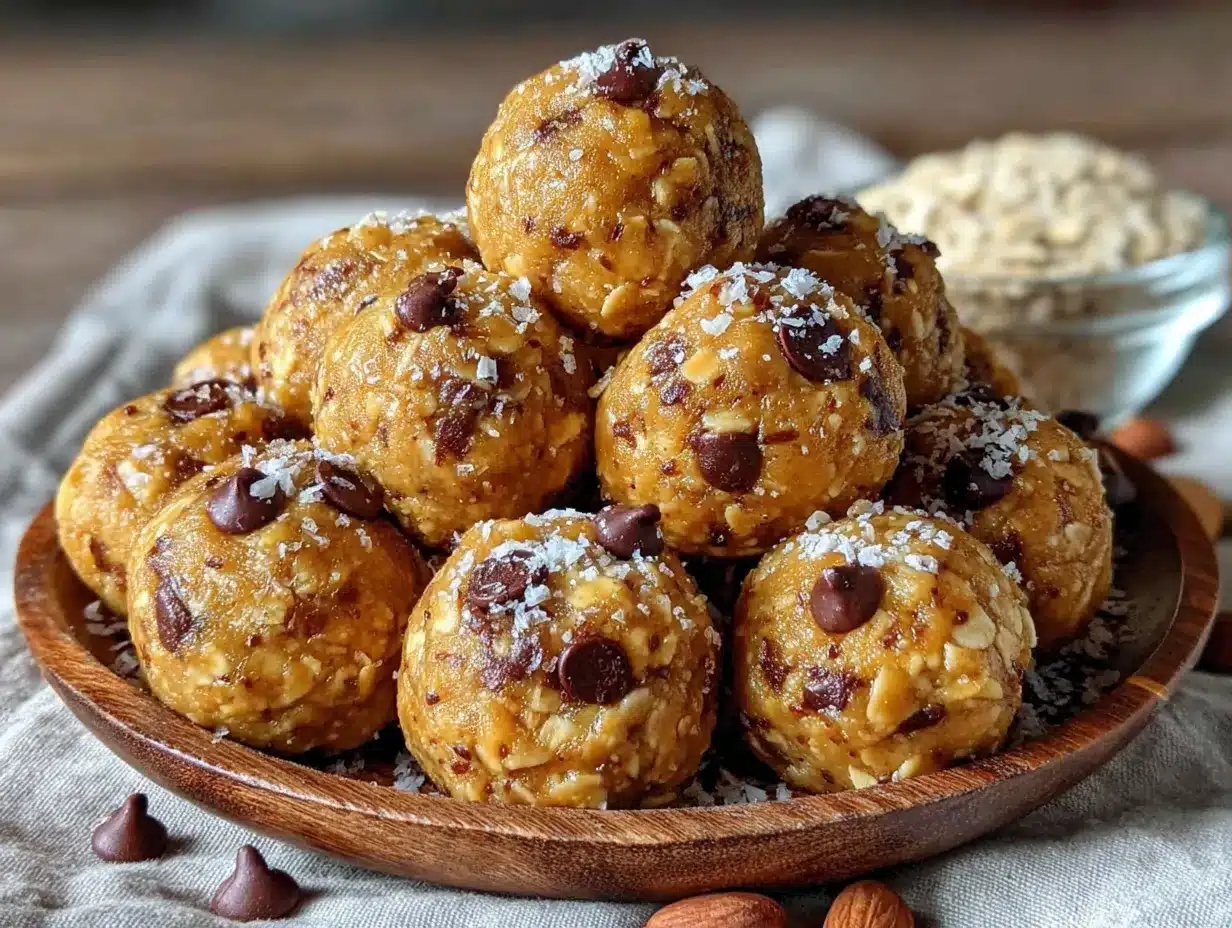
This is the easiest part. Follow these steps, and you’ll have a batch of protein balls ready in no time.
- Combine the dry ingredients: In your large mixing bowl, add the rolled oats, protein powder, ground flaxseed (or chia seeds), and a pinch of sea salt. Give them a quick stir with your spoon to distribute everything evenly. This step ensures the protein powder doesn’t clump later.
- Add the wet ingredients: Spoon the creamy peanut butter into the bowl. Add the honey (or maple syrup) and the vanilla extract. Don’t worry if it looks messy at this point—it will all come together.
- Mix until combined: Using your rubber spatula or wooden spoon, stir everything together vigorously. At first, it will seem dry and crumbly. Keep mixing. Press the mixture against the sides of the bowl as you go. After about a minute, it will suddenly come together into a thick, cohesive dough. This is the moment it all clicks.
- Fold in the chocolate chips: Once the dough is well combined, add the dark chocolate chips. Fold them in gently until they are evenly distributed throughout the mixture. The dough will be thick and slightly sticky, which is perfect.
- Chill the mixture (optional but helpful): If the dough feels too sticky to handle, pop the bowl in the refrigerator for 15-20 minutes. This firms up the peanut butter and makes rolling much easier. I usually skip this step if I’m in a hurry, but it’s a helpful trick if your kitchen is warm.
- Roll into balls: Line a baking sheet or plate with parchment paper. Using your hands or a small cookie scoop, scoop out about 1 tablespoon of the dough. Roll it between your palms to form a smooth ball. Place it on the prepared baking sheet. Repeat with the remaining dough. You should get about 16-18 balls, depending on the size.
- Chill to set: Place the baking sheet with the protein balls in the refrigerator for at least 30 minutes. This allows them to firm up and hold their shape. They will be slightly soft but should hold together well when you pick them up.
The mixture should feel slightly tacky but not wet. If it’s too dry and crumbly, add a teaspoon of honey or peanut butter. If it’s too sticky, add a tablespoon more oats. Trust your hands—they’ll tell you what the dough needs.
Cooking Tips & Techniques
I’ve made enough batches of these to know where things can go sideways. Here are the lessons I learned the hard way, so you don’t have to.
Don’t overmix, but don’t undermix. This sounds contradictory, but here’s the deal: you need to mix until the dough is uniform and holds together when pressed. If you stop too soon, you’ll have dry spots and crumbly balls. If you go overboard, the oats can get mushy. Mix until it just comes together—about a minute of solid stirring.
Watch your peanut butter consistency. Natural peanut butters vary widely. Some are super runny, others are thick and stiff. If your peanut butter is very runny, the dough may be too wet. Add an extra tablespoon of oats to compensate. If it’s thick and dry, add a teaspoon of honey or a splash of milk to loosen things up.
Use the fridge trick for sticky hands. This is my favorite tip. If the dough sticks to your palms while rolling, lightly wet your hands with cold water. The moisture creates a barrier, and the dough won’t stick as much. It’s a game-changer.
Let them rest. I know it’s tempting to eat one right away—and you can! But they truly taste better after they’ve chilled for an hour. The flavors meld together, and the texture becomes perfectly chewy. Patience pays off here.
Scale the recipe easily. This recipe doubles beautifully. I often make a double batch on Sunday and keep them in the fridge for the whole week. Just make sure you have a large enough bowl to mix everything.
Variations & Adaptations
One of the best things about this recipe is how flexible it is. Here are some ways to make it your own.
Chocolate Peanut Butter Dream: Use chocolate protein powder instead of vanilla, and add an extra tablespoon of cocoa powder. The result is a rich, fudgy protein ball that tastes like a brownie. I made this version for a friend who loves chocolate, and she said it was “dangerously good.”
Almond Joy Inspired: Swap the peanut butter for almond butter, use honey, and add shredded coconut and chopped almonds. The combination of coconut and almond is absolutely lovely. This is my go-to when I want something a little different.
Vegan & Gluten-Free: Use certified gluten-free oats and a plant-based protein powder. Replace the honey with maple syrup to keep it vegan. Everything else is naturally vegan and gluten-free. This version works perfectly and tastes just as delicious.
Spiced Pumpkin: During fall, I love adding 1/4 cup of pumpkin puree, 1/2 teaspoon of pumpkin pie spice, and reducing the peanut butter by a tablespoon. The pumpkin adds moisture and a seasonal twist. These are a hit at holiday gatherings.
Crunchy Texture: Replace the chocolate chips with chopped nuts like pecans, walnuts, or almonds. You can also add a tablespoon of hemp seeds or sunflower seeds for extra crunch and nutrition. This adds a wonderful texture contrast.
Serving & Storage Suggestions
These protein balls are incredibly versatile when it comes to serving and storing.
Serving: Enjoy them straight from the fridge for a firm, chewy texture. They are perfect as a pre-workout snack, a post-lunch dessert, or a quick breakfast on the go. I love packing them in a small container for road trips or long afternoons at the park. If you prefer a softer texture, let them sit at room temperature for about 10 minutes before eating.
Storage: Place the protein balls in an airtight container. They will keep in the refrigerator for up to one week. I use a glass container with a tight-fitting lid, and they stay fresh and delicious. For longer storage, you can freeze them. Arrange them in a single layer on a baking sheet and freeze until solid, then transfer them to a freezer-safe bag or container. They will keep in the freezer for up to three months.
Reheating: There’s no need to reheat these. Just grab one from the fridge or freezer and enjoy. If you freeze them, let them thaw in the fridge overnight or at room temperature for about 15 minutes. The texture remains perfect.
Flavor development: These protein balls actually taste better after a day in the fridge. The flavors have time to meld and deepen. The oats soften slightly, and the sweetness becomes more balanced. Don’t worry if they seem a little plain right after making them—they get better.
Nutritional Information & Benefits
Here’s an approximate nutritional breakdown for one protein ball (based on a batch of 16 balls using the ingredients listed above).
| Nutrient | Amount per ball |
|---|---|
| Calories | ~120 |
| Protein | ~6g |
| Fat | ~6g |
| Carbohydrates | ~12g |
| Fiber | ~2g |
| Sugar | ~6g |
Pin This Recipe!
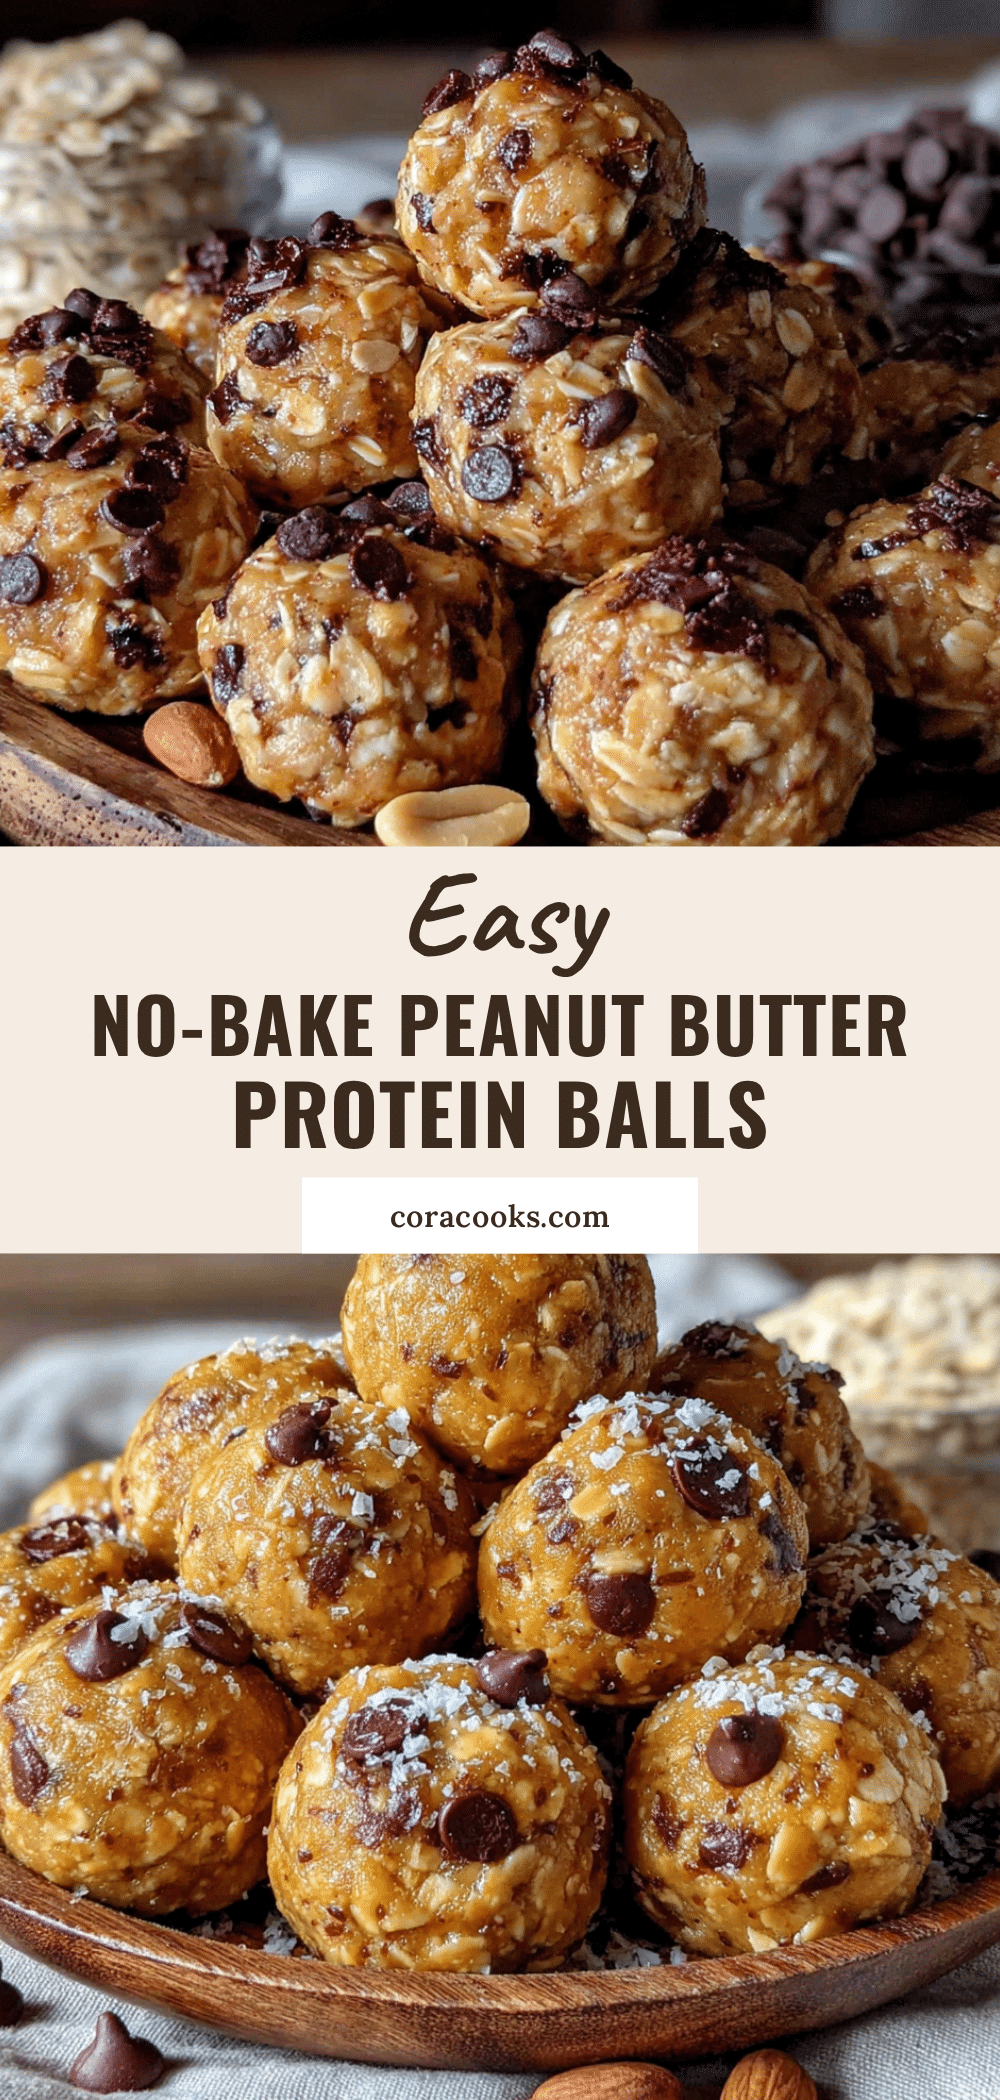
Easy No-Bake Peanut Butter Protein Balls: Best 5-Minute Snack
These no-bake peanut butter protein balls are a quick, healthy snack made with simple ingredients. Perfect for meal prep, they come together in just 5 minutes and are packed with protein and flavor.
- Prep Time: 5 minutes
- Cook Time: 0 minutes
- Total Time: 35 minutes
- Yield: 16-18 balls 1x
- Category: Snack
- Cuisine: American
Ingredients
- 1 cup old-fashioned rolled oats
- 1/2 cup creamy peanut butter
- 1/3 cup honey or maple syrup
- 1/4 cup vanilla protein powder
- 1/4 cup ground flaxseed or chia seeds
- 1/4 cup dark chocolate chips (optional)
- 1/2 teaspoon vanilla extract
- Pinch of sea salt
Instructions
- In a large mixing bowl, combine the rolled oats, protein powder, ground flaxseed (or chia seeds), and a pinch of sea salt. Stir to distribute evenly.
- Add the creamy peanut butter, honey (or maple syrup), and vanilla extract. Mix vigorously with a rubber spatula or wooden spoon until a thick, cohesive dough forms (about 1 minute).
- Fold in the dark chocolate chips until evenly distributed.
- If the dough is too sticky, refrigerate for 15-20 minutes. Line a baking sheet or plate with parchment paper.
- Using your hands or a small cookie scoop, scoop about 1 tablespoon of dough and roll into a smooth ball. Place on the prepared baking sheet. Repeat with remaining dough (makes 16-18 balls).
- Refrigerate for at least 30 minutes to firm up. Store in an airtight container in the refrigerator for up to 1 week, or freeze for up to 3 months.
Notes
If dough is too dry, add a teaspoon of honey or peanut butter. If too sticky, add a tablespoon more oats. For easier rolling, dampen hands with water. These taste even better after a day in the fridge.
Nutrition
- Serving Size: 1 ball
- Calories: 120
- Sugar: 6
- Sodium: 50
- Fat: 6
- Saturated Fat: 1.5
- Carbohydrates: 12
- Fiber: 2
- Protein: 6
Keywords: no-bake protein balls, peanut butter protein balls, healthy snack, easy snack, meal prep snack, gluten-free snack, vegan snack