Love this? Save it for later!
Share the inspiration with your friends
“Why does gluten-free baking always feel like guesswork?” I muttered one Saturday morning as I stared at the sad lump of bread dough that refused to rise. Honestly, I’d tried every store-bought gluten-free flour blend under the sun, but nothing gave me that perfect crumb or light texture I craved. My kitchen looked like a mini flour mill by the end of that weekend—bags of rice flour, tapioca starch, potato starch scattered everywhere—but the results were always hit or miss.
One afternoon, while chatting with Mia—the owner of our cozy neighborhood health food store—I confessed my flour frustrations. She smiled knowingly and shared her secret: making a simple DIY gluten-free flour blend at home that actually worked for all-purpose baking. Skeptical but desperate, I decided to give it a shot. The first batch felt like a revelation. The dough behaved like traditional wheat flour, the texture was soft, and the flavor didn’t scream “gluten-free” (you know that odd aftertaste some blends have?).
Maybe you’ve been there—scrambling for a reliable gluten-free flour that won’t turn your cake into a brick or your cookies into crumbly messes. This easy DIY gluten-free flour blend recipe became my go-to, saving countless baking sessions and even impressing some picky eaters. Let me tell you, the joy of pulling out perfectly baked muffins or pancakes from the oven without a single flop is priceless. Plus, mixing your own blend means you know exactly what’s in it—no mystery additives, just wholesome ingredients you can trust.
So, whether you’re a seasoned gluten-free baker or just starting to experiment, this all-purpose flour blend might just become your secret weapon. It’s straightforward, reliable, and honestly, a little fun to mix up. Let’s get into how you can make this yourself and bring some confidence back to your kitchen!
Why You’ll Love This Recipe
After countless experiments and tweaking, this easy DIY gluten-free flour blend stands out in my recipe collection for a few solid reasons. I’ve tested it in everything from fluffy pancakes to hearty bread, and it consistently delivers.
- Quick & Easy: You can whip up this blend in under 10 minutes, no special trips to fancy stores required.
- Simple Ingredients: Uses pantry staples like rice flour and tapioca starch, so you’re rarely caught off guard mid-bake.
- Perfect for Any Baking: Whether it’s cookies, cakes, muffins, or bread, this blend handles it all without fuss.
- Crowd-Pleaser: Family and friends have complimented the texture and taste, often guessing it’s made with regular wheat flour!
- Unbelievably Versatile: This blend creates that ideal balance of elasticity and softness, which is a rare find in gluten-free baking.
What makes this recipe different? It’s the thoughtfully balanced ratio of flours and starches that mimic gluten’s structural magic without any weird additives. Plus, it’s customizable; you can tweak it slightly depending on the recipe or personal preferences. Honestly, this blend has turned me from a hesitant gluten-free baker to a confident one. I’m sure it’ll do the same for you.
What Ingredients You Will Need
This easy DIY gluten-free flour blend uses a handful of straightforward ingredients that work together to create a flour mix perfect for all your baking needs. Most of these are pantry staples or easy to find in most grocery stores.
- White Rice Flour (2 cups / 240 g): The base of the blend, providing structure and a neutral flavor. I prefer Bob’s Red Mill for its fine texture.
- Brown Rice Flour (1 cup / 120 g): Adds a bit more depth and nuttiness, balancing the white rice flour’s mildness.
- Tapioca Starch (1 cup / 120 g): Gives the blend elasticity and chewiness, helping to mimic gluten’s stretch.
- Potato Starch (1 cup / 120 g): Lightens the texture and promotes tenderness in baked goods.
- Xanthan Gum (1 tablespoon): Acts as a binder and stabilizer, improving crumb and preventing crumbliness. If you’re sensitive to xanthan gum, guar gum works too.
Each ingredient plays a key role: the flours provide the bulk and flavor, while the starches and gums lend that all-important structure and softness. If you want a gluten-free option for pancakes or muffins, this blend is your friend. For seasonal baking, try swapping brown rice flour with sorghum flour, which brings a slightly sweeter note perfect for fall treats.
Equipment Needed
To make your easy DIY gluten-free flour blend, you don’t need fancy gadgets, but a few basic kitchen tools will make the process smooth and mess-free.
- Measuring Cups and Spoons: Accurate measurements are key for consistent results. I recommend using a kitchen scale for best precision, especially when mixing flours.
- Large Mixing Bowl: To combine the flours and starches comfortably. A medium to large glass or stainless steel bowl works great.
- Whisk or Sifter: Helps to evenly distribute the xanthan gum and avoid clumps. A fine mesh sieve or a simple balloon whisk will do.
- Airtight Container or Jar: For storing your flour blend so it stays fresh and dry. Mason jars or any sealable container with a tight lid works well.
Personally, I like using a digital kitchen scale to weigh out each ingredient — it saves me from the occasional flour spill and guarantees my blend is consistent every time. But if you’re in a pinch, measuring cups work just fine (just try to level off the flour for accuracy). Also, if you don’t have a sifter, just whisk thoroughly several times — it gets the job done. Remember, keeping your equipment clean and dry is important to avoid clumping or mold in your homemade mix.
Preparation Method
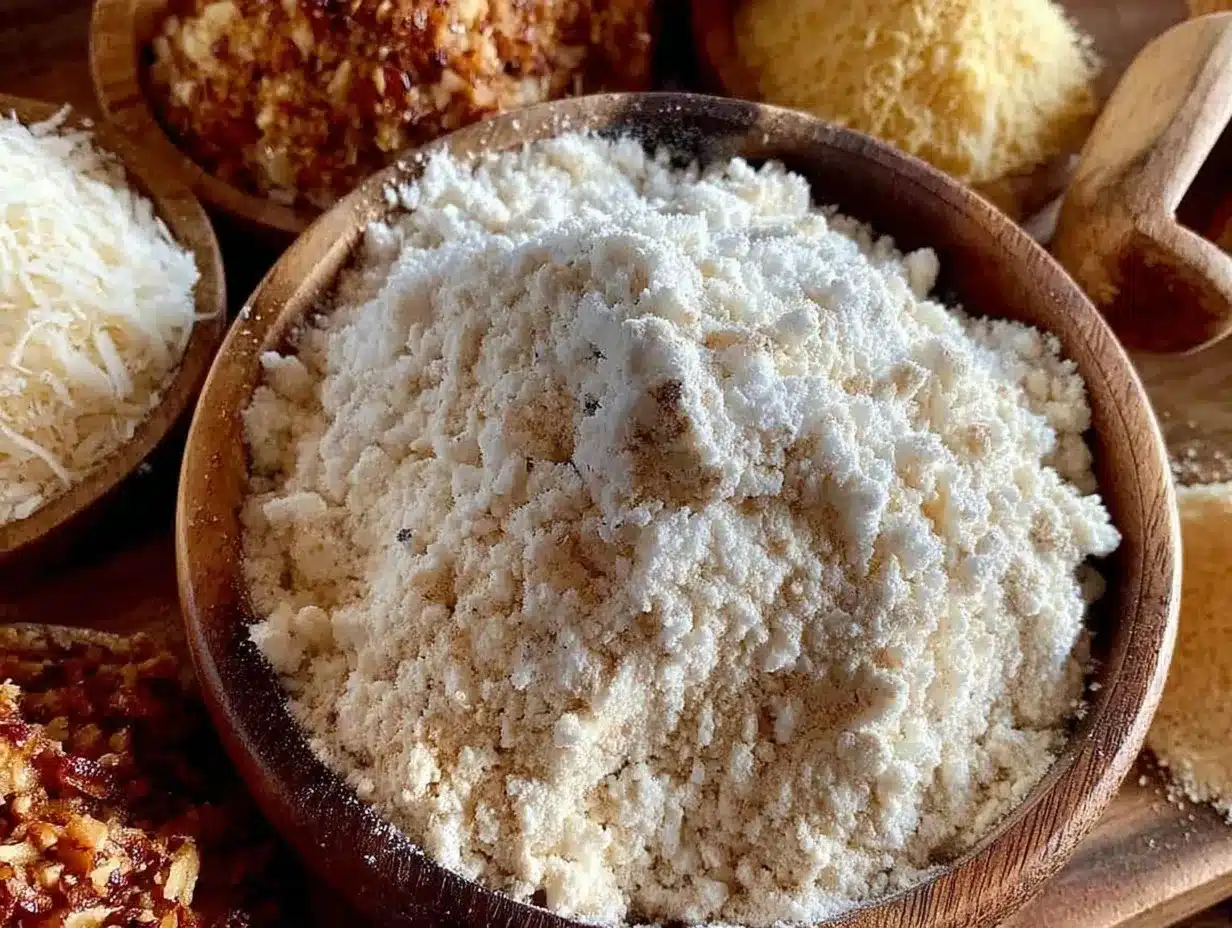
- Gather and Measure Ingredients: Weigh or measure 2 cups (240 g) white rice flour, 1 cup (120 g) brown rice flour, 1 cup (120 g) tapioca starch, and 1 cup (120 g) potato starch. Place all into a large mixing bowl.
- Add Xanthan Gum: Measure 1 tablespoon of xanthan gum and sprinkle it evenly over the flour mixture. This step is crucial for binding the dough later.
- Whisk Thoroughly: Using a balloon whisk, mix all the ingredients together for about 2 to 3 minutes. You want the xanthan gum and starches fully incorporated with the flours, with no visible clumps. The mixture should look uniform and light.
- Sift the Blend (Optional but Recommended): To ensure extra smoothness, sift the entire mixture through a fine mesh sieve back into the bowl. This removes any lumps and aerates the blend, making your baked goods lighter.
- Transfer to Airtight Container: Pour your flour blend into a clean, dry airtight jar or container. Label it with the date and contents.
- Store Properly: Keep the blend in a cool, dry place, away from moisture or heat. It should stay fresh for up to 3 months. For longer storage, keep it in the fridge or freezer, making sure it’s airtight to prevent clumping.
Tip: If you’re short on time, you can mix the ingredients directly in the storage container by shaking it vigorously with the lid on. Just be careful to avoid spills! Also, remember that humidity can affect your flour’s texture, so on very humid days, a quick toast in a dry pan (cool before mixing) can help remove excess moisture.
Cooking Tips & Techniques
Gluten-free baking can be tricky, but this flour blend takes a lot of the guesswork out. Here are some tips to make your baking experience smoother and more successful:
- Measure Precisely: Using a kitchen scale is a game-changer. Even small variations in flour weight can affect texture and rise.
- Don’t Skip the Xanthan Gum: It’s the glue that holds everything together. Without it, baked goods can crumble and fall apart.
- Rest Your Batter or Dough: Letting the batter sit for 10-15 minutes before baking helps hydrate the flours and starches, improving texture.
- Use Room Temperature Ingredients: This helps the dough mix more evenly and rise better.
- Adjust Liquids as Needed: Gluten-free flours can absorb liquids differently. If your dough seems too dry or too wet, tweak liquids gradually.
- Avoid Overmixing: Gluten-free batters don’t benefit from vigorous mixing like wheat-based ones. Stir just until combined to keep baked goods tender.
One time, I forgot to add the xanthan gum in a batch of muffins. They came out flat and crumbly, which was a bummer but a good lesson learned! Also, I’ve found that using this blend with recipes like my fluffy gluten-free pancakes yields great results. Timing is key — start preheating your oven while mixing so you can pop your batter in right away for the best rise.
Variations & Adaptations
While this is a solid all-purpose blend, you can customize it to suit dietary needs or flavor preferences. Here are some options to consider:
- Nut-Free Version: Swap brown rice flour with sorghum flour for a mild taste that’s safe for nut allergies.
- Grain-Free Blend: Replace rice flours with equal parts cassava flour or almond flour, but reduce xanthan gum to 1 teaspoon to avoid gumminess.
- Higher Protein Boost: Add a tablespoon of chickpea flour or pea protein powder to improve structure in bread baking.
- Seasonal Flavors: Mix in a teaspoon of cinnamon or pumpkin spice for fall-inspired baking.
- Personal Twist: I once added a tablespoon of coconut flour to this blend for extra moisture absorption when making dense chocolate brownies — it worked beautifully!
For alternative cooking methods like air frying or stovetop baking, this blend adapts well but keep an eye on cooking times as they may vary slightly. Gluten-free baking is flexible — don’t hesitate to experiment with small tweaks to make it your own.
Serving & Storage Suggestions
This gluten-free flour blend is your new baking best friend, so let’s talk about how to store and use it for the best results.
Serve baked goods fresh and warm for the best texture, whether it’s fluffy muffins, tender cookies, or soft bread. Pair your creations with a cup of tea or coffee for a cozy treat. For savory recipes like gluten-free pizza or flatbreads, try serving with a fresh salad or dipping sauces to balance flavors.
Store your DIY flour blend in an airtight container in a cool, dry place. It keeps well for about three months, but if you don’t use it often, refrigeration or freezing can extend the shelf life up to six months. Just bring it back to room temperature before baking to avoid clumps.
Leftover baked goods made with this flour can be stored in airtight containers at room temperature for a couple of days or frozen for longer periods. Reheat gently in the oven or toaster oven to revive softness and aroma. You’ll notice that flavors sometimes deepen after a day or two, making the next day’s breakfast even better.
Nutritional Information & Benefits
This gluten-free flour blend is not only versatile but also free from common allergens like wheat and soy, making it suitable for many dietary needs. The combination of rice flours and starches offers a moderate carbohydrate content with some fiber from the brown rice flour.
Because it’s homemade, you avoid the preservatives and additives found in many commercial blends. Plus, xanthan gum aids in digestion for some people by helping stabilize blood sugar levels when consumed in moderation.
Keep in mind this blend is gluten-free and vegan-friendly, making it ideal for those with celiac disease or gluten sensitivities. If you need a low-FODMAP option, you can substitute potato starch with cornstarch, but test for tolerance.
Conclusion
Making your own easy DIY gluten-free flour blend is a small kitchen project that pays off big time. It gives you control, consistency, and confidence every time you bake. I love how it turns unpredictable gluten-free baking into a reliable, enjoyable experience.
This blend isn’t just a recipe—it’s a little piece of baking magic that makes homemade treats accessible and delicious. Feel free to tweak it to your liking and share your success stories with friends and family. I’d love to hear how it works for you!
So grab your measuring cups and whisk, and start mixing up this blend today. Your next batch of muffins or bread will thank you. Don’t forget to leave a comment below if you try it out or have your own flour blend secrets to share!
FAQs
Can I substitute xanthan gum with something else?
Yes, guar gum is a good alternative and works similarly as a binder in gluten-free baking. Use the same amount as xanthan gum.
How long can I store the homemade gluten-free flour blend?
Stored in an airtight container in a cool, dry place, it stays fresh for up to 3 months. Refrigerating or freezing can extend that to 6 months.
Is this flour blend suitable for bread baking?
Absolutely! It works well for bread, muffins, pancakes, and more. For bread, adding a bit of extra protein like chickpea flour can improve texture.
Can I make this blend ahead of time in large batches?
Yes, making larger batches saves time. Just store in airtight containers and label with the date to track freshness.
What if I want a grain-free gluten-free flour blend?
Try replacing rice flours with cassava or almond flour, but reduce xanthan gum to prevent a gummy texture. Experiment with small batches to find your perfect mix.
Pin This Recipe!
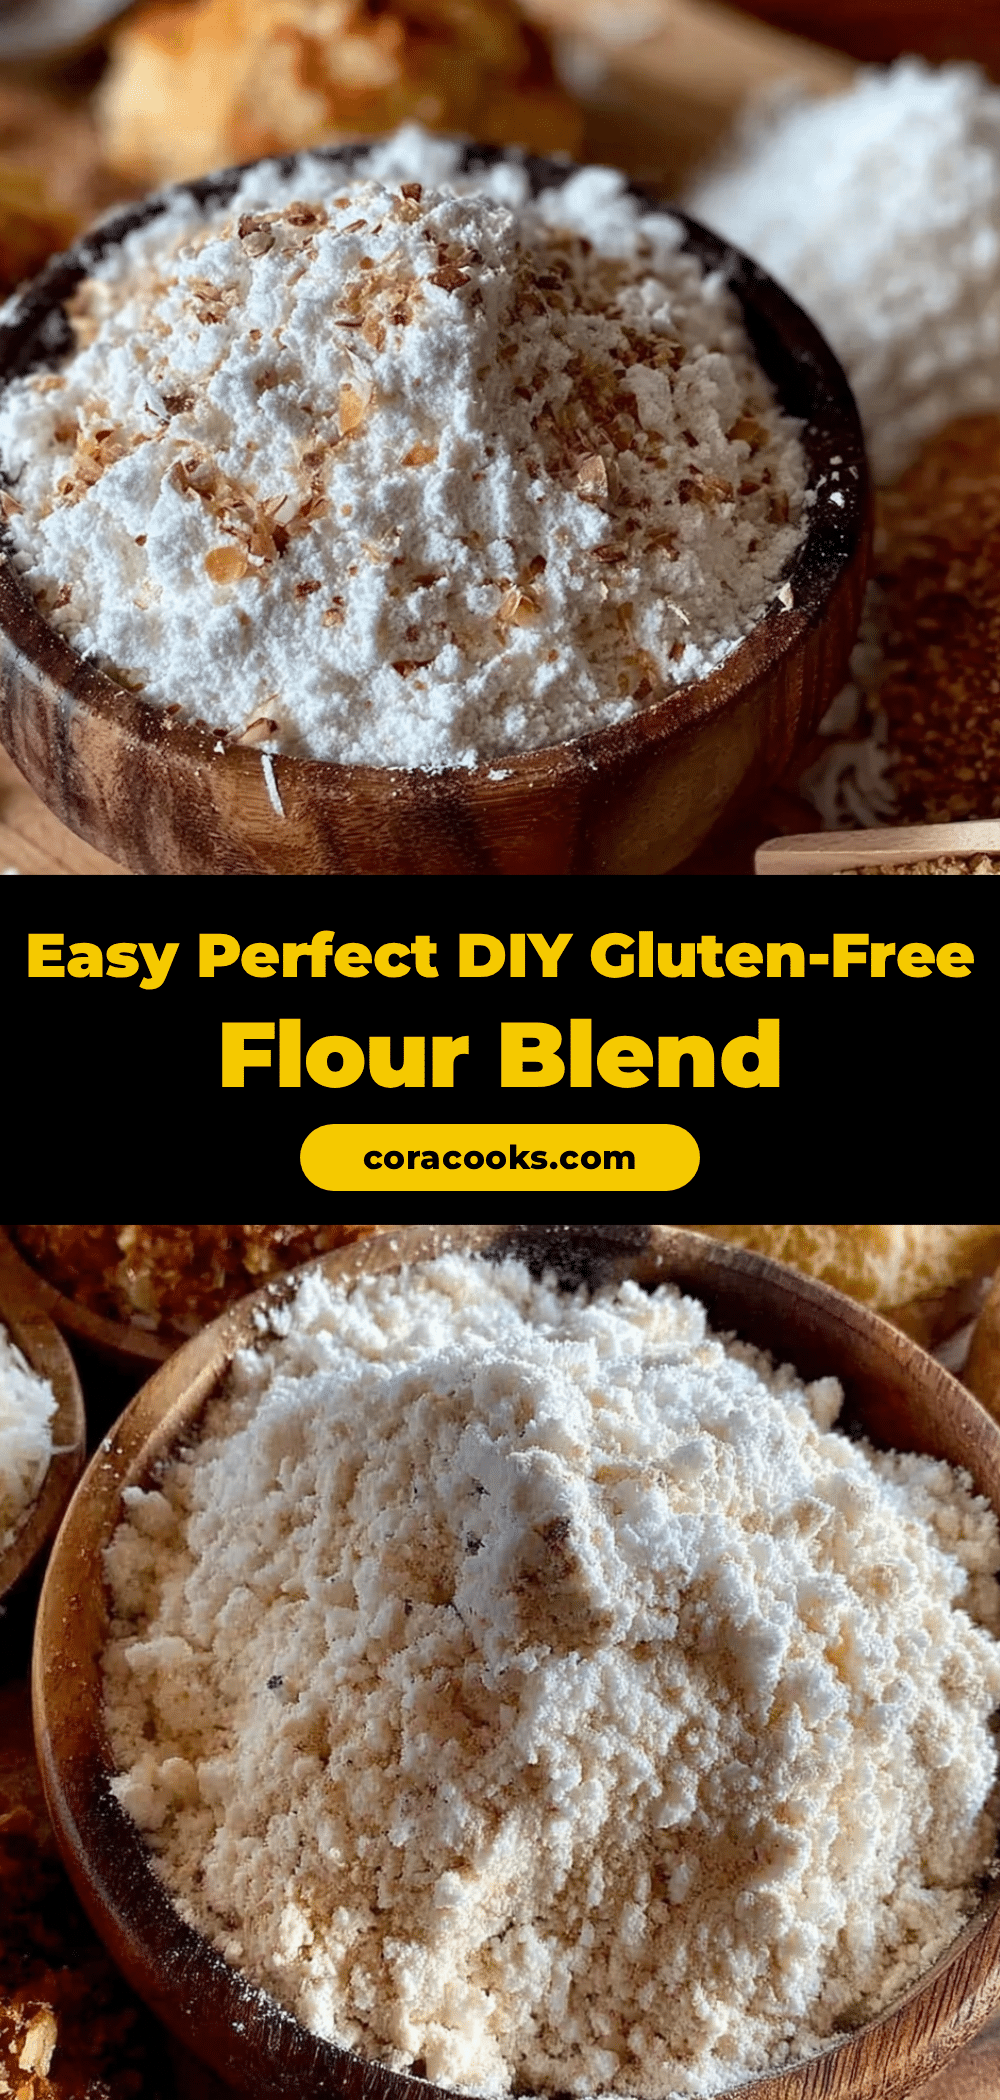
Easy DIY Gluten-Free Flour Blend Recipe for Perfect Homemade Baking
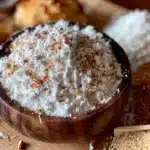
A simple, reliable gluten-free flour blend perfect for all-purpose baking, delivering soft texture and great flavor without the guesswork.
- Prep Time: 10 minutes
- Cook Time: 0 minutes
- Total Time: 10 minutes
- Yield: About 5 cups of gluten-free flour blend 1x
- Category: Baking
- Cuisine: Gluten-Free
Ingredients
- 2 cups (240 g) white rice flour
- 1 cup (120 g) brown rice flour
- 1 cup (120 g) tapioca starch
- 1 cup (120 g) potato starch
- 1 tablespoon xanthan gum (or guar gum as a substitute)
Instructions
- Gather and measure 2 cups (240 g) white rice flour, 1 cup (120 g) brown rice flour, 1 cup (120 g) tapioca starch, and 1 cup (120 g) potato starch. Place all into a large mixing bowl.
- Add 1 tablespoon of xanthan gum and sprinkle it evenly over the flour mixture.
- Whisk all ingredients together for 2 to 3 minutes until fully incorporated with no visible clumps.
- Optionally sift the entire mixture through a fine mesh sieve back into the bowl to remove lumps and aerate the blend.
- Transfer the flour blend into a clean, dry airtight container or jar and label with the date and contents.
- Store in a cool, dry place away from moisture or heat. It stays fresh for up to 3 months, or up to 6 months if refrigerated or frozen.
Notes
Use a kitchen scale for best precision. If sensitive to xanthan gum, guar gum is a good substitute. Store blend in airtight container to prevent clumping. For longer storage, refrigerate or freeze. On humid days, toast flours lightly in a dry pan before mixing to remove moisture. Let batter rest 10-15 minutes before baking for better hydration and texture.
Nutrition
- Serving Size: 1/4 cup (approximate
- Calories: 110
- Fat: 0.3
- Carbohydrates: 26
- Fiber: 1
- Protein: 1
Keywords: gluten-free flour blend, DIY gluten-free flour, gluten-free baking, all-purpose gluten-free flour, xanthan gum, gluten-free recipes