Love this? Save it for later!
Share the inspiration with your friends
Introduction
“I never thought I’d be the person baking dinner rolls from scratch—especially gluten-free ones,” I admitted to my friend last Saturday afternoon. It was one of those rare quiet weekends when I decided to tackle something a little ambitious in the kitchen. Honestly, I was craving that warm, buttery softness you get from a fresh roll but without the usual gluten troubles that send me spinning. I’d heard whispers about gluten-free dinner rolls that actually taste like the real deal, but I was skeptical. You know that feeling when you bite into something labeled ‘gluten-free’ and it crumbles like dry sand? Yeah, that was the last thing I wanted.
My breakthrough came unexpectedly during a late-night grocery run. I bumped into an elderly baker at the organic aisle who shared her secret recipe scribbled hurriedly on a napkin. The next day, after a few messy flour-coated countertops and a cracked mixing bowl (don’t ask), I pulled golden, tender rolls from the oven that were so soft and buttery, my skeptical husband couldn’t tell the difference. Maybe you’ve been there—searching for that perfect gluten-free bread that feels like a warm hug. This recipe stuck with me because it’s not just about being gluten-free; it’s about making rolls that you’d want to share at any holiday table or cozy family dinner.
So, let me tell you how you can make these tender gluten-free dinner rolls with buttery softness your new kitchen favorite. Trust me, it’s easier than you think, and once you taste them, you’ll understand why I keep coming back to this recipe.
Why You’ll Love This Recipe
After countless trials and tweaking, this tender gluten-free dinner rolls recipe has earned its spot in my baking rotation. It’s a real game-changer for anyone who’s struggled with dry, crumbly gluten-free bread. Here’s why this recipe stands out:
- Quick & Easy: Comes together in under 1 hour, perfect for busy weeknights or unexpected guests.
- Simple Ingredients: No exotic flours or mysterious additives—just pantry staples you probably already have.
- Perfect for Every Occasion: From holiday dinners to casual weeknight suppers, these rolls fit right in.
- Crowd-Pleaser: Even gluten eaters ask for seconds because of the buttery softness and tender crumb.
- Unbelievably Delicious: The secret blend of gluten-free flours and the buttery finish create a texture that’s light and pillowy, not dense or gummy.
What really makes these dinner rolls different? It’s the balance of moisture and the double kneading method that keeps them soft day after day. Plus, the buttery glaze on top seals in the tenderness and adds that irresistible golden sheen. Honestly, I didn’t think gluten-free rolls could be this satisfying until I perfected this method. It’s the kind of recipe that turns your kitchen into a welcoming bakery, and you’ll want to share it with friends and family alike.
What Ingredients You Will Need
This recipe uses straightforward, wholesome ingredients that come together to create tender gluten-free dinner rolls with buttery softness. Most of these are pantry staples, and a few are easy to find in any grocery store’s gluten-free aisle.
- Gluten-Free All-Purpose Flour Blend – 3 cups (360g) (I recommend Bob’s Red Mill 1-to-1 Baking Flour for the best texture)
- Xanthan Gum – 1 teaspoon (if your flour blend doesn’t already contain it)
- Active Dry Yeast – 2 ¼ teaspoons (one packet)
- Warm Water – 1 cup (240ml) (about 110°F / 43°C to activate yeast)
- Granulated Sugar – 2 tablespoons (helps yeast bloom and adds slight sweetness)
- Unsalted Butter – 4 tablespoons (57g), softened plus extra for brushing (use dairy-free butter for vegan option)
- Whole Milk – ½ cup (120ml), warmed (or almond milk for dairy-free)
- Large Egg – 1, room temperature (for binding and richness)
- Salt – 1 teaspoon (balances flavor)
- Optional: Honey – 1 tablespoon (for a subtle floral sweetness)
For those avoiding dairy, swapping butter and milk with plant-based alternatives works wonderfully without sacrificing softness. If you don’t have xanthan gum, check if your gluten-free flour blend already includes it; otherwise, it’s essential for that stretchy, tender crumb. I’ve found that using a trusted brand of yeast, like Red Star or Fleischmann’s, guarantees consistent rise, which is key to fluffy rolls.
Equipment Needed

- Mixing Bowls: A large bowl for combining ingredients and a smaller one to proof yeast.
- Stand Mixer with Dough Hook (optional): Makes kneading easier, but you can mix and knead by hand.
- Baking Sheet or Round Cake Pan: For shaping and baking rolls.
- Kitchen Scale: Useful for precise flour measurement, but cups work fine too.
- Pastry Brush: To brush melted butter on rolls after baking.
- Clean Kitchen Towel or Plastic Wrap: To cover dough during rising.
If you don’t have a stand mixer, no worries—just be prepared to knead with your hands for about 5-7 minutes. I’ve tried this recipe both ways; hand kneading gives you a nice workout, and the dough feels silky and smooth when you’re done. For budget-friendly baking, a simple mixing bowl and wooden spoon can get you through the initial combining stage, and then switch to hand kneading. Keeping your equipment clean and dry is key, especially with yeast-based recipes.
Preparation Method
- Proof the Yeast: In a small bowl, combine warm water (1 cup / 240ml) and sugar (2 tbsp). Sprinkle yeast (2 ¼ tsp) over the surface and gently stir. Let it sit for 5-10 minutes until foamy and bubbly. This step confirms the yeast is active and ready to work its magic.
- Mix Dry Ingredients: In a large mixing bowl, whisk together the gluten-free flour blend (3 cups / 360g), xanthan gum (1 tsp), and salt (1 tsp). Make sure everything is evenly distributed to avoid clumps.
- Add Wet Ingredients: To the dry mixture, add the proofed yeast mixture, warmed milk (½ cup / 120ml), softened butter (4 tbsp, save a bit for later brushing), egg (1 large), and optional honey (1 tbsp). Mix with a stand mixer fitted with a dough hook or a sturdy spoon until the dough starts to come together.
- Knead the Dough: Knead for 5-7 minutes on medium speed if using a mixer; otherwise, transfer dough to a lightly floured surface and knead by hand. The dough should feel soft and slightly sticky but hold together. If it’s too dry, add a teaspoon of water at a time; too wet, sprinkle a bit more flour.
- First Rise: Shape dough into a ball and place it in a lightly greased bowl. Cover with a clean kitchen towel or plastic wrap and let rise in a warm, draft-free place for about 45 minutes, until it doubles in size. I like to set mine near a sunny window or inside my turned-off oven with the light on.
- Shape Rolls: After the dough has risen, gently deflate it and divide into 12 equal pieces (about 2 oz / 57g each). Roll each piece into a smooth ball and arrange on a greased baking sheet or round cake pan, leaving a little space between them for expansion.
- Second Rise: Cover the shaped rolls and let them rise for another 20-30 minutes until puffy and almost doubled again.
- Bake: Preheat oven to 375°F (190°C). Bake rolls for 18-22 minutes until golden brown on top and the bottoms sound hollow when tapped. Keep a close eye toward the end to avoid overbaking, which dries them out.
- Butter Glaze: Immediately upon removing from the oven, brush the rolls generously with melted butter. This is the secret to that irresistible buttery softness and shiny crust.
- Cool Slightly & Serve: Let rolls cool for 10 minutes before serving warm. They’re perfect with a pat of butter or alongside your favorite dinner dishes.
Cooking Tips & Techniques
Getting tender gluten-free dinner rolls just right can feel tricky, but a few insider tips will have you baking like a pro in no time. First, always check your yeast’s freshness—expired yeast leads to flat rolls, and honestly, that’s a heartbreak. I’ve learned the hard way.
Keep an eye on your dough’s hydration. Gluten-free flours absorb moisture differently, so don’t hesitate to adjust water or flour slightly during kneading. The dough will feel stickier than traditional wheat dough, but that’s normal and key to softness.
When shaping rolls, try to make smooth, tight balls to help them rise evenly. I like to wet my hands lightly to prevent sticking and give the dough a nice, polished look. Also, don’t rush the rising times; patience pays off with fluffier rolls.
For even browning, rotate your baking sheet halfway through cooking. And when brushing the butter glaze, do it right out of the oven while the rolls are piping hot—that warmth helps it soak in beautifully.
If you want to multitask, prepare the dough in the morning and let it rise slowly in the fridge for up to 8 hours, then shape and bake in the evening. This slow fermentation deepens flavor and makes your kitchen smell irresistible.
Variations & Adaptations
This tender gluten-free dinner rolls recipe is wonderfully flexible. Here are some ways to make it your own:
- Herb-Infused Rolls: Add 1 tablespoon of finely chopped fresh rosemary or thyme to the dry ingredients for a fragrant twist—perfect with roasted dinners.
- Vegan Version: Swap the egg with a flax egg (1 tablespoon ground flaxseed + 3 tablespoons water, set for 5 minutes) and use dairy-free butter and plant milk to keep it completely plant-based.
- Whole Grain Boost: Replace half the flour with gluten-free oat flour for a nuttier flavor and extra fiber.
- Sweet Dinner Rolls: Increase sugar to ¼ cup (50g) and add a teaspoon of cinnamon for a subtly sweet version that pairs well with honey butter.
I once tried adding roasted garlic paste into the dough for a savory surprise, and it was a hit at a family potluck—just be sure to reduce added salt slightly to balance flavors.
Serving & Storage Suggestions
Serve these tender gluten-free dinner rolls warm with butter or alongside soups, stews, and salads. Their soft texture makes them ideal for mini sandwiches or sliders too. Pair with a chilled glass of white wine or a comforting cup of herbal tea to round out the meal.
To store, keep the rolls in an airtight container at room temperature for up to 2 days. For longer storage, freeze them in a sealed bag for up to 3 months. When reheating, wrap in foil and warm in a 300°F (150°C) oven for 10-15 minutes, or microwave with a damp paper towel to keep moisture locked in.
Flavors and softness actually improve slightly after a day, as the rolls settle and absorb the buttery glaze fully. I often make a batch ahead of time knowing they’ll taste even better the next day.
Nutritional Information & Benefits
Each dinner roll (about 2 oz / 57g) contains approximately:
| Calories | 150 |
|---|---|
| Carbohydrates | 25g |
| Fat | 5g |
| Protein | 3g |
| Fiber | 2g |
Key ingredients like gluten-free flour blends often incorporate rice, potato, or tapioca starches, providing a gluten-free option suitable for those with celiac disease or gluten intolerance. Using unsalted butter and moderate sugar keeps the flavor balanced without excess additives. Plus, the egg adds protein and richness, making these rolls more satisfying.
For those mindful of dairy or eggs, the recipe’s adaptability helps accommodate common allergens. From a wellness perspective, having a reliable gluten-free bread option means no more feeling left out at the dinner table—it’s comfort food everyone can enjoy.
Conclusion
These tender gluten-free dinner rolls with buttery softness are proof that gluten-free baking doesn’t have to be complicated or disappointing. Whether you’re new to gluten-free cooking or looking for a reliable go-to recipe, these rolls deliver on softness, flavor, and that warm, comforting feeling that only fresh bread can bring. I love how forgiving this recipe is—once you get the hang of it, you can tweak and customize it to your heart’s content.
Give this recipe a try and see for yourself how simple ingredients and a little patience can produce dinner rolls worthy of any table. I’d love to hear about your own baking adventures or any creative twists you try, so drop a comment below or share your photos. Here’s to buttery, tender rolls that bring a smile with every bite—happy baking!
FAQs About Tender Gluten-Free Dinner Rolls
Can I make these rolls dairy-free?
Absolutely! Swap the butter for a dairy-free alternative like vegan margarine or coconut oil, and use plant-based milk such as almond or oat milk. The texture remains tender and soft.
How do I know if my gluten-free flour blend is suitable?
Look for a blend labeled “1-to-1 gluten-free baking flour” that contains xanthan gum or guar gum. If it doesn’t, add 1 teaspoon of xanthan gum to help with elasticity.
Can I freeze these gluten-free dinner rolls?
Yes, they freeze beautifully. Wrap them tightly in plastic wrap or a freezer bag and store for up to 3 months. Thaw at room temperature and reheat gently before serving.
Why are my rolls dense instead of soft?
Common causes include using expired yeast, not proofing the yeast properly, or skipping the second rise. Also, dough that’s too dry will produce denser rolls—try adjusting moisture next time.
Can I use instant yeast instead of active dry yeast?
You can! Use the same amount but mix it directly with the dry ingredients, reducing the water slightly. Keep an eye on rising times as it might work faster.
Pin This Recipe!
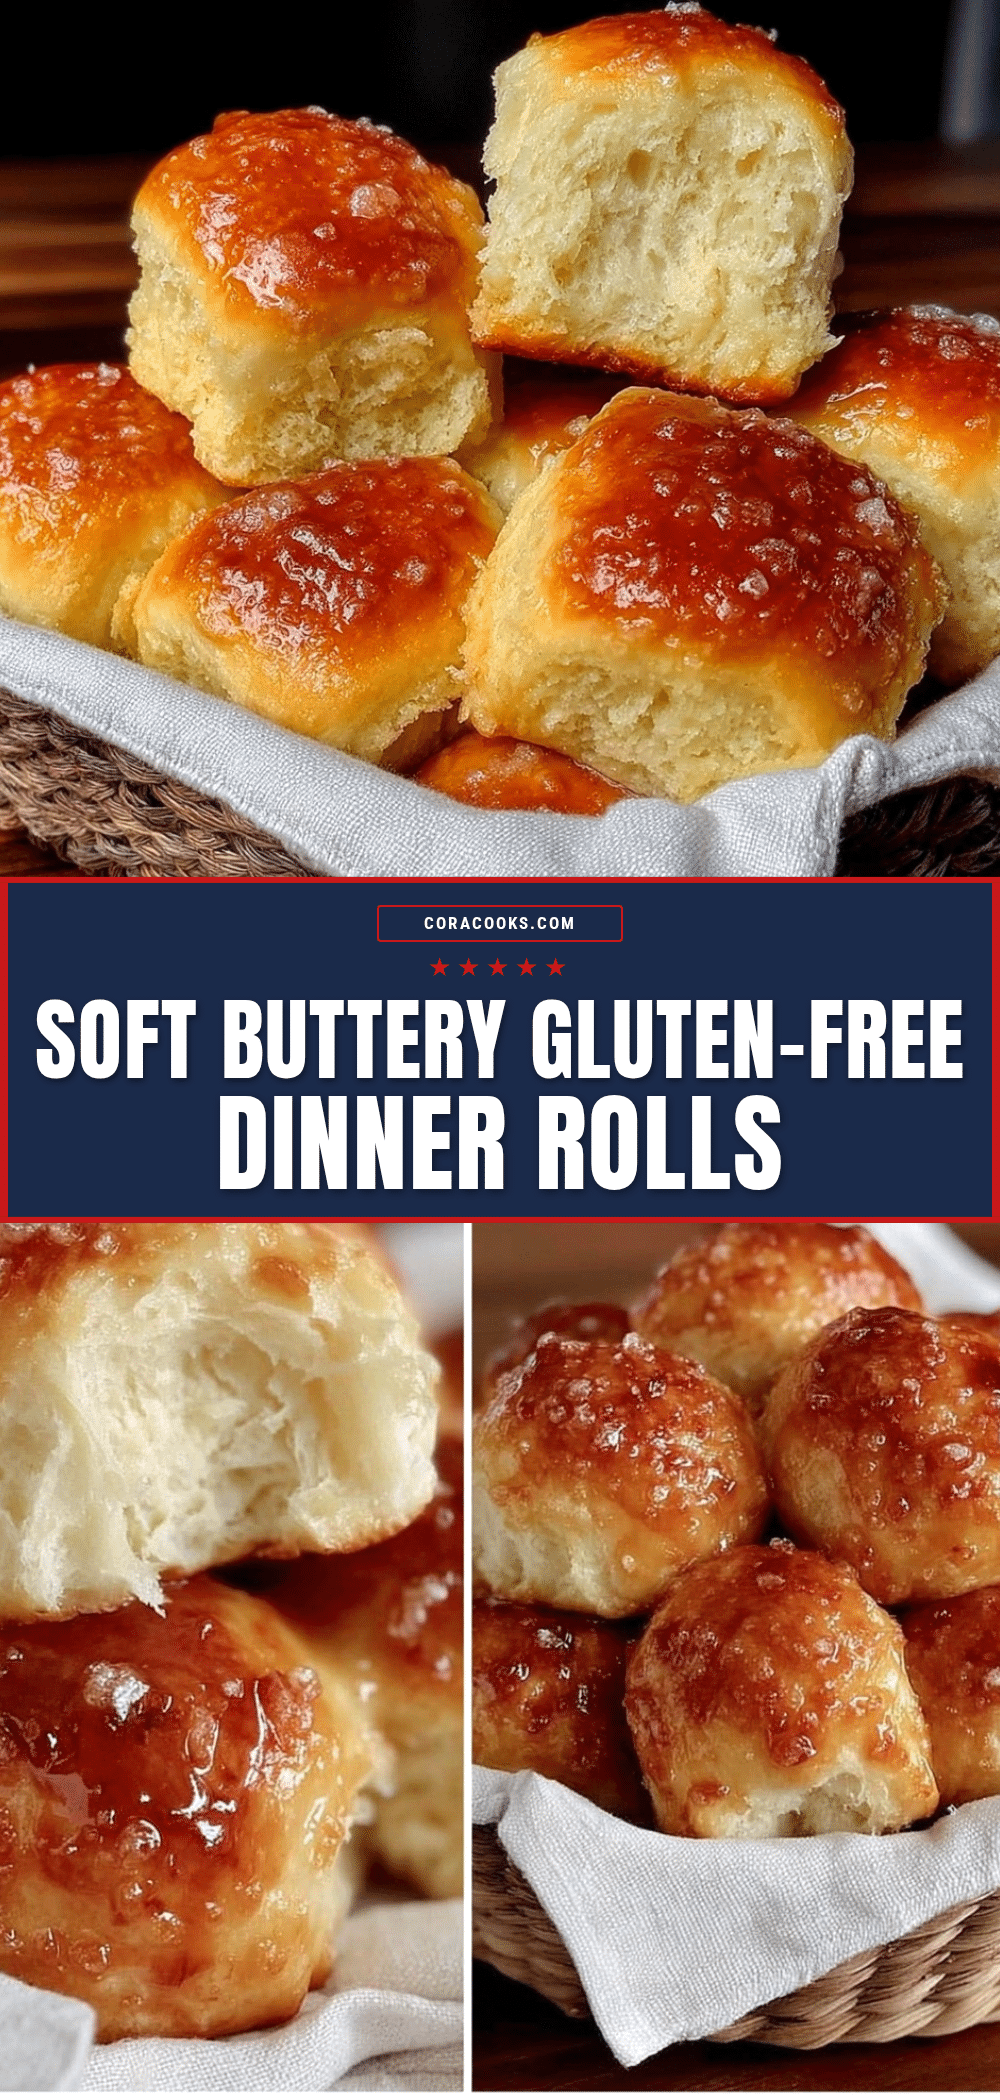
Tender Gluten-Free Dinner Rolls Easy Butter Soft Recipe for Beginners

These tender gluten-free dinner rolls are buttery soft and perfect for any occasion. Easy to make with simple pantry ingredients, they deliver a light, pillowy texture that even gluten eaters will love.
- Prep Time: 15 minutes
- Cook Time: 22 minutes
- Total Time: 1 hour 15 minutes
- Yield: 12 rolls 1x
- Category: Bread
- Cuisine: American
Ingredients
- 3 cups (360g) gluten-free all-purpose flour blend (e.g., Bob’s Red Mill 1-to-1 Baking Flour)
- 1 teaspoon xanthan gum (if flour blend does not contain it)
- 2 ¼ teaspoons active dry yeast (one packet)
- 1 cup (240ml) warm water (about 110°F / 43°C)
- 2 tablespoons granulated sugar
- 4 tablespoons (57g) unsalted butter, softened, plus extra for brushing (use dairy-free butter for vegan option)
- ½ cup (120ml) whole milk, warmed (or almond milk for dairy-free)
- 1 large egg, room temperature
- 1 teaspoon salt
- Optional: 1 tablespoon honey
Instructions
- Proof the yeast: In a small bowl, combine warm water and sugar. Sprinkle yeast over the surface and stir gently. Let sit for 5-10 minutes until foamy.
- Mix dry ingredients: In a large bowl, whisk together gluten-free flour blend, xanthan gum, and salt.
- Add wet ingredients: Add the proofed yeast mixture, warmed milk, softened butter, egg, and optional honey to the dry ingredients. Mix until dough starts to come together.
- Knead the dough: Knead for 5-7 minutes using a stand mixer with dough hook or by hand on a lightly floured surface until soft and slightly sticky.
- First rise: Shape dough into a ball, place in a greased bowl, cover, and let rise in a warm place for about 45 minutes until doubled in size.
- Shape rolls: Deflate dough and divide into 12 equal pieces (about 2 oz / 57g each). Roll each into a smooth ball and arrange on a greased baking sheet or round cake pan.
- Second rise: Cover shaped rolls and let rise for another 20-30 minutes until puffy and nearly doubled.
- Bake: Preheat oven to 375°F (190°C). Bake rolls for 18-22 minutes until golden brown and hollow sounding when tapped.
- Butter glaze: Brush rolls immediately with melted butter after removing from oven.
- Cool slightly and serve: Let rolls cool for 10 minutes before serving warm.
Notes
Use fresh yeast for best rise. Adjust water or flour slightly during kneading to achieve a soft, slightly sticky dough. Wet hands when shaping rolls to prevent sticking. Brush butter glaze immediately after baking for softness and shine. Dough can be prepared in the morning and refrigerated for slow rise up to 8 hours for deeper flavor.
Nutrition
- Serving Size: 1 roll (about 2 oz /
- Calories: 150
- Fat: 5
- Carbohydrates: 25
- Fiber: 2
- Protein: 3
Keywords: gluten-free dinner rolls, gluten-free bread, soft dinner rolls, buttery rolls, easy gluten-free baking, gluten-free baking, dairy-free option, vegan dinner rolls