Love this? Save it for later!
Share the inspiration with your friends
Introduction
“I wasn’t expecting to find the perfect Father’s Day dessert in a last-minute grocery run, but there I was, juggling a basket full of snacks and accidentally overhearing a cashier chatting about her ‘secret no-bake Oreo cheesecake cups.’ It sounded too simple to be true, but honestly, the idea stuck with me like the smell of fresh coffee on a lazy Sunday morning.”
That afternoon, with only a handful of ingredients and a kitchen timer ticking down to the family gathering, I gave it a shot. No fancy equipment, no fuss, just crushed Oreos, creamy filling, and a sprinkle of love. Maybe you’ve been there too—scrambling to find something sweet that feels special but doesn’t take all day. These Easy No-Bake Oreo Cheesecake Cups became the unexpected star of the day, melting away any dessert doubts and leaving a trail of happy smiles.
Let me tell you, these cups aren’t just quick fixes; they bring that creamy, crunchy, sweet combo that Dad—and everyone else—will keep asking for year after year. If you’re hunting for a Father’s Day treat that’s fuss-free but full of flavor, this recipe is your new best friend.
Why You’ll Love This Recipe
After countless tests and tweaks, this Easy No-Bake Oreo Cheesecake Cups recipe has earned its place as a reliable crowd-pleaser. From my kitchen to yours, here’s why it stands out:
- Quick & Easy: Ready in under 20 minutes, perfect for those last-minute Father’s Day celebrations or busy weeknights.
- Simple Ingredients: You probably already have everything on hand—Oreos, cream cheese, whipped topping—no fancy store runs needed.
- Perfect for Father’s Day and More: Whether it’s a casual backyard BBQ or a cozy indoor feast, these cups fit right in.
- Crowd-Pleaser: Kids, adults, picky eaters—everyone loves the creamy texture with that Oreo crunch.
- Unbelievably Delicious: The balance of sweet, tangy, and crunchy makes each bite a little celebration.
This isn’t your average cheesecake cup. The trick? Crushing the Oreos just right to form a sturdy yet crumbly base, and folding the cream cheese with whipped topping for an ultra-smooth, airy filling. It’s the kind of dessert that makes you close your eyes after the first bite and say, “Yep, that’s exactly what I wanted.” Honestly, it feels like comfort food but with a fresh twist—just right for making memories.
What Ingredients You Will Need
This recipe uses simple, wholesome ingredients to deliver bold flavor and satisfying texture without the fuss. Most are pantry staples, and the Oreos bring that classic cookie crunch everyone loves.
- For the Oreo Crust:
- 24 Oreo cookies (regular or double-stuff for extra creaminess), crushed into fine crumbs
- 5 tablespoons unsalted butter, melted (adds richness and helps the crust hold together)
- For the Cheesecake Filling:
- 8 ounces (225 g) cream cheese, softened (I prefer Philadelphia for smooth texture)
- 1 cup (240 ml) heavy whipping cream, chilled (or use store-bought whipped topping for ease)
- 1/2 cup (60 g) powdered sugar, sifted (adjust sweetness to taste)
- 1 teaspoon vanilla extract (adds warm depth)
- For Garnish:
- Extra Oreo crumbs or mini Oreo pieces
- Optional: fresh berries or chocolate shavings for a pop of color
If you want a twist, you can swap regular Oreos for gluten-free versions or use coconut whipped cream to keep it dairy-free. For a lighter touch, Greek yogurt can be folded into the filling, but honestly, full-fat cream cheese and cream are where the magic happens.
Equipment Needed
- Mixing bowls (medium and large) – glass or metal works fine; glass is easier to clean for sticky cream cheese
- Electric hand mixer or stand mixer – makes whipping cream and mixing filling a breeze, but a sturdy whisk works if you’re feeling patient
- Plastic cups or small dessert glasses – perfect for individual servings and presentation
- Measuring cups and spoons – for precise ingredient amounts
- Food processor or zip-top bag and rolling pin – to crush Oreos finely
- Rubber spatula – helpful for folding cream and scraping sides cleanly
If you don’t have a food processor, crushing Oreos in a sealed bag with a rolling pin works just as well—just be careful not to crush them into powder. I once used a heavy skillet when I was in a pinch, and it did the job, though the crumbs were a bit chunkier.
Preparation Method
- Prepare the Oreo Crust: Start by placing the 24 Oreo cookies in a food processor and pulse until you get fine crumbs (about 20 seconds). No processor? Toss the cookies in a zip-top bag and roll gently with a rolling pin until finely crushed.
- Mix with Butter: Transfer the crumbs to a bowl and stir in the melted butter until well combined. The mixture should resemble wet sand and hold together when pressed.
- Assemble the Base: Spoon about 2 tablespoons of the Oreo crumb mixture into each plastic cup. Press down firmly with the back of a spoon or your fingers to form an even, compact base. This step is key for a sturdy crust that won’t crumble when you dig in.
- Chill the Bases: Place the cups in the refrigerator for about 10 minutes while you prepare the filling. This helps the crust set.
- Make the Cheesecake Filling: In a large mixing bowl, beat the softened cream cheese with an electric mixer until smooth and creamy (about 2-3 minutes). Add the powdered sugar and vanilla extract, mixing until fully incorporated.
- Whip the Cream: In a separate bowl, whip the heavy cream until stiff peaks form. This usually takes 3-5 minutes on medium-high speed. Be careful not to overwhip or it will become grainy.
- Fold Together: Gently fold the whipped cream into the cream cheese mixture using a rubber spatula. Do this slowly and carefully to keep the filling light and airy—no one likes a dense cheesecake cup!
- Fill the Cups: Spoon or pipe the cheesecake filling over the chilled Oreo bases, filling each cup to the top. Smooth the surface with the back of a spoon for a neat finish.
- Garnish and Chill: Sprinkle extra Oreo crumbs or mini Oreo pieces on top. Pop the cups back into the refrigerator to chill for at least 2 hours, or ideally overnight, so the flavors meld and the filling firms up.
- Serve: Remove from the fridge about 10 minutes before serving to soften slightly for the best texture.
Quick tip: If you’re pressed for time, you can speed up chilling by placing the cups in the freezer for 30 minutes, but don’t forget them or they’ll get too firm!
Cooking Tips & Techniques
Honestly, making no-bake cheesecake cups sounds easier than it sometimes feels, but with these tips, you’ll nail it every time.
- Softening Cream Cheese: Always start with room temperature cream cheese. Cold cream cheese will clump and ruin the smooth texture. I usually take mine out about 30 minutes before starting.
- Whipping Cream: Chill your mixing bowl and beaters in the fridge for 15 minutes beforehand—this helps the cream whip up faster and fluffier.
- Folding Technique: Don’t just dump the whipped cream into the cream cheese mix. Gently fold with a spatula in a figure-eight motion to keep air in the filling.
- Crust Compression: Press the Oreo crumbs firmly but don’t overdo it or you’ll have a crust as hard as a rock. Just enough to hold together is perfect.
- Don’t Skip Chilling: The filling needs time to set. This step is crucial for texture and flavor development.
- Multitasking: While the crust chills, whip your cream and prep filling to save time. Efficiency is key when you’re short on minutes.
One time, I forgot to chill the cream and the filling was runny—lesson learned! It’s little things like this that make or break your dessert game.
Variations & Adaptations
- Berry Bliss: Fold in fresh strawberries or raspberries into the cheesecake filling for a fruity twist. A handful of chopped berries adds freshness and color.
- Chocolate Lovers: Mix 2 tablespoons of cocoa powder into the cream cheese before folding in the whipped cream for a rich chocolate version.
- Dairy-Free Option: Use coconut cream whipped topping and dairy-free cream cheese alternatives to make this recipe vegan-friendly.
- Crunch Upgrade: Add a layer of crushed nuts or caramel sauce between the crust and filling for extra texture and flavor.
- Mini Cheesecake Bites: Use mini cupcake liners and layer the ingredients for bite-sized treats that are perfect for parties.
I once tried adding a spoonful of peanut butter to the filling—unexpected but pretty tasty! Feel free to experiment with your favorite flavors.
Serving & Storage Suggestions
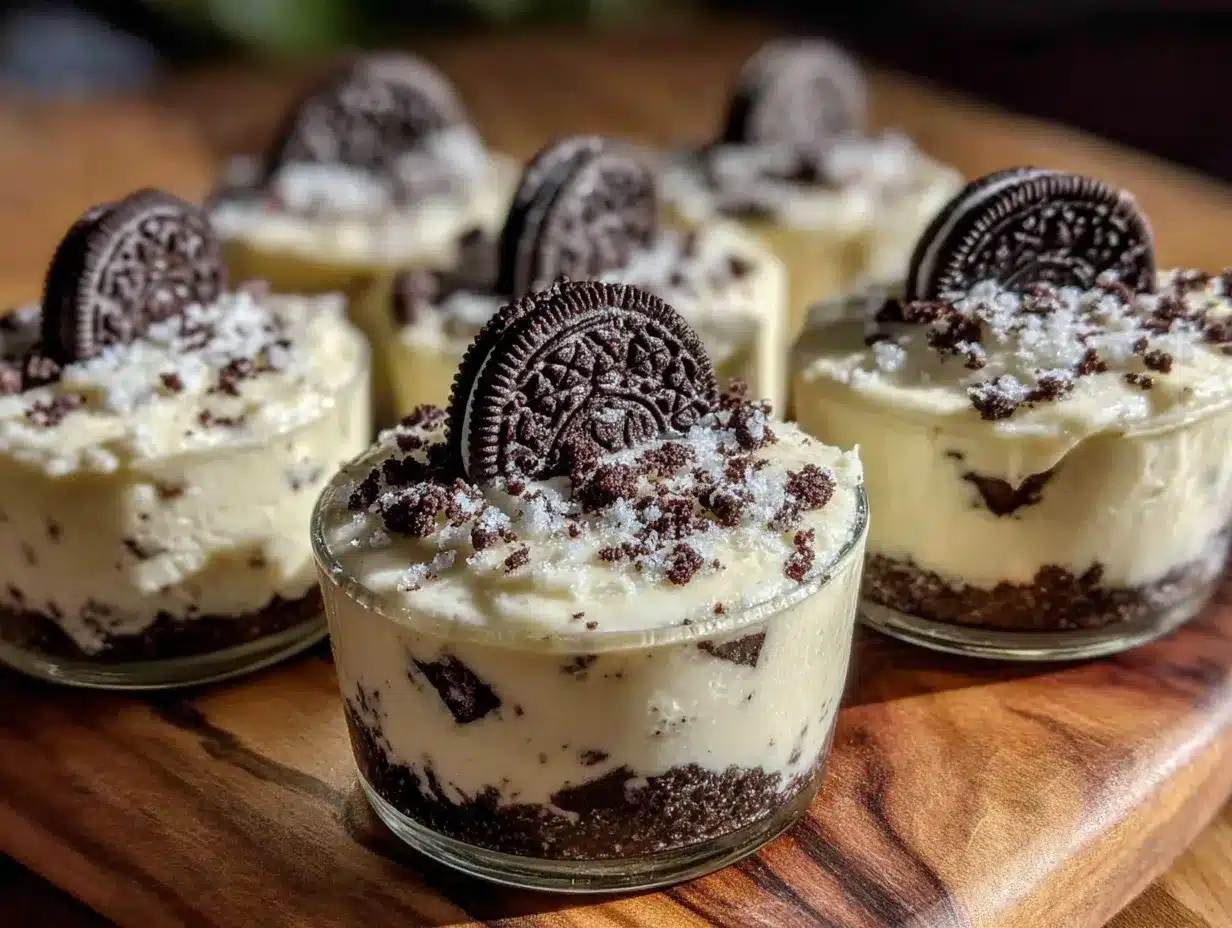
These Easy No-Bake Oreo Cheesecake Cups are best served chilled but let them sit at room temperature for about 10 minutes before serving for that creamy softness. Presentation-wise, clear plastic cups show off the layers beautifully, but small glass jars add a rustic charm.
Pair these cups with a hot cup of coffee or a cold stout beer for Father’s Day vibes. They also complement classic BBQ fare like ribs or grilled chicken nicely.
Store the cups covered in the refrigerator for up to 3 days. If you want to keep them longer, freeze for up to a month—just thaw in the fridge overnight before serving.
Reheating isn’t necessary, but if you prefer a softer texture, a few minutes at room temperature works wonders. The flavors actually get better the next day, giving you a little bonus for making ahead.
Nutritional Information & Benefits
Each serving of these cheesecake cups contains approximately 320 calories, with 22 grams of fat, 25 grams of carbohydrates, and 5 grams of protein. They’re indulgent but portion-controlled, perfect for a special treat.
The cream cheese provides calcium and vitamin A, while using Oreos adds that nostalgic cookie crunch—though keep in mind they do contain gluten and dairy.
If you’re looking for gluten-free, opt for certified gluten-free cookies, and swapping heavy cream for coconut cream can keep it dairy-free. It’s a dessert that satisfies cravings without complicated ingredients, making it a practical choice for many.
Conclusion
So there you have it—Easy No-Bake Oreo Cheesecake Cups that make Father’s Day feel a little sweeter without stealing your whole afternoon. They’re simple to make, use ingredients you love, and bring that perfect balance of creamy and crunchy. I keep coming back to this recipe because it’s just so reliable and delicious.
Feel free to tweak it to your taste—add more Oreos, fold in some fruit, or keep it classic. I’d love to hear how you make it your own, so drop a comment or share your version! Nothing beats a homemade treat that brings smiles around the table.
Here’s to celebrating Dad with something sweet, easy, and utterly satisfying. Happy baking (or should I say, no baking)!
FAQs
Can I use a different cookie instead of Oreos?
Absolutely! Graham crackers, chocolate wafers, or gluten-free cookies all work well as a crust base. Just crush finely and mix with butter.
How long do these cheesecake cups need to chill?
At least 2 hours in the fridge is best, but overnight chilling gives the best texture and flavor.
Can I make these ahead of time?
Yes, they can be made up to 3 days in advance and stored covered in the refrigerator.
What if I don’t have heavy cream?
You can use store-bought whipped topping or whip chilled coconut cream as a dairy-free alternative.
Are these cheesecake cups suitable for freezing?
Yes, freeze them for up to a month. Thaw overnight in the fridge before serving to maintain texture.
Pin This Recipe!
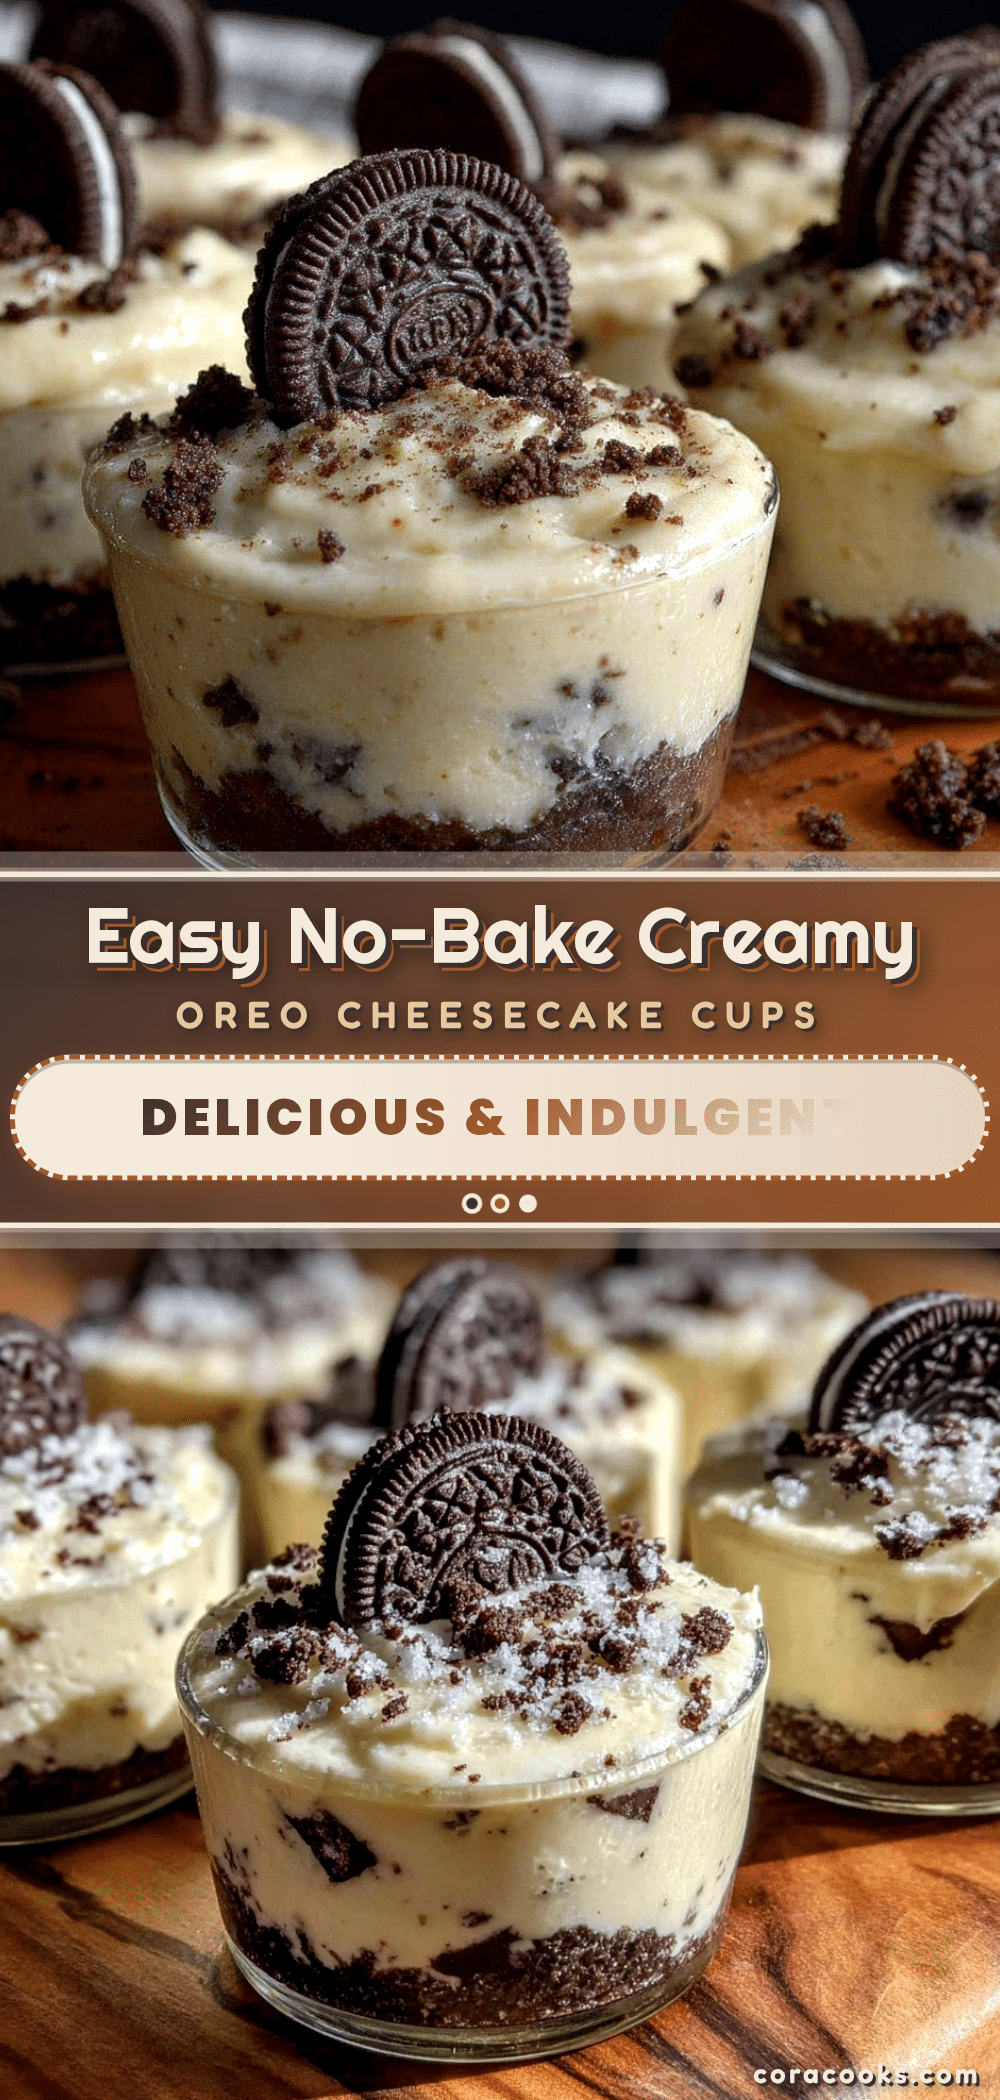
Easy No-Bake Oreo Cheesecake Cups
A quick and easy no-bake dessert featuring a crunchy Oreo crust and creamy cheesecake filling, perfect for Father’s Day or any occasion.
- Prep Time: 15 minutes
- Cook Time: 0 minutes
- Total Time: 2 hours 15 minutes
- Yield: 12 servings 1x
- Category: Dessert
- Cuisine: American
Ingredients
- 24 Oreo cookies (regular or double-stuff), crushed into fine crumbs
- 5 tablespoons unsalted butter, melted
- 8 ounces cream cheese, softened
- 1 cup heavy whipping cream, chilled
- 1/2 cup powdered sugar, sifted
- 1 teaspoon vanilla extract
- Extra Oreo crumbs or mini Oreo pieces for garnish
- Optional: fresh berries or chocolate shavings for garnish
Instructions
- Place the 24 Oreo cookies in a food processor and pulse until fine crumbs form. Alternatively, crush cookies in a zip-top bag with a rolling pin.
- Transfer crumbs to a bowl and stir in melted butter until well combined and mixture resembles wet sand.
- Spoon about 2 tablespoons of the Oreo crumb mixture into each plastic cup and press down firmly to form an even, compact base.
- Refrigerate the cups for about 10 minutes to set the crust.
- In a large bowl, beat softened cream cheese with an electric mixer until smooth and creamy (2-3 minutes). Add powdered sugar and vanilla extract and mix until incorporated.
- In a separate bowl, whip heavy cream until stiff peaks form (3-5 minutes).
- Gently fold whipped cream into the cream cheese mixture using a rubber spatula to keep the filling light and airy.
- Spoon or pipe the cheesecake filling over the chilled Oreo bases, smoothing the surface.
- Sprinkle extra Oreo crumbs or mini Oreo pieces on top and refrigerate for at least 2 hours or overnight to chill and set.
- Remove from refrigerator about 10 minutes before serving to soften slightly.
Notes
Use room temperature cream cheese for smooth texture. Chill mixing bowl and beaters before whipping cream. Gently fold whipped cream into cream cheese mixture to keep filling airy. Press Oreo crumbs firmly but not too hard to avoid a rock-hard crust. Chill filling for at least 2 hours or overnight for best texture. Can speed chilling by freezing for 30 minutes but do not forget them.
Nutrition
- Serving Size: 1 cup
- Calories: 320
- Fat: 22
- Carbohydrates: 25
- Protein: 5
Keywords: no-bake, Oreo, cheesecake, dessert, easy, quick, Father's Day, crowd-pleaser