Love this? Save it for later!
Share the inspiration with your friends
I was scraping my windshield last January — a Tuesday, I think — when the cold air hit my nose with that particular wet-metal smell of fresh snow. And suddenly I was seven years old in my Aunt Jean’s yellow kitchen, watching her pour a can of sweetened condensed milk into a bowl of snow she’d just brought in from the back porch. The snow was still falling outside the window above the sink, and I remember thinking how strange it was that something so cold could taste so sweet. Aunt Jean passed away a few years ago, and I hadn’t thought about her snow ice cream in forever. But there I stood, ice scraper in hand, shivering in the parking lot of the hardware store, trying to hold onto that memory before it melted away. Honestly, I almost cried right there. Maybe you’ve been there — that sudden punch of a memory that hits you out of nowhere, so vivid you can almost taste it.
I finished scraping the car, drove home, and immediately started Googling. I needed her recipe. But here’s the thing — Aunt Jean never wrote anything down. She was one of those cooks who just knew. A handful of this, a splash of that, a little taste test, another splash. So I spent the next three snowstorms experimenting, calling my mom, calling my cousin, trying to piece together what made that snow ice cream so impossibly good. I messed up the first batch. Too watery. The second batch? Too sweet, and it melted before we could even sit down. But the third batch? That was it. That was the one. The texture was light and fluffy, almost like a snow cone but creamier, and the sweetness was just right — rich without being cloying. I knew I had to share this fluffy snow ice cream with sweetened condensed milk recipe so you don’t have to go through the same trial and error I did.
This recipe is more than just a winter treat. It’s a way to capture a moment, a snow day, a memory. It’s the kind of thing that makes you feel like a kid again, even if you’re a grown adult with a mortgage and a to-do list. And honestly? It’s one of the simplest things you’ll ever make. You just need snow, a few pantry staples, and maybe a little patience. Let me show you how to get it right the first time.
Why You’ll Love This Recipe
Let me tell you, I’ve tested this fluffy snow ice cream with sweetened condensed milk more times than I care to admit. I wanted to get it perfect — not just good, but the kind of perfect that makes people close their eyes after the first bite. And I think I finally nailed it. Here’s why this recipe stands out from every other snow ice cream you’ve seen online:
- Quick & Easy : This comes together in under 10 minutes. Seriously. You’ll spend more time finding your mittens than actually making this. Perfect for those spontaneous snow days when the kids are bouncing off the walls and you need something fun to do — fast.
- Simple Ingredients : No fancy grocery trips needed. You probably already have everything in your kitchen right now. Sweetened condensed milk, vanilla extract, a pinch of salt — that’s it. The star ingredient is literally falling from the sky.
- Perfect for Snow Days : This is the ultimate winter activity. It turns a regular snowfall into a special occasion. Great for kids, grandkids, or just your inner child who still gets excited when the weather forecast calls for flurries.
- Crowd-Pleaser : I brought this to a neighborhood potluck last winter, and people couldn’t believe it was made from snow. Kids loved it, adults loved it, even my picky uncle who “doesn’t do desserts” had seconds. It’s one of those recipes that sparks conversation.
- Unbelievably Delicious : The texture is what gets me every time. It’s light and fluffy, almost like a frozen mousse, but with that distinct creamy richness from the sweetened condensed milk. It’s comfort food in its purest, most nostalgic form.
What makes this recipe different from the rest? It’s the technique. Most recipes tell you to just mix everything together and hope for the best. But I’ve learned that the order you add ingredients matters. The way you fold the snow matters. Even the type of snow matters — I’ll get into that later. This isn’t just another snow ice cream recipe. It’s the one that actually works, every single time, without turning into a slushy puddle before you can take a picture.
This recipe isn’t just good — it’s the kind that makes you pause after the first spoonful. It’s winter magic, plain and simple. And the best part? You can make it your own. Add sprinkles, drizzle with chocolate, stir in some crushed cookies — the possibilities are endless. But first, let’s get the base right.
What Ingredients You Will Need
This fluffy snow ice cream with sweetened condensed milk uses just a handful of simple ingredients to create something truly special. The magic is in the simplicity — each ingredient plays a specific role, and together they create a creamy, dreamy winter treat that tastes like childhood.
- 8 cups fresh, clean snow : This is the star of the show. You want freshly fallen snow — the cleaner, the better. I recommend collecting it from an open area away from trees, rooftops, or roads. Use a large bowl and scoop only the top layer. Pro tip: if you’re worried about cleanliness, you can use shaved ice as a substitute, but honestly, fresh snow has a texture that’s impossible to replicate.
- 1 can (14 ounces) sweetened condensed milk : This is what gives the ice cream its rich, creamy sweetness and that signature velvety texture. I prefer the Eagle Brand or Nestlé — they both work beautifully. Don’t try to substitute with evaporated milk or regular milk; the sweetness and thickness of condensed milk are essential here. (Adds richness and body)
- 1 teaspoon vanilla extract : Pure vanilla extract makes a noticeable difference. Imitation vanilla will work in a pinch, but the flavor won’t be as warm and complex. I use Nielsen-Massey vanilla for its rich, floral notes. (Enhances the overall flavor profile)
- Pinch of salt : Just a tiny pinch — about 1/8 teaspoon. Salt might seem counterintuitive in a sweet dessert, but it balances the sweetness and enhances all the other flavors. Don’t skip it. (Balances sweetness, brightens flavor)
- Optional mix-ins : This is where you can get creative. Sprinkles, chocolate chips, crushed cookies (Oreos are amazing), fresh berries, or a drizzle of chocolate or caramel sauce. I personally love adding a handful of mini chocolate chips — they get all crunchy in the cold snow. (Adds texture and variety)
When it comes to the snow, timing is everything. You want to collect it right before you’re ready to make the ice cream. Snow that’s been sitting for a while starts to compact and lose its fluffiness. I learned this the hard way — my first attempt used snow from a pile that had been sitting for two days, and the texture was dense and icy instead of light and fluffy. Fresh snow is key.
If you’re in a region where snow isn’t reliable, you can absolutely use shaved ice from a machine. Just make sure it’s finely shaved, not crushed. The texture needs to be light and airy, almost like powdered snow. Some grocery stores sell bags of shaved ice in the freezer section, which works in a pinch.
One more thing about the sweetened condensed milk — make sure it’s at room temperature before you start. Cold condensed milk is thick and gloppy, and it won’t incorporate evenly into the snow. Just let it sit on the counter for 15-20 minutes while you’re collecting your snow. Trust me on this one. I ruined a perfectly good batch of snow by being impatient.
Equipment Needed
You don’t need any fancy equipment for this recipe, which is part of its charm. Here’s what you’ll need:
- Large mixing bowl : You need a big bowl — at least 4 quarts. Snow is voluminous, and you’ll be surprised how much space 8 cups takes up. I use my grandmother’s old ceramic mixing bowl, but any large bowl will work. Metal bowls are great because they stay cold longer.
- Measuring cups and spoons : A standard set for measuring the snow and the other ingredients. For the snow, I just use a regular 1-cup measuring cup and scoop it loosely — don’t pack it down.
- Rubber spatula or large spoon : You’ll be folding the ingredients together, so a flexible spatula works best. It helps you scrape the sides and incorporate everything evenly without crushing the snow.
- Small bowl : For mixing the sweetened condensed milk, vanilla, and salt together before adding to the snow. This step ensures even distribution.
- Serving bowls or cones : Snow ice cream melts fast, so have your serving dishes ready to go before you start mixing.
- Freezer-safe container (optional) : If you have leftovers — and that’s a big if — you’ll want a container to store them in the freezer.
That’s it. No ice cream maker, no churner, no fancy gadgets. Just simple tools and fresh snow. If you don’t have a rubber spatula, a wooden spoon works fine. If you don’t have a large bowl, use a pot. The recipe is forgiving, and the equipment doesn’t have to be perfect.
Preparation Method
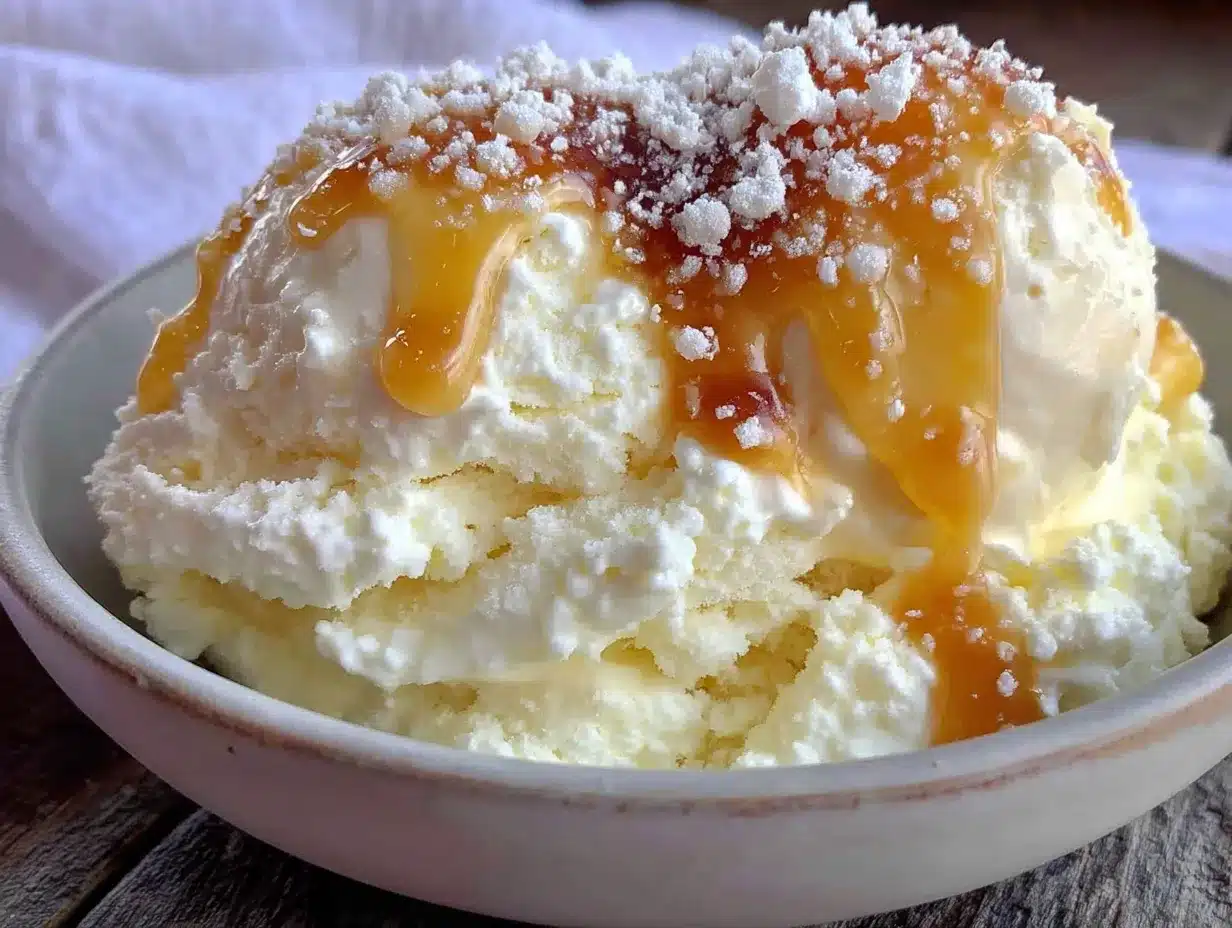
Making this fluffy snow ice cream with sweetened condensed milk is almost too easy. But there are a few tricks I’ve learned that make the difference between a bowl of icy slush and a creamy, dreamy snow ice cream. Follow these steps carefully, and you’ll get it right every time.
- Collect your snow : Wait for a fresh snowfall — ideally within the first few hours. Head outside with your large bowl and scoop up the top layer of snow. Avoid any snow that’s discolored, has debris, or is near roads or driveways. Fill your bowl with about 8 cups of loosely packed snow. Don’t press it down. Bring it inside immediately and place it in the freezer while you prepare the other ingredients. This keeps it from melting too fast.
- Prepare the condensed milk mixture : In a small bowl, combine the entire can of sweetened condensed milk, 1 teaspoon of vanilla extract, and a pinch of salt. Whisk or stir until everything is well combined and smooth. The mixture should be thick and creamy. Set it aside. This is your flavor base — get it right, and the rest is easy.
- Take the snow out of the freezer : Your snow should still be light and fluffy, not melting. If it’s starting to get watery, you waited too long. Work quickly from here on out.
- Pour the condensed milk mixture over the snow : Drizzle it evenly across the surface of the snow. Don’t dump it all in one spot — you want it distributed so you don’t have to mix too aggressively.
- Fold gently : Using your rubber spatula or large spoon, fold the mixture into the snow. Start from the bottom and bring it up and over, rotating the bowl as you go. The key word here is gently. You’re not stirring; you’re folding. You want to incorporate the sweetened condensed milk without deflating the snow. Think of it like folding whipped cream into a batter — light, careful strokes. This should take about 30-45 seconds.
- Check the consistency : The ice cream should be thick, creamy, and scoopable. If it looks too wet or soupy, you can add a little more snow — but do it sparingly. If it looks too dry, drizzle in a tiny bit more milk. The texture should be like soft-serve ice cream, not like a snow cone. Remember, it will firm up slightly as it sits.
- Serve immediately : This is not a recipe for patience. Snow ice cream waits for no one. Scoop it into bowls or cones right away. If you want to add mix-ins like sprinkles or chocolate chips, sprinkle them on top after scooping, or fold them in very gently during the last few folds.
- Optional: Freeze for later : If you somehow have leftovers, transfer the ice cream to a freezer-safe container and press a piece of plastic wrap directly onto the surface to prevent ice crystals. Freeze for up to 2 hours. After that, it starts to get icy. Honestly, though, this is best enjoyed fresh.
A few notes from my many experiments: If your ice cream turns out too watery, it’s usually because the snow was too wet or you mixed too aggressively. If it’s too sweet, add a little more snow next time. If it’s not sweet enough, drizzle in a little extra condensed milk. The beauty of this recipe is that it’s endlessly adjustable. I once made a batch that was way too sweet, so I just added more snow until it balanced out. Problem solved.
Cooking Tips & Techniques
Over the years, I’ve learned a few things about making snow ice cream — mostly through trial and error. Let me save you some trouble.
The biggest mistake people make is using old snow. I get it — you see a snowstorm coming, and you want to be prepared. But snow that’s been sitting for more than a few hours starts to compact and lose its airy structure. It’s denser, wetter, and will turn your ice cream into a slushy mess. Fresh snow is non-negotiable. I’ve tried using snow from a pile that had been sitting for two days, and the texture was terrible — icy and hard instead of light and fluffy. Learn from my mistakes.
Work fast, but don’t panic. Snow ice cream is a race against time, but rushing will only make things worse. If you’re too aggressive with your mixing, you’ll deflate the snow and end up with a watery puddle. Move with purpose but gently. I like to think of it as a calm, focused activity — like making a soufflé, but with snow.
Temperature matters more than you think. Your bowl should be cold. Your spatula should be cold. Your kitchen shouldn’t be too warm. If your house is toasty, consider working near an open window or even outside. I once made a batch on a particularly warm winter day — it was above freezing — and the ice cream melted before we could even sit down. Now I check the forecast before I commit.
Use a light hand with mix-ins. If you’re adding chocolate chips, sprinkles, or cookie pieces, fold them in very gently at the very end. Overmixing will crush the snow and make the ice cream dense. I prefer to sprinkle them on top after serving — it’s easier and looks prettier.
Don’t be afraid to taste as you go. This is the best part of being the cook. Taste the condensed milk mixture before you add it to the snow. Does it need more vanilla? A little more salt? Adjust now, not after you’ve mixed everything together. I always taste my base mixture and tweak it until it’s perfect.
Variations & Adaptations
One of the best things about this fluffy snow ice cream with sweetened condensed milk is how customizable it is. Here are some of my favorite variations:
Chocolate Snow Ice Cream : Whisk 2 tablespoons of unsweetened cocoa powder into the condensed milk mixture before adding it to the snow. You might need to add an extra tablespoon of condensed milk to balance the bitterness. It’s like a frozen hot chocolate — rich, decadent, and utterly satisfying.
Mint Chocolate Chip : Add 1/2 teaspoon of peppermint extract to the condensed milk mixture (in addition to or instead of the vanilla). Fold in a handful of mini chocolate chips at the end. The mint flavor pairs beautifully with the cold snow, and the chocolate chips add a nice crunch. I make this version every Christmas.
Vegan Version : Use a can of full-fat coconut condensed milk (like Nature’s Charm or Let’s Do Organic) and a vegan vanilla extract. The coconut flavor is subtle but delicious, and the texture is just as creamy. I’ve served this to non-vegans who couldn’t tell the difference.
Fruity Snow Ice Cream : Swirl in 2-3 tablespoons of fruit jam or preserves at the very end — just a few gentle folds so you get ribbons of fruit throughout. Strawberry, raspberry, or even orange marmalade work beautifully. It adds a bright, tangy contrast to the sweetness.
Coffee Lover’s Version : Dissolve 1 teaspoon of instant espresso powder in 1 tablespoon of warm water, then stir it into the condensed milk mixture. The coffee flavor cuts through the sweetness and adds a grown-up twist. This is my go-to for late-night snowstorms.
Cookie Butter Snow Ice Cream : Swirl in 2 tablespoons of cookie butter (like Speculoos or Biscoff spread) at the end. It’s ridiculously good — like eating a frozen cookie butter sandwich. I discovered this variation by accident when I was out of chocolate chips, and now it’s my favorite.
Serving & Storage Suggestions
Snow ice cream is best enjoyed immediately — that’s part of its magic. But there are a few ways to make the experience even better.
Serving temperature : Serve right after mixing, while it’s still soft and creamy. It should be scoopable but not melting. If you let it sit too long, it will start to turn into a puddle. Have your bowls, spoons, and any toppings ready before you start mixing.
Presentation ideas : Serve in chilled bowls or waffle cones for an extra-special touch. Top with a drizzle of chocolate syrup, a sprinkle of colorful sprinkles, or a few fresh berries. A dollop of whipped cream never hurts either. I like to serve mine in vintage glass coupe dishes — it makes the whole experience feel more elegant.
Complementary dishes : This ice cream pairs beautifully with warm desserts. Serve it alongside a slice of warm apple pie, a brownie fresh from the oven, or a piece of gingerbread. The contrast between hot and cold is heavenly. I also love serving it with a cup of hot cocoa or coffee.
Storage : If you have leftovers — and that’s a rare occurrence in my house — transfer the ice cream to a freezer-safe container. Press a piece of plastic wrap directly onto the surface to prevent ice crystals from forming. Seal with a lid and freeze for up to 2 hours. After that, it starts to get icy and loses its fluffy texture. Honestly, this recipe doesn’t store well, so plan to eat it all in one sitting. That’s not usually a problem.
Reheating : You can’t really reheat snow ice cream, but if it’s been in the freezer and gotten too hard, let it sit at room temperature for 5-10 minutes to soften slightly. It won’t be as fluffy as fresh, but it’s still edible.
Nutritional Information & Benefits
Let’s be real — this is a treat. It’s not health food, and that’s okay. But here’s what you should know:
Estimated nutritional values per serving (based on 6 servings): Approximately 250-300 calories, 6g fat, 45g carbohydrates, 5g protein, 40g sugar. These numbers will vary based on your mix-ins and serving size.
Health benefits of key ingredients : Sweetened condensed milk is a good source of calcium and vitamin D, thanks to the milk content. It also provides a small amount of protein. The snow itself is, well, water — so it’s hydrating? I’m reaching here, but hey, hydration is important.
Dietary considerations : This recipe is vegetarian. For a vegan version, use coconut condensed milk. It’s naturally gluten-free, but check your mix-ins if you have celiac disease. It contains dairy, so it’s not suitable for those with lactose intolerance unless you use a dairy-free alternative.
Potential allergens : Dairy (milk), and possibly soy depending on your vanilla extract brand. Always check labels if you’re serving someone with allergies.
My personal perspective : I believe in balance. This is a special treat for snow days, not something you eat every day. It’s about joy, nostalgia, and making memories. A little sugar never hurt anyone when it’s wrapped in a moment of pure happiness. Plus, you’re playing in the snow, so that counts as exercise, right?
Conclusion
This fluffy snow ice cream with sweetened condensed milk is more than just a recipe — it’s a winter tradition waiting to happen. It’s simple enough to make with kids, special enough to serve at a party, and nostalgic enough to bring back memories of snow days past. I’ve made this recipe more times than I can count, and it never gets old. Every snowfall feels like an invitation to create something sweet and share it with the people I love.
I hope you’ll give it a try. Don’t be afraid to make it your own — add your favorite mix-ins, experiment with flavors, and most importantly, enjoy the process. There’s something magical about turning a natural phenomenon into a dessert. It’s like capturing a snowflake and turning it into joy.
If you make this recipe, I’d love to hear about it. Leave a comment below and let me know how it turned out. Did you add something unexpected? Did your kids love it? Did you eat the whole batch by yourself? No judgment here. Share your snow ice cream stories, tag me in your photos, and let’s keep this winter tradition alive. After all, every snowstorm is an opportunity for something delicious. Happy snow day, friends!
Frequently Asked Questions
Can I use any type of snow for this recipe?
You want fresh, clean snow — ideally from the first few hours of a snowfall. Avoid snow that’s been sitting for a while, as it becomes dense and wet. Also, avoid snow near roads, driveways, or trees where debris might have fallen. If you’re unsure, shaved ice from a machine is a safe alternative.
Why did my snow ice cream turn out watery?
This usually happens for one of two reasons: the snow was too wet (old or melting snow), or you mixed too aggressively, which deflated the airy structure of the snow. Next time, use fresher snow and fold gently instead of stirring.
Can I make this recipe without sweetened condensed milk?
You can, but the texture and sweetness won’t be the same. Sweetened condensed milk provides the perfect balance of creaminess and sweetness. If you substitute with regular milk and sugar, the ice cream will be icier and less rich. If you need a dairy-free option, use coconut condensed milk.
How long does snow ice cream last in the freezer?
Fresh is best. If you must store it, it will keep for up to 2 hours in the freezer before it starts to get icy. After that, the texture degrades significantly. I recommend making only as much as you’ll eat in one sitting.
Can I make this recipe if there’s no snow outside?
Absolutely! Use finely shaved ice from a machine or a bag of shaved ice from the grocery store. The texture won’t be quite as light and fluffy as fresh snow, but it’s a great substitute. Just make sure the ice is finely shaved, not crushed or cubed.
Pin This Recipe!
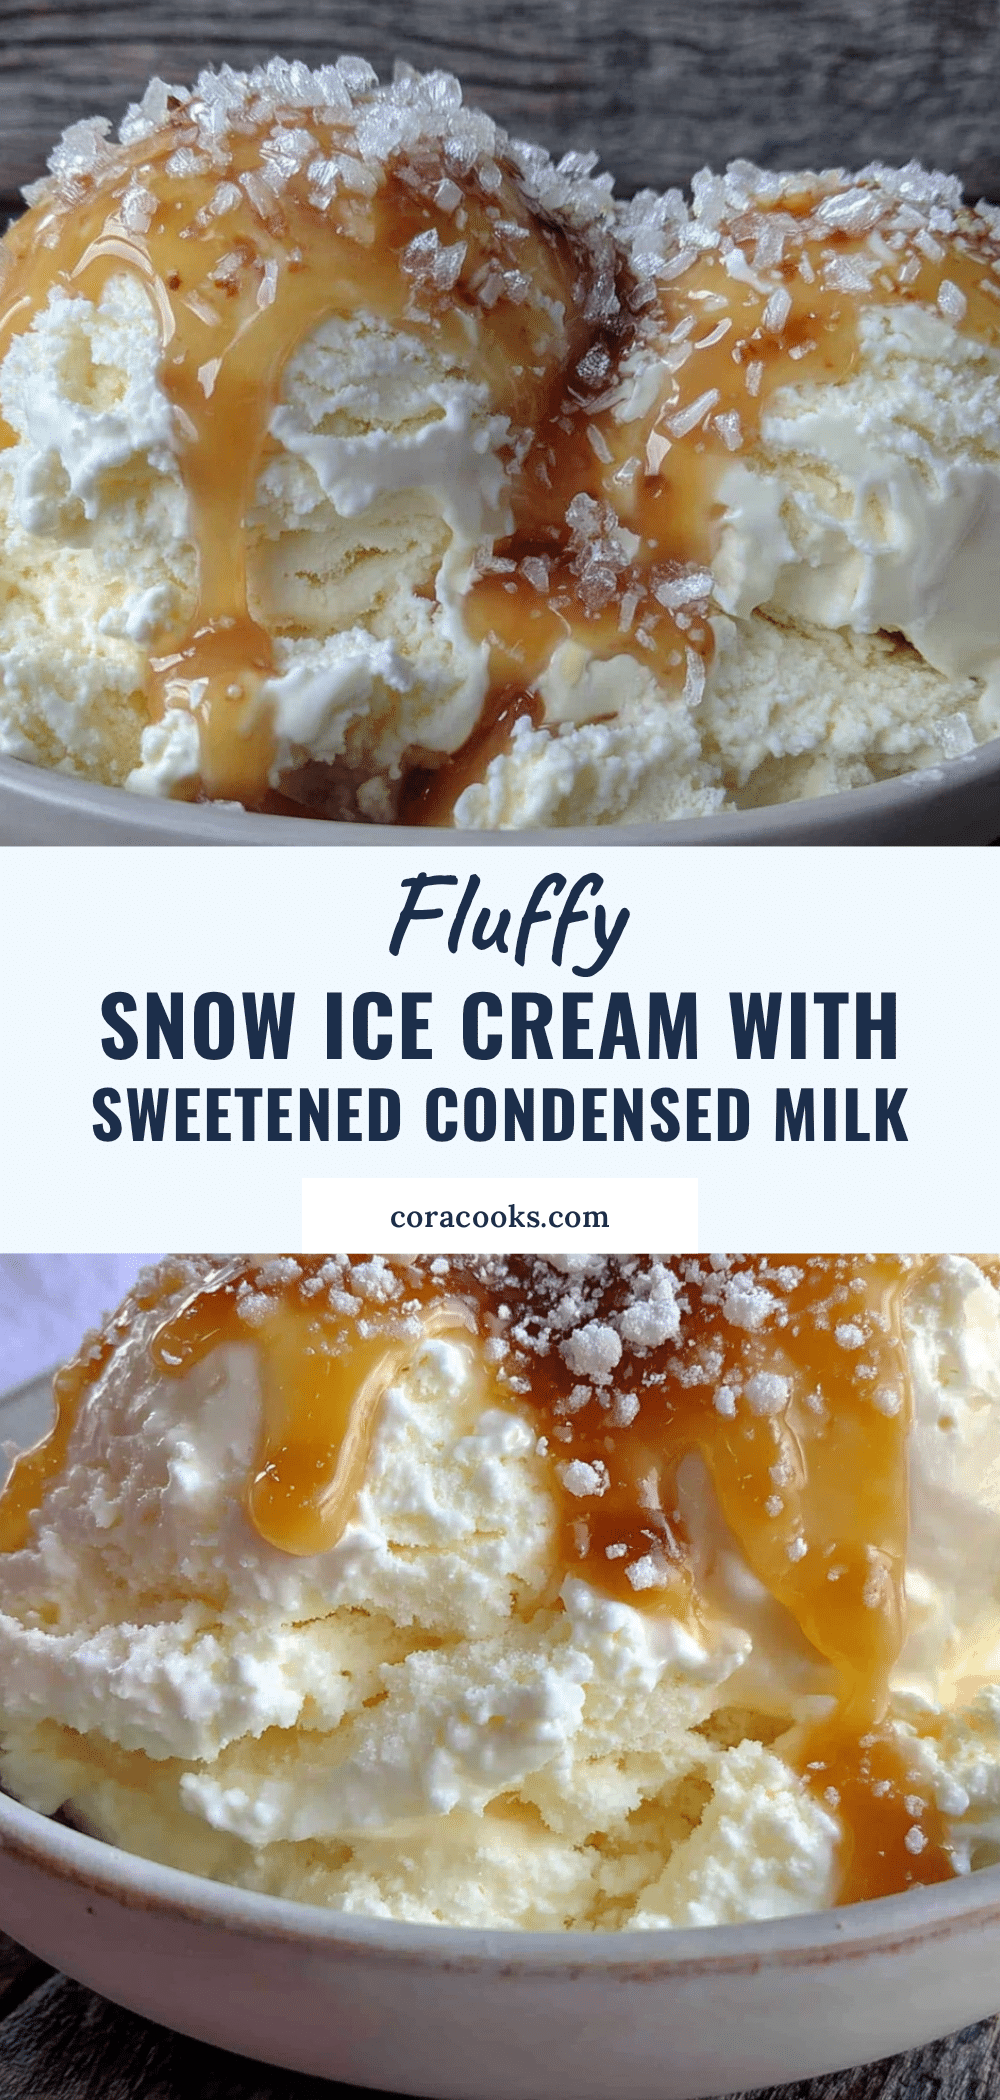
Fluffy Snow Ice Cream with Sweetened Condensed Milk

This fluffy snow ice cream with sweetened condensed milk is a quick and easy winter treat that captures the magic of a snow day. Made with fresh snow and simple pantry staples, it’s creamy, nostalgic, and perfect for sharing.
- Prep Time: 10 minutes
- Cook Time: 0 minutes
- Total Time: 10 minutes
- Yield: 6 servings 1x
- Category: Dessert
- Cuisine: American
Ingredients
- 8 cups fresh, clean snow
- 1 can (14 ounces) sweetened condensed milk
- 1 teaspoon vanilla extract
- Pinch of salt (about 1/8 teaspoon)
- Optional mix-ins: sprinkles, chocolate chips, crushed cookies, fresh berries, chocolate or caramel sauce
Instructions
- Collect your snow: Wait for a fresh snowfall and scoop up the top layer of clean snow into a large bowl. Fill with about 8 cups of loosely packed snow. Place the bowl in the freezer while you prepare the other ingredients.
- Prepare the condensed milk mixture: In a small bowl, combine the entire can of sweetened condensed milk, 1 teaspoon of vanilla extract, and a pinch of salt. Whisk until smooth and well combined.
- Take the snow out of the freezer. It should still be light and fluffy.
- Pour the condensed milk mixture evenly over the snow.
- Fold gently using a rubber spatula or large spoon, starting from the bottom and bringing it up and over. Fold gently for about 30-45 seconds until incorporated, being careful not to deflate the snow.
- Check the consistency: The ice cream should be thick, creamy, and scoopable, like soft-serve. If too wet, add a little more snow; if too dry, drizzle in a tiny bit more condensed milk.
- Serve immediately in bowls or cones. Add optional mix-ins on top or fold in very gently at the end.
- Optional: If there are leftovers, transfer to a freezer-safe container, press plastic wrap onto the surface, and freeze for up to 2 hours.
Notes
Use fresh, clean snow from the top layer of a recent snowfall. Avoid snow near roads or trees. Work quickly and gently to prevent melting. The condensed milk should be at room temperature for easier mixing. For best texture, serve immediately.
Nutrition
- Serving Size: 1 serving
- Calories: 275
- Sugar: 40
- Sodium: 100
- Fat: 6
- Saturated Fat: 4
- Carbohydrates: 45
- Protein: 5
Keywords: snow ice cream, sweetened condensed milk, winter dessert, snow day treat, easy ice cream, no churn ice cream