Love this? Save it for later!
Share the inspiration with your friends
My neighbor, a retired caterer named Diane, watched me struggle with a massive turkey carcass the day after Thanksgiving. I was standing in my driveway, trying to figure out how to fit it into my already overflowing trash can, muttering about all the leftovers we’d never finish. She didn’t say anything at first. Then she walked over, looked at the bird, and said, “You know, the real star of Thanksgiving isn’t the first meal. It’s the second one.” She invited me into her kitchen, where she pulled out a bag of sweet Hawaiian rolls and began shredding the leftover meat. That afternoon, standing over her counter with a cup of coffee, she showed me how to turn the chaos of leftovers into something intentional—something you actually look forward to eating. The recipe wasn’t written down. It was just Diane talking about what her mother used to do, and what she’d learned working events for years. I scribbled notes on a napkin. Honestly, I’ve been making some version of these sliders ever since, and they’ve become the dish my friends request most. The first time I brought them to a Friendsgiving, I forgot the cranberry sauce—just completely spaced it. But you know what? Nobody noticed. They were too busy grabbing seconds. Let me tell you, that’s when I knew this recipe was something special.
Why You’ll Love This Recipe
These sliders are my secret weapon for hosting. I’ve tested them at four different Friendsgiving gatherings now, and they disappear every single time. Here’s what makes them stand out from every other appetizer on the table:
- Completely Make-Ahead Friendly: Assemble them the night before, pop them in the fridge, and bake them when guests arrive. No last-minute stress. Seriously, you can do everything except the final bake ahead of time.
- Uses Leftover Turkey (or Rotisserie Chicken): This is the perfect recipe for that leftover turkey you’re not sure what to do with. But honestly, I’ve made it with rotisserie chicken in July because I was craving it. No judgment here.
- Scales Beautifully for a Crowd: One batch feeds 12 people easily. For a bigger party, just double the recipe and use two baking dishes. I’ve done this for a group of 20, and it worked perfectly.
- All the Flavors of Thanksgiving in One Bite: You get turkey, stuffing, cranberry sauce, and melty cheese between soft, buttery rolls. It’s like the whole meal condensed into the most satisfying handheld food.
- Unbelievably Delicious: The texture combo is next-level. The tops get golden and slightly crisp, the rolls stay soft on the inside, and the filling is warm and savory with that pop of tart cranberry.
This isn’t just another slider recipe. The trick is toasting the rolls before assembling them—it prevents them from getting soggy from the wet ingredients. That one step makes all the difference between a sad, mushy sandwich and a perfectly structured slider that holds together even when loaded with filling. I learned that the hard way after my first batch turned into a delicious but messy pile of bread and turkey.
What Ingredients You Will Need
This recipe uses simple, mostly pantry-staple ingredients to deliver big flavor. The beauty is that you probably already have most of these items if you just hosted or attended a Thanksgiving dinner.
For the Sliders
- 12-count package sweet Hawaiian rolls (like King’s Hawaiian) — these are non-negotiable for the best flavor and texture. The slight sweetness balances the savory filling perfectly.
- 3 cups cooked turkey, shredded or chopped — leftover Thanksgiving turkey is ideal, but a rotisserie chicken works great too. I prefer a mix of white and dark meat for moisture.
- 2 cups prepared stuffing — leftover stuffing is perfect. If you’re making fresh, I recommend a classic sage and onion stuffing. I use Pepperidge Farm in a pinch, but homemade is obviously better.
- 1 cup whole berry cranberry sauce — the whole berries give nice texture. Jellied works too, but spread it thin. I’ve used both and prefer the whole berry for the little pops of tartness.
- 8 slices sharp white cheddar cheese — the sharpness cuts through the richness. Provolone or Swiss are good alternatives if you want to switch it up.
- 1/2 cup mayonnaise — this goes on the inside of the rolls for moisture and flavor. Don’t skip it. It sounds weird, but it works.
- 2 tablespoons Dijon mustard — adds a little tang that brightens everything up. Whole grain mustard works too.
For the Topping
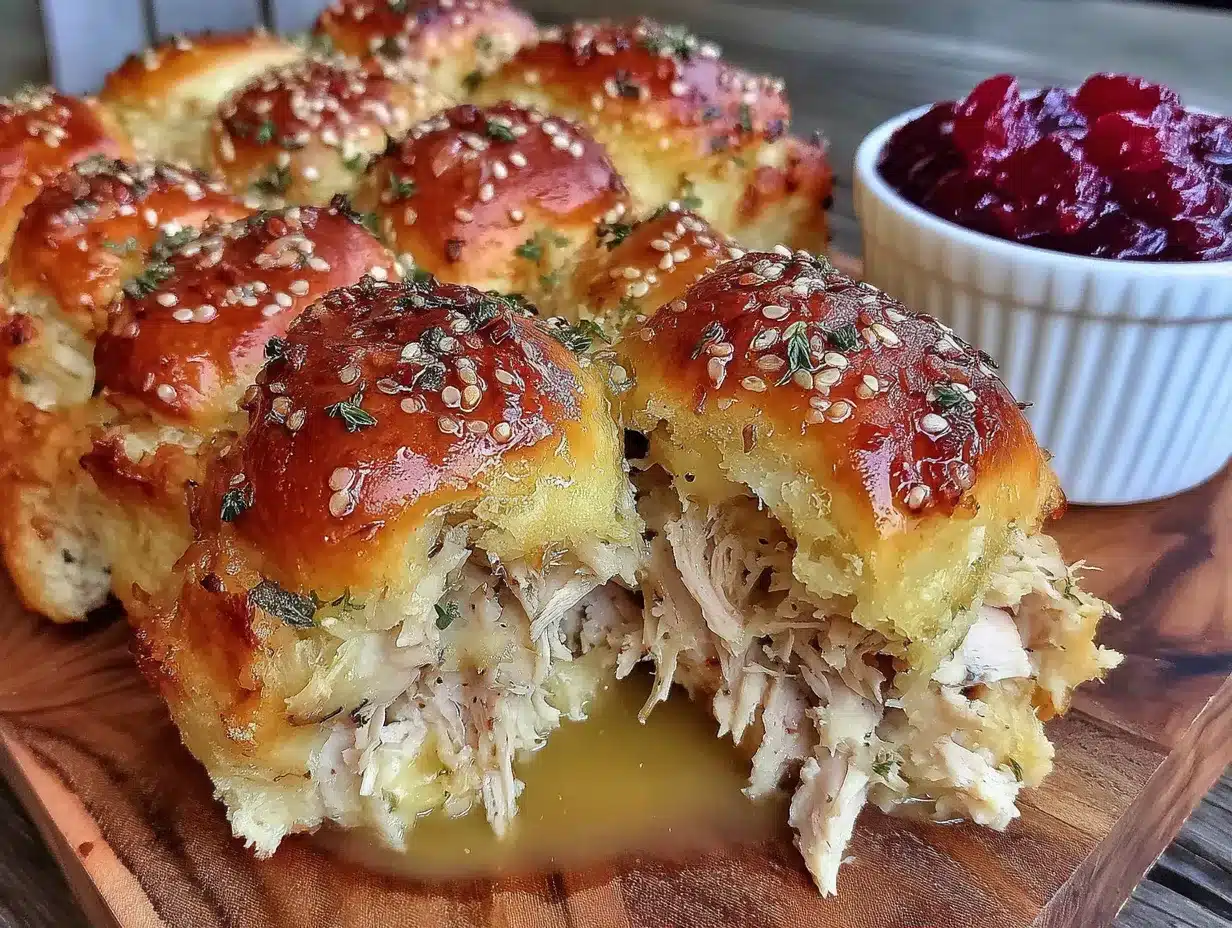
- 1/2 cup unsalted butter, melted — this is what makes the tops golden and irresistible. I use salted butter sometimes and just skip the extra salt.
- 1 tablespoon poppy seeds — adds that classic look and a little crunch. Sesame seeds work if that’s what you have.
- 1 tablespoon dried minced onion — rehydrates in the butter and adds savory depth. Onion powder works in a pinch.
- 1 teaspoon garlic powder — don’t use fresh garlic here; it will burn. Garlic powder blends into the butter perfectly.
- 1/2 teaspoon salt — I use kosher salt for even seasoning.
- 1/4 teaspoon black pepper — freshly ground if you have it.
For the best texture, make sure your turkey is at room temperature before assembling. Cold turkey straight from the fridge will make the rolls soggy as they warm up unevenly in the oven. I learned this the hard way when I was rushing before a party. Now I let the turkey sit out while I prep everything else.
Equipment Needed
You don’t need anything fancy for this recipe. Here’s what you’ll need:
- 9×13-inch baking dish — this is the perfect size for 12 sliders. A slightly smaller dish works too, but the rolls will be snug. That’s actually fine—it helps them stay together.
- Sharp knife or serrated knife — for cutting the rolls in half cleanly. A serrated knife works best because it won’t squish the soft rolls. I use my bread knife and it glides right through.
- Small skillet or saucepan — for melting the butter and mixing the topping. I use a small saucepan to avoid splatters.
- Pastry brush or spoon — for brushing the butter mixture over the rolls. A brush gives more even coverage, but a spoon works if that’s what you have.
- Cutting board — for prepping the turkey and slicing anything if needed.
- Mixing bowl — for combining the mayonnaise and mustard.
- Aluminum foil — for covering the dish during the first part of baking. This prevents the tops from burning before the inside is hot.
If you don’t have a pastry brush, just use a spoon to drizzle the butter mixture evenly. It’s not as pretty, but it tastes the same. And honestly, nobody is looking at the tops of these sliders once they’re being devoured.
Preparation Method
Making these sliders is straightforward, but a few key steps make all the difference. Follow these closely, and you’ll have perfect sliders every time.
- Preheat your oven to 350°F (175°C). Get this going first so it’s ready when you are. Position the rack in the middle of the oven for even heat distribution.
- Prepare the baking dish. Lightly grease your 9×13-inch dish with butter or non-stick spray. This prevents the bottoms from sticking. I use butter for extra flavor, but spray works fine.
- Slice the rolls in half horizontally. Keep the rolls connected as a whole slab. Using a serrated knife, carefully cut through the entire package at once. Place the bottom half of the rolls in the prepared dish. If a few rolls separate, just push them back together—they’ll fuse during baking. Don’t stress about perfection here.
- Toast the bottom half. Place the dish with the bottom rolls in the oven for 5 minutes. This is the secret step that prevents sogginess. The rolls get slightly crisp and create a barrier against the wet ingredients. I forgot this step once, and the bottoms were a sad, mushy mess. Never again.
- Make the spread. In a small bowl, combine the mayonnaise and Dijon mustard. Stir until smooth. This mixture adds moisture and tang to the sliders. Some people think mayo is weird here, but trust me—it melts into the bread and creates this amazing richness.
- Spread the mayo mixture. Remove the dish from the oven and spread the mayo-mustard mixture evenly over the toasted bottom rolls. Be generous but don’t soak them. Use the back of a spoon to spread it thin.
- Layer the turkey. Distribute the shredded turkey evenly over the spread. Make sure every slider gets some turkey. I use about 1/4 cup per slider, but eyeball it. You want a nice even layer without huge clumps.
- Add the cranberry sauce. Spoon small dollops of cranberry sauce over the turkey. Don’t spread it—just drop it in small spoonfuls. This way, every bite gets little bursts of tartness instead of one soggy stripe. About 1 tablespoon per slider is perfect.
- Layer the stuffing. Crumble the stuffing evenly over the cranberry layer. Press it down gently so it stays in place. If your stuffing is very dry, sprinkle a tablespoon of turkey broth over it before adding the top rolls. This keeps everything moist.
- Add the cheese. Place the cheese slices evenly over the stuffing. Tear them to fit if needed. The cheese should cover most of the surface. It melts into the stuffing and holds everything together.
- Place the top half of the rolls. Gently lay the top half of the rolls over the filling. Press down lightly to settle everything. If the rolls seem too tall, press them gently—they’ll compress during baking.
- Make the butter topping. In a small saucepan over low heat, melt the butter. Add the poppy seeds, dried minced onion, garlic powder, salt, and pepper. Stir until combined. Let it sit for a minute so the dried onion rehydrates slightly.
- Brush the topping. Using a pastry brush, generously brush the butter mixture over the tops of the rolls. Make sure every roll gets some. Don’t be shy—this is what creates that golden, crispy top. If the butter pools in the corners, that’s fine.
- Let it rest. Cover the dish with aluminum foil and let it sit at room temperature for 15 minutes. This allows the flavors to meld and the rolls to absorb some of the butter. If you’re making these ahead, stop here and refrigerate for up to 24 hours.
- Bake covered. Place the covered dish in the preheated oven and bake for 20 minutes. The foil traps steam and ensures the inside gets hot without the tops burning. If the sliders were refrigerated, add 5 minutes to this time.
- Bake uncovered. Remove the foil and bake for another 10-15 minutes, until the tops are golden brown and the cheese is melted and bubbly. The edges should be slightly crispy, and the butter will be sizzling. Keep an eye on them after 10 minutes—ovens vary.
- Rest before serving. Remove from the oven and let the sliders rest for 5-10 minutes. This is crucial. The cheese needs to set slightly, or everything will slide apart when you try to separate them. Use a sharp knife to cut between the rolls. Serve warm.
Cooking Tips & Techniques
After making these sliders more times than I can count, I’ve picked up a few tricks that make the process smoother and the results better.
Don’t skip the toasting step. I know it seems like an extra, unnecessary step. But I promise you, it’s the difference between sliders that hold their shape and sliders that turn into a delicious pile of mush. The toasted bottom creates a barrier that keeps the bread from absorbing too much moisture from the cranberry sauce and stuffing. I learned this the hard way when I made a batch for a football party and had to serve them with forks.
Use room temperature turkey. Cold turkey straight from the fridge will cool down the other ingredients and lead to uneven heating. Let the turkey sit out for about 20 minutes while you prep everything else. If you’re in a hurry, microwave it for 30 seconds to take the chill off.
Don’t overstuff. It’s tempting to pile on the filling, but too much will make the sliders impossible to eat. You want a balanced ratio of bread to filling. About 1/4 cup of turkey, 1 tablespoon of cranberry sauce, and a generous pinch of stuffing per slider is perfect. The rolls should close without bulging.
Let them rest after baking. This is the hardest step because your kitchen will smell incredible. But cutting into them too early will result in a messy slide of filling. Give them at least 5 minutes. The cheese needs to set and the structure needs to stabilize. I usually set a timer so I don’t get impatient.
Make them ahead for parties. Assemble the sliders completely, including the butter topping, up to 24 hours in advance. Cover tightly and refrigerate. When you’re ready to bake, add 5-10 minutes to the covered baking time. This is a lifesaver for hosting because all you have to do is pop them in the oven while your guests are arriving.
Variations & Adaptations
These sliders are incredibly versatile. Here are some ways I’ve adapted them for different occasions and dietary needs.
Vegetarian Version
Replace the turkey with 2 cups of roasted mushrooms and caramelized onions. Cremini or shiitake mushrooms work beautifully. Sauté them until deeply browned, then layer them just like you would the turkey. The umami flavor is incredible, and even meat-eaters at my table have gone for seconds of this version.
Spicy Cranberry Twist
Add 1/2 teaspoon of red pepper flakes to the cranberry sauce before assembling. Or use a spicy cranberry relish if you have it. The heat contrasts beautifully with the sweet rolls and savory stuffing. I made this version for a Friendsgiving where everyone brought a spicy dish, and it was the first thing to disappear.
Breakfast Sliders
Use the same technique but swap the turkey for scrambled eggs and breakfast sausage. Replace the cranberry sauce with a thin layer of maple syrup or apple butter. The butter topping works perfectly here too. I’ve served these for brunch, and they’re always a hit.
Gluten-Free Option
Use gluten-free Hawaiian rolls or any soft gluten-free slider buns. The technique remains the same. Make sure your stuffing is gluten-free as well. I’ve tested this with Schar brand rolls, and the texture was surprisingly good. Just watch the baking time—gluten-free rolls can dry out faster.
Dairy-Free Adaptation
Use dairy-free cheese and vegan butter for the topping. Miyoko’s brand cheddar-style shreds melt well. The rest of the recipe stays the same. I’ve made this for a friend with dairy sensitivity, and she said it was the best thing she’d eaten all holiday season.
Serving & Storage Suggestions
These sliders are best served warm, straight from the oven. The contrast between the crispy, buttery tops and the soft, warm filling is what makes them so addictive. Here’s how to serve and store them.
For serving: Arrange the sliders on a large platter or wooden board. Garnish with fresh parsley or rosemary sprigs for color. Serve with extra cranberry sauce on the side for dipping. I also like to put out a small bowl of gravy for those who want extra moisture. These are perfect as a main dish for a casual Friendsgiving or as a hearty appetizer for a larger gathering.
What to serve alongside: These sliders pair beautifully with a simple green salad dressed with vinaigrette to cut through the richness. Roasted vegetables like Brussels sprouts or green beans are also great. For drinks, a crisp apple cider or a light beer complements the flavors perfectly. If you’re serving these as part of a larger spread, they go well with sweet potato fries or a simple coleslaw.
Storage instructions: Store leftover sliders in an airtight container in the refrigerator for up to 3 days. The texture will soften, but the flavor remains delicious. To reheat, wrap individual sliders in foil and warm in a 350°F oven for 10 minutes. The microwave works in a pinch, but the tops will lose their crispness. I don’t recommend freezing these—the bread texture changes too much.
How flavors develop: Honestly, these sliders taste even better the next day. The flavors meld together overnight, and the cranberry sauce soaks into the stuffing in the most wonderful way. I sometimes make a batch specifically for leftovers. Just reheat them gently, and they’re almost better than fresh.
Nutritional Information & Benefits
While these sliders are definitely a treat, they do offer some nutritional benefits thanks to the wholesome ingredients. Here’s a rough estimate per slider (based on 12 servings):
| Nutrient | Amount per Slider |
|---|---|
| Calories | 380 |
| Total Fat | 22g |
| Saturated Fat | 12g |
| Cholesterol | 85mg |
| Sodium | 620mg |
| Total Carbohydrates | 28g |
| Dietary Fiber | 2g |
| Sugars | 8g |
| Protein | 22g |
The turkey provides lean protein, which helps keep you full and satisfied. Cranberries are packed with antioxidants and vitamin C. Stuffing, depending on how you make it, can offer fiber and complex carbohydrates from whole grains. The cheese adds calcium and protein. This isn’t health food by any stretch, but it’s a balanced meal in a handheld form. For a lighter option, use reduced-fat cheese and turkey breast without skin.
Conclusion
These Friendsgiving Pull-Apart Turkey and Stuffing Sliders have become my go-to dish for every gathering, from casual get-togethers to full-blown holiday feasts. They capture everything I love about Thanksgiving—the warmth, the comfort, the joy of sharing food with people you care about—in one perfect, buttery bite. The recipe is forgiving enough for beginners but impressive enough to make you look like a pro. And honestly, the way people’s faces light up when they take that first bite? That’s the best part of hosting.
I’d love to hear how these turn out for you. Did you try any variations? Did they disappear as fast as mine always do? Drop a comment below and let me know. And if you’re looking for more crowd-pleasing recipes for your next gathering, check out my crispy garlic chicken or slow cooker mac and cheese—they’re both perfect for feeding a hungry crowd. Happy Friendsgiving, and happy cooking!
Frequently Asked Questions
Can I make these sliders ahead of time?
Absolutely! Assemble the sliders completely, including the butter topping, up to 24 hours in advance. Cover tightly with foil and refrigerate. When ready to bake, add 5-10 minutes to the covered baking time. This is perfect for stress-free hosting.
Can I use chicken instead of turkey?
Yes, rotisserie chicken works beautifully in this recipe. Shred or chop the meat and use it exactly as you would turkey. The flavor is slightly different but just as delicious. I’ve made these with chicken in the middle of summer when I’m craving Thanksgiving flavors.
How do I prevent the sliders from getting soggy?
The key is toasting the bottom half of the rolls before adding the wet ingredients. This creates a barrier that prevents the bread from absorbing too much moisture. Also, don’t oversaturate the filling—use cranberry sauce sparingly and make sure your stuffing isn’t overly wet.
Can I freeze these sliders?
I don’t recommend freezing these sliders. The bread texture changes significantly upon thawing, becoming dry and crumbly. They’re best made fresh or stored in the refrigerator for up to 3 days. If you need to make them far in advance, assemble them and refrigerate without baking.
What’s the best way to reheat leftovers?
Wrap individual sliders in aluminum foil and reheat in a 350°F oven for 10 minutes. This helps restore some of the crispness to the tops. The microwave works in a pinch but will make the bread soft. For best results, reheat in an air fryer at 350°F for 3-4 minutes.
Pin This Recipe!
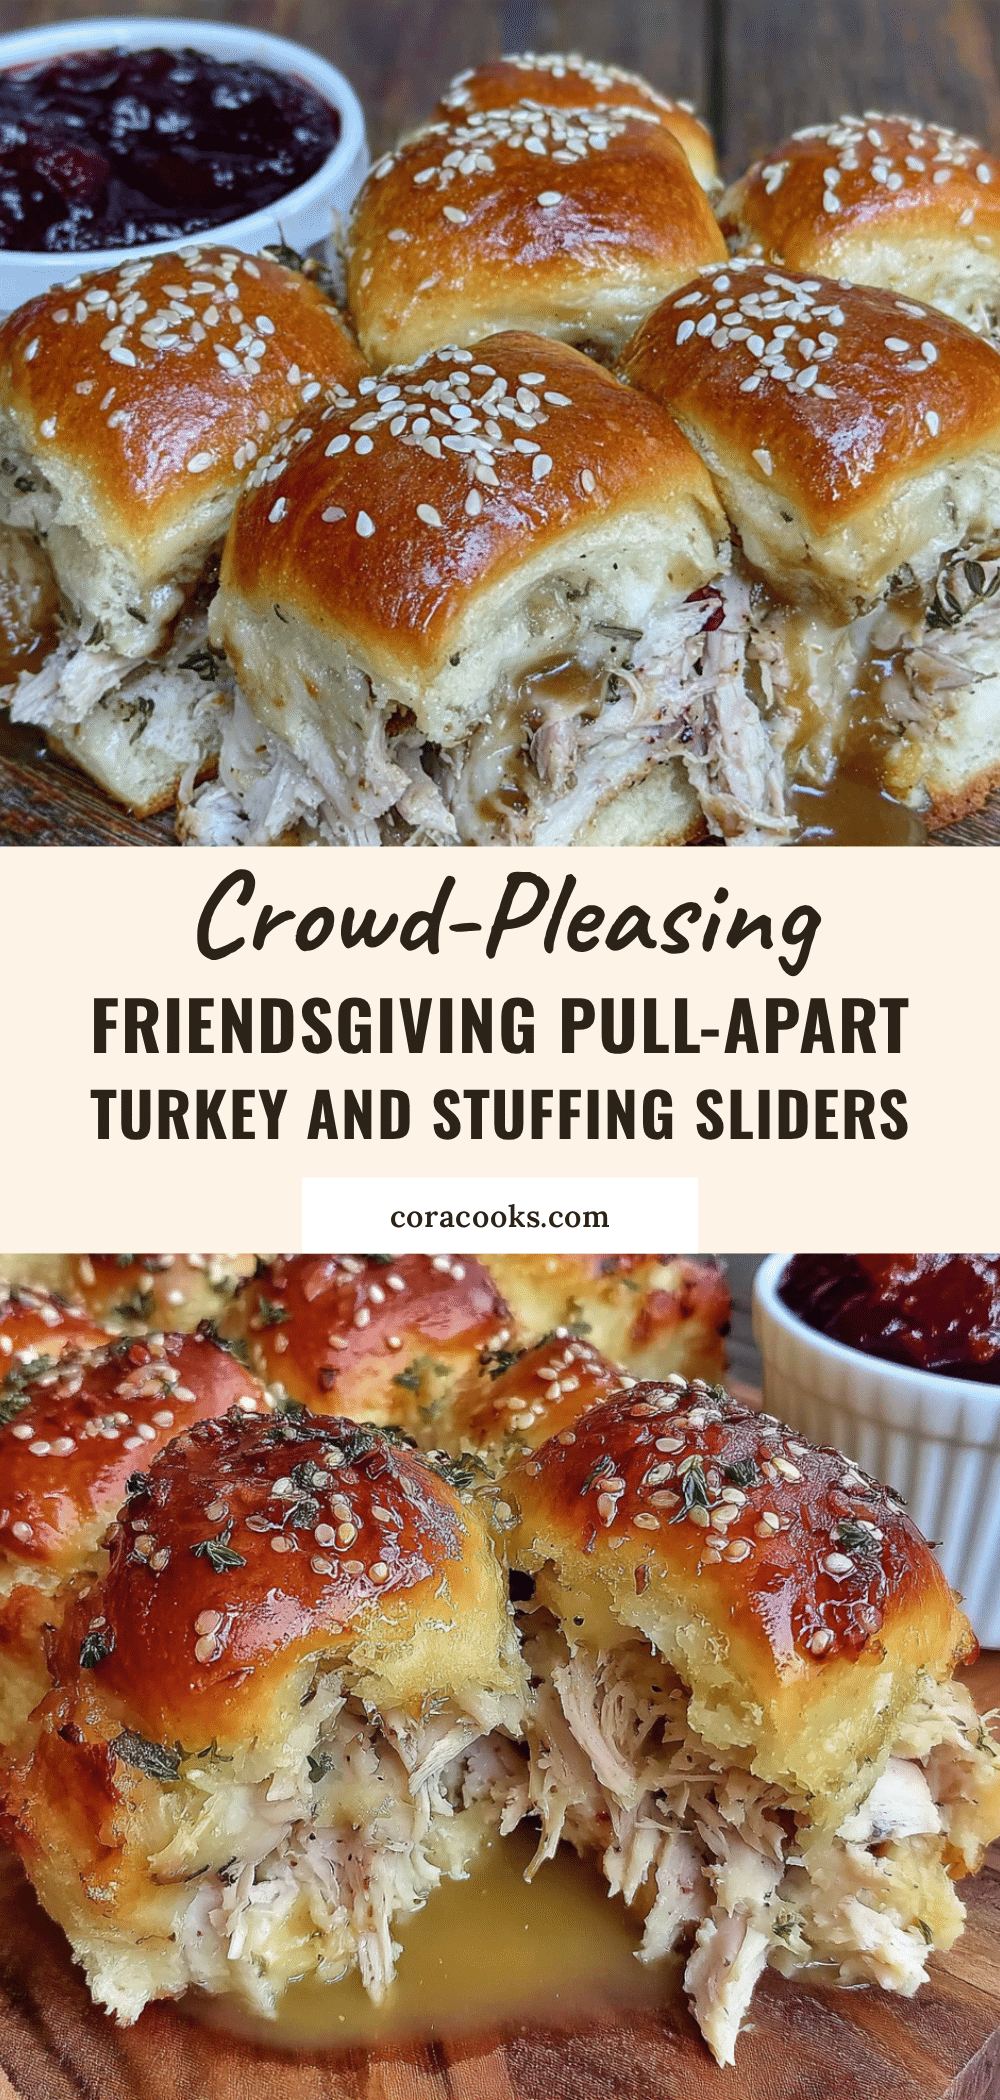
The Best Friendsgiving Pull-Apart Turkey Sliders
These sliders are the perfect way to use leftover turkey, combining all the flavors of Thanksgiving in one buttery, handheld bite. They’re make-ahead friendly, scale beautifully for a crowd, and disappear every single time.
- Prep Time: 20 minutes
- Cook Time: 35 minutes
- Total Time: 55 minutes
- Yield: 12 servings 1x
- Category: Appetizer
- Cuisine: American
Ingredients
- 12-count package sweet Hawaiian rolls (like King’s Hawaiian)
- 3 cups cooked turkey, shredded or chopped
- 2 cups prepared stuffing
- 1 cup whole berry cranberry sauce
- 8 slices sharp white cheddar cheese
- 1/2 cup mayonnaise
- 2 tablespoons Dijon mustard
- 1/2 cup unsalted butter, melted
- 1 tablespoon poppy seeds
- 1 tablespoon dried minced onion
- 1 teaspoon garlic powder
- 1/2 teaspoon salt
- 1/4 teaspoon black pepper
Instructions
- Preheat your oven to 350°F (175°C). Position the rack in the middle of the oven.
- Lightly grease a 9×13-inch baking dish with butter or non-stick spray.
- Slice the rolls in half horizontally, keeping them connected as a whole slab. Place the bottom half in the prepared dish.
- Toast the bottom half in the oven for 5 minutes to prevent sogginess.
- In a small bowl, combine the mayonnaise and Dijon mustard until smooth.
- Remove the dish from the oven and spread the mayo-mustard mixture evenly over the toasted bottom rolls.
- Distribute the shredded turkey evenly over the spread.
- Spoon small dollops of cranberry sauce over the turkey (about 1 tablespoon per slider).
- Crumble the stuffing evenly over the cranberry layer and press down gently.
- Place the cheese slices evenly over the stuffing, tearing to fit if needed.
- Gently lay the top half of the rolls over the filling and press down lightly.
- In a small saucepan over low heat, melt the butter. Add poppy seeds, dried minced onion, garlic powder, salt, and pepper. Stir until combined.
- Brush the butter mixture generously over the tops of the rolls.
- Cover the dish with aluminum foil and let it rest at room temperature for 15 minutes (or refrigerate for up to 24 hours if making ahead).
- Bake covered for 20 minutes (add 5 minutes if refrigerated).
- Remove the foil and bake for another 10-15 minutes, until tops are golden brown and cheese is melted and bubbly.
- Remove from the oven and let the sliders rest for 5-10 minutes before cutting and serving.
Notes
Don’t skip toasting the bottom rolls—it prevents sogginess. Use room temperature turkey for even heating. Let sliders rest after baking to allow cheese to set. For make-ahead, assemble completely and refrigerate up to 24 hours before baking.
Nutrition
- Serving Size: 1 slider
- Calories: 380
- Sugar: 8
- Sodium: 620
- Fat: 22
- Saturated Fat: 12
- Carbohydrates: 28
- Fiber: 2
- Protein: 22
Keywords: turkey sliders, Friendsgiving, leftover turkey, pull-apart sliders, Thanksgiving appetizer, Hawaiian roll sliders