Love this? Save it for later!
Share the inspiration with your friends
My sister-in-law, Jen, wasn’t trying to impress anyone. I’d stopped by her place on a random Tuesday afternoon in early November to drop off a casserole dish she’d loaned me, and the smell hit me before I even got through the door. It was warm, sweet, and smelled distinctly of chocolate and something nostalgic. She was standing at the counter in her sweatpants, holding a mixing bowl, looking at a mountain of crumpled candy wrappers like she’d just solved a complex math problem. “Don’t judge me,” she said, “but I’m making Halloween candy cookies.” Honestly, I wasn’t judging. I was jealous.
She had a huge Ziploc bag on the counter, the kind that bulges after October 31st with all the candy your kids traded, didn’t like, or forgot about. You know the one. It was stuffed with half-eaten fun-size Snickers, crushed Kit Kats, and a weird amount of those orange-and-black-wrapped peanut butter chews. She wasn’t following some fancy recipe she found online. She was just… using stuff up. She chopped the candy bars roughly, tossed them into a basic sugar cookie dough, and baked them. The result was absurd. The cookies were crisp on the edges, chewy in the middle, and studded with pockets of melted caramel, chocolate, and peanut butter. I ate three before I even sat down.
I remember watching her slide the first tray out of the oven. A few of the cookies had puddled together because the caramel from a Milky Way had escaped, and she just shrugged and said, “Those are the chef’s bonus.” That moment stuck with me. It wasn’t about perfection. It was about not letting good chocolate go to waste and turning a problem (too much candy) into a solution (the best cookie you’ll eat all year). I’ve made this recipe a dozen times since that day, and every single time, I think about Jen in her sweatpants, being a genius without even trying. Maybe you’ve got a bag of candy staring at you from the pantry right now. Let’s fix that.
Why You’ll Love This Recipe
Look, I’ve tested a lot of cookie recipes in my day. Some are fussy. Some require you to chill the dough for four hours. Some need ingredients you have to drive to three different stores to find. This is not that recipe. This is the recipe you make when you have a pile of leftover Halloween candy and a family that needs a treat that doesn’t break the bank.
- No Grocery Trip Needed: You already have the flour, butter, sugar, and eggs. The “mix-ins” are literally sitting in a candy bowl on your counter. It’s the ultimate pantry raid recipe.
- Budget-Friendly Baking: Candy is expensive, but you’ve already paid for it. Using it up in cookies means you’re stretching your grocery dollar and getting a second life out of that candy. Smart cooking, happy table.
- Picky Eater Approved: Kids who turn their noses up at oatmeal raisin cookies will absolutely demolish these. It’s a cookie made of their favorite candy. You can’t lose.
- Super Quick: No chilling required. From mixing bowl to oven in under 15 minutes. Perfect for a Tuesday afternoon when the kids are bouncing off the walls.
- Leftovers That Reheat Well: These cookies stay soft for days. Pop one in the microwave for 10 seconds and it tastes like it just came out of the oven. The caramel gets all gooey again. It’s dangerous.
This recipe is different because it’s built on a sturdy, reliable sugar cookie base that doesn’t spread too thin. It holds up to the weight of chopped candy bars—which is a real problem with other recipes. I’ve tried using a standard chocolate chip cookie dough, and the candy just sinks and burns. This dough is thick enough to keep everything suspended. It’s the kind of cookie that makes you close your eyes after the first bite. It’s comfort food, reimagined using the contents of your kid’s trick-or-treat bag.
What Ingredients You Will Need
This recipe uses simple, wholesome ingredients to create a sturdy base that can handle the weight and sugar of your leftover candy. Most of these are pantry staples you likely already have on hand.
- Unsalted Butter: 1 cup (2 sticks), softened to room temperature. Using unsalted butter lets you control the salt level, which is important when you’re adding sweet candy. I prefer Kerrygold for its rich flavor, but any brand works.
- Granulated Sugar: 1 cup. This gives the cookies their crisp edges.
- Light Brown Sugar: ½ cup, packed. Brown sugar adds moisture and a subtle molasses flavor that pairs beautifully with chocolate and caramel. Don’t skip it—it’s what makes the centers chewy.
- Large Eggs: 2, at room temperature. Room temperature eggs incorporate into the butter better, creating a smoother dough. If you forget to take them out of the fridge, place them in a bowl of warm water for 5 minutes.
- Vanilla Extract: 2 teaspoons. Pure vanilla extract is best, but imitation works fine in a pinch. It enhances the sweetness of the candy.
- All-Purpose Flour: 2 ½ cups. Spoon and level your flour—don’t scoop directly from the bag. Scooping packs the flour down and can result in dry, crumbly cookies.
- Baking Soda: 1 teaspoon. This helps the cookies spread just enough.
- Baking Powder: ½ teaspoon. Adds a little lift so the cookies aren’t hockey pucks.
- Salt: ½ teaspoon. Crucial for balancing the sweetness of the candy. I use fine sea salt.
- Halloween Candy: 2 cups, chopped. This is the star. Aim for a mix of textures. Chocolate-based candies (Snickers, Milky Way, Twix) work best because they melt into puddles. Avoid anything with hard centers (like Jawbreakers) or sticky taffy that could get stuck in teeth. Kit Kats add a nice crunch. Reese’s cups create peanut butter pockets.
Pro Tip: If you have a lot of different candy types, chop them into roughly ½-inch pieces. Keep the sizes uniform so they distribute evenly. I once threw in whole fun-size Snickers and ended up with giant pockets of raw dough around them. Not ideal.
Equipment Needed
You don’t need a fancy kitchen to pull these off. I’ve made this recipe in my sister-in-law’s cramped apartment kitchen with a wooden spoon and a warped baking sheet. It still worked.
- Mixing Bowls: You’ll need one large bowl for the dry ingredients and one for the wet. A medium bowl works for the dry.
- Electric Mixer (Hand or Stand): A hand mixer is fine. A stand mixer with a paddle attachment makes it easier, but you can absolutely cream the butter and sugar by hand with some elbow grease. I’ve done it.
- Sharp Chef’s Knife: For chopping the candy. A serrated knife works well for Kit Kats. A dull knife will just smush the candy bars. Trust me on this.
- Baking Sheets: Two standard half-sheet pans. If you only have one, let it cool completely between batches. Placing dough on a hot sheet will cause the cookies to spread into thin, greasy puddles.
- Parchment Paper or Silicone Baking Mat: Highly recommended. It prevents sticking and makes cleanup a breeze. Plus, it helps the cookies bake evenly.
- Cooling Rack: Essential for getting those crisp edges. If you leave the cookies on the hot sheet, they’ll continue to cook and can become overdone.
- Cookie Scoop (Optional): A 1.5-tablespoon scoop ensures uniform cookies. Not necessary, but it makes the process faster.
Preparation Method
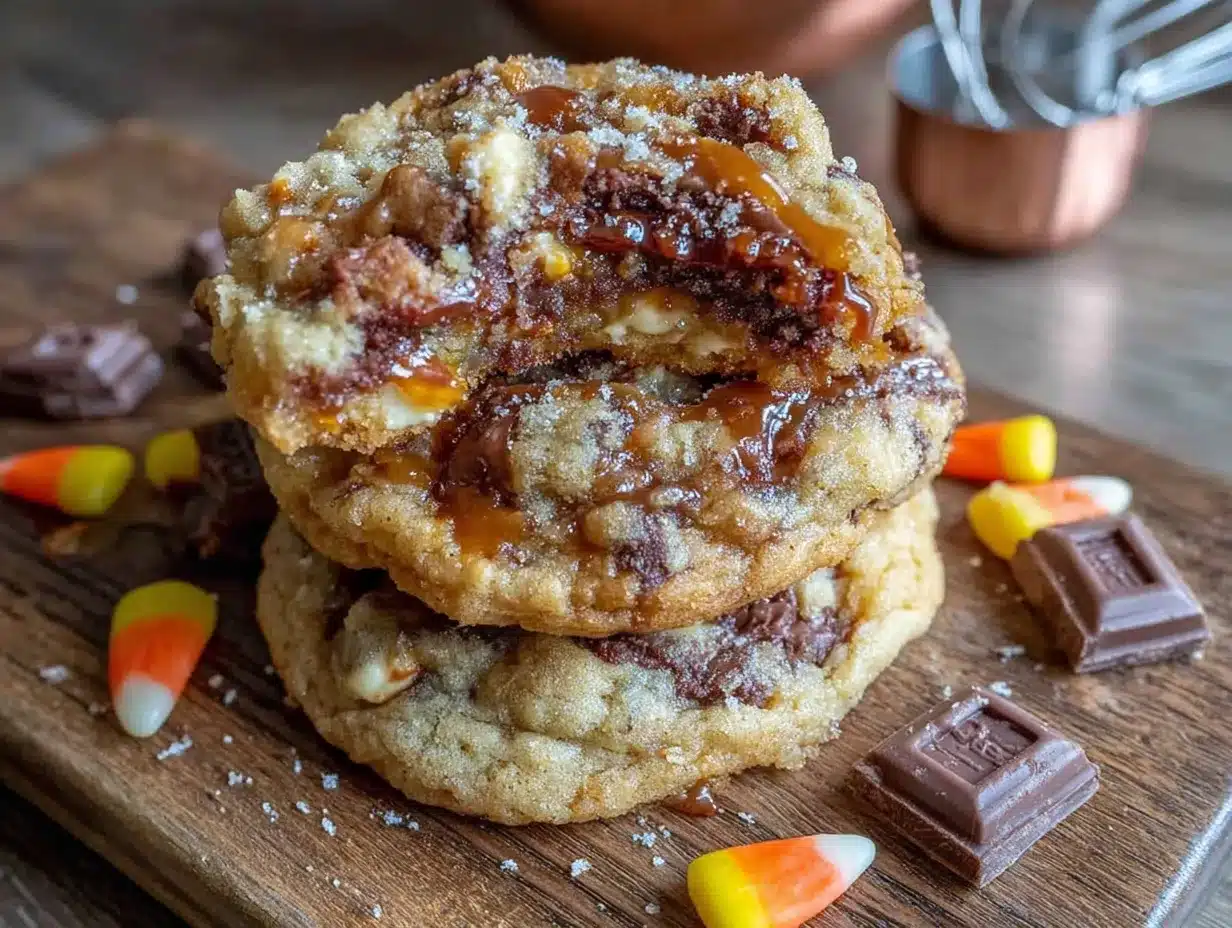
Alright, let’s get to it. This method is straightforward, but I’ve included some notes from my own trials so you don’t make the same mistakes I did. The first time I made these, I forgot to chop the Twix bars. Don’t be like me.
- Preheat and Prep: Preheat your oven to 350°F (175°C). Line two baking sheets with parchment paper or silicone mats. This is non-negotiable for easy cleanup.
- Chop the Candy: Take your 2 cups of assorted Halloween candy and chop it into rough ½-inch pieces. Set aside. If you have soft candies like caramel-filled ones, pop them in the freezer for 10 minutes before chopping. It stops them from sticking to the knife.
- Cream Butter and Sugars: In a large bowl, beat the softened butter, granulated sugar, and brown sugar together on medium speed until light and fluffy. This takes about 2-3 minutes. You’re looking for a pale, creamy texture. Scrape down the sides of the bowl halfway through.
- Add Eggs and Vanilla: Add the eggs one at a time, beating well after each addition. Then add the vanilla extract and beat until combined. The mixture might look slightly curdled—that’s okay. It will come together when you add the flour.
- Mix Dry Ingredients: In a separate bowl, whisk together the flour, baking soda, baking powder, and salt. Whisking ensures the leavening agents are evenly distributed. No one wants a cookie that tastes like baking soda.
- Combine Wet and Dry: Gradually add the dry ingredients to the wet mixture. Mix on low speed until just combined. Do not overmix. Overmixing develops gluten and makes the cookies tough. You want them tender. Stop when you no longer see streaks of flour.
- Fold in the Candy: Gently fold the chopped candy into the dough using a rubber spatula. Make sure it’s evenly distributed. If you have a lot of small candy pieces, they might clump together. Break them up with your fingers.
- Scoop and Shape: Scoop rounded tablespoons of dough (about 1.5 tablespoons each) and place them 2 inches apart on the prepared baking sheets. I like to slightly flatten the tops of the dough balls with my palm. This helps them bake evenly and gives them a nice, bakery-style look.
- Bake: Bake for 10-12 minutes, or until the edges are golden brown and the centers look slightly underdone. The centers will continue to set as they cool. If you bake them until they look fully done, they’ll be dry. For a softer cookie, pull them at 10 minutes.
- Cool: Let the cookies cool on the baking sheet for 5 minutes. This allows them to firm up enough to transfer. Then, move them to a wire rack to cool completely. If you try to move them too soon, they’ll fall apart—especially if there’s a pool of melted caramel underneath.
Sensory Cue: Your kitchen should smell like a bakery and a candy store had a baby. The edges will be deep golden brown, and you’ll see little dark spots where the chocolate has melted and caramelized. The cookies will be soft to the touch when they come out.
Cooking Tips & Techniques
I’ve made this recipe about seven times now, and each batch taught me something new. Here are the lessons I learned the hard way so you don’t have to.
Chill the Dough if You Have Time (But You Don’t Have To): This dough works great without chilling. But, if you have a bag of candy with a lot of hard chocolate pieces (like M&Ms or chopped chocolate bars), chilling the dough for 30 minutes will prevent the cookies from spreading too thin. The cold butter takes longer to melt, which means thicker cookies. I usually skip the chill because I’m impatient, but my best-looking batches came from a chilled dough.
The Candy Chopping Rule: Always chop your candy. I know it’s tempting to toss in whole fun-size bars, but they create voids in the dough. The dough around a whole Snickers bar won’t cook through properly. You end up with raw dough and a melted candy core. Chop everything into ½-inch pieces. It’s worth the extra minute.
Watch Your Oven: Every oven runs differently. My old oven ran hot and would burn the bottoms of these cookies at 350°F. I learned to put the baking sheet on the middle rack and check the cookies at 9 minutes. If your oven runs hot, reduce the temperature to 325°F (160°C) and bake for 12-14 minutes.
Don’t Overcrowd the Pan: I once tried to fit 12 cookies on one sheet. They spread into one giant cookie pancake. It tasted fine, but it was ugly. Give them 2 inches of space. Bake in batches if you have to.
The Salt Trick: If your candy is very sweet (looking at you, plain milk chocolate bars), sprinkle a tiny pinch of flaky sea salt on top of each cookie right before they go into the oven. It cuts the sweetness and makes the flavors pop. I do this every time now.
Variations & Adaptations
This recipe is a template, not a rulebook. Here’s how to make it your own based on what’s in your pantry or what your family likes.
- Peanut Butter Lover’s Version: Swap ¼ cup of the all-purpose flour for ¼ cup of peanut butter powder (like PB2). Or, add ½ cup of creamy peanut butter to the wet ingredients. It makes the cookies denser and more savory, which balances the sweet candy. My kids go nuts for this version.
- Gluten-Free Adaptation: Substitute the all-purpose flour with a 1:1 gluten-free baking flour blend (I like Bob’s Red Mill). Add an extra tablespoon of milk to the dough because gluten-free flours tend to be drier. The cookies won’t spread as much, but they’ll still be delicious.
- Low-Sugar Option: If you’re trying to cut back on sugar, use a sugar substitute like monk fruit sweetener in place of the granulated and brown sugars. Note that the texture will be slightly more cake-like. Then, use only dark chocolate candy (like 70% cacao bars) to keep the overall sugar load lower.
- Fruity Twist: If you have leftover Skittles or Starburst (the horror), don’t put them in the dough—they’ll melt into a sticky, artificial mess. Instead, chop up dried cranberries or dried cherries and add them along with white chocolate chips. It gives you that same “candy” vibe without the weird texture.
- Spiced Halloween Cookie: Add 1 teaspoon of pumpkin pie spice or cinnamon to the dry ingredients. It gives the cookies a warm, fall flavor that pairs beautifully with chocolate and caramel. I did this with a batch of leftover Reese’s cups, and it was incredible.
Serving & Storage Suggestions
These cookies are best enjoyed warm, when the chocolate and caramel are still gooey and the edges are crisp. But let’s be real—they’re pretty great at room temperature too.
Serving: Serve them with a tall glass of cold milk. It’s the classic pairing for a reason. For a grown-up treat, serve them with a scoop of vanilla ice cream and a drizzle of chocolate sauce. The contrast of warm cookie and cold ice cream is unbeatable. I’ve also crumbled them over a bowl of vanilla pudding for a quick dessert parfait.
Storage: Store the cookies in an airtight container at room temperature for up to 5 days. Place a slice of white bread in the container—it absorbs excess moisture and keeps the cookies soft. Replace the bread slice every two days. I learned this trick from a bakery owner, and it works like magic.
Freezer Instructions: You can freeze the baked cookies for up to 3 months. Place them in a single layer in a freezer-safe bag or container. To thaw, leave them on the counter for 30 minutes. You can also freeze the raw dough balls. Scoop them onto a baking sheet, freeze until solid, then transfer to a freezer bag. Bake from frozen, adding 2-3 minutes to the bake time.
Reheating: The microwave is your friend here. Pop a cookie in for 10-15 seconds to revive the gooey centers. If you’re reheating a whole tray, warm them in a 300°F (150°C) oven for 5 minutes.
Flavor Development: Honestly, these cookies taste even better on day two. The flavors meld together, and the candy pieces soften slightly, creating a more uniform texture. If you can resist eating them all on day one, you’re a stronger person than me.
Nutritional Information & Benefits
Let’s be honest—these are a treat, not a health food. But there are a few silver linings if you’re worried about feeding them to your family.
Estimated Nutritional Values (per cookie, based on 36 cookies): Calories: 185 | Fat: 9g | Carbohydrates: 25g | Sugar: 16g | Protein: 3g | Fiber: 1g | Sodium: 95mg.
Health Benefits of Key Ingredients: Dark chocolate (if you use it) contains antioxidants called flavonoids. Peanuts from Snickers or Reese’s provide a small amount of protein and healthy fats. The brown sugar offers a tiny bit of calcium and potassium—though let’s not pretend we’re eating these for the minerals.
Dietary Considerations: This recipe contains gluten, dairy, and eggs. It is not suitable for those with celiac disease unless you use the gluten-free adaptation. For a dairy-free version, use vegan butter and dairy-free chocolate candy (like Enjoy Life brand). The texture will be slightly different, but still tasty.
Potential Allergens: Peanuts, tree nuts (depending on the candy), milk, eggs, wheat, and soy (from some chocolate). Always check the labels on your candy if you’re serving these to someone with allergies.
My Wellness Perspective: I believe in balance. We eat salads and roasted vegetables during the week, and on a random Tuesday in November, we eat cookies made from leftover Halloween candy. It’s about joy, not guilt. One cookie isn’t going to derail anyone’s health. It’s going to make them smile.
Conclusion
These Halloween candy cookies are the answer to a question nobody asked: “What do I do with this bag of candy that’s been sitting on the counter for two weeks?” They’re practical, budget-friendly, and absolutely delicious. They turn a problem into a celebration.
I love this recipe because it reminds me of Jen and her sweatpants and her casual genius. It’s not about having fancy ingredients or perfect technique. It’s about being resourceful and making something that brings people together. Every time I bake these, I think about that Tuesday afternoon, and I smile.
I’d love to hear how yours turn out. Did you use a weird combination of candy? Did your kids help chop the bars? Did you add the flaky salt? Drop a comment below and let me know. Share this recipe with a friend who always has too much candy. And hey—happy baking.
Frequently Asked Questions
Can I use any type of Halloween candy?
Most chocolate-based candies work great. Stick with Snickers, Milky Way, Twix, Kit Kat, and Reese’s Cups. Avoid hard candies, lollipops, and sticky taffy—they don’t melt well and can be a choking hazard for little kids.
Why did my cookies spread too much?
This usually happens if the butter was too soft or if you used too much sugar. Make sure your butter is softened, not melted. Also, chilling the dough for 30 minutes before baking helps prevent excessive spreading.
Can I make the dough ahead of time?
Absolutely. You can refrigerate the dough for up to 3 days. Let it sit at room temperature for 10 minutes before scooping and baking. You can also freeze the dough balls for up to 3 months.
How do I keep the cookies soft?
Store them in an airtight container with a slice of white bread. The bread absorbs excess moisture and keeps the cookies soft. Replace the bread every 2 days. Don’t overbake them—pull them out when the centers look slightly underdone.
Can I reduce the sugar in this recipe?
You can reduce the granulated sugar to ¾ cup, but the cookies will be less crisp and may spread more. The candy already adds a lot of sweetness, so I don’t recommend reducing the sugar further unless you’re using a sugar substitute.
Pin This Recipe!
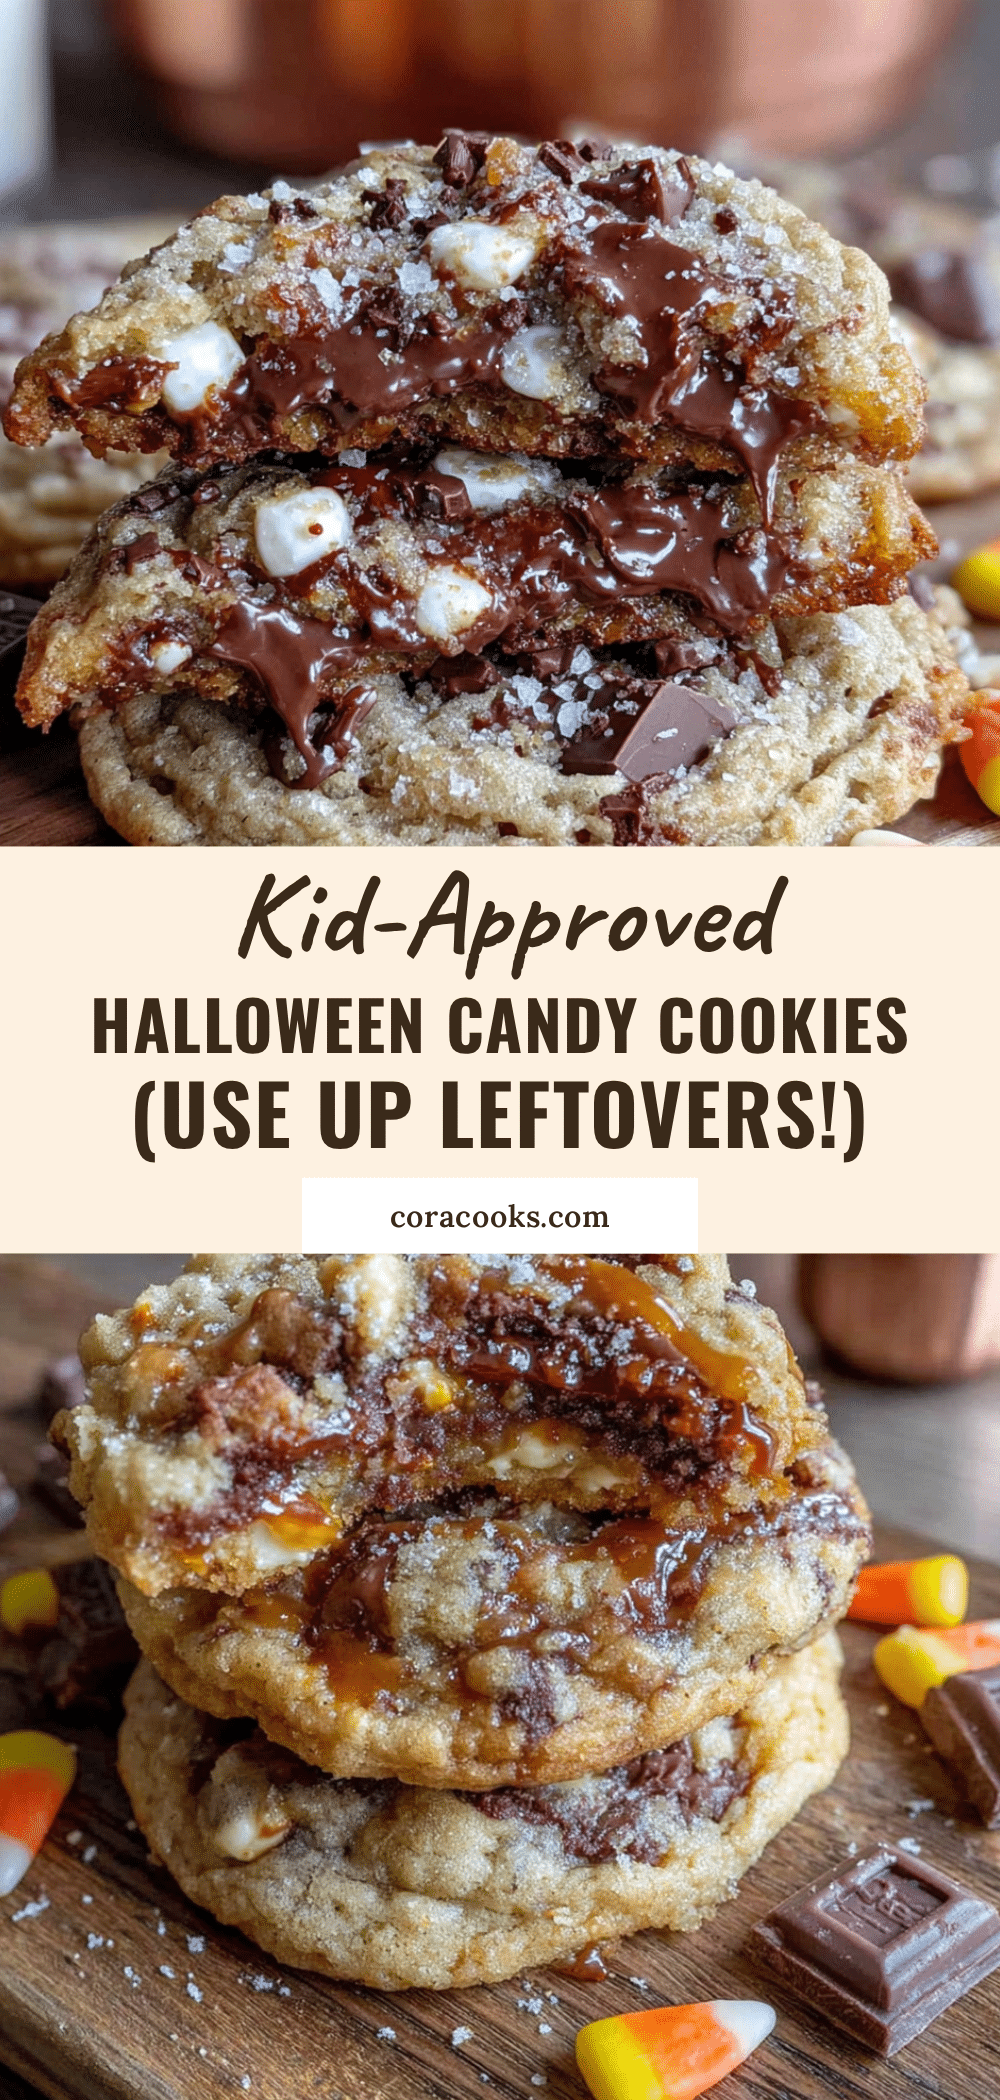
Halloween Candy Cookies: The Best Way to Use Leftovers

Turn your leftover Halloween candy into the best cookies you’ll eat all year. This easy, no-chill recipe uses a sturdy sugar cookie base to hold chopped candy bars, creating crisp edges, chewy centers, and pockets of melted caramel and chocolate.
- Prep Time: 15 minutes
- Cook Time: 12 minutes
- Total Time: 27 minutes
- Yield: 36 cookies 1x
- Category: Dessert
- Cuisine: American
Ingredients
- 1 cup (2 sticks) unsalted butter, softened
- 1 cup granulated sugar
- ½ cup packed light brown sugar
- 2 large eggs, at room temperature
- 2 teaspoons vanilla extract
- 2 ½ cups all-purpose flour
- 1 teaspoon baking soda
- ½ teaspoon baking powder
- ½ teaspoon fine sea salt
- 2 cups assorted Halloween candy, chopped into ½-inch pieces (e.g., Snickers, Milky Way, Twix, Kit Kat, Reese’s Cups)
Instructions
- Preheat oven to 350°F (175°C). Line two baking sheets with parchment paper or silicone mats.
- Chop the candy into rough ½-inch pieces. For soft candies, freeze for 10 minutes before chopping. Set aside.
- In a large bowl, beat softened butter, granulated sugar, and brown sugar on medium speed until light and fluffy, about 2-3 minutes. Scrape down sides.
- Add eggs one at a time, beating well after each. Add vanilla and beat until combined.
- In a separate bowl, whisk together flour, baking soda, baking powder, and salt.
- Gradually add dry ingredients to wet mixture, mixing on low until just combined. Do not overmix.
- Gently fold chopped candy into dough with a rubber spatula until evenly distributed.
- Scoop rounded tablespoons of dough (about 1.5 tablespoons each) and place 2 inches apart on prepared baking sheets. Slightly flatten tops with palm.
- Bake for 10-12 minutes, until edges are golden brown and centers look slightly underdone.
- Let cookies cool on baking sheet for 5 minutes, then transfer to a wire rack to cool completely.
Notes
Chill dough for 30 minutes if using hard chocolate pieces to prevent spreading. Sprinkle flaky sea salt on top before baking if candy is very sweet. Store cookies in an airtight container with a slice of white bread to keep soft. Freeze baked cookies for up to 3 months or freeze raw dough balls for up to 3 months.
Nutrition
- Serving Size: 1 cookie
- Calories: 185
- Sugar: 16
- Sodium: 95
- Fat: 9
- Saturated Fat: 5
- Carbohydrates: 25
- Fiber: 1
- Protein: 3
Keywords: Halloween cookies, leftover candy cookies, candy bar cookies, easy cookie recipe, no-chill cookies, sugar cookies with candy